NewTec Design Audio CONO canto WiFi User manual

3
NewTec Wireless Audio Soluon
Power connecon of the different WiFi speakers
Turn the switch ll you hear the
“plop” from the speaker and it
the LED starts flashing lightly
Thank you for choosing the NewTec WiFi soluon.
In addion to the high audio quality, the NewTec WiFi soluon is characterized by a
very simple and uncomplicated installaon. The basic principle is that one Trans-
mier provides, within the transmier range, an unlimited number of WiFi speakers.
IMPORTANT BEFORE STARTING THE INSTALLATION:
Please check if there are visible damages caused by transportaon. In this case, do
not install the system but contact your supplier.
Connect all the speakers to the power supply. When the LED is flashing, the speaker is operaonal.
CONO canto WiFi CONO pendo WiFi
SUB quadro WiFi
WiFi Subwoofer
SUB canto WiFi
EN

4
Posion of the NewTec WiFi Transmier:
The best posion for the WiFi transmier is in the middle of the room. For best
coverage you should place the transmier at the height level of the speakers. Keep it
at least 5 meters away from any other wireless devices (WiFi router, WiFi phones,
WiFi POS systems, etc) which could influence each other.
Unfold in any case the antenna and mount the transmier, so that the antenna is al-
ways in a vercal posion (see examples below). Avoid operang with folded anten-
na or in a horizontal posion.
Restart
NEWTEC REMOTE CONTROL
Status-LED
Restart
Connect
Volume Up/Down
Factory Sengs
Mute
NEWTEC TRANSMITTER
Speaker Transmier
Status-LED
Start Pairing
Master Volume
End Pairing
IMPORTANT: The remote is used to con-
trol the transmier, as well as the indivi-
dual speakers .
Front
Back
Power Supply
5V DC (1A)
Audio In
Cinch RCA
SMA-RP
Antenna
IR Receiver
Status LEDs
EN

5
Installaon guide WiFi speakers
CONO canto WiFi:
Clip the CONO canto WiFi speaker into the 3 phase lighng track. If you hear a
“plop” from the speaker and the Led is flashing, you are on the correct phase
and the speaker is connected to power. If not, turn the phase switch ll you
hear the “plop” sound => see first page
CONO pendo WiFi:
Install and connect the CONO pendo WiFi to the power supply
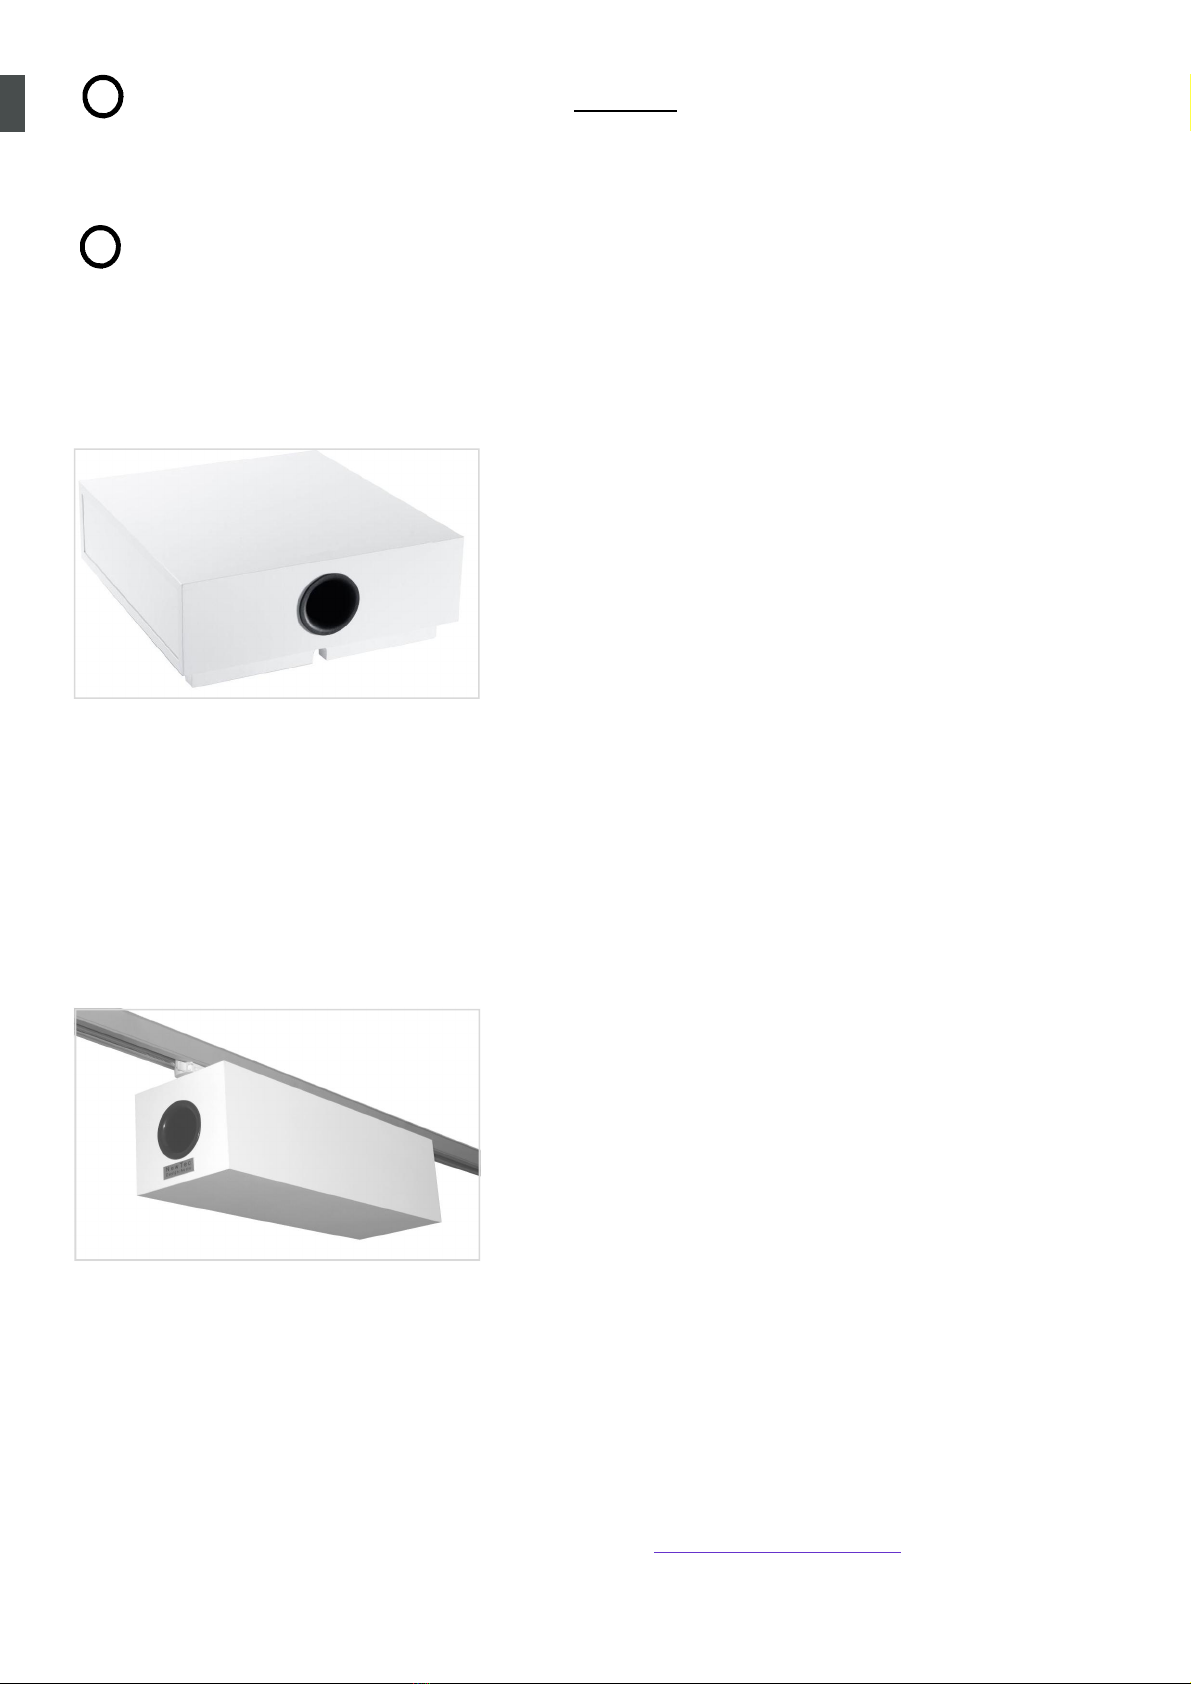
SUB quadro WiFi:
Install the SUB quadro WiFi, connect to the power supply and turn the switch
on the backside to “ON”
SUB canto WiFi:
Clip the SUB canto WiFi speaker into the 3 phase lighng track. If you hear a
“plop” from the subwoofer and the Led is flashing, you are on the correct phase
and the subwoofer is connected to power. If not, turn the phase switch ll you
hear the “plop” sound
Repeat the procedure with all WiFi speakers and control if the LEDs on all
speakers are flashing.
Connect the transmier to an electrical outlet using the supplied AC adapter.
Check that the green and orange LEDs on the transmier are flashing (if not,
check that the power adapter is properly connected and the outlet is supplying
power).
Connect a player to the Cinch jacks using the supplied audio cable and start
playback. When the orange LED is connuously lit, the music is sent wirelessly
to the speakers.
The sll flashing green LED confirms the correct funconing of the internal
sound processor.
CONNECT: Use the supplied remote control to aim at the orange LED of the
transmier and press the arrow key upwards. As soon as the blue LED is on,
the transmier is in pairing mode.
Pairing mode: The transmier acvates the pairing mode to connect all
speakers. Every 15 seconds the transmier plays the connected music signal
for 5 seconds to check a successful connecon. This will be repeated unl you
disable the pairing mode on the transmier. (see point 6)
Now go with the remote control from speaker to speaker and aim at the orange
LED of the speaker and press the arrow key upwards. The speaker confirms a
successful pairing aer a short me with a long beep tone.
Deacvate the pairing mode on the transmier by using the remote control to
aim at the blue LED of the transmier and press the arrow key downwards.
Aer a few seconds, the transmier will switch to normal operaon and all
connected speakers will output the connected music signal. You can start now
playing music.
1
2
3
4
5
6
EN
6
SUB quadro WiFi Fine Tuning:
=====================================================================================
Customer support:
NewTec Design Audio GmbH www.newtec-audio.com
Via Negrelli 13/C Tel. +39 0471 058065
39100 Bolzano – ITALY support@newtec-audio.com
You can control the volume and transient frequen-
cy at the control buons on the back of the sub-
woofer. Recommended transion frequency: ~
100 Hz
You can also adjust the volume of each SINGLE
subwoofer in proporon to the others even aer
wall mounng. Use the remote control to aim the
subwoofer's bass reflex tube and press the Vol +/- buons (note that the "master
volume" in the store is controlled by your audio device or by the WiFi transmier.).
SUB canto WiFi Fine Tuning:
While using the SUB canto, we recommend seng
the satellite speakers to 80% of the volume using
FACTORY SETTINGS on the remote control. This
will help generate a balanced sound.
Of course, you can also adjust the volume of the
subwoofer. To do so, use the remote control to aim
the subwoofer's bass reflex tube and press the Vol
+/- buons (note that the "master volume" in the store is controlled by your audio
device or by the WiFi transmier.).
You can adjust the volume of each SINGLE loudspeaker in relaon to the other
speakers (for example, changing rooms, checkout areas, etc.). Use the remote
control to aim at the LED of each speaker. (Note that the "master volume" in
the store is controlled by your audio device or via the transmier).
Aer the setup of all the speakers and Subwoofers with the transmier, check
the best possible transmion locaon (see previous page).
7
8
EN
This manual suits for next models
3
Other NewTec Design Audio Stereo System manuals


