NEXALIN ADI User manual

i
Bob
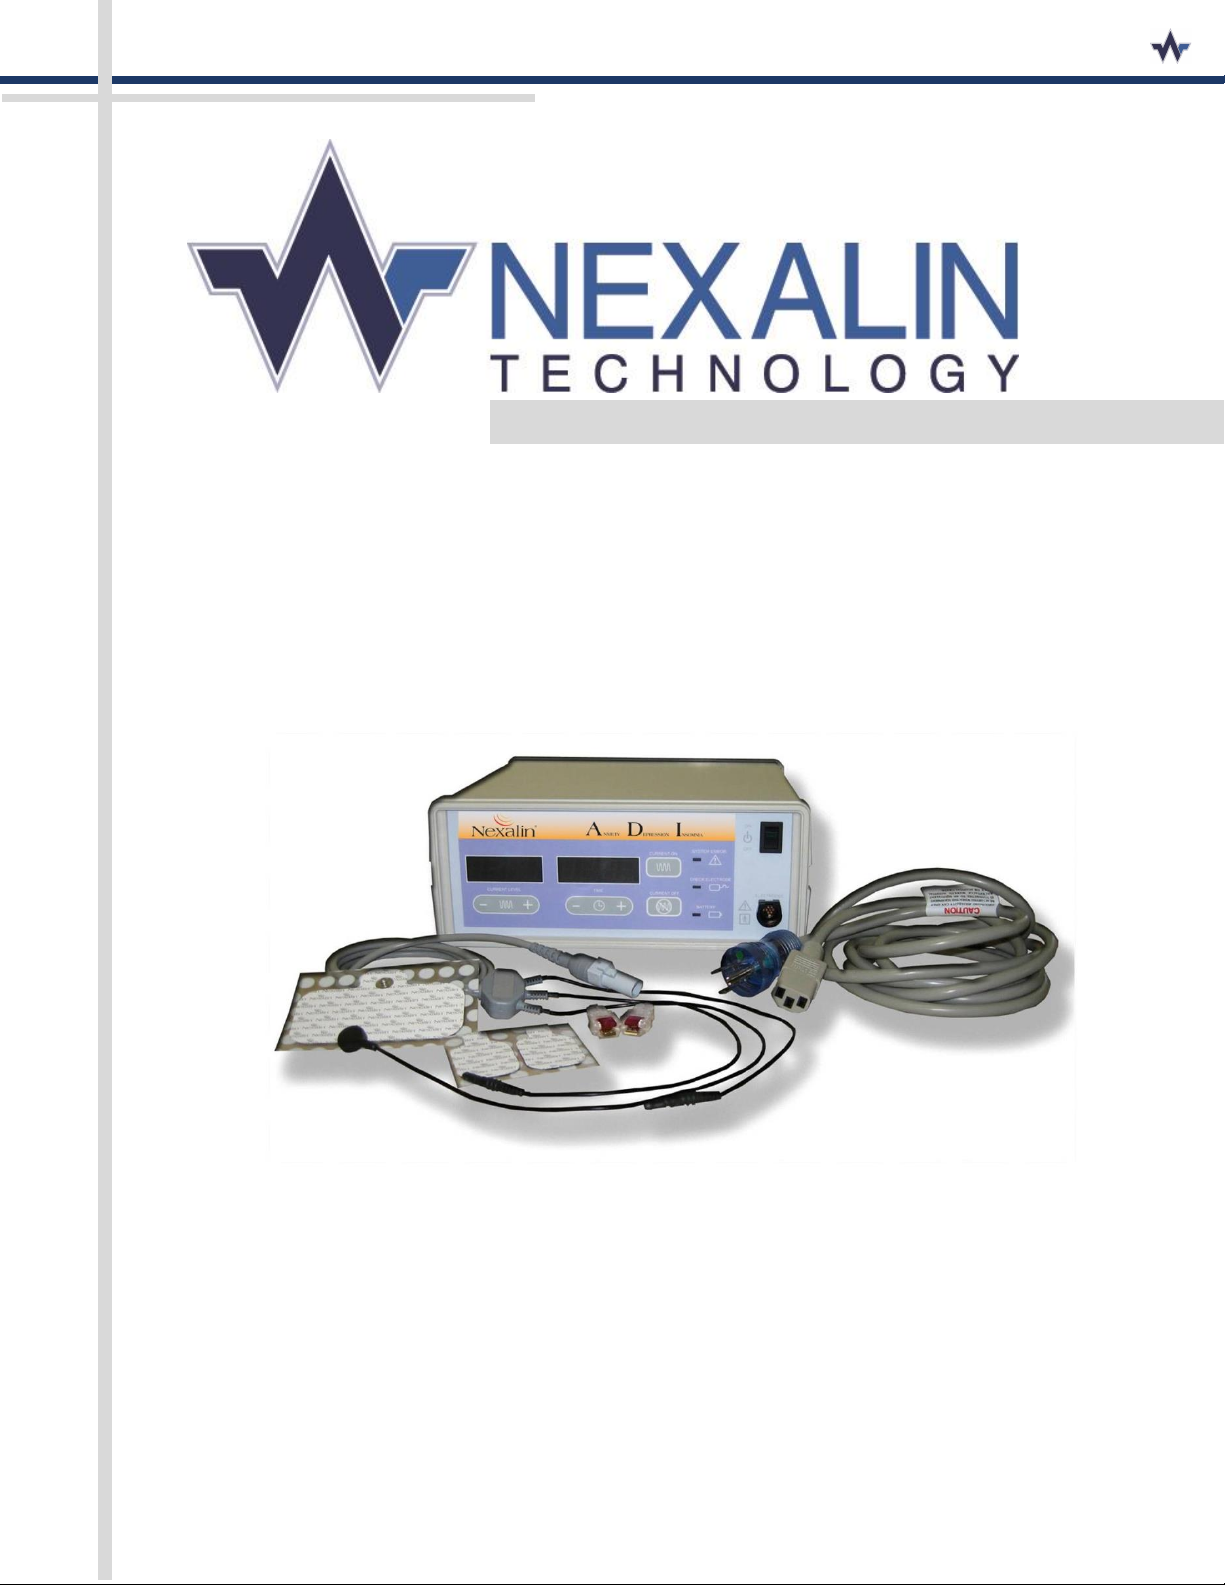
OPERATING INSTRUCTIONS
Nexalin®ADIDevice
Nexalin Support Center
1776 Yorktown Ave #550
Houston, TX 77056
Telephone: (714) 916-9290
Website: www.nexalintechnology.com
The Future of Brain-Based Health

ii
This document was, as much as possible, accurate at the time of release. However, changes may have
been made to the device it describes since that time. Late-breaking information may be supplied
separately in the form of Advisory Notices.
Nexalin® is a registered trademark of Nexalin Technology, Inc.
The Nexalin ADI Device is manufactured by Nexalin Technology, Inc. and marketed by Nexalin
Technology, Inc. for exclusive use at Nexalin Advanced Therapy Centers.
Document Number: IFU-7006-00
Part Number: KS09003, Rev 01
Copyright © July 2013 by Nexalin Technology, Inc.
1776 Yorktown Ave #550, Houston, TX 77056
All rights reserved. No part of this document may be reproduced by any means with - out the prior
written permission of Nexalin Technology, Inc.
Nexalin Support Center
Telephone: (714) 916-9290
Website: www.nexalintechnology.com

iii
Table of Contents
SECTION 1
The Nexalin ADI Device ..................................................................................................................5
Intended Use ..................................................................................................................................5
Contraindications ...........................................................................................................................5
Warnings and Limitations ..............................................................................................................5
Possible Adverse Side Effects ........................................................................................................6
Explanation of Symbols ..................................................................................................................7
SECTION 2
Nexalin ADI Device Specifications ..................................................................................................8
Applicable Standards .....................................................................................................................8
Electrical .........................................................................................................................................8
Environmental ...............................................................................................................................8
Mechanical .....................................................................................................................................8
SECTION 3
The Nexalin ADI System .................................................................................................................9
Nexalin Electrodes .........................................................................................................................9
Nexalin ADI Device Setup ...............................................................................................................9
SECTION 4
Nexalin ADI System Operations ...................................................................................................10
Instructions for the Patient ..........................................................................................................10
Powering On the Nexalin ADI Device............................................................................................10
Preparing the Patient ...................................................................................................................11
Applying the Nexalin Electrodes ..................................................................................................11
Attaching the Nexalin Electrode Clips ..........................................................................................12
The Nexalin ADI Therapy Session .................................................................................................12
Completing the Nexalin ADI Therapy Session ..............................................................................12
Pause Mode .................................................................................................................................12
Default Nexalin ADI Device Parameters .......................................................................................13
Nexalin ADI Device Status Indications .........................................................................................14
Check Electrode LED.....................................................................................................................14
Battery LED...................................................................................................................................15
System Error LED .........................................................................................................................16
Error Code 9 .................................................................................................................................16
All Other Error Codes....................................................................................................................17

iv
Table of Contents (continued)
SECTION 5
Service and Maintenance ............................................................................................................18
Cleaning the Nexalin ADI System .................................................................................................18
SECTION 6
Nexalin ADI Device Accessories ...................................................................................................19
SECTION 7
Limited Warranty and Expected Life ............................................................................................19
Nexalin ADI Device Returns .........................................................................................................19
Contact Information ....................................................................................................................20
Disposal of the Nexalin ADI System Products ..............................................................................20
(This Space Intentionally Left Blank)

1
SECTION 1
The Nexalin® ADI Device
The Nexalin® ADI Device is a FDA-cleared transcranial electrical stimulation (TES) or cranial electrotherapy
stimulation (CES) device manufactured by Nexalin Technology, Inc. It delivers a safe and effective electrical
stimulation to the patient that provides relief from the symptoms associated with anxiety, depression, and
insomnia.
The proper use of the Nexalin ADI Device includes the application of three external electrodes. One electrode
is placed on the patient's forehead and one is placed behind each ear over the mastoid area. These three
electrodes are specifically placed to enhance the performance of the Nexalin ADI Device. When the device is
activated, a mild current travels between the forehead electrode and each mastoid electrode. The level of
current and the duration of the Nexalin ADI Therapy session are preset to default parameters and cannot be
changed.
The Nexalin ADI Device includes several features that are designed to protect the patient during a Nexalin ADI
Therapy session. When followed properly, these operating Instructions will help to ensure that a safe and
effective treatment is administered.
Intended Use
The Nexalin ADI Device is classified as cranial electrotherapy stimulation (CES) device. Its intended use is for
relief from the symptoms associated with anxiety, depression, and insomnia.
The Nexalin ADI Device is intended for use by or on the order of a licensed healthcare practitioner. Only a
Nexalin Certified Technician (NCT) is qualified to operate and administer a Nexalin ADI Therapy Treatment
session.
Contraindications
Use of the Nexalin ADI Device is strictly prohibited if the patient has any of the following conditions:
History of seizures, epilepsy, hydrocephalus, or tumors of the central nervous system.
Acute brain injuries and infections.
Break in skin integrity at the areas of electrode placement.
Skin sensitivity to electrode gels or adhesives.
Presence of implanted electronic stimulators.
Pregnant or may be pregnant.
Children, ages 12 and under.
Warnings and Limitations
Use of the Nexalin ADI Device may have an increased or decreased effectiveness if the patient has any of the
following conditions:
Acute psychiatric disorders (not depression).
Presence of the pronounced habituation of morphine-like substances. Use of psychoactive drugs.

2
A Nexalin ADI Device may only be operated by a NCT. (Certification is achieved by completing a Nexalin
training course administered by Nexalin Technology, Inc. For more information, contact the Nexalin Support
Center.)
The Nexalin ADI Device is intended for external use only.
Keep fluids away from a Nexalin ADI Device as there is no protection against the ingress of water or cleaners.
Clean with alcohol swabs only. (NOTE: IEC 60529 rating is IPX0.)
Never power the Nexalin ADI Device on or off with a patient connected. You may press the start button when
the power is on.
Additional electronic frequency and noise sources must should be limited in the Nexalin patient treatment
area (e.g., hand-held computer games, personal music players, radios, televisions or other electronic
equipment). Mobile phones may not be turned on anywhere in the clinic area.
To reduce risk of electric shock, NEVER open the cover of a Nexalin ADI Device.
(NOTE: UL 60601-1 standard rating as Class I protection against electric shock.)
Do not use a Nexalin ADI Device in the presence of flammable anesthetics.
Use only Nexalin Certified Electrodes, as substitutes may cause treatment problems.
Do not attempt to service the Nexalin ADI Device; if required, contact the Nexalin Support
Center at (714) 258-8004.
Possible Adverse Side Effects
In clinical studies using the Nexalin ADI Device, there have been isolated incidents of temporary minor side
effects. Each of these occurrences was resolved on their own without medical attention. The minor side effects
were:
Nexalin Device:
Headache
Dizziness
Nausea
Electrodes:
Skin irritation at the electrode sites

3
Explanation of Symbols
The symbols below can be found within this document or on the Nexalin ADI Device.
CAUTION!
Indicates a potential for bodily harm or a reminder that specific instructions must be followed
to avoid a potential problem.
ATTENTION!
Indicates an area of the operating instructions that requires special attention.
1A 250
FUSE AMPERAGE INDICATOR
EQUIPOTENTIAL GROUND
Used by equipment requiring a common ground. This symbol appears on the tip of the ground
stud on the back of a Nexalin ADI Device.
ATTENTION, CONSULT ACCOMPANYING DOCUMENTS
ELECTRICALLY ISOLATED/FLOATING PATIENT CONNECTION
(TYPE BF PER UL 60601-1)

4
SECTION 2
Nexalin ADI Device Specifications
The Nexalin ADI Device, its components, and all accessories are latex-free.
Applicable Standards
The Nexalin ADI Device complies with the following standards:
AAMI/ANSI SW68 IEC 60601-1, IEC 60601-1-2
CAN/CSA C22.2 No. 601.1-1-M90 IEC 60601-1-4
ISTM 2A UL 60601-1
Note: This equipment has been tested and found to comply with the EMC limits for MDD 93/42/EEC
(EN 55011 Class B and EN 60601-1-2). These limits are designed to provide reasonable protection
against harmful interference in a typical medical installation. The equipment generates, uses, and can
radiate radio frequency energy. If not installed and used in accordance with these instructions, it may
cause harmful interference to other devices in the vicinity. However, there is no guarantee that
interference will not occur in a particular installation.
Electrical
Nexalin ADI Device power source: 100-240 V~, 50/60Hz, 0.6A.
Fuses: Two 5 x 20 mm Slo-Blo 1.0A, 250V, double-pole/neutral.
Power cord rating: 250V AC, 10A, 3 wire, 18AWG, Type SJT, grounding type,
IEC 60320-C13, NEMA 5-15P hospital-grade plug cap, 3m (~9ft) long, UL and CSA approved. Only cords with the
above rating assure grounding reliability when connected to the equivalent receptacle.
Waveform: Modulated 100 kHz stimulation with the waveform current and treatment duration preset by the
manufacturer.
Environmental
Operational:
41°F (5°C) to 104°F (40°C) and out of direct sunlight
Relative humidity (RH) range of 5% to 90%
Transport and Storage:
-4°F (-20°C) to 131°F (55°C)
Relative humidity (RH) range of 5% to 90%
Atmospheric pressure: 7.25psi to 15.37psi (50kPa to 106kPa)
Electrodes: temperature-controlled environment and out of direct sunlight
Mechanical
Dimensions: Width 10in (25.4cm) x Height 4.5in (11.4cm) x Depth 10.5in (26.7cm)
Weight: 6lb (2.72kg)

5
SECTION 3
The Nexalin ADI System
The Nexalin ADI System includes the following components:
(1)Nexalin ADI Device
(1)Nexalin Patient Cable with 3 attached electrode clips
(2) Mastoid Electrodes
(1) Forehead Electrode
(1)Nexalin Power Cord
(1)Nexalin ADI Operating Instructions (not shown)
Figure 1. Nexalin ADI Device and components
Nexalin Electrodes
Each Nexalin ADI Therapy session or continual sessions will require one Nexalin Electrode Set which
consists of one forehead electrode (large) and two mastoid electrodes (small). Occasionally a second
set of Nexalin Electrodes may be needed for multiple consecutive treatments. The Nexalin Electrodes
are designed as single-use and should not be reused once they have been removed from the patient’s
head for any reason. All Nexalin Electrodes must be stored in a temperature-controlled environment
and out of direct sunlight.
The Nexalin Electrodes are specifically designed to be compatible with the Nexalin ADI System. To
ensure the safety and effectiveness of the Nexalin ADI Therapy, use only Nexalin Electrodes approved
by the manufacturer.
Nexalin ADI Device Setup
Ground Stud
Fuse Compartment
Power Connection
Ethernet Port
Figure 2. Back panel of a Nexalin ADI Device showing the ground stud,
fuse compartment, power connection, and ethernet port.
Nexalin ADI Device Setup
1. Place the Nexalin ADI Device on a flat, secure surface.
2. Make sure the device is switched OFF. Attach one end of the power cord to the back of the Nexalin
ADI Device. Plug the opposite end of the power cord into a universal power supply (if available) or
into another power source (an isolated-ground receptacle is preferred).

6
SECTION 4
Nexalin ADI System Operations
Instructions for the Patient
The patient should be in a relaxed state, both mind and body, to receive the maximum benefit from a Nexalin
ADI Therapy session.
1. Encourage the patient to use the restroom prior to the therapy session.
2. Personal items should be stored away from the patient during the therapy session.
3. All mobile phones should be in the “OFF” position.
4. The patient should sit or lie as still as possible to avoid disconnecting the electrodes.
5. It is recommended that the patient attempt to rest and/or sleep during the therapy session.
A. It has been reported by many that they have fallen into REM type sleep during the Nexalin
treatment
6. Demonstrate to the patient how to request NCT technician attention if they need assistance
or experience discomfort.
a. A buzzer should be connected to a technician’s location is best.
b. Providing a bell or other ringer that can be heard at the technician’s desk can also be an
opiton.
b. Show them how in an emergency they can simply remove the cable, hold it in hand, and
leave the treatment area.
7. Instruct the patient to gently press on any electrode that begins to come loose during a treatment.
8. Inform the patient audible tones will sound during the final 10 seconds at the end of the therapy
session.
Powering On the Nexalin ADI Device
ON/OFF Switch (Green Indicator LED)
SYSTEM ERROR (Red Indicator LED)
CHECK ELECTRODE (Yellow Indicator LED)
BATTERY (Amber Indicator LED)
Figure 6. Front panel of a Nexalin ADI Device
1. Press the ON/OFF switch –A green indicator LED on the switch will illuminate when the Nexalin
ADI Device has power.
2. Observe the diagnostic Self-Test –During this test, a low-level beep is heard and three different
LEDs will briefly flash.
3. The CURRENT LEVEL window and session TIME window will briefly light up –(displaying 8.8.8.8.

7
and 88:88), followed by the device’s software revision being displayed as well as an indicator of
the waveform output (S for symmetrical; A for asymmetrical).
4. Powering on is successful when the CURRENT LEVEL window reads 4.00 and the session
TIME window reads 40:00.
Preparing the Patient
1. Make sure patient is comfortable, provide blanket and/or pillow if needed.
2. Visually inspect the forehead and mastoid areas for breaks in skin integrity.
3. Thoroughly wipe the patient’s skin with a Nexalin Pre-Treatment Skin Wipe
where the electrodes will be applied to ensure proper connection.
4. Follow that with a tens wipe for additional adhesive benefits.
Figure 7. Cleaning the fore- head and mastoid areas.
Applying the Nexalin Electrodes
1. Touch the ground stud on the back panel to discharge any static electricity.
2. Arrange the patient cable across the back of the patient’s shoulders, with the electrode clips
hanging across each shoulder.
3. Open a Nexalin Electrode Set and remove one forehead and two mastoid electrodes.
4. Peel the hard plastic backing off of one mastoid electrode.
5. Apply the mastoid electrode to the patient, avoiding the crease behind the patient’s ear.
6. Run your fingers over the mastoid electrode to remove wrinkles and to secure contact.
7. Repeat steps 4 through 6 with the other mastoid electrode on the patient’s other side.
8. Snap the patient cable to the forehead electrode.
9. Pull the hard plastic backing off of the forehead electrode.
10. Apply the forehead electrode to the patient’s skin, snap side toward the patient’s hairline.
11. Run your fingers over the forehead electrode to remove wrinkles and to secure contact.
Figure 8. Placement of forehead electrode. Figure 9. Placement of mastoid electrode.

8
Attaching the Nexalin Electrode Clips
1. Open the clamp on one electrode clip.
2. Fully insert the tab of one mastoid electrode into the open electrode clip.
3. Press the clamp down, securing the electrode clip in place.
4. Repeat steps 1 through 3 with the other mastoid electrode and electrode clip.
5. (Optional) Attach the garment clip to the patient’s clothing, and position the patient cable for
maximum patient comfort.
Each Nexalin ADI Therapy Session
1. Press the CURRENT ON button to begin.
2. The CURRENT LEVEL will ramp up from zero to
4.00 over a period of approximately 20 to 30 seconds.
3. The session TIME will then begin to count down
from 40:00 minutes to zero.
4. When the session TIME reaches 00:10 seconds, audible tones will be
heard to indicate the device is ramping down.
5. Once the session TIME reaches 00:00, the session is complete.
6. The device will automatically reset itself for the next session.
7. If a second or third treatment is being taken continuously, simply push the start button a
second and third time as needed.
8. If a break is needed by the patient, you can simply disconnect the cable leading to the Nexalin
device and hand it to the patient who then can do what they may need to do and return.
9. Upon their return you will simply put the cable back into the Nexalin Device and hit the start button.
Figure 10. CURRENT LEVEL window readout Figure 11. TIME window at the beginning
at therapy session level. CURRENT LEVEL may of a therapy session count down.
not be adjusted.
Completing the Nexalin ADI Therapy Session
1. Remove the forehead electrode from the patient, including the snap from the patient cable.
2. Unsnap the forehead electrode from the patient cable and discard.
3. Remove the mastoid electrode clips from the mastoid electrodes.
4. Lay the patient cable gently on the workspace, avoiding kinks or bends.
5. Remove the mastoid electrodes from the patient and discard.
6. Wipe off the patient’s skin if a residue is noted.
NOTE: In order for a Nexalin ADI Therapy session to be considered effective, it must last at least 30
minutes. If at any time a Nexalin ADI Therapy session is discontinued prior to 30 minutes, it may
need to be retaken.

9
Pause Mode
Interrupting a Nexalin ADI Therapy session is not recommended and should only be performed by a
NCT. However, if required, it is possible to pause the therapy session. While in Pause Mode, the
Nexalin ADI Device will continually beep and the CURRENT LEVEL and TIME windows will flash.
1. To pause a Nexalin ADI Therapy session, press the CURRENT OFF button at any time during
the treatment.
2. The current output will ramp down to zero and turn off. However, the Nexalin ADI Device
will remain on until the POWER SWITCH is turned off.
3. The CURRENT LEVEL and remaining session TIME will flash on the front panel, and an
audible warning tone will continue to sound indicating the session has been paused.
NOTE: In order to stop the Nexalin ADI Device from flashing and beeping, press the
CURRENT OFF button again.
4. Resume the session by pressing the CURRENT ON button. The CURRENT LEVEL will ramp up
from zero to 4.00 over a period of approximately 20 to 30 seconds.
5. The session TIME will resume counting down and the therapy session will continue.
Default Nexalin ADI Device Parameters
1. The default CURRENT LEVEL for the Nexalin ADI Device is 4.00 mA. This is not adjustable.
2. The default therapy session TIME for the Nexalin ADI Device is 40:00 minutes. This is not
adjustable.
CAUTION!
To ensure the safety and effectiveness of the therapy, use only Nexalin Electrodes approved by the
manufacturer.
Failure to discharge static electricity prior to handling the patient cable may cause damage to the
device.
Never power the Nexalin ADI Device ON or OFF with a patient connected.
The patient should avoid unnecessary movement while connected to the Nexalin ADI System as the
electrode clips may become disconnected.
Place the electrode cables away from traffic areas.
Do not bend electrode cable and lead wires as they do not withstand rough handling.
If the diagnostic self-test does not complete successfully or an LED remains lit, do not use the device.
Contact the Nexalin Support Center for assistance.

10
Nexalin ADI Device Status Indications
The Nexalin ADI Device has three warning LEDs on the right side of the front panel (Figure 12).
All three lights will briefly flash during the diagnostic start-up self-test. Also, the LEDs will flash
individually to warn the NCT when a situation occurs requiring attention.
Figure 12. Three warning LEDs.
Check Electrode LED
If a problem occurs relating to the electrodes, the CHECK ELECTRODE LED flashes and the device goes into
Pause Mode. Situations that may cause this are:
The Nexalin Patient Cable & Electrode Clips are not properly attached to the electrodes or the device;
or
An electrode has fallen off the patient; or
An electrode is not properly adhering to the patient’s skin.
NOTE: It is recommended that the NCT remain with the patient for a minimum of
30 seconds after beginning a treatment. This will allow an adequate amount of time to ensure that
no electrode problems exist.
A. Verify that the Nexalin Patient Cable & Electrode Clips are properly attached to the electrodes and
the device (Section 4 - Attaching the Nexalin Patient Cable). Wait approximately 5 to 10 seconds for
the light to stop flashing. Once the CHECK ELECTRODE LED is off, resume the session by pressing the
CURRENT ON button. The CURRENT LEVEL will ramp up and the Nexalin ADI Therapy session will
continue.
B. If the Nexalin Patient Cable & Electrode Clips are attached correctly and the CHECK ELECTRODE LED
continues to flash, verify that no electrode has fallen off the patient. If an electrode has fallen off:
1. Use a fresh Nexalin Pre-Treatment Skin Wipe to clean the patient’s skin again.
2. Reapply the electrode (Section 4 - Applying the Nexalin Electrodes). If the electrode has become
dirty or unusable, apply a fresh one.

11
3. Attach the Nexalin Patient Cable to the electrode (Section 4 - Attaching the Nexalin
Patient Cable). Wait approximately 5 to 10 seconds for the light to stop flashing.
4. Once the CHECK ELECTRODE LED is off, resume the session by pressing the
CURRENT ON button.
5. The CURRENT LEVEL will ramp up and the Nexalin ADI Therapy session will continue.
C. If the Nexalin Patient Cable & Electrode Clips are properly attached and no electrodes have fallen
off, gently run your fingers over each electrode to ensure there are no wrinkles and
the electrodes are properly adhering to the patient’s skin. Wait approximately 5 to 10
seconds for the light to stop flashing. Once the CHECK ELECTRODE LED is off, resume
the session by pressing the CURRENT ON button. The CURRENT LEVEL will ramp up and the Nexalin ADI
Therapy session will continue.
Battery LED
In case of a power failure or a blown fuse, the Nexalin ADI Device has an internal backup battery
designed to supply uninterrupted power to a Nexalin ADI Therapy session already in progress. If the
internal backup battery of the Nexalin ADI Device is in use, the amber BATTERY LED will light up or
flash, depending upon the situation. Do not initiate a new Nexalin ADI Therapy session with a Nexalin
ADI Device displaying a lit or flashing BATTERY LED.
BATTERY LED is on but not flashing —The device is operating on the backup battery.
BATTERY LED is flashing —The device is operating on the backup battery, and the backup battery level
is low or has become low during a battery-powered Nexalin ADI Therapy session.
1. Verify the power source or, if used, the universal power supply has power supplied to it.
2. If there is no power failure, verify that the power cord is plugged in properly at both the power
source and the Nexalin ADI Device. If a universal power supply or alternate power source is being used,
verify that it is connected properly.
3. If the BATTERY LED is still lit or flashing, refer to Section 5 - Replacing the Nexalin ADI De- vice
Fuses, or contact the Nexalin Support Center for assistance.
CAUTION!
The internal backup battery is not designed to operate for more than 40 minutes. Never initiate a new
Nexalin ADI Therapy session on backup battery power.

12
System Error LED
A flashing red SYSTEM ERROR LED and audible beeping indicate an internal fault has been detected.
An error code will appear in the TIME window (Figure 13).
Figure 13. SYSTEM ERROR LED and error code example.
Error Code 9
If error code 9 is displayed in the TIME window, it means:
The allowed number of Nexalin ADI Therapy sessions has been reached; or
The expiration date of the Nexalin ADI Device has passed and the device has been de- activated and
will no longer function.
1. Ensure the patient is disconnected from the Nexalin ADI Device.
2. Power off the Nexalin ADI Device using the ON/OFF switch.
3. Contact the Nexalin Support Center for assistance.
For support, contact the Nexalin Support Center:
Telephone: (714) 916-9290
Website: www.nexalintechnology.com

13
All Other Error Codes
If an error code other than 9 is displayed in the TIME window, it indicates an internal fault has been
detected and the device will stop functioning. Perform the following steps to attempt to correct the
error:
1. Ensure the patient is disconnected from the Nexalin ADI Device.
2. Power off the Nexalin ADI Device using the ON/OFF switch.
3. Verify the Nexalin ADI Device is properly plugged into a functioning power source.
4. Wait approximately ten seconds, then power the device on.
5. Upon powering on, the Nexalin ADI Device will perform the diagnostic self-test.
6. The powering on process has successfully completed when the CURRENT LEVEL window reads 4.00
and the session TIME window reads 40:00.
If the error code persists, the device must be returned to the manufacturer for replacement. Contact
the Nexalin Support Center for instructions on returning the device.
CAUTION!
Never power the Nexalin ADI Device on or off with a patient connected.

14
SECTION 5
Service and Maintenance
Cleaning the Nexalin ADI System
1. Inspect the patient cable, lead wires, connectors, and electrode clips for visual damages. If
necessary, replace with specified accessories listed in Section 6 - Nexalin ADI Device Accessories.
2. Never spray any liquid directly onto a Nexalin ADI Device or any of its accessories. The Nexalin ADI
Device and its accessories are not designed to withstand directly-applied liquids.
3. Following clinical procedures, cleanse your hands thoroughly before cleaning or disinfecting the
Nexalin ADI Device and/or its accessories.
4. Use a generic disinfectant cleaning agent to clean and disinfect the Nexalin ADI Device and system
accessories, as needed.
5. Spray the disinfectant cleaner on a clean cloth or paper towel until the towel is moistened, or use a
pre-moistened disinfectant towelette.
6. Thoroughly wipe down the patient cable and each of the lead wires.
7. Thoroughly wipe down each electrode clip. Lift the clamp to clean the jaws of the electrode clip, as
well as the clamp itself.
8. Thoroughly wipe down the exterior of the Nexalin ADI Device.
Note: There are no serviceable parts in the Nexalin ADI Device.

15
Nexalin ADI Device Accessories
To ensure the safety and effectiveness of the Nexalin ADI Therapy, only the specified accessories listed
below may be used with a Nexalin ADI Device. All products may be ordered from Nexalin Technology,
Inc.
PRODUCT NAME
REF NO.
PRODUCT DESCRIPTION
Nexalin Patient Cable
KS02001
Single cable, terminates in three
leadwires; approximately 7.0 ft total length
Nexalin Power Cord
KS02002
Power cord with country-specific plug;
approximately9.0 ft total length
Nexalin Electrode Set
KS03001
1 Forehead and 2 Mastoid electrodes per
set; box of 42
Nexalin Pre-Treatment
SkinWipes
KS05003
Pre-treatment skin wipe that cleans,
disinfects, and leaves a coating to shield
the skin from possible irritation; box of 50
Nexalin ADI Device
Operating Instructions
KS09003
Operating Instructions for the Nexalin ADI
Device
SECTION 7
Limited Warranty and Expected Life
The expected life of the Nexalin ADI Device is five (5) years from the date of original manufacture. The
Nexalin Patient Cable is not warranted; however, the expected life of the Nexalin Patient Cable is one
(1) year from the date of first use. The Nexalin Electrodes are not warranted and have a shelf life of
three (3) years from the date of original manufacture, provided all storage instructions are followed.
The electrodes are single- use components of the Nexalin ADI System and should be discarded after
use. The Nexalin Electrode Clips are not warranted and have an expected life of six (6) months under
normal use.
For any warranty issues, contact the Nexalin Support Center.
Nexalin ADI Device Returns
1. Contact the Nexalin Support Center (see below).
2. Obtain a Returned Goods Authorization (RGA) number. Returns will not be accepted without an
RGA number.
3. Ship the Nexalin ADI Device to the address provided by the Nexalin Support Center, with the RGA
number prominently displayed on the front of the package.

16
Contact Information
Nexalin Support Center
Telephone: (714) 916-9290
Website: www.nexalintechnology.com
Disposal of the Nexalin ADI System Products
ATTENTION!
Do not dispose of a Nexalin ADI Device! It must be returned to Nexalin
Technology, Inc. Contact the Nexalin Support Center for further information.
1. At the end of a Nexalin ADI Device’s life, return it to Nexalin Technology, Inc. See
Section 7 - Nexalin ADI Device Returns for return instructions.
2. Other Nexalin ADI System components must be disposed of in accordance with federal, state, and
local regulations. These components include:
Forehead electrodes
Mastoid electrodes
Patient cables
Electrode clips
Power cords
Nexalin® Support Center
Telephone: (714) 916-9290
Website: www.nexalintechnology.com
© 2013 Nexalin Technology, Inc. All rights reserved. Reproduction without the written permission of Nexalin Technology, Inc. is strictly forbidden.
Table of contents