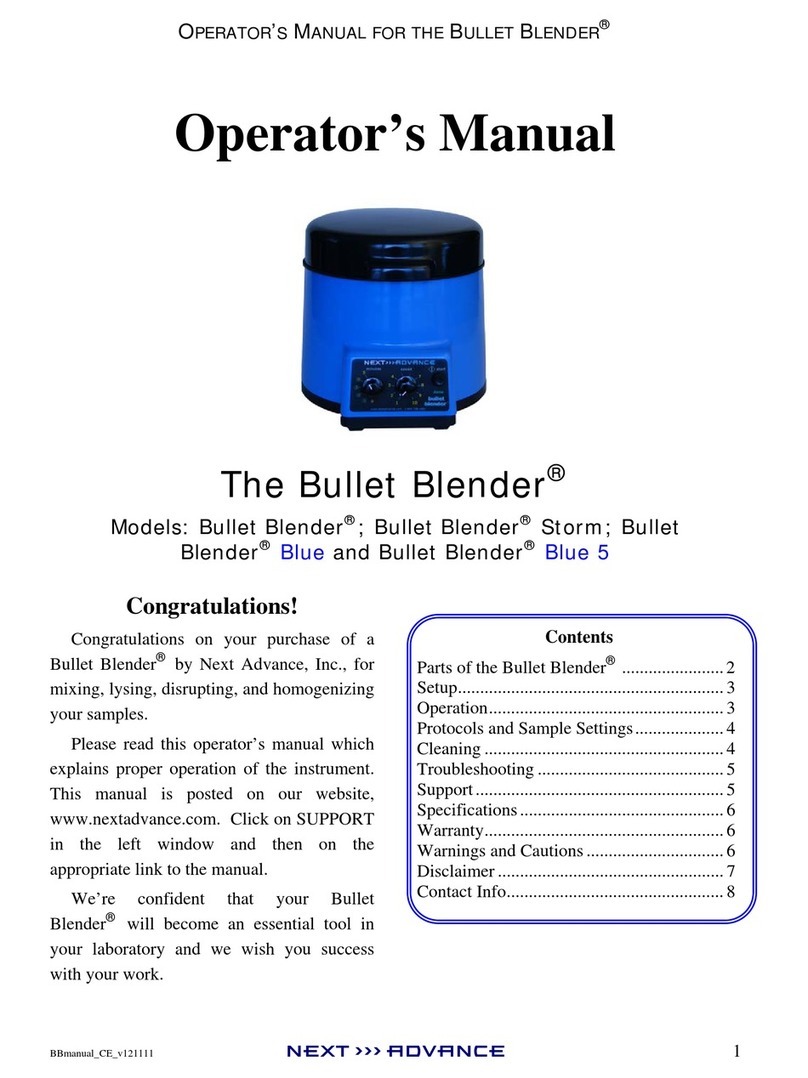
Next Advance Bullet Blender 50-DX User manual

RS18-0503D
Operator’s Manual
The Bullet Blender®50-DX
BB50-DX
Thank you!
Thank you for your purchase of a
Bullet Blender®50-DX by Next
Advance, Inc., for lysing, disrupting,
and homogenizing your samples.
Please read this operator’s manual
which explains proper operation of the
instrument. This manual can be found
on our website, www.nextadvance.com.
Click the SUPPORT button on the
menu bar at the top of the page. Then
select Bullet Blender Support from the
drop down.
We’re confident that your Bullet
Blender will become an essential tool in
your laboratory and we wish you
success with your work.
Contents
Parts of the Bullet Blender..............2
Setup...............................................3
Operation. .......................................3
Protocols and Sample Settings........4
Cleaning..........................................4
Troubleshooting..............................5
Support............................................5
Specifications..................................5
Warranty.........................................5
Warnings and Cautions...................6
Disclaimer.......................................7
Contact Info. ...................................7

Operator’s Manual for the Bullet Blender®
2
Parts of the Bullet Blender®50-DX
SYMBOLS USED ON THE BULLET BLENDER 50-DX
Start Operation
Caution: Follow the Instructions in the Operator’s Manual
This product complies with European Low Voltage and EMC Directives
Please dispose the test tubes and the Bullet Blender in accordance
with local regulations
A.
Instrument Cover
B. Sample Plate Cover
C. Gasket
D. Sample Plate
E. Tubes & Shields
F. Operator Panel

Operator’s Manual for the Bullet Blender®
3
SETUP
Place the Bullet Blender 50-DX
on a stable, level lab bench. Carry it
by grasping the bottom sides. Plug the
AC power supply cord connector into
the AC Input Receptacle on the right
side of the Bullet Blender and then
insert the plug into a wall outlet. Flip
the power switch located next to the
AC input and wait for the screen to
light up.
OPERATION
To use your Bullet Blender 50-
DX, lift open the instrument cover,
twist the handle of the sample plate
cover counter clock-wise until the
white arrow is in the unlocked
position (see figure below) and lift the
sample plate cover out of the
instrument.
The figure above shows labels that
indicate if the sample plate cover is in
the locked or unlocked position. Here,
it is shown in the locked position. The
Bullet Blender will not start until the
sample plate cover is properly locked.
Insert the 50 mL TPP sample
tubes in the protective sleeves and
place the sleeves into the sample tube
plate. For best results, the sleeves
should be evenly spaced. Replace the
cover and rotate it to the locked
position as shown by the figure. Fold
down the handle on the cover, and
then close the lid.
To start homogenization, select
"Run" from the main menu and use
the arrow pad and knob to select
duration and speed. Push the "▹"
button to start the run. The screen
will count down the time remaining
throughout the run. If you press "X"
before time is up, the run will end
prematurely. Select "II" during a run
if you wish to pause.
As a user of the Bullet Blender
you can access any of the recent
protocols that have been run on the
instrument. To do this select the
protocols option from the home
menu. Here you will then find a
recent protocols list. By selecting this
it will provide you a chronological
list of your most recent
homogenization protocols. This
allows you to conveniently select a
run from the list and avoid re-
entering the time and speed manually.
Alternatively, you can save any
protocol for easy access.
To save a homogenization
protocol. There are two ways to
achieve this. You can run a protocol

Operator’s Manual for the Bullet Blender®
4
you wish to save until completion. At
this time a list of options will appear.
Select the "save protocol" option. The
instrument will then prompt you to
name protocol you wish to save. Use
the arrow keys and scroll knob to
navigate through the character list.
When you are finished naming the
protocol select the check mark to
continue. The instrument will
automatically assign the nearest
empty slot in your saved protocols
list. Alternatively, you can enter the
saved protocols list and choose an
empty slot for edit. You will then just
need to change the name and select
the correct settings.
PROTOCOLS AND SAMPLE
SETTINGS
Custom homogenization
protocols can be uploaded to your
Bullet Blender 50-DX using a USB
flash drive. Contact customer support
to obtain the necessary protocol files.
Once the files have been obtained
load them onto your USB flash drive.
Plug the flash drive into the USB
outlet and power cycle (turn off and
on again) your instrument. The Bullet
Blender will recognize the protocol
file on the flash drive and prompt you
to save. If you choose to save the
protocol file, you must then choose
an empty slot for the in the saved
protocols list. You have now
successfully saved your new
protocol.
The following sample, bead to
buffer ratio should be used as a
general guideline for achieving
optimal homogenization quality - 1X
volume/mass of tissue: 1X volume of
beads: 2X volumes of buffer. For
more specific information regarding
specific protocol information, please
contact customer support at
For 50 mL tubes, do not operate
with more than 3.5g of sample, or a
total of 20mL of buffer, tissue, and
beads (per tube). Do not operate the
Bullet Blender 50-DX using the same
tubes for more than 30 minutes.
Cutting the tissue into smaller
pieces will generally yield better
results. Tissue with a high aspect
ratio (long, thin strips) will
homogenize better than tissue that is
round or cubic.
Note: Use TPP®brand
polypropylene, skirted (self-standing)
50 mL tubes. Some discoloration of
the sleeves and tubes after
homogenization is normal and a
byproduct of the workings of the
Bullet Blender 50-DX.
CLEANING
If you wish to clean your Bullet
Blender, clean the outside of the unit
only with mild detergent, water
alcohol and a soft cloth. Under
normal conditions, the Bullet Blender
50-DX should never need to be
disassembled for cleaning. If needed
unplug the instrument, remove the

Operator’s Manual for the Bullet Blender®
5
sample tube plate with an 1/8” hex
wrench, wipe out the spill using
standard laboratory safety
precautions, and replace the sample
tube plate. Do not touch or tamper
with the electronics.
TROUBLESHOOTING
Provided below is a list of
troubleshooting tips. Additional tips
can be found in the User Guide.
If the Bullet Blender doesn’t
start, make sure the power switch is
in the ON (I) position. Make sure that
the sample plate lid is in the “locked”
position. The plug of the power supply
cord might not be in a live wall outlet
or the power supply connector might
not be fully inserted in the AC Input
Receptacle of the Bullet Blender50-
DX.
If the unit stops working, turn
the system off for 15 minutes to allow
the electronics to reset. If the Bullet
Blender 50-DX does not turn on after
this period, contact customer service.
If the caps on the 50 mL tubes
loosen, make sure that the screw
threads between the lids and the caps
are dry when you close the caps or
screw them on, so that there is enough
friction for the caps to remain tight.
Using recommended types of tubes
will minimize cap failure.
For best results, the tubes and
sleeves should be evenly spaced when
placed in the Bullet Blender.
SUPPORT
FAQs, protocols, and other
helpful information are available on
our website, www.nextadvance.com.
For additional assistance, please
contact customer service by email at
by telephone at (518)674-3510 or
(800)738-1681.
SPECIFICATIONS
Size: 35 cm (14 in.) deep x 38 cm (15
in.) wide x 38 cm (15 in.) high.
Weight: 33lbs (15 kg)
Power Requirement: 100-240 V, 50-
60Hz, 2.5-4.5 A
Capacity: 8 of 50 mL skirted (self-
standing) TPP®polypropylene tubes.
Relative Humidity: 5 - 90%
non- condensing
Operating Temperature: 4 - 40°C
Altitude: <2000m
Storage Temperature: -40 to 50°C
-CE models
meet
requirements.
WARRANTY
Next Advance warranties its
products against defects in materials
and workmanship for time periods
which vary according to the product.
Within these time periods, Next
Advance will replace or repair,
without charge to the original
purchaser, any part which is defective.
The Bullet Blender warranty is two

Operator’s Manual for the Bullet Blender®
6
years for all models.
The warranty is void if the product
is defective due to product accident,
product modification, exposure to
radiation other than for sterilization,
connection to an improper electrical
supply, lack of proper maintenance,
contamination, improper installation
or misuse. If the product is used in a
manner not specified by the
manufacturer, the protection provided
by the equipment may be impaired.
The warranty shall also not apply to
defects arising from fire, flood,
lightning or other conditions unrelated
to correct operation of the product.
Next Advance’s liability is
limited, at the company’s election, to
(1) refund of the original purchaser’s
purchase price for the product (2)
repair of the product, or (3)
replacement of the product or
defective parts. Evidence of purchase
by the original purchaser is required.
Next Advance may also request
documentation of proper maintenance,
if applicable.
Next Advance makes no other
warranty, express or implied, with
respect to its Products. Next Advance
makes no warranty respecting the
merchantability of the products or
their suitability or fitness for any
particular purpose or use.
Next Advance shall not be liable
for, indirect, special, incidental or
consequential damages of any nature.
Any recovery for any claim shall be
limited to the original purchase price
for the product. The operator is
responsible for providing proof of
purchase and providing normal care
and maintenance.
WARNINGS AND CAUTIONS
Please read the following warnings
and precautions before operating:
•Do not operate Bullet Blender 50-
DX instruments with fewer than 2
sleeves in place.
•Do not open lid or cover when the
Bullet Blender is in use.
•Do not insert fingers or objects
other than recommended tubes
into sample tube holes.
•Use caution when closing
Bullet Blender lid- do not close
on fingers.
•Use recommended tubes only.
•No user serviceable parts are
inside. For indoor use only.
•Pollution Degree 2 per EN 61010-1.
•Overvoltage Category II per EN
61010- 1.
•Enclosure Protection: Not
protected against the ingress of
moisture.
•Do not immerse in liquid.

Operator’s Manual for the Bullet Blender®
7
DISCLAIMER
Next Advance, Inc. makes no
representations or warranties
expressed, statutory or implied,
regarding the fitness or
merchantability of this product for
any particular purpose. In no event
shall Next Advance be liable for
incidental or consequential damages.
Next Advance, Inc. is not liable for
any damages, including but not
limited to, lost profits, lost savings, or
other incidental or consequential
damages arising from ownership or
use of this product, or for any delay
in the performance of its obligations
under the warranty due to causes
beyond its control. Next Advance,
Inc. also reserves the right to make
any improvements or modifications
to the product described in this
manual at any time, without notice of
these changes. Next Advance, Inc.
products are not designed, intended,
or authorized for use in applications
or as system components intended to
support or sustain human life, as a
clinical medical device for humans,
or for any application in which the
failure of the product could create a
situation where personal injury or
death may occur.
All brand and product names
used in this manual are the
trademarks of their respective
owners.
NEXT ADVANCE INC. DOES
NOT GUARANTEE THE
INTEGRITY OF THE TUBES USED
IN THE BULLET BLENDER. TUBES
THAT ARE NOT RECOMMENDED
BY THIS MANUAL MAY CRACK
OR OPEN WHEN USED IN THE
BULLET BLENDER. Next Advance
optimizes the Bullet Blender to specific
tube types and brands and cannot
guarantee the quality of other tubes
being sold on the market.
CONTACT INFO
Next Advance, Inc.
Troy, NY, USA
Telephone 518-674 -3510
www.nextadvance.com

Operator’s Manual for the Bullet Blender®
8
This manual suits for next models
1
Table of contents
Other Next Advance Blender manuals
