manuals.online logo
Brands
  1. Home
  2. •
  3. Brands
  4. •
  5. NI Climbing Frames
  6. •
  7. Swing Set
  8. •
  9. NI Climbing Frames Everglades User manual

NI Climbing Frames Everglades User manual

Everglades Swing Set Instruction Manual
Parts List
Item
Number
Description
Image
Quantity
1
10ft post
cut at a 60°
angle (with
the top
already
prepared
for the
monkey
bar)
4 (with
pre-
drilled
32mm
holes)
2
10ft set of
monkey
bars
1 (holes
pre-
drilled
for
swing
hooks)
3
420mm x
4” x 4” post
2
4
1755mm x
3” x 1.5”
timber
7
5
3m x 3” x
1.5” timber
7
6
10ft post
with top
prepared
for middle
A-frame
2
7
M10 Swing
Hooks
4
8
Screw
Covers
6
9
200mm
index
screws
16
10
Decking
screws
100
11
120mm
screws
4
12
Swing
(varies
depending
on
customers
choice)
2
13
9ft Slide
1
14
U-Nails
50
15
Rope for
Cargo Net
18m
16
Set of
Steps
1
17
6” x 1”
board
8
Other components included: Grab Handles
Tools needed:
•Cordless drill
•Handsaw
•Spirit Level
•Hammer
•Shovel
•Stepladder
•Pencil
•Measuring tape
•10mm Hex bit
•PZ 2 Drill Bit
Assembly Instructions
All components needed during the assembly are numbered with reference to the parts list, please
refer back to the parts list to ensure you are assembling the correct components for each step.
Step 1: Monkey Bar A-Frame Assembly
•Lay out the 2 posts on a flat surface
•Attach the 420mm post to the top of the posts as shown, using the 200mm screws. Please
ensure that the 420mm post is flush with the cut on the top of each 10ft post
Step 2:
•Attach the 1755mm 3” x 1.5” timber piece across the middle of the A-frame to hold it in its
place when lifted. To position this, mark 900mm down from the top of each post and line up
the top of the 1755mm timber to each of these lines
Step 3:
•Cut the 3” x 1.5” flush with the 10ft posts
Step 4:
•Repeat steps 1-3 for the other A-frame
•On the other A-frame add a second 1755mm 3” x 1.5” on the other side of the A-frame, this
will be where the platform will be built onto
Step 5: Monkey Bar Module Assembly
•Place the monkey bars on top of one of the A-frames. Make sure to assembly the monkey
bars the correct way around. The monkey bars need to be secured in such a way so as the
32mm pre-drilled holes are on the top face and are closest to the A-frame with 2 x
1755mm x 3” x 1.5” attached
•Ensure that the monkey bar is flush with the A-frame and is overhanging either side the
same distance
•Use the 200mm screws provided to screw the monkey bars to the 10ft posts of the A-frame,
and the 120mm screws to screw down into the 420mm post
Step 6:
•Repeat step 5 to secure the other side of the monkey bars to the other A-frame
Step 7: Securing the middle A-frame
•These remaining two 10ft posts don’t need a 420mm horizontal piece of post to connect them,
so they can be fixed directly to the underside of the Monkey Bar, measuring from 810mm-
900mm from the end of the Monkey Bar
•These are fixed using the 200mm index screws down through the pre-drilled 32mm holes on
top of the Monkey Bar, two into each post
Step 8:
•Add a piece of 1755mm x 3” x 1.5” to the middle A-frame, ensure it is on the correct side
because this is where the platform will be built onto
Step 9:
•When all six A-frame posts are secured, use the 3m x 3” x 1.5” to act as temporary braces
across all the A-frames at each side, using decking screws to tack them on about 800mm from
the ground. It will take two 3m lengths for each side (4 in total). Measure the distances
between all the A-frame posts to ensure both sides are equal and the middle legs are plumb
Step 10:
•Screw in the support braces with decking screws and cut flush to the A-frame posts
Step 11:
•Once you’re happy with the position of the set, you’re ready to dig the holes for the legs and
concrete the legs into the ground
•We recommend a hole approximately 12” in diameter and 12” deep. The depth might vary if
your garden is on a slope, or you may need to cut a bit of the bottom of some of the A-frames
•Don’t concrete your posts into the ground until the very end
Step 12: Platform Assembly
•Your platform should measure 1.5m (5ft) from the ground to the top of the platform. If your
garden is on a slope you may need to adjust this height to suit your slope. If the horizontal
supports of your A-frames aren’t at 1.5m, then they can be lowered or raised as required.
•Attach the final piece of 3” x 1.5” between the interior supports for the interior and exterior
A-frames from which the platform will be built. These 3 pieces of 3” x 1.5” should be level
because this is where the platform boards will be secured to. This piece of timber will have
to be trimmed at an angle to fit flush against the support braces
Step 13: Securing 6” x 1” Boards
•Using the decking screws, secure the 6” x 1” boards into the three 3” x 1.5” supports. You
will have to cut these boards to fit them flush against the inside of the A-frame supports. It
should take 8 boards to cover the platform

Other NI Climbing Frames Swing Set manuals

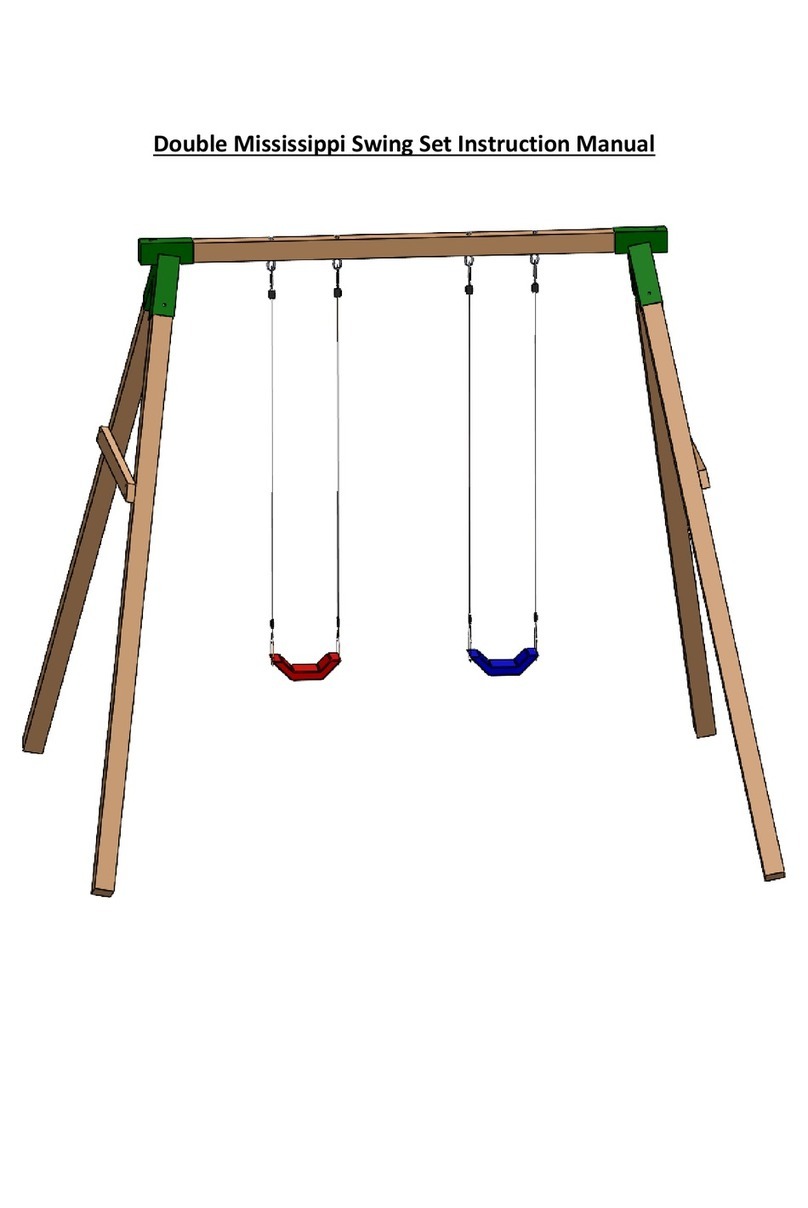
NI Climbing Frames Double Mississippi User manual

NI Climbing Frames

NI Climbing Frames Double Mississippi User manual

Popular Swing Set manuals by other brands
Cedar Summit WESTON LODGE DELUXE - F25529 Installation and operating instructions
Cedar Summit

Cedar Summit WESTON LODGE DELUXE - F25529 Installation and operating instructions

Ledon 1189 Assembly instructions

Ledon

Ledon 1189 Assembly instructions
Huck Honeycomb nest Assembly instructions
Huck

Huck Honeycomb nest Assembly instructions

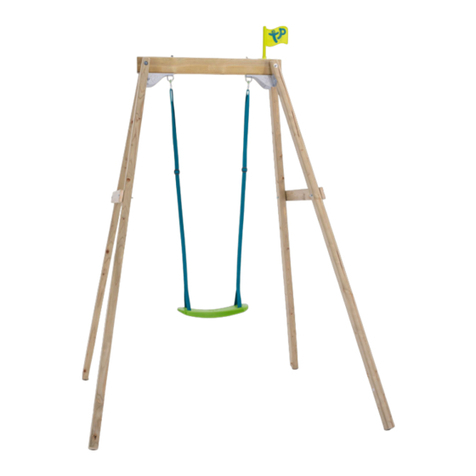
TP Toys Active Fun Knightswood Single Swing Frame Instructions for assembly maintenance and use

TP Toys

TP Toys Active Fun Knightswood Single Swing Frame Instructions for assembly maintenance and use
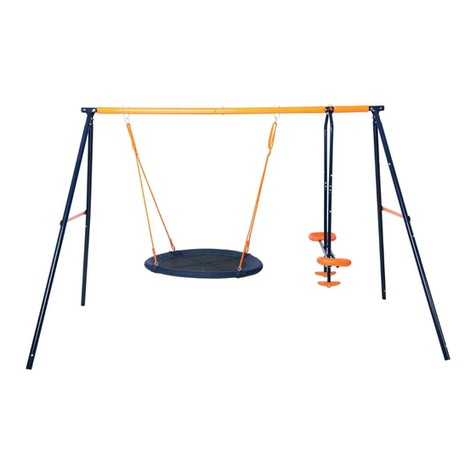
Hedstrom NEBULA MULTIPLAY manual

Hedstrom

Hedstrom NEBULA MULTIPLAY manual

Backyard Discovery 1606029 manual

Backyard Discovery

Backyard Discovery 1606029 manual
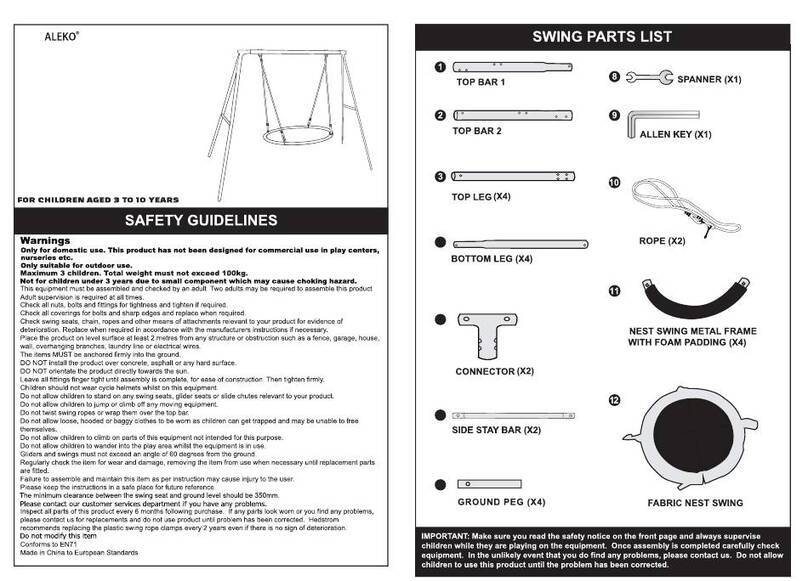
Aleko BSW07 manual

Aleko

Aleko BSW07 manual

habitat et jardin EDEN Assembly instructions
habitat et jardin

habitat et jardin EDEN Assembly instructions

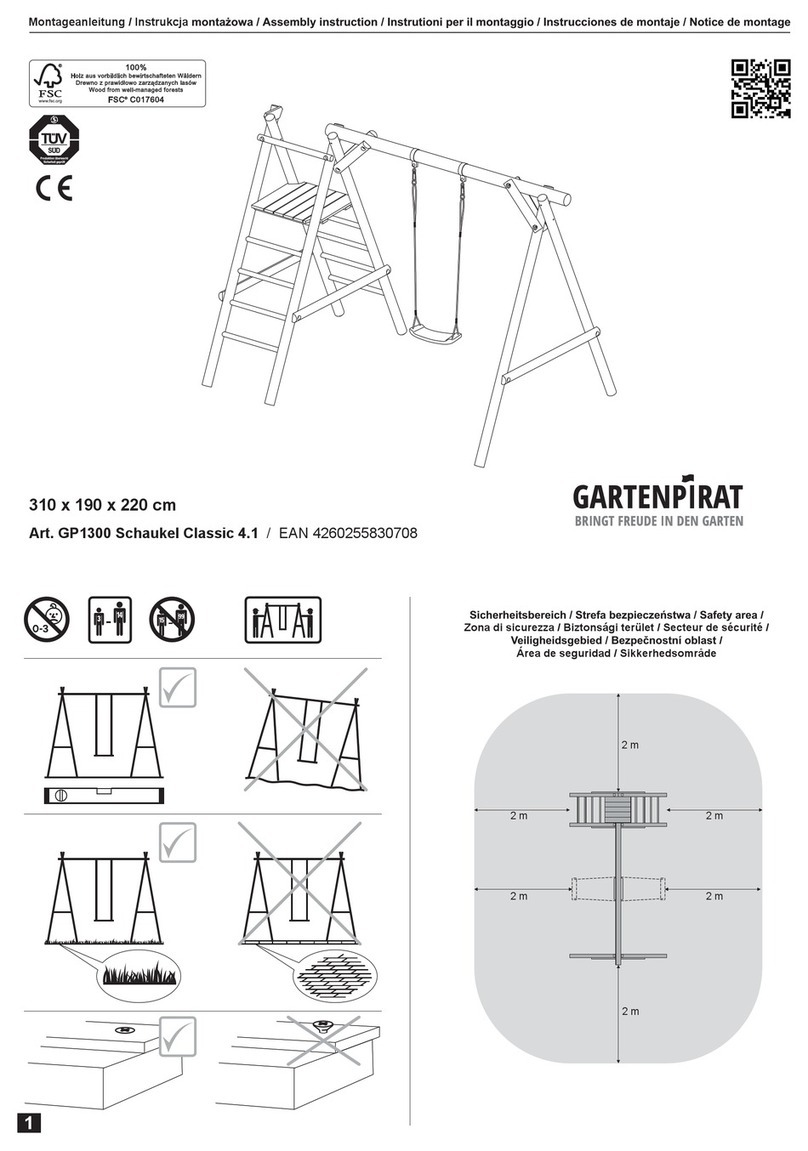
gartenpirat Classic 4.1 GP1300 Assembly instruction

gartenpirat

gartenpirat Classic 4.1 GP1300 Assembly instruction

Rainbow Carnival Clubhouse Assembly instructions
Rainbow

Rainbow Carnival Clubhouse Assembly instructions

Chad Valley 367/7423 Assembly & user instructions
Chad Valley

Chad Valley 367/7423 Assembly & user instructions

HAGS Lillie Expansion module installation guide
HAGS

HAGS Lillie Expansion module installation guide

Forever Redwood THE SUMMERBREEZE SWING SETS Assembly instructions
Forever Redwood

Forever Redwood THE SUMMERBREEZE SWING SETS Assembly instructions

Component Playgrounds CP-AR24-8 installation instructions

Component Playgrounds

Component Playgrounds CP-AR24-8 installation instructions

LifeSpan Kids AMBER 3 owner's manual

LifeSpan Kids

LifeSpan Kids AMBER 3 owner's manual

SPORTSPOWER SW-001 User and assembly instructions

SPORTSPOWER

SPORTSPOWER SW-001 User and assembly instructions

HONEY JOY NP10766 quick start guide

HONEY JOY

HONEY JOY NP10766 quick start guide

manuals.online logo
manuals.online logoBrands
  • About & Mission
  • Contact us
  • Privacy Policy
  • Terms and Conditions

Copyright 2025 Manuals.Online. All Rights Reserved.