manuals.online logo
Brands
  1. Home
  2. •
  3. Brands
  4. •
  5. Night Stick
  6. •
  7. Headlamp
  8. •
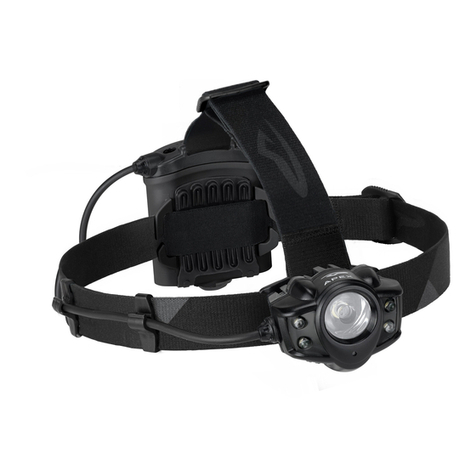
  9. Night Stick XPP-5450 User manual

Night Stick XPP-5450 User manual

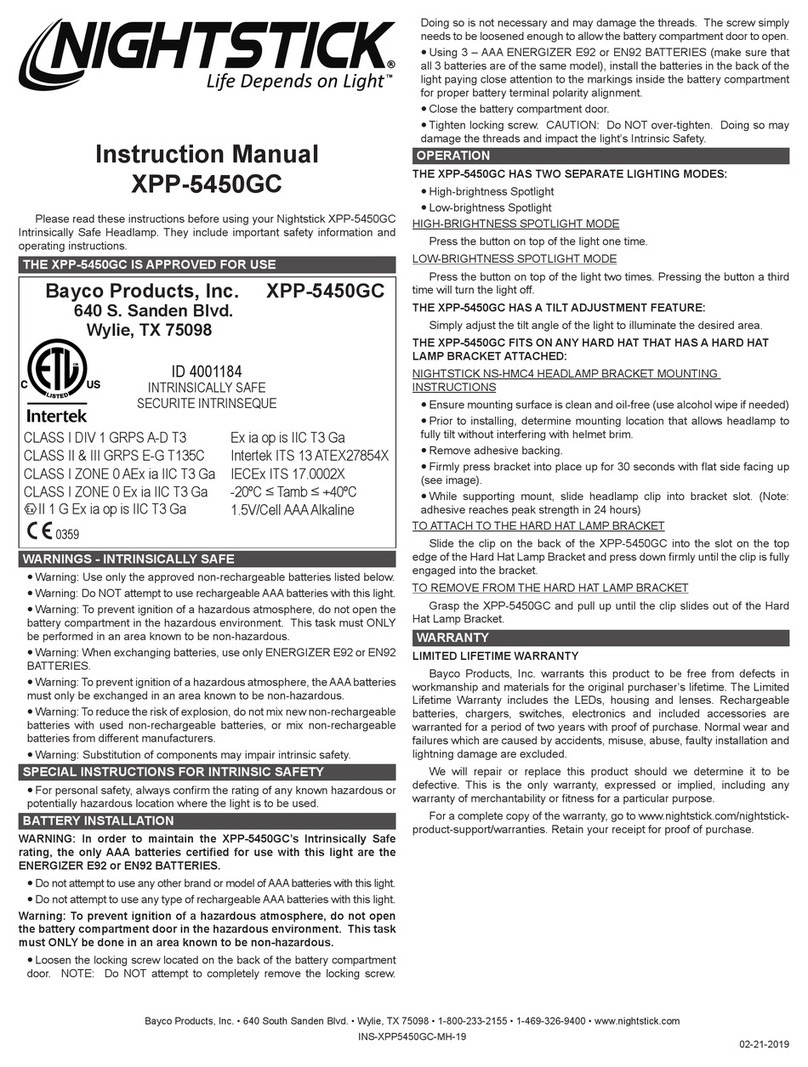
Bayco Products, Inc. • 640 South Sanden Blvd. • Wylie, TX 750 8 • 1-800-233-2155 • 00+1+ 46 -326- 400 • www.baycoproducts.com
Operating Instructions for
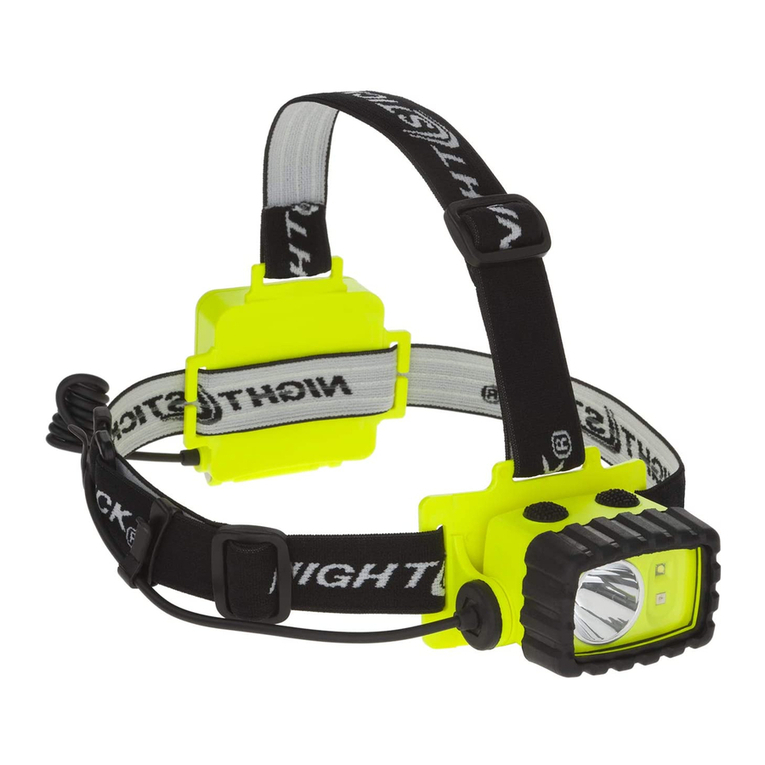
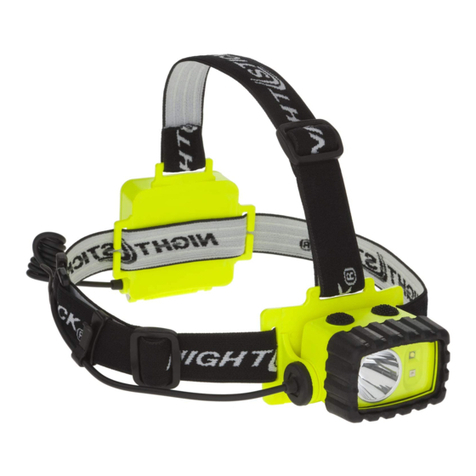
XPP-5450 and XPP-5452
Safety Rated Intrinsically Safe Headlamps
INS-5450-13
Thank you for purchasing this Nightstick product. Save t is instruction.
Please read these instructions before using your Nightstick. It includes important safety and operation
information.
MODELS XPP-5450 and XPP-5452 ARE APPROVED FOR USE
cETLus Listed Intrinsically Safe for use in Class I II III Div 1 SECRURITE INTRINSEQUE Groups
A,B,C,D,E,F & G Hazardous Locations
-20C < Tamb <+40C • Ex ia IIC T4 Ga • Class 1 Zone 0 • AEx ia IIC T3 Ga, Zone 20 • AEx ia IIIC T
165C Da
SPECIAL INSTRUCTIONS FOR INTRINSICALLY SAFE MODELS
For personal safety, always confirm the rating of any known hazardous or potentially hazardous
location where the flashlight is planned to be used. These areas include fuel storage areas below
decks on boats, fuel or chemical transfer or storage facilities and areas where the atmosphere
contains chemicals or particles, such as grain, dust, or metal powders. Areas wit potentially
explosive atmosp eres may not be posted. If you are unsure of the environment contact the Safety
Director or agency where the environment in question is located. A listing of the rated classes,
divisions, groupings and zones of gasses, vapors and combustible materials is available in the
National Fire Protection Administration (NFPA) Classification of Flammable Liquids and Combustible
Materials section of the 2004 edition of the NFPA-70 manual. Available at www.nfpa.org
Besides the batteries, there are no user serviceable components in the flashlights.
SAFETY
CAUTION BRIGHT LED RADIATION: AVOID DIRECT EYE EXPOSURE. Nig tstick IS A CLASS 2
LED PRODUCT PER IEC 60825-1 EDITION 1.2.2001.
•Do not attempt to repair or disassemble the internal lighting module.
•Using this Nightstick product for other than a lighting device is not recommended. Bayco
specifically disclaims liability for other than intended use.
OPERATION
Tilt Adjustment
The headlamp light pivots on a ratchet. Adjust the tilt angle of the light to illuminate the desired vision
area.
Spotlig t Operation
Both models have one switch to control the two brightness levels of the spotlight.
First Press: Spotlight on: full power
Second Press: Spotlight on: low power
Third Press: Spotlight function off.
CAUTIONS
•Warning – Substitution of Components May Impair Intrinsic Safety.
•Warning – To reduce the risk of explosion do not mix new batteries
with old/used batteries, or mix batteries from different manufacturers
•Warning – To reduce the risk of ignition of a flammable or explosive atmosphere, batteries must
be changed only in a location known to be non-hazardous
•Warning – Risk of ignition – Do not open in a hazardous area
HEADBANDS
The headlamps include two types of headbands:
Elastic Non-Slip Headband. Use this headband for mounting the headlamp directly to your head. The
Non-slip feature will keep the light positioned on the head even with vigorous movement.
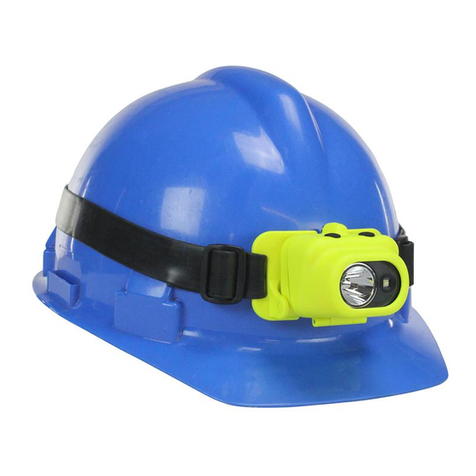
Rubber Hardhat Strap Use the rubber strap on any hardhat. The tacky nature of the strap will keep
the headlamp attached even if the hat is dropped.
INSTALLING OR CHANGING BATTERIES
CAUTION
TO REDUCE THE RISK OF IGNITION OF A FLAMMABLE OR EXPLOSIVE
ATMOSPHERE, BATTERIES MUST BE CHANGED ONLY IN A LOCATION
KNOWN TO BE NON-HAZARDOUS
1. Unscrew the battery compartment door on the back of the headlamp.
2. Install 3 AAA batteries. Observe the correct polarity of the batteries per the outline inside the
battery compartment. Use only approved batteries: Duracell PC2400, MX2400, MN2400, or
Energizer EN92, EN92.
3. Close the battery door and fasten the battery compartment door screw.
4. The headlamp is now ready for use.
BATTERY NOTES
•Batteries may lose power when stored for long periods.
•Alkaline batteries can leak and cause corrosion if stored for long periods. Always remove batteries
if the light will be unused for extended periods.
•Batteries should be stored between 68-78°F (20-25°C)
WARRANTY
Limited Lifetime Warranty
Product is warranted to be free from defects in workmanship and materials for the lifetime of the
original owner. Includes the housing, lenses, electronics and switches. Batteries, normal wear and
abuse are excluded.
Not Covered
Consequential damages, incidental damages or incidental expenses, including damage to property.
Some states do not allow the exclusion or limitation of incidental or consequential damages, so the
above limitation or exclusion may not apply to you. This warranty gives you specific legal rights, which
may vary from state to state.
Warranty Claims - USA
Contact Bayco Products, Inc. for USA warranty claims. Call 800-233-2155 or email
cs@baycoproducts.com and Bayco Customer Service will provide a Return Goods Authorization
(RGA) to facilitate rapid warranty action. After receiving the RGA, send the product (shipping prepaid)
to BAYCO PRODUCTS, INC. • 640 S. SANDEN BLVD • WYLIE, TEXAS • 750 8. Include a dated
proof of purchase and a brief description of the defect with your name, address and phone number.
Your product will either be repaired or replaced at the option of Bayco and returned as soon as
practical, but no later than 45 days after being received by Bayco.
Warranty questions and international claims
If you live outside the USA or have questions about this warranty or an inquiry about other Bayco
products, contact BAYCO PRODUCTS, INC. • 640 S. SANDEN BLVD • WYLIE, TEXAS • 750 8 or
call 800-233-2155 (or 46 -326- 400)
Product Information
Date of Purchase ____________________________________________
Mode d'emploi pour
XPP-5450 et XPP-5452
Sécurité Nominale P ares à Sécurité Intrinsèque
Nous vous remercions d'avoir acheté ce produit Nightstick. Sauvegarder cette instruction.
S'il vous plaît lire attentivement ces instructions avant d'utiliser votre Nightstick. Il comprend la
sécurité et des renseignements importants opération.
MODÈLES XPP-5450 ET XPP-5452 SONT APPROUVES POUR UTILISATION
cETLus vente Sécurité intrinsèque pour utilisation en Classe I II III Div 1 Groupes Intrinsèque
SECRURITE A, B, C, D, E, F et G emplacements dangereux
-20C < Tamb <+40C • Ex ia IIC T4 Ga • Class 1 Zone 0 • AEx ia IIC T3 Ga, Zone 20 • AEx ia IIIC T
165C Da
INSTRUCTIONS SPECIALES POUR LES MODELES DE SECURITE INTRINSEQUE
Pour votre sécurité, vérifiez toujours la cote d'un emplacement connu dangereuse ou potentiellement
dangereuse où la lampe de poche est prévu pour être utilisé. Ces zones comprennent les zones de
stockage de carburant ponts inférieurs des navires, de carburant ou de transfert des produits
chimiques ou des installations de stockage et les zones où l'atmosphère contient des produits
chimiques ou des particules telles que du grain, de la poussière ou des poudres métalliques. Les
zones à atmosp ère potentiellement explosive ne peut pas être affic é. Si vous n'êtes pas
certain de l'environnement avec le directeur de la sécurité ou de l'organisme où l'environnement en
question est situé. Une liste des classes nominales, les divisions, les groupes et les zones de gaz, les
vapeurs et les matériaux combustibles est disponible dans la National Fire Protection Administration
(NFPA) Classification des liquides inflammables et combustibles section Matériel de l'édition 2004 du
manuel NFPA-70. Disponible à l'adresse www.nfpa.org
Outre les piles, il n'y a aucun composant réparable par l'utilisateur dans les lampes de poche.
SÉCURITÉ
ATTENTION RAYONNEMENT LUMINEUX LED: Evitez toute exposition directe. Nig tstick EST
UN PRODUIT DE CLASSE 2 LED PAR IEC 60825-1 Edition 1.2.2001.
•Ne tentez pas de réparer ou de démonter le module d'éclairage intérieur.
•L'utilisation de ce produit pour Nightstick autre qu'un dispositif d'éclairage n'est pas
recommandée. Bayco décline spécifiquement toute responsabilité pour d'autres fins que celles
prévues.
FONCTIONNEMENT
Réglage D'inclinaison
Les pivots lumière des projecteurs sur une clé à cliquet. Ajuster l'angle d'inclinaison de la lumière pour
éclairer la zone de vision désiré.
Opération Lumière
Les deux modèles ont un interrupteur pour contrôler les deux niveaux de luminosité de la scène.
Première pression: Pleins feux sur la pleine puissance
Seconde pression: Pleins feux sur faible puissance
Troisième pression: la fonction spotlight de
MISES EN GARDE
•Avertissement – La substitution de composants peut compromettre la sécurité
intrinsèque
•Avertissement – Pour réduire le risque d'explosion, ne pas mélanger des piles
neuves avec des vieilles / les piles usagées, ou mélanger des piles de différents fabricants
•Avertissement – Pour réduire le risque d'inflammation d'une atmosphère inflammable ou
explosive, les piles doivent être changées uniquement dans un endroit connu pour être non
dangereux
•Avertissement – Risque d'ignition - Ne pas ouvrir dans une zone dangereuse
BANDEAUX
Les phares comprennent deux types de bandeaux:
Élastique anti-dérapant Bandeau. Utilisez ce bandeau pour le montage du projecteur directement sur
votre tête. La fonction anti-dérapant gardera la lumière placée sur la tête, même avec mouvement
vigoureux.
Rubber Strap Casque de chantier Utilisez le bracelet en caoutchouc sur n'importe quel casque. Le
caractère collant de la sangle gardera le projecteur fixé, même si le chapeau est tombé.
INSTALLATION OU REMPLACEMENT DES PILES
ATTENTION
POUR RÉDUIRE LE RISQUE DE INFLAMMATION D'UNE ATMOSPHERE
INFLAMMABLE OU EXPLOSIF, PILES DOIVENT ETRE CHANGEES
UNIQUEMENT DANS UN ENDROIT CONNU POUR ETRE NON DANGEREUX
Bayco Products, Inc. • 640 South Sanden Blvd. • Wylie, TX 750 8 • 1-800-233-2155 • 00+1+ 46 -326- 400 • www.baycoproducts.com

1. Dévissez le couvercle du compartiment à piles à l'arrière du projecteur.
2. Installez 3 piles AAA. Respectez la polarité des piles par le contour à l'intérieur du compartiment à
piles. Utilisez uniquement des batteries homologuées: Duracell PC2400, MX2400, MN2400, ou
Energizer EN92, EN92.
3. Refermez le couvercle et serrez la vis du compartiment des piles porte.
4. Le projecteur est prêt à l'emploi.
NOTES DE BATTERIE
•Les piles peuvent perdre de la puissance lorsqu'ils sont stockés pendant de longues périodes.
•Les piles alcalines peuvent fuir et provoquer de la corrosion s'il est stocké pendant de longues
périodes. Toujours enlever les piles si le voyant n'est pas utilisé pendant de longues périodes.
•Les piles doivent être stockées entre 20-25°C (68-78°F)
GARANTIE
Garantie à vie Limitée
Le produit est garanti être exempt de vices de matériaux et de fabrication pour la durée de vie du
propriétaire initial. Comprend les logements, les lentilles, l'électronique et les commutateurs.
Batteries, l 'usure normale sont exclus.
Non Couvert
Les dommages indirects, les dommages indirects ou les frais accessoires, y compris les dommages à
la propriété. Certains états ne permettent pas l'exclusion ou la limitation des dommages indirects ou
consécutifs, la limitation ou l'exclusion susmentionnée peut ne pas s'appliquer à vous. Cette garantie
vous donne des droits légaux spécifiques qui peuvent varier d'un État à.
Warranty Claims - USA
Contactez produits Bayco, Inc pour les réclamations de garantie États-Unis. Appelez 800-233-2155
ou par courriel cs@baycoproducts.com et service à la clientèle Bayco fournira un numéro
d'autorisation de retour de marchandise (RGA) pour faciliter l'action de garantie rapide. Après avoir
reçu le RGA, envoyer le produit (port payé) à BAYCO PRODUCTS, INC • 640 S. SANDEN BLVD •
WYLIE, TEXAS 750 8 •. Inclure une preuve de la date d'achat et une brève description du défaut
avec votre nom, adresse et numéro de téléphone. Votre produit sera réparé ou remplacé à la
discrétion de Bayco et renvoyé dès que possible, mais au plus tard 45 jours après avoir été reçu par
Bayco.
Questions de garantie et les demandes internationales
Si vous résidez hors des États-Unis ou avez des questions concernant cette garantie ou d'une
enquête sur les produits BAYCO autres, contactez BAYCO PRODUCTS, INC • 640 S. SANDEN
BLVD • WYLIE, TEXAS 750 8 • ou composez le 800-233-2155 (ou 46 -326 - 400)
Information Sur le Produit
Date d'achat ____________________________________________
Instrucciones de de funcionamiento para
XPP-5450 y XPP-5452
Safety Puntuado con Faros Delanteros Intrínsecamente Caja de
Seguridad
Gracias por comprar este producto Nightstick. Guarde estas instrucciones.
Por favor, lea estas instrucciones antes de utilizar su porra. Incluye información importante sobre
seguridad y operación.
MODELOS XPP-5450 Y XPP-5452 ESTÁN APROBADOS PARA USO
cETLus Listado Intrínsecamente seguro para usarse en la Clase I II III Div 1 Grupos SECRURITE
INTRINSEQUE A, B, C, D, E, F y G ubicaciones peligrosas
-20C < Tamb <+40C • Ex ia IIC T4 Ga • Class 1 Zone 0 • AEx ia IIC T3 Ga, Zone 20 • AEx ia IIIC T
165C Da
INSTRUCCIONES ESPECIALES PARA MODELOS INTRÍNSECAMENTE SEGURO
Para su seguridad personal, siempre confirmar la calificación de cualquier lugar conocido peligrosos
o potencialmente peligrosos, donde se planea la linterna a utilizar. Estas áreas incluyen áreas de
almacenamiento de combustible por debajo de la cubierta de embarcaciones, combustible o
transporte de productos químicos o instalaciones de almacenamiento y áreas donde la atmósfera
contenga productos químicos o partículas, como grano, polvo o polvos de metal. Las áreas con
atmósferas potencialmente explosivas no pueden ser publicados. Si no está seguro del medio
ambiente en contacto con el Director de Seguridad o el organismo que se encuentra el medio
ambiente de que se trate. Una lista de las clases nominales, divisiones, grupos y zonas de gases,
vapores y materiales combustibles está disponible en la Administración Nacional de Protección
contra Incendios (NFPA) Clasificación de los líquidos inflamables y materiales combustibles sección
de la edición de 2004 del manual NFPA-70. Disponible en www.nfpa.org
Además de las baterías, no hay componentes reparables por el usuario en las linternas.
SEGURIDAD
PRECAUCIÓN RADIACIÓN BRIGHT LED: EVITE LA EXPOSICIÓN DIRECTA DE LOS OJOS.
Nig tstick ES UN PRODUCTO DE CLASE 2 LED por IEC 60825-1 EDICIÓN 1.2.2001.
•No intente reparar o desmontar el módulo de iluminación interna.
•El uso de este producto Nightstick para que no sea un dispositivo de iluminación no se
recomienda. Bayco específicamente niega cualquier responsabilidad por el uso previsto.
FUNCIONAMIENTO
Ajuste de la Inclinación
Los pivotes de luz del faro en un trinquete. Ajustar el ángulo de inclinación de la luz para iluminar el
área de la visión deseada.
Operation Spotlig t
Ambos modelos tienen un interruptor para controlar los dos niveles de brillo de los reflectores.
Primero Prensa: Spotlight on: máxima potencia
Presionando por segunda vez: Spotlight on: baja potencia
Pulse Tercero: Spotlight función de
PRECAUCIONES
•Advertencia – La sustitución de componentes puede afectar la seguridad
intrínseca.
•Advertencia – Para reducir el riesgo de explosión, no mezcle pilas nuevas con
viejas / pilas usadas, ni mezcle baterías de diferentes fabricantes
•Advertencia – Para reducir el riesgo de ignición de una atmósfera inflamable o explosiva, las
baterías deben ser cambiado solamente en un lugar conocido por ser no peligrosos
•Advertencia – Riesgo de ignición - No abrir en un área peligrosa
BANDAS PARA LA CABEZA
Los faros incluyen dos tipos de bandas para la cabeza:
Elástico antideslizante Cinta para la cabeza. Utilice esta cinta para el montaje del faro directamente a
su cabeza. La característica antideslizante la luz se mantendrá colocado en la cabeza, incluso con un
vigoroso movimiento.
Rubber Strap Casco Utilice la correa de goma en cualquier casco. La naturaleza pegajosa de la
correa se mantenga el faro unido incluso si el sombrero se cae.
INSTALACIÓN DE LAS PILAS O CAMBIO
PRECAUCIÓN
PARA REDUCIR EL RIESGO DE ENCENDIDO DE UN ATMÓSFERA
INFLAMABLE O EXPLOSIVA, LAS BATERÍAS DEBEN CAMBIARSE
ÚNICAMENTE EN UN LUGAR CONOCIDO SER NO PELIGROSOS
1. Desenrosque la tapa del compartimento de la batería en la parte posterior del faro.
2. Instale 3 pilas AAA. Observe la polaridad correcta de las pilas por el contorno interior del
compartimiento de la batería. Utilice únicamente las baterías aprobadas: Duracell PC2400,
MX2400, MN2400, o Energizer EN92, EN92.
3. Cierre la tapa de la batería y apriete el tornillo de la puerta del compartimiento de la batería.
4. El faro está ahora listo para su uso.
NOTAS SOBRE LA BATERÍA
•Las pilas pueden perder energía cuando se almacena durante largos períodos de tiempo.
•Las pilas alcalinas pueden tener fugas y causar corrosión si se almacenan durante largos
períodos. Quite siempre las pilas si la luz vaya a utilizarla durante períodos prolongados.
•Las baterías deben almacenarse entre 20-25°C (68-78°F)
GARANTÍA
Garantía limitada de por Vida
El producto está garantizado contra defectos de fabricación y materiales durante la vida del
propietario original. Incluye las viviendas, lentes, aparatos electrónicos e interruptores. Las baterías,
el desgaste normal y el abuso están excluidos.
No Está Cubierto
El daño emergente, daños accidentales o gastos accidentales, incluidos los daños a la propiedad.
Algunos estados no permiten la exclusión o limitación de daños incidentales o consecuentes, por lo
que la limitación o exclusión anterior puede no aplicarse en su caso. Esta garantía le otorga derechos
legales específicos, que pueden variar de estado a estado.
Las Reclamaciones de la Garantía - USA
Contacto Bayco Products, Inc. por reclamos de garantía USA. Llame al 800-233-2155 o por correo
electrónico cs@baycoproducts.com y Bayco Servicio al Cliente proporcionará un número de
Autorización de Retorno (RGA) para facilitar la acción de garantía rápido. Después de recibir la RGA,
enviar el producto (transporte previamente pagado) BAYCO PRODUCTS, INC • 640 S. SANDEN
BLVD • WYLIE, TEXAS 750 8 •. Incluir una prueba de compra fechada y una breve descripción del
defecto con su nombre, dirección y número de teléfono. Su producto será reparado o reemplazado a
opción de Bayco y devueltos tan pronto como sea posible, pero no más tarde de 45 días después de
ser recibida por Bayco.
Garantía preguntas y reclamaciones internacionales
Si usted vive fuera de los EE.UU. o tiene alguna pregunta sobre esta garantía o de una investigación
acerca de otros productos Bayco, póngase en contacto BAYCO PRODUCTS, INC • 640 S. SANDEN
BLVD • WYLIE, TEXAS 750 8 o llame al • 800-233-2155 (o 46 -326 - 400)
Información Sobre el Producto
Fecha de Compra ____________________________________________

This manual suits for next models

1

Other Night Stick Headlamp manuals

Night Stick XPR-5561GC User manual

Night Stick

Night Stick XPR-5561GC User manual

Night Stick XPP-5456 User manual

Night Stick

Night Stick XPP-5456 User manual

Night Stick Dual-Light NSP 4600 Series User manual

Night Stick

Night Stick Dual-Light NSP 4600 Series User manual

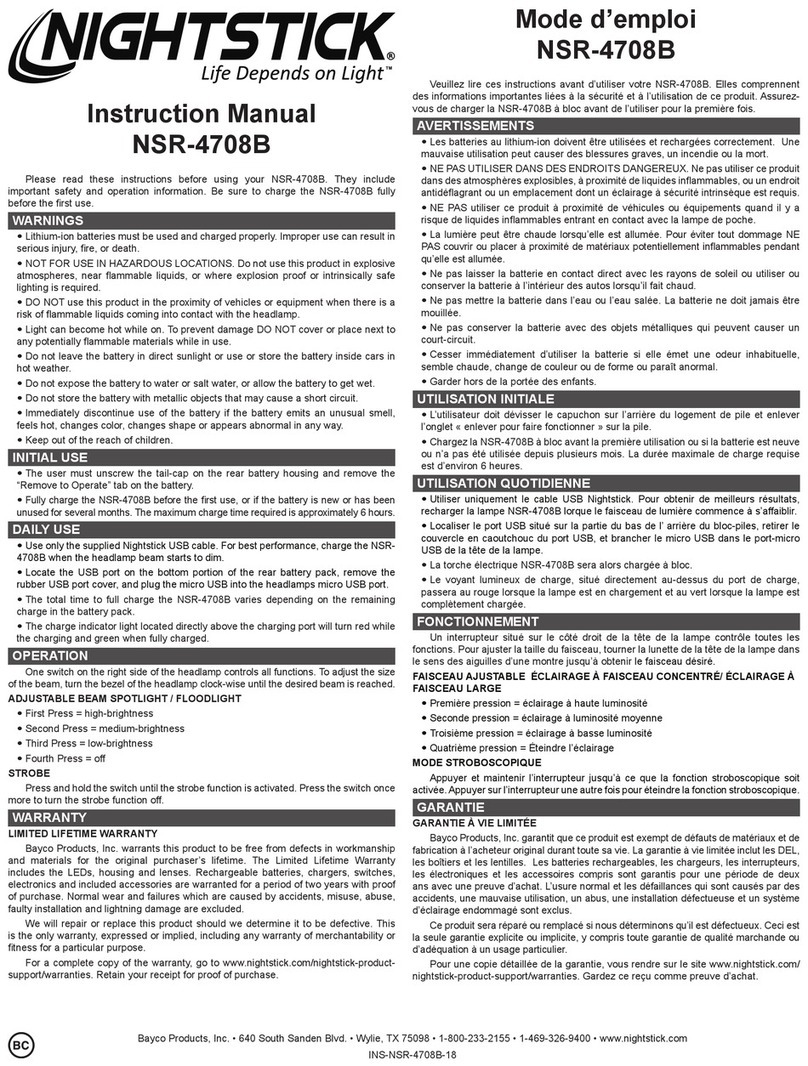
Night Stick USB-4708B User manual

Night Stick

Night Stick USB-4708B User manual

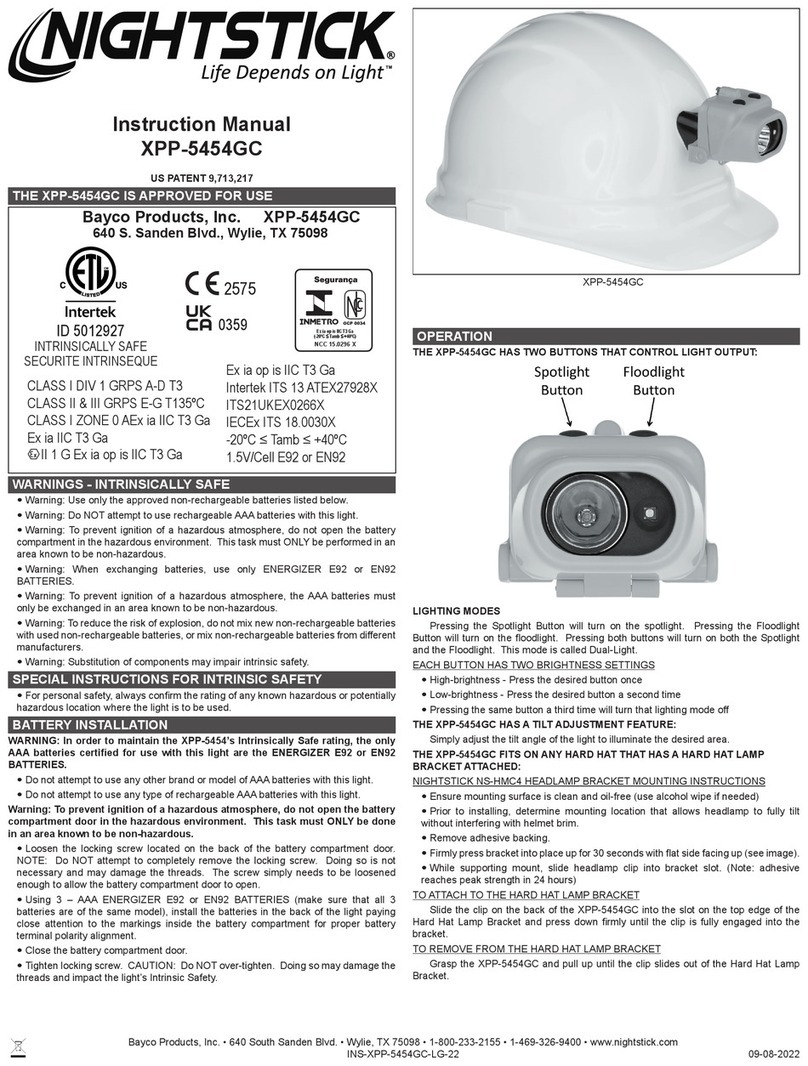
Night Stick XPP-5454GC User manual

Night Stick

Night Stick XPP-5454GC User manual

Night Stick XPP-5458G User manual

Night Stick

Night Stick XPP-5458G User manual

Night Stick XPP-5452GC User manual

Night Stick

Night Stick XPP-5452GC User manual

Night Stick NSP-4603B User manual

Night Stick

Night Stick NSP-4603B User manual

Night Stick XPP-5450G User manual

Night Stick

Night Stick XPP-5450G User manual

Night Stick XPP-5454G User manual

Night Stick

Night Stick XPP-5454G User manual

Night Stick XPP-5456G User manual

Night Stick

Night Stick XPP-5456G User manual

Night Stick NSP-4612B User manual

Night Stick

Night Stick NSP-4612B User manual

Night Stick XPP-5460GX User manual

Night Stick

Night Stick XPP-5460GX User manual

Night Stick XPP-5422G User manual

Night Stick

Night Stick XPP-5422G User manual

Night Stick XPP-5450GC User manual

Night Stick

Night Stick XPP-5450GC User manual

Night Stick NSP-4616B User manual

Night Stick

Night Stick NSP-4616B User manual

Night Stick XPR-5560G User manual

Night Stick

Night Stick XPR-5560G User manual

Night Stick 4608 User manual

Night Stick

Night Stick 4608 User manual

Night Stick XPR-5554G User manual

Night Stick

Night Stick XPR-5554G User manual

Night Stick XPP-5458G User manual

Night Stick

Night Stick XPP-5458G User manual

Night Stick NSP-4602B User manual

Night Stick

Night Stick NSP-4602B User manual

Night Stick XPP-5458G User manual

Night Stick

Night Stick XPP-5458G User manual

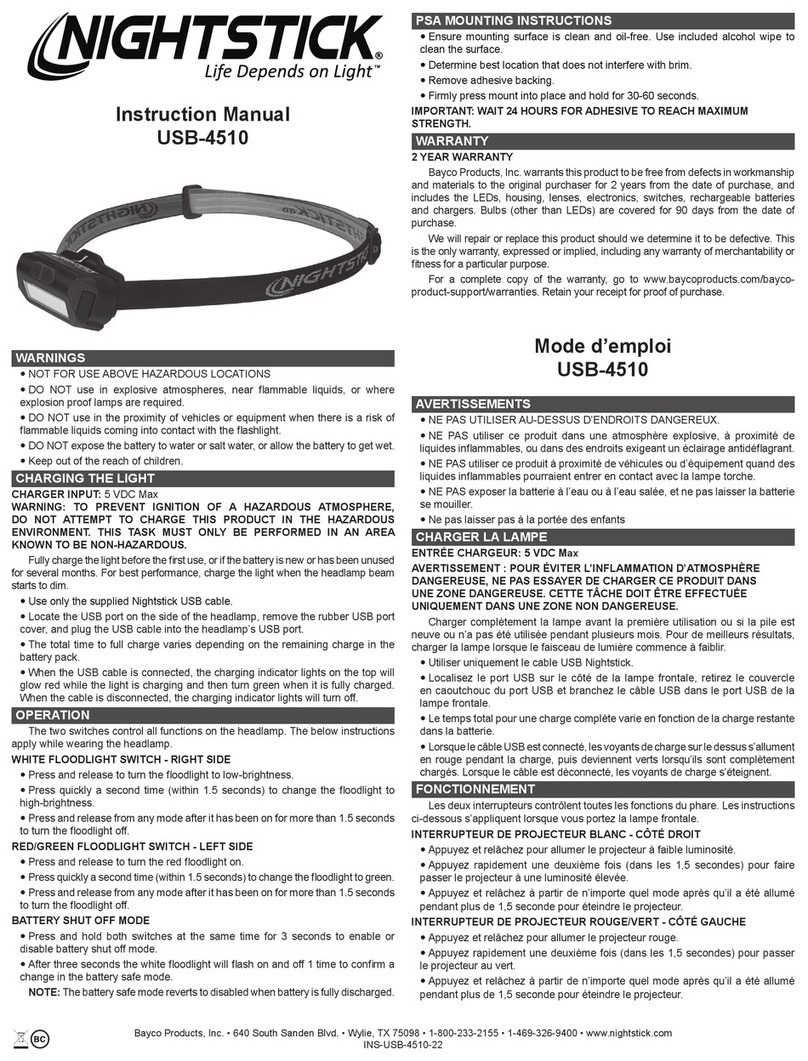
Night Stick USB-4510 User manual

Night Stick

Night Stick USB-4510 User manual

Night Stick NSP-4602B User manual

Night Stick

Night Stick NSP-4602B User manual

Popular Headlamp manuals by other brands

Silva PRO LINE LR1030 Product information

Silva

Silva PRO LINE LR1030 Product information

Silva LX-L1 Instructions for use

Silva

Silva LX-L1 Instructions for use

Walther HLC1r operating instructions

Walther

Walther HLC1r operating instructions

Black Diamond Equipment COSMO 300 user manual

Black Diamond Equipment

Black Diamond Equipment COSMO 300 user manual

Petzl TIKKA RXP TECHNICAL NOTICE

Petzl

Petzl TIKKA RXP TECHNICAL NOTICE

Silva Siju cube Product information

Silva

Silva Siju cube Product information

U-Line S-21093 manual

U-Line

U-Line S-21093 manual

Vlectro Headlamp V2 owner's manual

Vlectro

Vlectro Headlamp V2 owner's manual

Tool Shed TSWL24 manual

Tool Shed

Tool Shed TSWL24 manual

Petzl R2 manual

Petzl

Petzl R2 manual

Klein Tools 60156 instructions

Klein Tools

Klein Tools 60156 instructions

Wolf HT-650 Operation and maintenance instruction

Wolf

Wolf HT-650 Operation and maintenance instruction

Vorel 82841 manual

Vorel

Vorel 82841 manual

Fenix HM65R Operating	 instruction

Fenix

Fenix HM65R Operating instruction

Sysmax NITECORE NU25 user manual

Sysmax

Sysmax NITECORE NU25 user manual

Anslut 002529 operating instructions

Anslut

Anslut 002529 operating instructions

Husky 300 Technical description

Husky

Husky 300 Technical description

Petzl TIKKA E43P quick start guide

Petzl

Petzl TIKKA E43P quick start guide

manuals.online logo
manuals.online logoBrands
  • About & Mission
  • Contact us
  • Privacy Policy
  • Terms and Conditions

Copyright 2025 Manuals.Online. All Rights Reserved.