NightSearcher HT800RX User manual

模式操作:
开关A:
短按LED “1” 开>关
长按(当灯亮时)LED“1”Dimming Up < - > Down
长按3秒(指示灯将闪烁两次)锁定模式,解锁(当指示灯熄灭时)
开关B:
短按g LED “2” 开>关
长按(当灯亮时)LED“2”Dimming Up < - > Down
长按3秒(指示灯将闪烁两次)锁定模式,解锁(当指示灯熄灭时)
A + B开关:
短按g LED “1” +“2” 开>关
スイッチC:
1回目の短押しオートフォーカスモード(LED “1”フォーカスライトまたはLED “2”フ
ラッドライトのいずれかがオンになるかどうかを判断するのに役立ちます)
2nd短押し両方の3ランプが点灯します。
3回目の短押しLEDが消灯します。
开关D:
第1次短按g电池状态指示灯将亮起
第二次短按 “4” 后灯闪烁白色>关闭。
第3次短按 “4” 后灯亮< - >常亮。
第4个短按LED将熄灭
特殊功能
亮度记忆:光将记忆并恢复调整的亮度级别。
开关锁定:锁定时不能意外打开灯。
USB电池和充电信息
- 通过后照灯单元底部的两个夹子打开后电池盒
- 插入USB充电电池并关闭外壳。
- 使用随附的USB连接线,将USB导线连接到头部割炬,然后连接到
USB输出为设备 E充电
- 充电时,LED指示灯将变为红色,然后在充电过程完成后变为蓝色。
- 可以单独购买可选备用电池,并直接在您的电池中充电
汽车或从您的电脑。
保养:
- 要清洁头部割炬,请用软布和非腐蚀性清洁剂擦拭镜头
- 保持电池插头和电池座的内部塑料清洁
- 如果存放灯泡,为了防止电池老化,应拆下电池。
警告:
- 切勿直视LED。这可能会损害视力。
- 请勿尝试自行修理设备。请联系NightSearcher或授权经销商。
- 请勿将电池暴露在火/高温或极端潮湿/寒冷的环境中。
LED信息:(根据图片)
1 款CREE XMG2-S3 LED(现货 2 CREE XMG2-S3 LED(泛光灯)
3 Nichia酷白色5mm 4 两个后警示灯 モード操作:
スイッチA:
短押しg LED “1” オン>オフ
長押し(点灯中)g LED 1 調光アップ< - >ダウン
3秒間長押し(ライトが2回点滅)gロックモード、ロック解除(ライトがオフのとき)
スイッチB:
ショートプレスg LED “2” オン>オフ
長押し(点灯中)g LED “2” 調光アップ< - >ダウン
3秒間長押し(ライトが2回点滅)gロックモード、ロック解除(ライトがオフのとき)
A+ Bスイッチ:
ショートプレスg LED “1” + “2” オン>オフ
スイッチC:
第一次短按自动对焦模式(传感器将帮助确定LED“1”是否聚焦指示灯,或者
LED“2”泛光灯是否亮起)
第二次短按两个“3”灯都将亮起。
第3个短按LED将熄灭
スイッチD:
1回目ショートキーg電池ステータスランプが点灯します
2nd短押しg “4” 後灯WHITE> OFFで点滅します。
3rd短押しg “4” リアライトON < - >常時オン。
4番目の短押しLEDが消灯します
特別な機能
明るさメモリー:ライトは暗い明るさを記憶して戻します。
スイッチロック:ロックしても、ライトを誤ってオンにすることはできません。
USBバッテリーと充電に関する情報
- リアライトユニットの下部にある2つのクリップでリアバッテリケースを開きます
- USB充電式電池を入れてケースを閉じます。
- 付属のUSBケーブルを使用して、USBリードをヘッドトーチに接続し、次に
ユニット Eを充電するためのUSB出力
充電が完了するとLEDインジケータが赤色に変わり、青色に変わります。
- オプションの予備バッテリは、別途購入して、直接ご使用いただけます。
車から、またはコンピュータから。
メンテナンス:
- ヘッドトーチをクリーニングするには、柔らかい布と非腐食性洗剤でレンズを拭き
ます
- ケーブルプラグとバッテリーホルダーの内部プラスチックをきれいにしてください
- ランプが保管されている場合は、電池の劣化を防ぐために、電池を取り外す必要が
あります。
警告:
- LEDを直接見ないでください。目の疲れを起こす可能性があります。
- 自分で装置を修理しようとしないでください。 NightSearcherまたは正規代理店にお
問い合わせください。
- バッテリーを高温、極端に濡れた/寒い場所に放置しないでください。
LED情報:(画像ごと)
1CREE XMG2-S3 LED(スポット)2CREE XMG2-S3 LED(フラッド)
3ニチアクールホワイト5mm個 4つの後部警告灯
If at any time, you need to dispose of this product or parts of this product: please
note that waste electrical products, and batteries should not be disposed of with
ordinary household waste. Recycle where facilities exist. Check with your local
authority for recycling advice. Alternatively, NightSearcher is happy to take receipt
of this product at end-of-life and will recycle it on your behalf.
Safe disposal of waste electrical batteries
All NightSearcher products have a 3-year standard warranty on all manufacturing
defects and 1-year warranty on all rechargeable batteries from the date of purchase.
To view NightSearcher’s warranty policy,
please visit: http://nightsearcher.com/en/warranty.html
or scan the QR code.
NightSearcher Limited, Unit 4 Applied House, Fitzherbert Spur,
Farlington , PORTSMOUTH Hampshire. PO6 1TT UK.
Extended Warranty: From 1st September 2018, customers have the option to extend
the warranty of the product to 5 years for manufacturing defects. Registration of
the product must be made within one month of purchase by sending us an email
sales@nightsearcher.co.uk. In the message please state in your own words that you
would like to register your NightSearcher product for the extended warranty.
Special Features
Brightness Memory: Light will memorise and resume back the tuned brightness level.
Switch Lock: Light cannot be turned on accidentally when locked.
USB Battery and Charge information
- Open the rear battery case by the two clips on the bottom of the rear light unit
- Insert USB rechargeable battery and close case.
- Using the supplied USB cable, connect the USB lead to the head torch and then to
an USB output to charge the unit E
- On charge the LED indicator will turn RED and then BLUE when the charging
process is complete.
- Optional spare batteries can be purchased seperately and charged directly in your
car or from your computer.
Maintenance:
- To clean the head torch, wipe the lens with a soft cloth and a non-corrosive
detergent
- Keep the cable plug and inner plastic of the battery holder clean
- If the lamp is stored, in order to prevent the degradation of batteries the batteries
should be removed.
Warning:
- DO NOT look directly into the LED. This may damage eye sight.
- Do not try to repair the unit yourself. Please contact NightSearcher or an
authorised distributor.
- Do not expose the battery to fire/high temperatures or extreme wet/cold
conditions.
3
HT800RX User manual
LED information: (as per image)
1CREE XMG2-S3 LED (Spot)
2CREE XMG2-S3 LED (Flood)
3Nichia cool white 5mm
4Two Rear warning lights
Mode Operation:
Switch A:Short press gLED “1” On > Off
Long press (when light is On) gLED “1” Dimming Up <-> Down
Long press for 3 seconds (light will flash twice) gLock Mode, Unlock (when light is Off)
Switch B:Short press gLED “2” On > Off
Long press (when light is On) gLED “2” Dimming Up <-> Down
Long press for 3 seconds (light will flash twice) gLock Mode, Unlock (when light is Off)
A+ BSwitch: Short press gLED “1” + “2” On > Off
Switch C:1st Short press gAuto Focus Mode (Sensor will help to decide if either
LED “1” focus light, or LED “2” flood light should be On)
2nd Short press gBoth “3” lights will turn on.
3rd Short press gLED will turn Off
Switch D: 1st Short press gBattery status light will illuminate
2nd Short press g“4” Rear light Flashing WHITE > Off.
3rd Short press g“4” Rear light ON <-> Constant-On.
4th Short press gLEDs will turn Off
1 2
4D
AB
E
C

Modalità operativa:
Interruttore A:Pressione breve g LED “1” Acceso> Spento
Pressione lunga (quando la spia è accesa) LED “1” Regolazione luminosità <-> Giù
Premere a lungo per 3 secondi (la luce lampeggerà due volte) g Modalità blocco,
sblocco (quando la luce è spenta)
Interruttore B:Pressione breve g LED “2” Acceso> Spento
Pressione lunga (quando la spia è accesa) LED “2” Regolazione luminosità <-> Giù
Premere a lungo per 3 secondi (la luce lampeggerà due volte) g Modalità blocco,
sblocco (quando la luce è spenta)
A+ BSwitch: Pressione breve LED “1” + “2” Acceso> Spento
Interruttore C:Interruttore C: 1 Premere brevemente Modalità messa a fuoco
automatica (il sensore aiuterà a decidere se una luce di messa a fuoco “1” a LED o
una luce di inondazione a LED “2” deve essere accesa)
2 Premere brevemente Si accenderanno entrambe le spie “3”.
Il terzo LED della breve pressione si spegnerà
Interruttore D:1 Pressione breve La spia di stato della batteria si illumina
2 Premere breve “4” Luce posteriore Lampeggiante WHITE> Off.
3 Premere breve “4” Luce posteriore ON <-> Constant-On.
4 LED della breve pressione si spengono.
Caratteristiche speciali
Memoria luminosità: la luce memorizza e ripristina il livello di luminosità regolato.
Blocco interruttore: la luce non può essere accidentalmente accesa quando è
bloccata.
Informazioni su batteria e carica USB:
- Aprire la scatola della batteria posteriore dai due fermagli nella parte inferiore
dell’unità luce posteriore
- Inserire la batteria ricaricabile USB e chiudere la custodia.
- Usando il cavo USB in dotazione, collegare il cavo USB alla torcia principale e poi a
un’uscita USB per caricare l’unità E
- In carica, l’indicatore LED diventa ROSSO e poi BLU quando il processo di ricarica è
completo.
- Le batterie di ricambio opzionali possono essere acquistate separatamente e cari
cate direttamente nel tuo auto o dal tuo computer.
Manutenzione:
- Per pulire la torcia frontale, pulire l’obiettivo con un panno morbido e un deter
gente non corrosivo
- Mantenere pulito il tappo del cavo e la plastica interna del supporto della batteria
- Se la lampada è stata immagazzinata, per evitare il degrado delle batterie le
batterie dovrebbero essere rimosse.
Avvertimento:
- NON guardare direttamente nel LED. Ciò potrebbe danneggiare la vista dell’oc chio.
- Non provare a riparare l’unità da soli. Si prega di contattare NightSearcher o un
distributore autorizzato.
- Non esporre la batteria a fuoco / alte temperature o condizioni estreme di bagnato
/ freddo.
Informazioni LED: (come da immagine)
1LED CREE XMG2-S3 (spot) 2LED CREE XMG2-S3 (Flood)
3Nichia cool white 5mm 4Due luci di segnalazione posteriori
1
2
3
AB
C
4D
E
Mode de fonctionnement:
Commutateur A:Appuyez brièvement sur LED “1” On> Off
Appui long (lorsque la lumière est allumée) LED “1” Gradation <-> Bas
Appui long pendant 3 secondes (le voyant clignote deux fois) g Mode verrouillage,
Déverrouillage (lorsque le voyant est éteint)
Commutateur B:Appuyez brièvement sur LED “2” On> Off
Appui long (lorsque la lumière est allumée) LED “2” Gradation <-> Bas
Appui long pendant 3 secondes (le voyant clignote deux fois) g Mode verrouillage,
Déverrouillage (lorsque le voyant est éteint)
A+ BSwitch: Appuyez brièvement sur LED “1” + “2” On> Off
Commutateur C:1ère pression courte sur le mode de mise au point automatique (le
capteur vous aidera à déterminer si le voyant de mise au point DEL «1» ou le voyant
DEL «2» doit être allumé)
2e appui court Les deux lumières “3” s’allumeront.
La 3ème pression courte LED s’éteindra.
Commutateur D:1ère pression courte Le voyant d’état de la batterie s’allume
2ème pression courte “4” Feu arrière clignotant WHITE> Off.
3ème Appuyez brièvement sur “4” Éclairage arrière ON <-> Constant-On.
4ème pression courte LED s’éteindra.
Caractéristiques spéciales
Mémoire de luminosité: La lumière mémorisera et reprendra le niveau de luminosité
réglé.
Verrouillage de l’interrupteur: le voyant ne peut pas être allumé accidentellement
lorsqu’il est verrouillé.
USB-Akku- und Lade-Informationen:
- Öffnen Sie das hintere Batteriefach mit den zwei Clips an der Unterseite der
Heckleuchteneinheit
- Legen Sie den USB-Akku ein und schließen Sie das Gehäuse.
- Verbinden Sie das USB - Kabel mit dem mitgelieferten USB - Kabel mit der
Stirnlampe und dann mit ein USB-Ausgang zum Laden des Geräts E
- Beim Laden wird die LED-Anzeige rot und dann blau, wenn der Ladevorgang
abgeschlossen ist.
- Optionale Ersatzbatterien können separat erworben und direkt in Ihrem aufgeladen
werden Auto oder von Ihrem Computer.
Entretien:
- Pour nettoyer la lampe frontale, essuyez la lentille avec un chiffon doux et un
détergent non corrosif
- Gardez la fiche du câble et le plastique interne du porte-piles propres
- Si la lampe est stockée, afin d’éviter la dégradation des piles, les piles doivent être
retirées.
Attention:
- NE PAS regarder directement dans la LED. Cela peut endommager la vue.
- N’essayez pas de réparer l’appareil vous-même. Veuillez contacter NightSearcher
ou un distributeur agréé.
- N’exposez pas la batterie à un feu / à de hautes températures ou à des conditions
extrêmement humides / froides.
LED information: (as per image)
1Informations LED: (selon l’image) 2CREE XMG2-S3 LED (Spot)
3LED CREE XMG2-S3 (Flood) 44 deux feux arrière
Modo de operación:
Interruptor A:
Presione brevemente LED “1” Encendido> Apagado
Pulsación larga (cuando la luz está encendida) LED “1” Atenuación Arriba <-> Abajo
Mantenga presionado por 3 segundos (la luz parpadeará dos veces) g Modo de
bloqueo, Desbloquear (cuando la luz está apagada)
Interruptor B:
Pulsación corta g LED “2” Encendido> Apagado
Pulsación larga (cuando la luz está encendida) g LED “2” Atenuación Arriba <->
Abajo
Mantenga presionado por 3 segundos (la luz parpadeará dos veces) g Modo de
bloqueo, Desbloquear (cuando la luz está apagada)
Interruptor A+ B:
Pulsación corta LED “1” + “2” Encendido> Apagado
Interruptor C:1. Presione brevemente el modo de enfoque automático (el sensor
ayudará a decidir si la luz de enfoque del LED “1” o la luz de inundación del LED “2”
debe estar encendida)
Segunda pulsación corta Las dos luces “3” se encenderán.
La tercera pulsación corta del LED se apagará
Interruptor D:
1ra pulsación corta La luz de estado de la batería se iluminará
2da Pulsación corta “4” Luz trasera Parpadeando BLANCO> Apagado.
3ra pulsación corta “4” Luz trasera encendida <-> Constante-Encendida.
Los LEDs de 4ta pulsación corta se apagarán
Características especiales
Memoria de brillo: La luz memorizará y reanudará el nivel de brillo ajustado.
Bloqueo del interruptor: La luz no se puede encender accidentalmente cuando se
bloquea.
Información de carga y batería USB:
- Abra la caja de la batería trasera por los dos clips en la parte inferior de la unidad
de luz trasera
- Inserte la batería recargable USB y cierre la carcasa.
- Utilizando el cable USB suministrado, conecte el cable USB a la linterna frontal y
luego a una salida USB para cargar la unidad E
- En carga, el indicador LED se pondrá ROJO y luego AZUL cuando se complete el
proceso de carga.
- Las baterías de repuesto opcionales pueden adquirirse por separado y cargarse
directamente en su coche o desde tu computadora.
Mantenimiento:
- Para limpiar la linterna frontal, limpie la lente con un paño suave y un detergente
no corrosivo
- Mantenga limpios el enchufe del cable y el plástico interno del soporte de la
batería
- Si la lámpara está almacenada, para evitar la degradación de las baterías, deben
quitarse las baterías.
Advertencia:
- NO mire directamente al LED. Esto puede dañar la vista.
- No intente reparar la unidad usted mismo. Por favor, póngase en contacto con
NightSearcher o un distribuidor autorizado.
- No exponga la batería al fuego / altas temperaturas o condiciones
extremadamente húmedas / frías.
Información LED: (según imagen)
1CREE XMG2-S3 LED (Spot) 2LED CREE XMG2-S3 (Flood)
3Nichia cool blanco 5mm 4dos luces de advertencia traseras
Modus Betrieb:
Schalter A:
Kurz drücken LED “1” Ein> Aus
Lang drücken (bei leuchtendem Licht) LED “1” Dimmen oben <-> unten
Langes Drücken für 3 Sekunden (Licht blinkt zweimal) g Lock-Modus, Entsperren
(wenn Licht aus ist)
Schalter B:
Kurz drücken LED “2” Ein> Aus
Lang drücken (bei leuchtendem Licht) LED “2” Dimmen oben <-> unten
Langes Drücken für 3 Sekunden (Licht blinkt zweimal) g Lock-Modus, Entsperren
(wenn Licht aus ist)
A+ BSchalter: Kurz drücken LED “1” + “2” Ein> Aus
Schalter C:1. Kurzer Autofokus-Modus drücken (Sensor hilft bei der Entscheidung, ob
entweder LED “1” Fokuslicht oder LED “2” Flutlicht eingeschaltet sein soll)
2. Kurzes Drücken Beide “3” -Leuchten werden eingeschaltet.
3. Die LED für kurzen Druck wird ausgeschaltet
Schalter D:
1. Kurzes Drücken Batteriestatusanzeige leuchtet auf
2. Kurz drücken g “4” Rücklicht Blinkt WEISS> Aus.
3. Kurz drücken g “4” Rücklicht EIN <-> Konstant-Ein
4. Kurzes Drücken der LEDs erlischt
Besondere Merkmale
Helligkeitsspeicher: Das Licht speichert die eingestellte Helligkeitsstufe und setzt sie
zurück.
Schaltersperre: Die Leuchte kann nicht versehentlich eingeschaltet werden, wenn sie
gesperrt ist.
USB-Akku- und Lade-Informationen:
- Öffnen Sie das hintere Batteriefach mit den zwei Clips an der Unterseite der
Heckleuchteneinheit
- Legen Sie den USB-Akku ein und schließen Sie das Gehäuse.
- Verbinden Sie das USB - Kabel mit dem mitgelieferten USB - Kabel mit der Stirnlam
pe und dann mit ein USB-Ausgang zum Laden des Geräts E
- Beim Laden wird die LED-Anzeige rot und dann blau, wenn der Ladevorgang abge
schlossen ist.
- Optionale Ersatzbatterien können separat erworben und direkt in Ihrem aufgeladen
werden Auto oder von Ihrem Computer.
Instandhaltung:
- Wischen Sie das Objektiv mit einem weichen Tuch und einem nicht ätzenden
Reinigungsmittel ab, um den Scheinwerfer zu reinigen
- Halten Sie den Kabelstecker und den inneren Kunststoff des Batteriehalters sauber
- Wenn die Lampe gelagert wird, sollten die Batterien entfernt werden, um eine
Beschädigung der Batterien zu vermeiden.
Warnung:
- Schauen Sie NICHT direkt in die LED. Dies kann die Sehkraft beeinträchtigen.
- Versuchen Sie nicht, das Gerät selbst zu reparieren. Bitte kontaktieren Sie Night
Searcher oder einen autorisierten Händler.
- Setzen Sie den Akku keinen Feuer / hohen Temperaturen oder extrem nassen /
kalten Bedingungen aus.
LED-Informationen: (gemäß Bild)
1CREE XMG2-S3 LED (Spot) 2CREE XMG2-S3 LED (Überschwemmung)
3Nichia kaltweiß 5mm 4Zwei hintere Warnleuchten
Other NightSearcher Headlamp manuals
NightSearcher
NightSearcher HT550R User manual

NightSearcher
NightSearcher PANTHER-XHP User manual

NightSearcher
NightSearcher SL1600 User manual
NightSearcher
NightSearcher EXHT180 User manual
NightSearcher
NightSearcher ZOOM 780-EXR User manual
NightSearcher
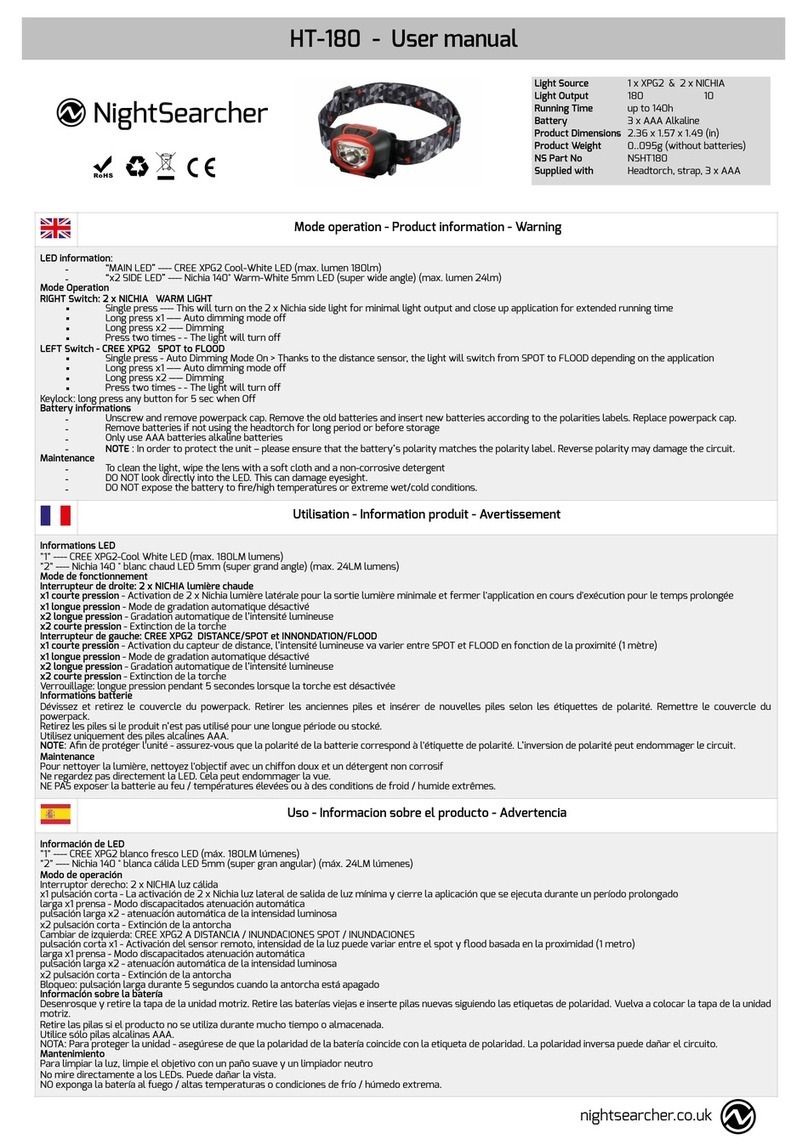
NightSearcher HT-180 User manual
NightSearcher
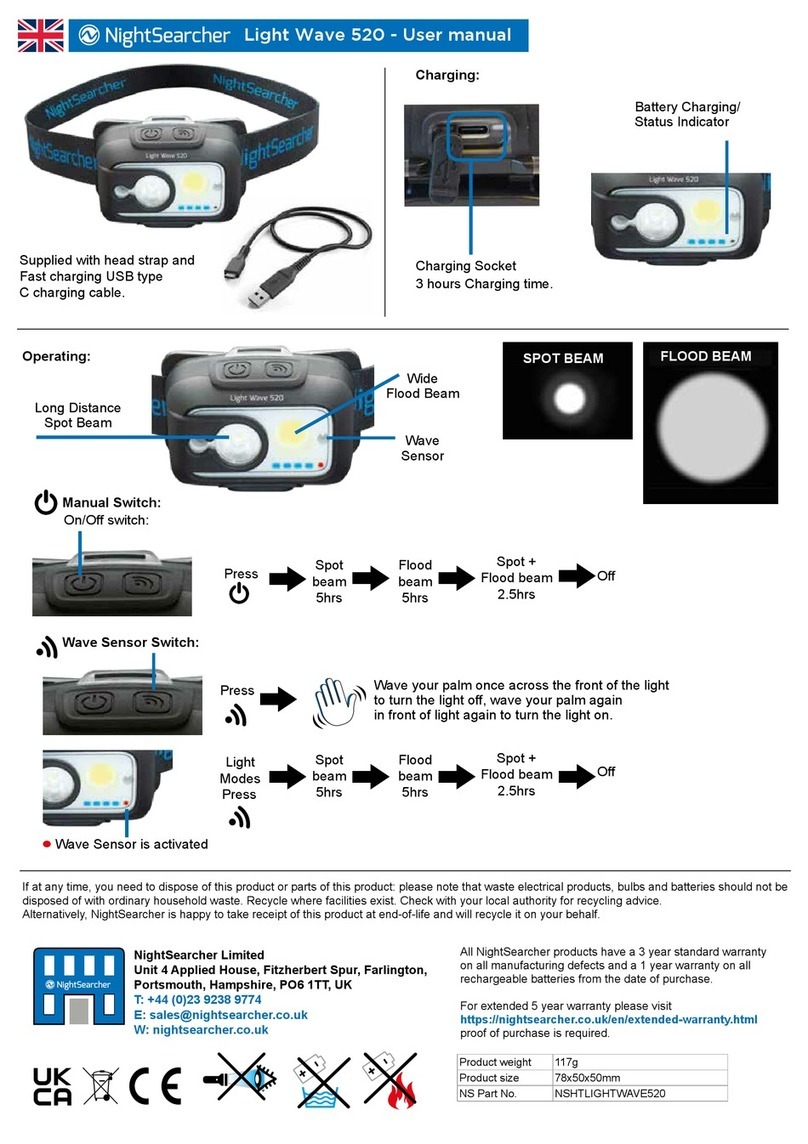
NightSearcher Light Wave 520 User manual
NightSearcher
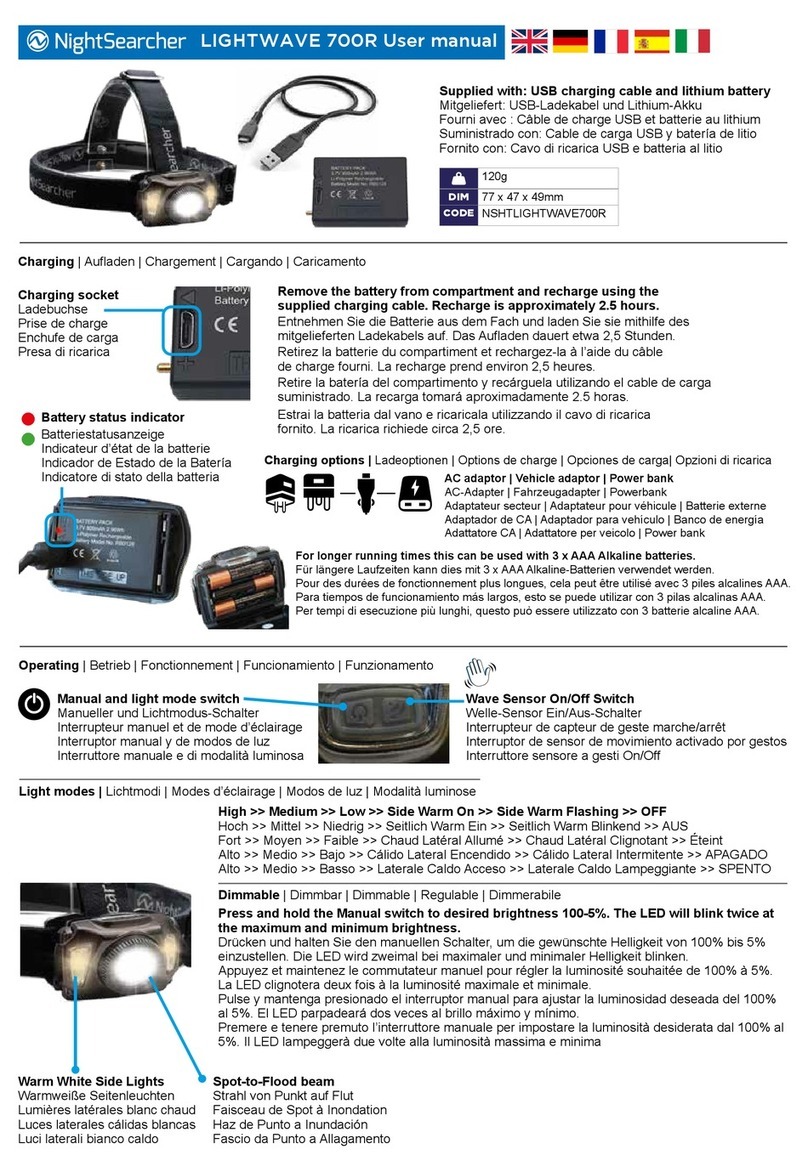
NightSearcher LIGHTWAVE 700R User manual

NightSearcher
NightSearcher Zoom 1100RX User manual
