HighSpeed Mini Centrifuge
13
9.1 ERROR CODES
If the instrument shows the error code with beeping sound, press [Stop] button to stop the beeping sound and press [Enter]
button to release of the error status and make the instrument go to the default setting again.
Error Possible Causes Actions
Error 1 or
Error 9 RPM Sensor
Shut off the power supply, and then, turn on the power switch again to check the
instrument.
If the error code shows continuously although you try to operate again, please call
NIPPON GENETICS EUROPE or your local distributor.
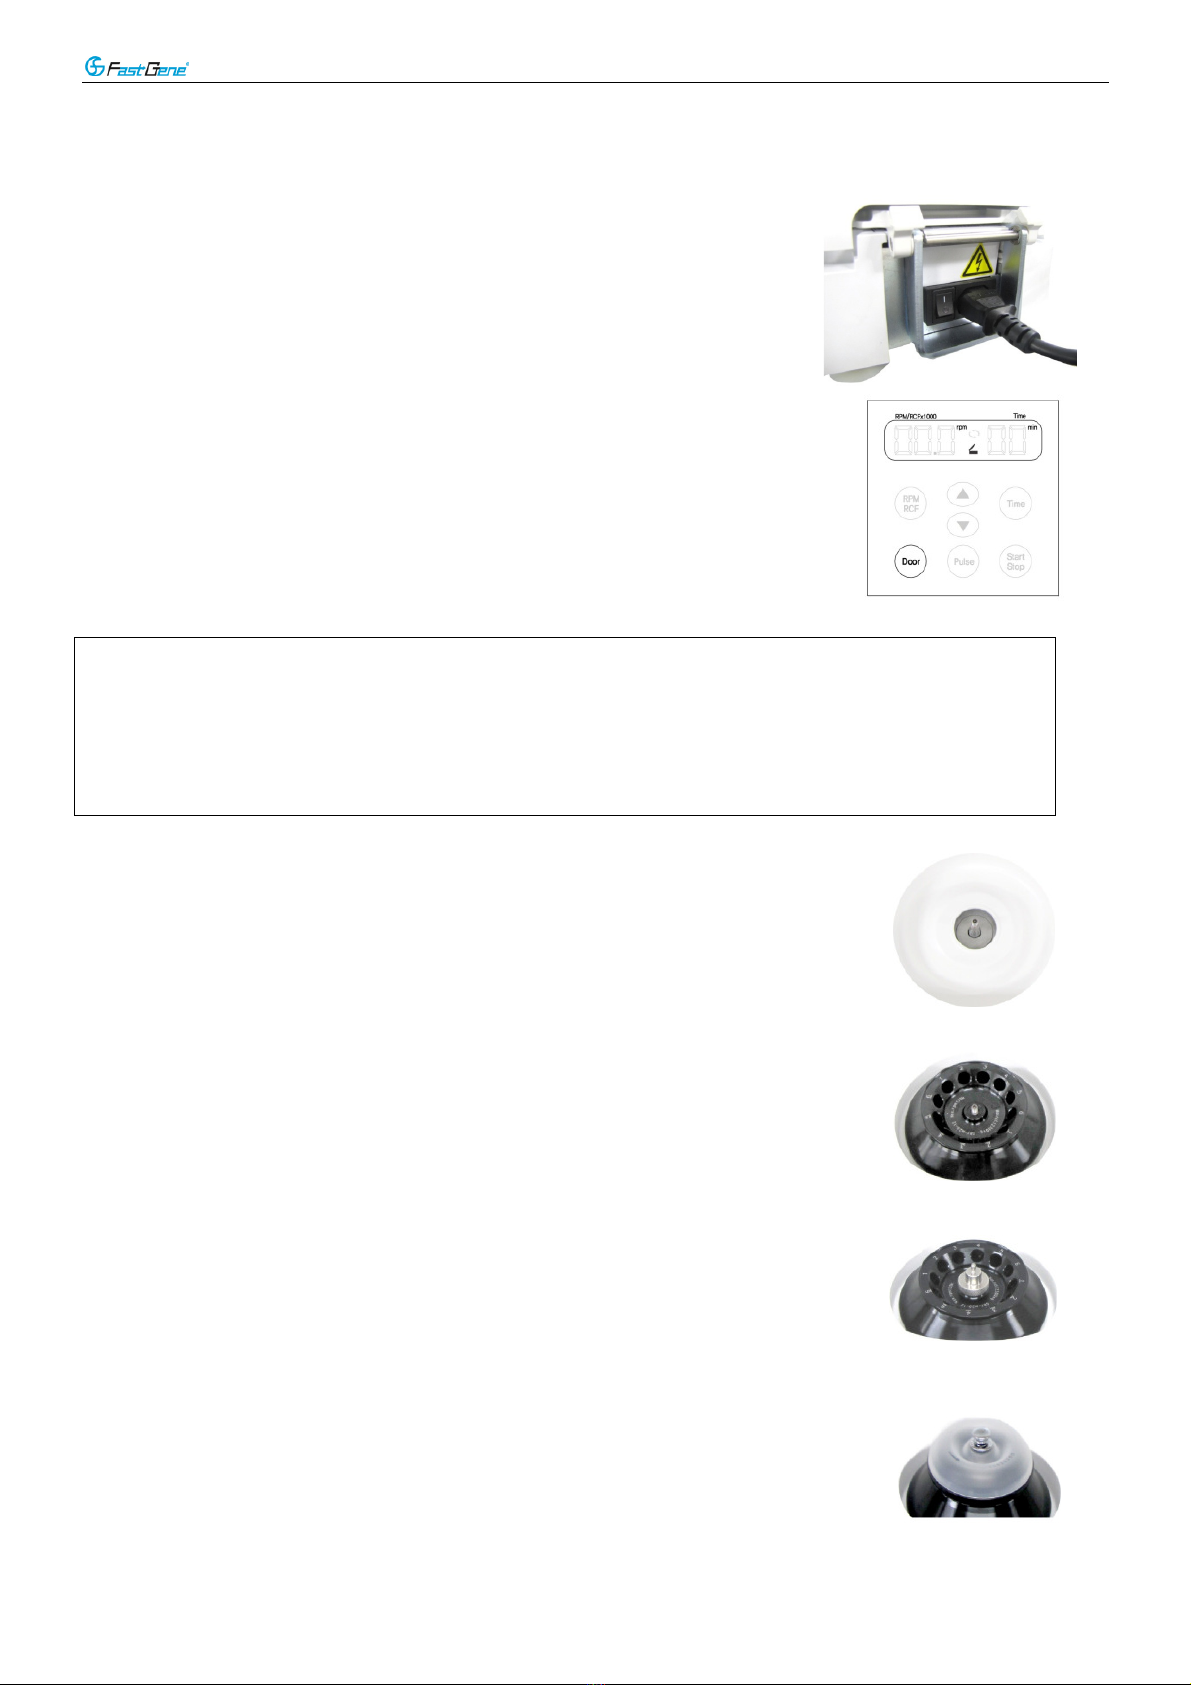
Error 2 Door
If the door is not closed completely, this message is appeared.
Remove the dirt at the door latch and then close the door completely again. Check the
Door LED on the display window. If it is not solved in shortly, open the door with
emergency door tool manually for safety of sample. (Please refer to 6. Emergency
Door Open.)
Error 3 Motor
Overheating
If the motor is overheated, this message is appeared.
Shut off the power supply for an hour, and then turn on the power switch for checking
the instrument.
If the error code shows continuously, please call NIPPON GENETICS EUROPE or
your local distributor.
Error 4 Low Voltage
If the power input of Power supply (V/Hz) is 10% less than required power, this
message is appeared.
Shut off the power supply and then check the voltage of the Power supply (V/Hz).
Use AVR (Automatic Voltage Regulation) to provide proper power.
Error 5 High Voltage
If the power input of Power supply (V/Hz) is 10% more than required power, this
message is appeared.
Shut off the power supply and then check the voltage of the Power supply (V/Hz).
Use AVR (Automatic Voltage Regulation) to provide proper power.
Error 6 Over Speed
If the instrument is spun with over speed, there will be some problems in the overload
of motor and the output of motor.
Shut off the power supply, and then, turn on the power switch again to check the
instrument.
Error 7 Software If the installed software has bugs, this message is appeared.
Tuning the firmware (Download)*
Error 8 Imbalance Check weight-balances of samples (Please refer to 5 Positioning of Sample Tubes)
and then turn off and on the instrument for checking.
* Any wire disconnection or tuning of the instrument must be performed only by a service engineer who is authorized by
NIPPON GENETICS Europe GmbH