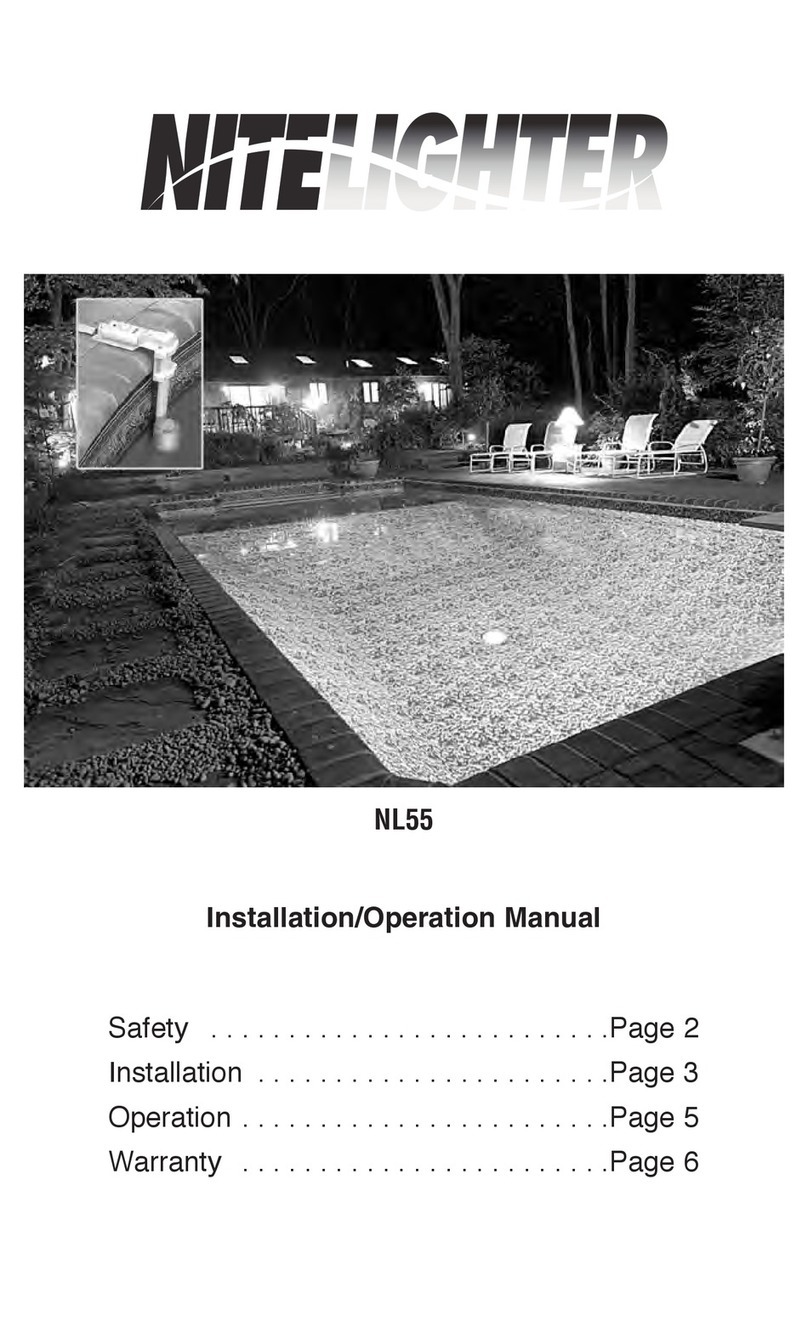
Nitelighter NLS65W2 User manual

Do not allow children to install or operate the li ht.
Do not install the li ht in poor weather conditions, especially when li htnin is present.
Ensure the area where the li ht is bein installed is free from obstructions such as under round
wirin , rocks and sprinklers.
Ensure the area where the li ht is bein attached is free from wires, plumbin or other obstructions.
If usin a ladder, ensure the footin is secure before climbin and obtain assistance when needed.
Wear protective equipment such as safety lasses, dust masks and loves when installin the li ht.
Ensure the area where the li ht is bein installed is structurally sound and will support the li ht.
Do not han anythin from the li ht.
Do not allow snow, leaves or other objects to rest on top of the li ht.
Solar Powered LED Landsca e Lights
®
Mode s: NLS65W2 and NLS65C2
NOTE: This manua is for two different mode s.
P ease ensure you fo ow the operating instructions for the ight that has been purchased.
Read entire manua carefu y before insta ing and keep for future use.
WARNINGS AND SAFETY INSTRUCTIONS
Installation (Ground)
WARNING: Ensure the area where the li ht is bein installed is free from obstructions such as under round wirin ,
rocks and sprinklers.
IMPORTANT: Ensure that the location of where the li ht will be installed allows for adequate sunli ht throu hout the
day to char e the battery sufficiently. Be mindful of overhan s or shaded areas.
1. Unfold the li ht and remove any packa in .
2. Remove the round stake from the li ht.
3. Place the round stake in the desired area, ensure the stake is level and
press firmly into the round. Do not use any metal hammer to drive into the
round. If the stake is hittin any obstruction, preventin it from oin into
the round, try a new location.
4. Once the stake is firmly in the round place the li ht on top of the stake post.
5. Adjust the an le of the solar panel and the li ht by loosenin the knobs on
the side of the li ht.
IMPORTANT: Do not remove the bolt/knob completely. Only loosen to allow for
adjustments.
6. Once the li ht and the panel are at the desired an le, ti hten the knob to lock
into place.

Installation (Wall)
WARNING: Ensure the area where the li ht is bein attached is free from wires, plumbin or other obstructions.
WARNING: If usin a ladder, ensure the footin is secure before climbin and obtain assistance when needed.
IMPORTANT: Ensure that the location of where the li ht will be installed allows for adequate sunli ht throu hout the
day to char e the battery sufficiently. Be mindful of overhan s or shaded areas.
IMPORTANT: Prior to wall mountin the li ht, hold the li ht at various hei hts and ensure it covers the area that is desired
to be illuminated. The dia ram below shows enerally where the center of the li ht will hit the round at various hei hts.
6’
8.5’ 10’ 11.5’
7’
8’
1. Hold the li ht in position and ensure the li ht is level. 2. Mark the hole positions and a ain check to ensure the
li ht is level.
3. Predrill the marked location of the holes.
WARNING: Prior to drillin , ensure the area where the
li ht is bein attached is free from wires, plumbin or
other obstructions.
4. Usin a lon Phillips Head screwdriver, secure the
li ht in place with the provided screws.

O erating the Light
The li ht is equipped with a dayli ht sensor, meanin that the li ht will char e durin the day and when it ets
dark, the li ht will come on automatically. When usin the first time, it is recommended to turn the li ht on when it
starts to et dark, so that final adjustments can be made to obtain the desired li htin results. When the li ht is
placed in the ON position, every ni ht the li ht will come on and remain illuminated for 8-10 hours (dusk to dawn).
NLS65W2 – White Li ht Only
1. Once the li ht is installed,
press and release the button
on the back of the solar
panel. The li ht will flash
briefly indicatin that it is on.
2. If it is dark enou h, the li ht
will stay illuminated which
allows for any final positionin
to obtain the desired li htin
result.
3. If the button is pressed and
released a second time, the
li ht will remain in the OFF
position.
NLS65C2 – Automatic Color
Chan e and White Li ht
1. Once the li ht is installed,
press and release the button
on the back of the solar panel.
The li ht will flash briefly
indicatin that it is on.
2. If it is dark enou h, the li ht
will stay illuminated which
allows for any final positionin
to obtain the desired li htin
result.
3. For a white li ht, press and
release the button once.
4. For an automatic color chan
in li ht, press and release the
button a second time.
5. If the button is pressed and
released a third time, it will
remain in the OFF position.
5. Adjust the li ht and the solar panel to maximize li ht exposure to the panel and an le of the li ht to the desired area.

Warranty
SPQ warrants the li ht to be free from manufacturer defects. Inspect thorou hly before installation and install the li ht with
care. Defects that occur due to improper installation, environmental conditions, Acts of God or improper handlin is not
covered by this warranty. Any modifications to the li ht will void the warranty. This warranty is only valid within the Conti-
nental US and Canada.
This limited warranty is provided only to the ori inal owner from the date of purchase for a len th of 1 year. This warranty
is nontransferable and requires a copy of the receipt showin the date of purchase at the time the claim is filed.
This warranty is the only warranty provided to the end use, no other warranties provided by the seller of the product will be
honored by SPQ Brands. SPQ Brands will replace or repair the product with new or refurbished items at their discretion.
SPQ Brands' maximum liability is limited to the purchased price of the product. SPQ Brands will not be liable for any dam-
a e to person or property of any nature resultin from the sale, installation or use of this product.
Contact SPQ Brands for additional assistance: 609-212-0221, M-F, 9am - 5pm, EST.
This manual suits for next models
1
Other Nitelighter Lighting Equipment manuals
Popular Lighting Equipment manuals by other brands
NORDRIDE
NORDRIDE 2010 VIPER LED operating instructions
Awex
Awex IF2AWD installation instructions

Larson Electronics
Larson Electronics EPL-MPM-150LED Instruction guide
Lumie
Lumie Zip operating instructions
PROLED
PROLED L6OP7 Series installation manual
Pinegreen Lighting
Pinegreen Lighting CL-TP18RGB-EXT user manual
