manuals.online logo
Brands
  1. Home
  2. •
  3. Brands
  4. •
  5. Nitto Kohki
  6. •
  7. Tools
  8. •
  9. Nitto Kohki A-300 User manual

Nitto Kohki A-300 User manual

lJrFJrrraJttgJИ
E
R HAMMER
ALL!NSTRUCT:ONS BEFORE OPERAT:NG THIS T00L
UTO CHISEL PROFES劇 ONAL T00L
These spec ncalOns and the prolにmay ll changed lor mproyoment wihout plor nolce
ON:コ
mManuracturod by:
N〕TTO KoHKICO,LTD
:1ぉ鵠
瞥
糊翼l,
Tokyo 146‑8555,」 apan
F譲:1881:;::::;:│
SAVE THESE INSTRUCT10NS
│
△◎◎
CONTENTS
IMPORTANT SAFETY lNSTRUCT10NS FOR ALL AIR TOOLS
IMPORTANT INSTRUCT10NS FOR AIR HAMMER
l uSAGE… ……
…
………
…
…3
2 AIR SuPPLY… …
………
………
…3
3 REPLACINe CHISELS …
……
…
…
4
4 0PERATING PROCEDURE …
……
………
… 4
5 TYPE OF CHISELS AND THEIR APPLICAT10NS 4
6 THREAD SIZE OF HOSE FITTING ……
……
………
5
7 0RDERING SERVICE PARTS …
……
……
…… 5
8 AUTO CH:SEL〜 00)ASSEMBLY AND PARTS uST 6
PICTOGRAM
Waining:lt ml●ht●
o danOerOusto ottate the powortool
lf the lostruct oos suppled are not rO10wed
Before operating the tool,readand undOretand a‖ inetluc‐
l ons suppl●I Keep if for future reference
pe円 。nal protectivo oquipmont ag eye and ear pldect on
and protective 91ove3 muSt always bo u301 When opeト
ating the tool
△ WARN:NG
When using a r tools, basic safety precaut ons
should alvvays be fo‖owedto「
educer skofpe「sonal
iniury,including the fonOvv ns
(1)Be Sura a‖exte7naI SCrews,nuts and bOts are● 9htly
secured prior tO each u30
(2)Do not u8e damaged frayed or dete"orated ho∞ s and
nttings
(3)Remove adiust ng keys and wrenches Fttom hab t of
checkingtOseethatadiuStng keysand ●vrenches are removed
from tool bdore turning it on
14)U8e right tOOI Do not iorce a smal tool or attachment
to do the,ob Of a heavydutytOol Do not use tool'or a purpose
not intended
(5)Do nol,orce tool t wil do the iob better and sarer at the
rate for which it was designed
{6)Secure work use clamps or a vise to hold wOrk when
praci cal t is saFer than using you「 hand and t frees both
hands lo operate tool
(7)A r pre38ure at the nlet must not excood O SO MPa
(6k91/cm2/85P8i● /5 9 bar)
(1)StOr● ldlo tOO13 VVhen notin use, loOls should be stored
in dly,and lockod‐ up places out of reach of chi dien
(2)Avoid unlntentional etarting DO not carry a r pOwered tool
w thイinger on thiottle VVhen carrying ioOl besuretheconnect
ing hose tO the compressoris o,sconnected
(3)Reduce the JBk of unintent ona1 3tarting Make suЮ thiOt
t e is in ofr pOstiOn before conneci ng a r hose to tool
(4)Oo not abu80 h030 Never carry tool with a r supply hose
connected or yank on hose to disconnect
(5)Nevo7103Ve t001 running unattondOd A、 vays turn or the
al子3upply and disconnect the ar supply hose Do not loave
tool una nded untl it comes to a compleO stop
(1)Do not recOnstruci o7 mOdify
(2)Check dama,oO pa■ 8 Before rurther use of the tool an
accesso子 y o子
Orther paa that is damaged should be carefじ ly
checked to detelmine thatit wll operate proper y and perorm
ts intended runctOns check ty a gnment of movin9 part8
binding of moving parls breaPage of parts, mount ng, and any
other cond tions that may a"ectits operation An accesso〜 or
other pan that i3 danaged or inOperable shoull be prOper y
repa red or replaced
Operators assigned to use the lool shou10 be instructed in the
sare use Of the tool
No person should use this tool w thout fist having read and
under゛ and this instruct on manual
(1)Dress properly Do not wear loose clothing or Oioaments
They can be caughtin moving parts Non‐ skidool●7earisrecom‐
mended l・ Vear pioOct ve ha r covei ng to contain long ha r
(2)Alway3 Wear● yo prOtect on Everyday eyeglasses only
have impact iesistant lenses
They do NOT protect eyes A180 uSe race Or dust mask lf
operat ons create dust
(3)Alway8 Wear protectivo oor● ●
ulpment
(4)Do not OVerreach Keep p「 oper footing and balance at a‖
t mes
(5)Stay alen lvatch what you are doing
use cOmmOn 3enSe
Do not operate tool、 vhen you are tred
(6)Some tOO13 oOnera0 3ub3tant al vib7atiOn3 f di3COmfOit
or pain is encountered dur n9 use,you should cease operations
and check、 v th yOur physictan pr or to fulther use
(7)Bo 3ure tO koop hand8 C!08「 Of mOving partB
(1)К00p work area clean Cluttered work areas and benches
inv te accidents and iniυ r es
(2,Consider work are8 0nVironment Do not expOse tO。
ls to
rain Do not use tools in damp or wet locations Keep work
area wel lt
(3)Do nol operate noor flammablo l,quid3 0r in gaseou3 0r
eXp103iVe amo3phereS
(4)Kttp Children awav Also a‖ vis tors should Oe kept a、 vay
from、vork area Do not let visitors contact the tool compressor
or connect ng hoses
(5)Some tOO18 9enerate high nolse levels check lo be sure
that the use of this tool coniorms to a‖ local noise re9ulations
(3)Rep8'rS by authorized Pemnnel Any repa rs on the tool
orinstalat on of replacement parts should be pe● ormed only
by the sales agentFrom whom yOu purchased the ool or the
manuFacturer use only genuine replacement pats Falure to
utilze the expertise of an author zed sales agent rrom whOm
you purchased the tool oi the manuFacturer or fa‖ ure to use
genuine replacement parts may resu t in an increased ′3k of
iniury lo the user and may invaldate your● .arran,
(4)uSe recOmmended accessories Consu t thi3 manual or
the sales agent fttomヽ vhom you purchased the toO10rthe manu‐
facturerforrecommended accessOr es The use ofimproperac―
cessoles may cause risk of iniury to persOns
(5)A1lvays turn offthe 81r supply and disconl the air supply
h030 berore instal‖ ng,removing or adiuSting any accessory
on the tool or berore perOrming any mainienance on the tool
(6)Do not renlove any label placed on the tooi
lfthe labels become damaged,oi begin to peel a.● ay con● ct
the sales agent from 、vhom yOu purchased the tool or the
manu Facturerorther immed ate rllp acement
△WARNING
(1)101e operaion、 ″
‖l cause the mafuncton and shorten the
lfe o(the tool
(2)Stop Operation 、vhen chisel is not iunct on prOper y 、″hen
the tool beComes hot
(3)To reduce the po、 ″
er reduce a r pressure by a rre9υ latOr or
t ghten the valve of compressor
may cauSe tiouble
the compressor and
So inゞal an arf ter and an o‖er beヽ″een
the tool
This tool ls,or chipping .・ 7ork pieces w th a chisel
〔
Fi0 11
2‑3 Lubr caton
lnstal an O ei bet、″
eenthe compressor and the tool Use l10
machine o Neglect ng the ol supply wil cause damage
use Orthick ol W I lead to poo子 perOrmance Always use 110
mach ne o‖
2‑4 Short ho30 1[ttlng3
Do not(lx a cOuping d rect y on the product ヽ′ake sure that
aFter a shoit hose iS rixed、″th the Hose Nipple PT,′ 4 ×
1′
4 in‐
cloOed in the accessores then the couping be attached lf
the coup n9,s d recty′ ixed tv● c uld be damaOed bythe vibia
t On and ihe ife wou10 be shorlened
△ WARNING
A、vays turn off the a r supply and disconnect the
air supply hose
(1)Turn the chisel spln9 counterclockvvise anO iemOve it(For
removal ho10 the sprng A and turn it in such a way that itis
loosened)
(2)Change the chisel and reassemble vice versa
(3)To mount the chisel inseri the chisel and lock the chisel
spi ng by turning it clock、vise to prevent the chisel from being
withdra、vn
2‑l Air Pressure
Alr pressure 18′gely determines tool pO■ Oimance This tool is
designed to be operated at a r pressure of 0 59 1v4Pa(6 kg/Cm2
/35 ps g′
5 9 bar)max mum
22A『 Line
use a95 mm (3/8)a r hoSe betvveen the compressor and the
tool Compressed airis cooled and its drain separated as soon
as the a r leaves the compressor The drain, however is con―
densed in the piping and can enterthe tool mechanism an0
A r Re9u Ыor
Hous ng
IFig 2]
4‑1 7o prevent the chiseljum● ■
9(Fig 3)
F rst 9rasp the gr p and place the chiselto the、 vo子k Gradua y
press the tr 9ger and gO to ful operatiOn afterthe cutting pOn
ilon has been determined The chisel should not iump off the
work
4‑2 use the hand holding the valve boOy to press gent[y and
guide the chisel so thatil does not come away from the work
│■
XI[][帥
¨n
∞ms us‐

應 帥Ⅲ″dsが
増l鵬潔ranぃ
∞
dmoandrm
¨¨にrd end鍋
岡 剛 ¨
蒙
No 1014 Pane[C■ mper
Bending sheet meta exteinal
doors rendeis,etc
No 1015 Scraper
Peeing paint and remOving of undercoat n9
Bending iron plate removing king
Please o囀 er W th the ch sei numbeβ below
No 1001 Blank Ch1801 No 1016 Fork Chlse1 35
0'8COnnect ng tie rod end oal,OintS
No 1017 Fork Ch1301lS
Disconnect ng tie rod end ba‖ ioints
No 1002 Flat Ch1801
戦肥
層
Ⅷ譜
首
肥i:
膠
No 1003 Shoot Metat Ch1801 A
Cutt n9 rOn sheets body panels ol
automobles
No 1004 Shoot Metal Ch1801 B
」ust for cuit ng ofF sheet ma81 bOdy
panels
No 1018 Scraper 30mm
Peeing Off paint&子 einoving rust irom
No lo19 Scraper 60mm
Peeing Or pa nt&iemOving rust frOm
ron plate
No lo2o concave scraper 60mm
Removing incrustat on from pipe
No 1023 Sheet Metai Chi301 C
Cut shapes in sheel metalfast
No 1005 Siloncer Cuttin9 Ch1801
AⅢ … … 陥"σ mmⅢ Ⅲ
…
器ilttimaedeamЫ
eeVesa[翌
豊
´
め
コ
酬
酬瑞胤
rm¨
st歩
獅P
No 1008 Bushin9 Tool
Puts speed and ease intO the ,ob OF
Inseri on
No 1009 punch
bill;::5I
"f)==二
D
No 1024 Moilpoint chi301
T¨
叩
∞∝dq
Юm姉
ぃ
md嵯
為〆P
The product comes w"h a metalitt ng w"h PT(meti c)thiead
Connect the Bushing PT thread X NPT thread in the vinyl bag
containing ゛andard accessor es, if yOu ..。 uld ke to have
Amer can NPT thread instead
in ordeln9 parts and components give parts number(s), name
and quant ties
Place the ch sel again,work piece
〔
Fih 31
臨出
首
『
t淵
記
ξin」織iJl:理
1墾
望´斡ρ
△ CAUTION
The i‖ustration is for iniormation only Users should never disassemble parts
ContaCtthe saies agentfrom whom you purchased the tool or the manuracturer should the tool need
serviCe,「
epai「o「replacement of parts
The parts numbere w th( )a『 。included in the A33 y paⅢ 8 Witten above them
1TP02003 Chisel Sprinq 1
2TP02701 Chse Cude 1
3TP0230C Fttont CushiO■ 1
4TPl1 995 O Rng P 315 2
5TP03389 Syino Pin 4× 24 1
0TB017● 9 HOu81う O Sub A88V
(TO02207) ■ lol CE Mark 1
(241 (TO02442) Warnlno Labol 1
7TP02312 疇r Cush on 1
8TP∞ 697 P131on 1
9TA90790 Cvlnder Ass v l set
10 TP00460 Sprln● PIn 3× 22 1
12 TPЮ8032 Sヴ ing Pin 4× 8 1
13 TPl1996 O RnO KC10 5
14 TP02302 Valve Caso 1
●
4
●
●
3
1
15 TP02∞ 9 Spool 1
TPC 2303 Valve Stopper ヽ
17 TP02306 Thiottle Valv8 ,
18 TPl1994 O Rng P‑4 1
19 TP02305 ヽゝlve Cuide 1
20 TP02310 Sprng Pin 3× 12 1
21 TP02304 T子
lo9er 1
22 TP00857 Dushing M16× PTI′4 1
StandBrd Acco330ry
Bu8hing PTl′ 4× NPTl′ 4
Hose Nioole P¬ ′4× 1′4
′翻S■
20rrrOJJ口NAι
厠R HAMMER
AUTO CHiSEL ModelA‐ 300
日EAD ALLINSTRuCmONS BEFOnE OPERATING THIS TOOL
TQ02469 1‑30505A

Other Nitto Kohki Tools manuals

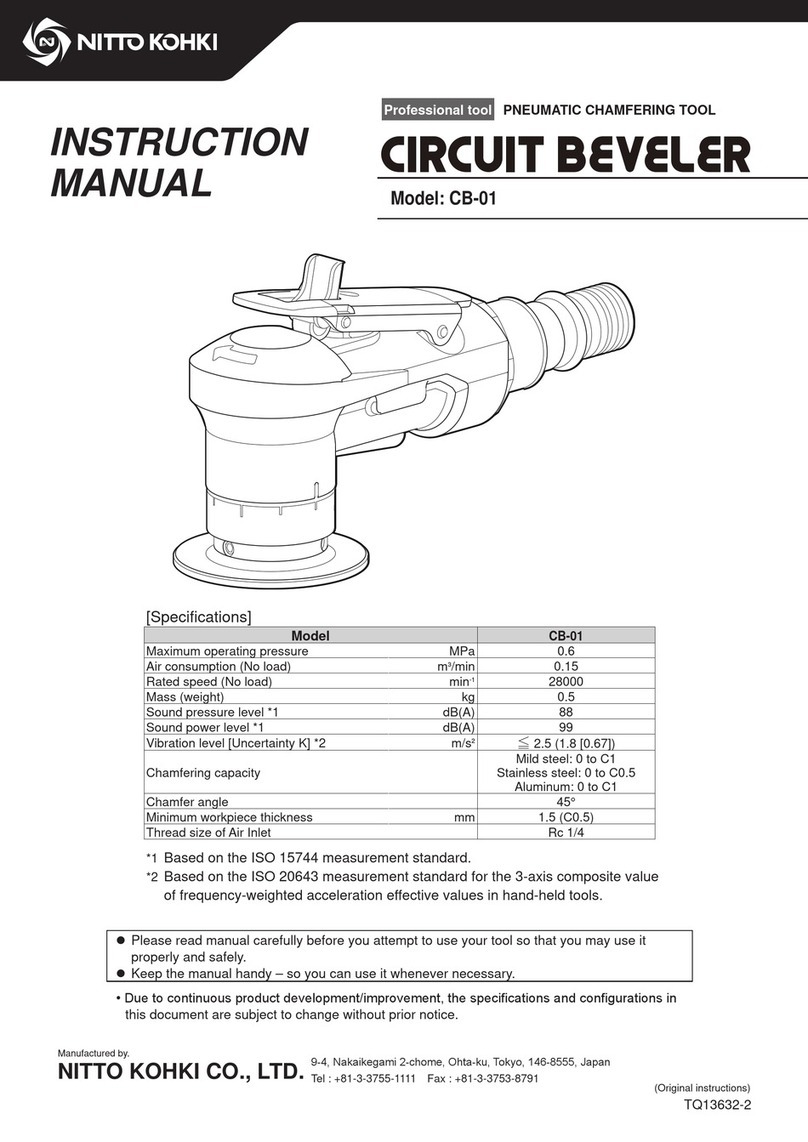
Nitto Kohki CB-01 User manual

Nitto Kohki

Nitto Kohki CB-01 User manual

Nitto Kohki A-300 User manual

Nitto Kohki

Nitto Kohki A-300 User manual

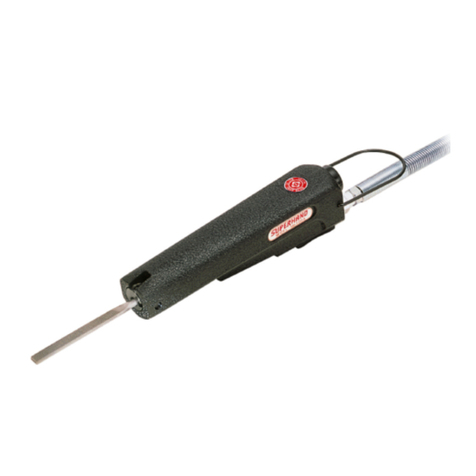
Nitto Kohki Super Hand ASH-900 User manual

Nitto Kohki

Nitto Kohki Super Hand ASH-900 User manual

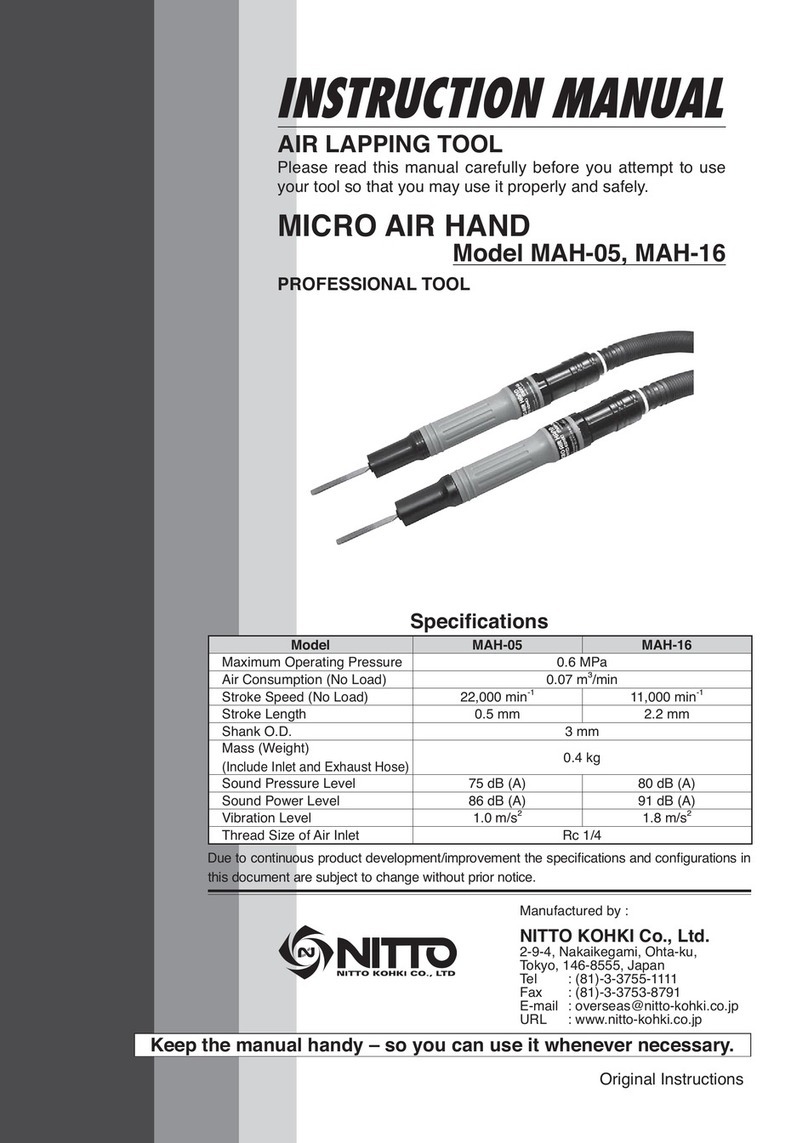
Nitto Kohki MAH-05 User manual

Nitto Kohki

Nitto Kohki MAH-05 User manual

Nitto Kohki JT-16 User manual

Nitto Kohki

Nitto Kohki JT-16 User manual

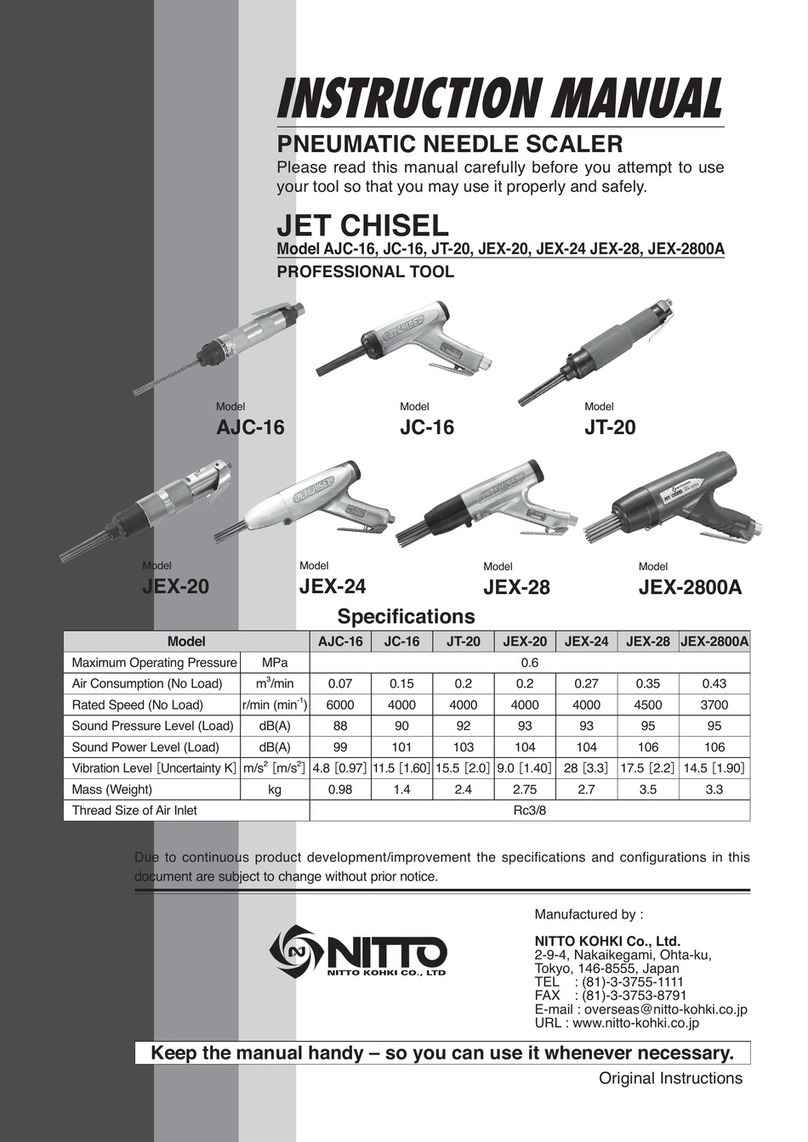
Nitto Kohki JET CHISEL AJC-16 User manual

Nitto Kohki

Nitto Kohki JET CHISEL AJC-16 User manual

Nitto Kohki SH-100A User manual

Nitto Kohki

Nitto Kohki SH-100A User manual

Nitto Kohki AMB-0307 User manual

Nitto Kohki

Nitto Kohki AMB-0307 User manual

Popular Tools manuals by other brands

ShoulderDolly LD1000 instructions

ShoulderDolly

ShoulderDolly LD1000 instructions

Kaller CU 1800 Service maintenance manual

Kaller

Kaller CU 1800 Service maintenance manual

CMi C-BSG-70 Original instructions

CMi

CMi C-BSG-70 Original instructions

Makita DTS131 instruction manual

Makita

Makita DTS131 instruction manual

Macnaught MAN1915-01 manual

Macnaught

Macnaught MAN1915-01 manual

Virax VIPER I26 manual

Virax

Virax VIPER I26 manual

SEM 0101 PRODUCT OPERATION & MAINTENANCE PROCEDURE

SEM

SEM 0101 PRODUCT OPERATION & MAINTENANCE PROCEDURE

Josef Kihlberg JK20A670L operating instructions

Josef Kihlberg

Josef Kihlberg JK20A670L operating instructions

BEA 92/25-553 FLARE Spare parts list/service instructions

BEA

BEA 92/25-553 FLARE Spare parts list/service instructions

Clarke SBR760 Operation & maintenance instructions

Clarke

Clarke SBR760 Operation & maintenance instructions

Josef Kihlberg a.560PN manual

Josef Kihlberg

Josef Kihlberg a.560PN manual

Narex EBU 150-16 Original operating manual

Narex

Narex EBU 150-16 Original operating manual

Sumake ST-2320/R Installation & operator's instruction manual

Sumake

Sumake ST-2320/R Installation & operator's instruction manual

BE 21.300.001 Operating instructions manual

BE

BE 21.300.001 Operating instructions manual

NSI Solutions SEAM PHANTOM SP-E2W instruction manual

NSI Solutions

NSI Solutions SEAM PHANTOM SP-E2W instruction manual

BGS technic 8846 instruction manual

BGS technic

BGS technic 8846 instruction manual

BGS technic 70008 instruction manual

BGS technic

BGS technic 70008 instruction manual

Hilti NURON NPR 32 P-22 operating instructions

Hilti

Hilti NURON NPR 32 P-22 operating instructions

manuals.online logo
manuals.online logoBrands
  • About & Mission
  • Contact us
  • Privacy Policy
  • Terms and Conditions

Copyright 2025 Manuals.Online. All Rights Reserved.