Nivel System CL3D User manual

EN
www.nivelsystem.com
Cross-laser
CL3D, CL3D-G
Thank you for purchasing a Nivel System CL3D, CL3D-G laser.
To best use the purchased instrument, please read the instructions carefully and put
in a convenient spot so that in the future you will be able to use it.

1. HOUSING - DESCRIPTION
laser’s window
- horizontal line
device turned off
device turned on
(the compensator is working)
laser’s window laser’s window
- vertical line (no 2) - vertical line (no 1)
laser mounting socket
- 1/4”
battery cover (place the batteries according
to the poles described on the battery cover)
line selection button

Device turn off
- the compensator doesn’t work
CL3D / CL-3D-G is a precision device and should be treated with caution. The
equipment has a magnetic compensator that allows automatic leveling within ± 3.5 °.
When the equipment is not in use, the magnetic compensator (pendulum) should
always be locked - the switch should be set to the OFF position. Blocking the
compensator (pendulum) allows better protection of the device, eg during transport.
Device turned on
- the compensator works
In this position of the switch the compensator is unlocked, the device is leveled
automatically (± 3.5 °) laser lines are displayed.
2. CONTROL PANEL - FUNCTION DESCRIPTION
The laser is quick and easy to use, it allows you to display laser
surfaces in the 360 ° range - horizontally and two vertically. The
switching on and off of planes takes place via the switch of the
laser planes displayed and this takes place in the appropriate
sequence:
• when the device is turned on, only the horizontal plane is generated
• after pressing the button, a vertical laser beam will be activated - laser surfaces are
generated: horizontal and vertical (No. 1)
• pressing the button twice will cause another vertical beam to be switched on - laser
levels are generated: horizontal and two vertical (No. 1 and 2)
• pressing the button three times will return to the beginning of the sequence.
Working with an inclined plane (slope function)
CL3D allows you to work with an inclined plane, in this case
the compensator will not be active. To turn off the compensator
and be able to work with an inclined plane:
with the device switched off (switch set to OFF), press
and hold the displayed laser planes for 3 seconds
in this position of the switch the compensator is blocked,
the device does not level automatically.
Work with a laser sensor
The laser can also be used outdoors using a laser sensor
with the device on, hold down the button for about 5
seconds.
to deactivate the function - keep the button pressed for
about 5 seconds.

Alarm functions
when the device is set outside the range of the compensator and the device is
switched on (compensator unlocked) - automatic leveling will be impossible
(the laser beam blinks and an acoustic warning is sent). In this case, set the
device in the range of the compensator operation;
battery depleted - the green battery indicator light will slowly flash when the
operating voltage is <4V. In this situation, the batteries must be replaced
immediately.
3. EQUIPMENT
CL3D / CL3D-G laser
laser’s target
multi-tasking laser’s adapter
batteries
transport case
user manual
4. SPECYFICATION
Laser beam
red (CL3D), green (CL3D-G)
class II
Generated laser’s planes
1 x H (360°), 2 x V (360°)
Accuracy
±1mm/5m
Working range
20m (60m with sensor)
Levelling range
±3.5°
Operating temperature
-10°C - 50°C
Storage temperature
-20°C - 60°C
Laser mouning socket
1/4"
Protection class
IP54
Size
115 x 68 x 107 mm
Weight
0.8kg
Nivel System –service, support
TPI Sp. z o.o., Bartycka 22, 00-760 Warsaw, Poland
+48 22 651 03 06, +48 22 651 03 09, info@nivelsystem.com
www.nivelsystem.com

PL
www.nivelsystem.com
Laser krzyżowy
CL3D, CL3D-G
Dziękujemy za zakupienie lasera krzyżowego firmy Nivel System model CL3D, CL-
3D-G. Aby móc jak najlepiej wykorzystać zakupiony instrument, prosimy uważnie
przeczytać instrukcję i położyć w dogodnym miejscu, żeby w przyszłości móc z niej
skorzystać.

2. OBUDOWA - OPIS
okno wiązki
poziomej lasera
urządzenie wyłączone
urządzenie włączone
(kompensator aktywny)
okno wiązki okno wiązki
pionowej lasera (nr 2) pionowej lasera (nr 1)
gniazdo mocowania
instrumentu 1/4
komora baterii (umieść baterie zgodnie z biegunami
opisanym na klapce pokrywy baterii)
przełącznik wyświetlanych
płaszczyzn laserowych

Urządzenie wyłączone
- kompensator zablokowany
CL3D/CL-3D-G jest urządzeniem precyzyjnym i powinien być traktowany z
ostrożnością. Sprzęt posiada kompensator magnetyczny, który umożliwia
automatyczne poziomowanie w zakresie ±3.5°. Gdy sprzęt nie jest używany,
kompensator magnetyczny (wahadło) powinien być zawsze zablokowany -
przełącznik należy ustawićw pozycji OFF. Zablokowanie kompensatora (wahadła)
pozwala lepiej chronić urządzenie np. podczas transportu.
Urządzenie włączone
- kompensator odblokowany
W tej pozycji przełącznika kompensator jest odblokowany, urządzenie poziomuje się
automatycznie (±3.5°) linie laserowe są wyświetlane.
3. PANEL STEROWANIA - OPIS FUNKCJI
Laser jest szybki i prosty w użyciu, pozwala wyświetlać
płaszczyzny laserowe w zakresie 360° - w poziomie oraz dwie w
pionie. Włączanie i wyłączanie płaszczyzn odbywa się za
pośrednicwem przełącznika wyświetlanych płaszczyzn
laserowych i odbywa się to w odpowiedniej sekwencji:
po włączeniu urządzenia, generowana jest tylko płaszczyzna pozioma
po naciśnięciu przycisku włączona zostanie dodatkowo pionowa wiązka laserowa
- generowane są płaszczyzny laserowe: pozioma i pionowa (nr 1)
dwukrotne przyciśnięcie przycisku spowoduje załączenie kolejnej wiązki pionowe
- generowane są płaszczyzny laserowe: pozioma i dwie pionowe (nr 1 i 2)
trzykrotne przyciśnięcie przycisku spowoduje powrót do początku sekwencji.
Praca z płaszczyzną pochyloną
CL3D umożliwia pracę z płaszczyzną pochyloną, w tym
przypadku kompensator nie będzie aktywny.
Aby wyłączyć kompensator i móc pracować z płaszczyzną
pochyloną:
przy wyłączonym urządzeniu (przełącznik ustawiony na
OFF) wciśnij i przytrzymaj na 3 sekundy przełącznik
wyświetlanych płaszczyzn laserowych
w tej pozycji przełącznika kompensator jest zablokowany, urządzenie nie
poziomuje się automatycznie.
Praca z czujnikiem laserowym
Laser może być wykorzystywany także na zewnątrz,
korzystając z czujnika laserowego
przy włączonym urządzeniu przytrzymaj wciśnięty
przycisk przez ok 5 sek.
aby wyłączyć funkcję - przytrzymaj wciśnięty przycisk
przez ok 5 sek.

Funkcje alarmowe
gdy urządzenie ustawione jest poza zakresem działania kompensatora, a
urządzenie jest włączone (kompensator odblokowany) - automatyczne
poziomowanie będzie niemożliwe (wiązka laserowa miga i wysyłane jest
dźwiękowe ostrzeżenie). W tym przypadku należy ustawić urządzenie w
zakresie działania kompensatora;
stan wyczerpania baterii - zielona dioda sygnalizacji baterii będzie wolno
migaćgdy napięcie pracy wynosi <4V. W tej sytuacji, baterie muszą być
niezwłocznie wymienione.
4. WYPOSAŻENIE
laser CL3D/CL3D-G
tarczka laserowa
wielozadaniowy adapter laserowy
komplet baterii
walizka transportowa
instrukcja obsługi
5. DANE TECHNICZNE
Wiązka laserowa
Czerwona (CL3D), zielona (CL3D-G)
klasa lasera II
Generowane płaszczyzny
1 x poziomo (360°), 2 x pionowo (360°)
Dokładność
±1mm/5m
Zasięg pracy
20m (60m z czujnikiem)
Zakres samo-poziomoania
±3.5°
Zakres temperatury pracy
-10°C - 50°C
Zakres temperatury magazynowania
-20°C - 60°C
Mocowanie (śruba)
1/4"
Klasa odporności
IP54
Wymiary
115 x 68 x 107 mm
Waga
0.8kg
Nivel System –serwis i wsparcie
TPI Sp. z o.o., ul. Bartycka 22, 00-716 Warszawa, Polska
tel.: +48 22 632 91 40, fax: +48 22 862 43 09, info@nivelsystem.com
www.nivelsystem.com
This manual suits for next models
1
Table of contents
Languages:
Other Nivel System Measuring Instrument manuals
Nivel System
Nivel System M100 DIGITAL User manual
Nivel System
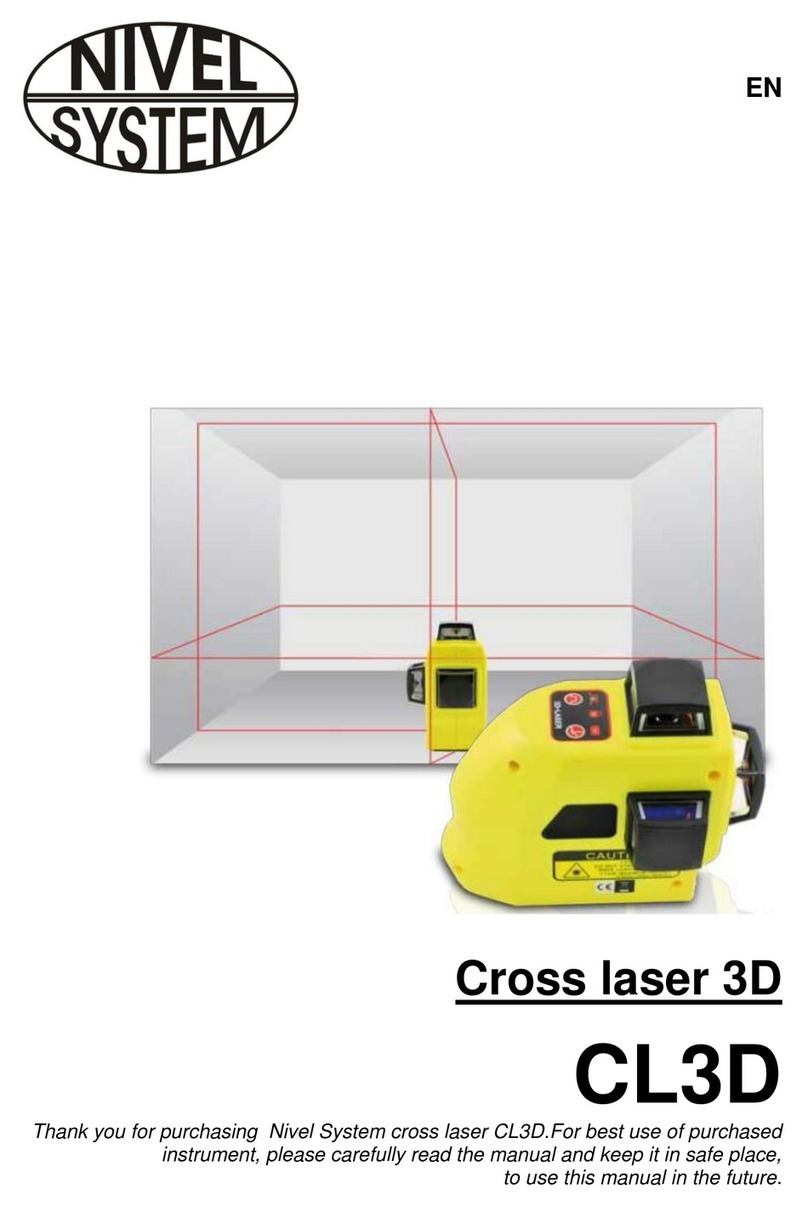
Nivel System CL3D User manual
Nivel System
Nivel System NL600 User manual
Nivel System
Nivel System NL500 User manual
Nivel System
Nivel System CL1D User manual
Nivel System
Nivel System NL400 User manual
Nivel System
Nivel System DM-120 User manual
Nivel System
Nivel System NL520 User manual
