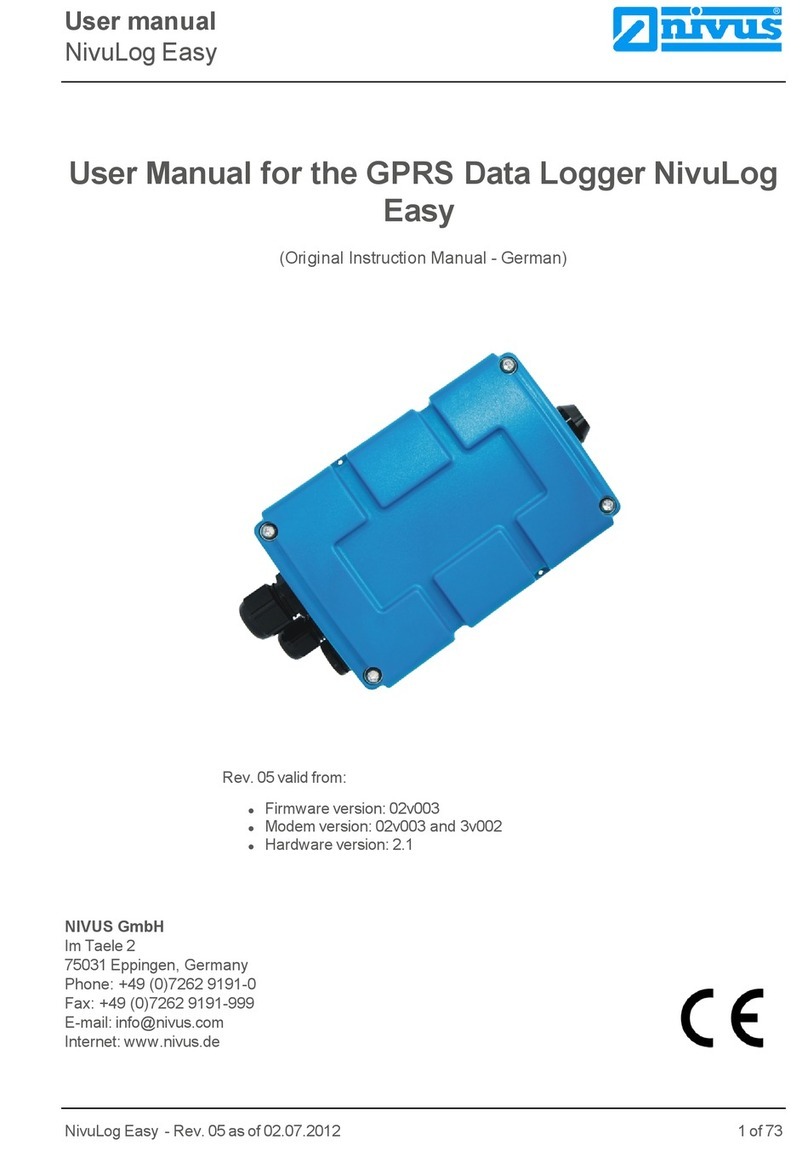
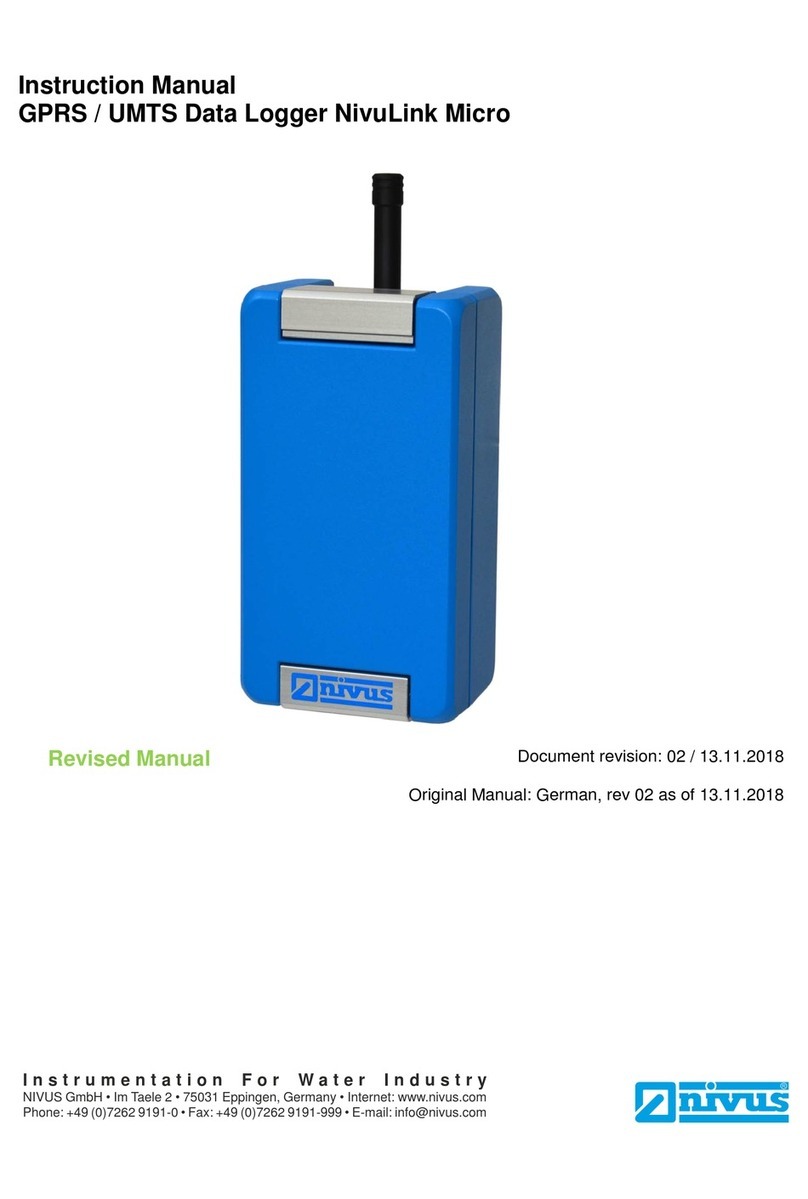
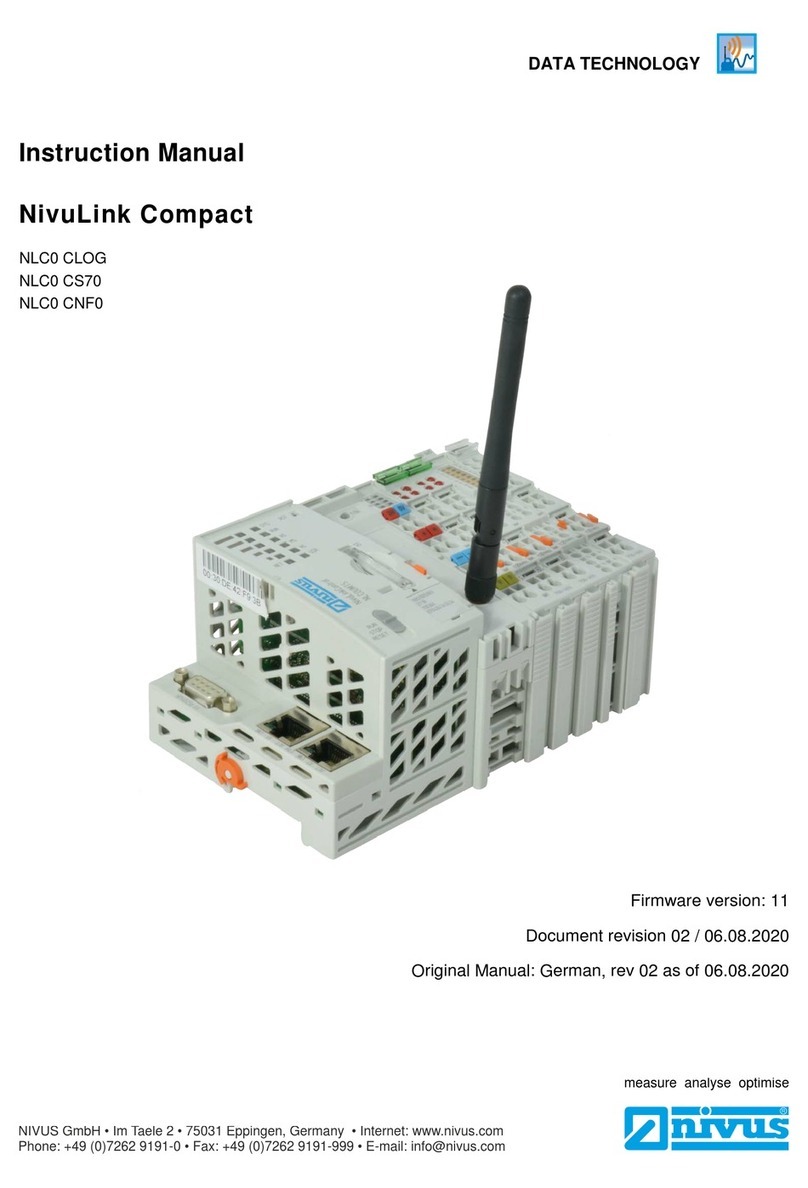
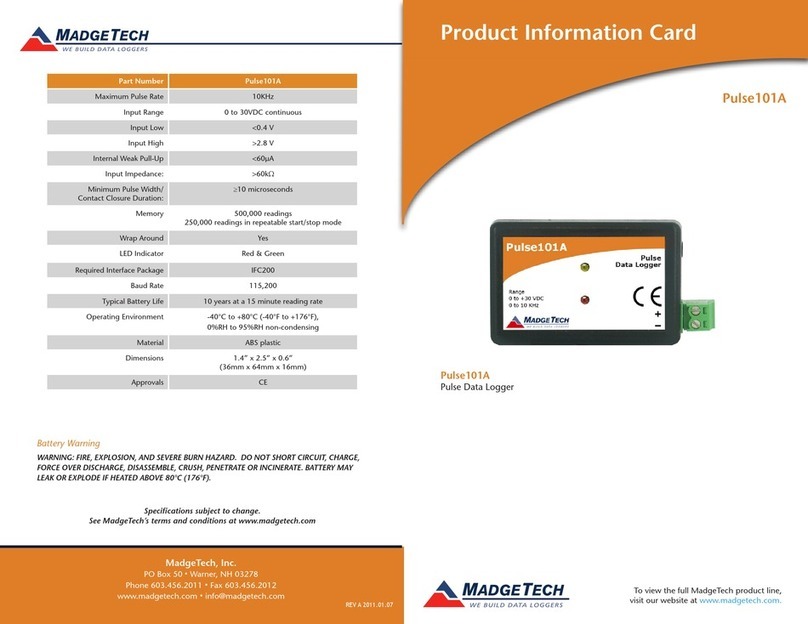
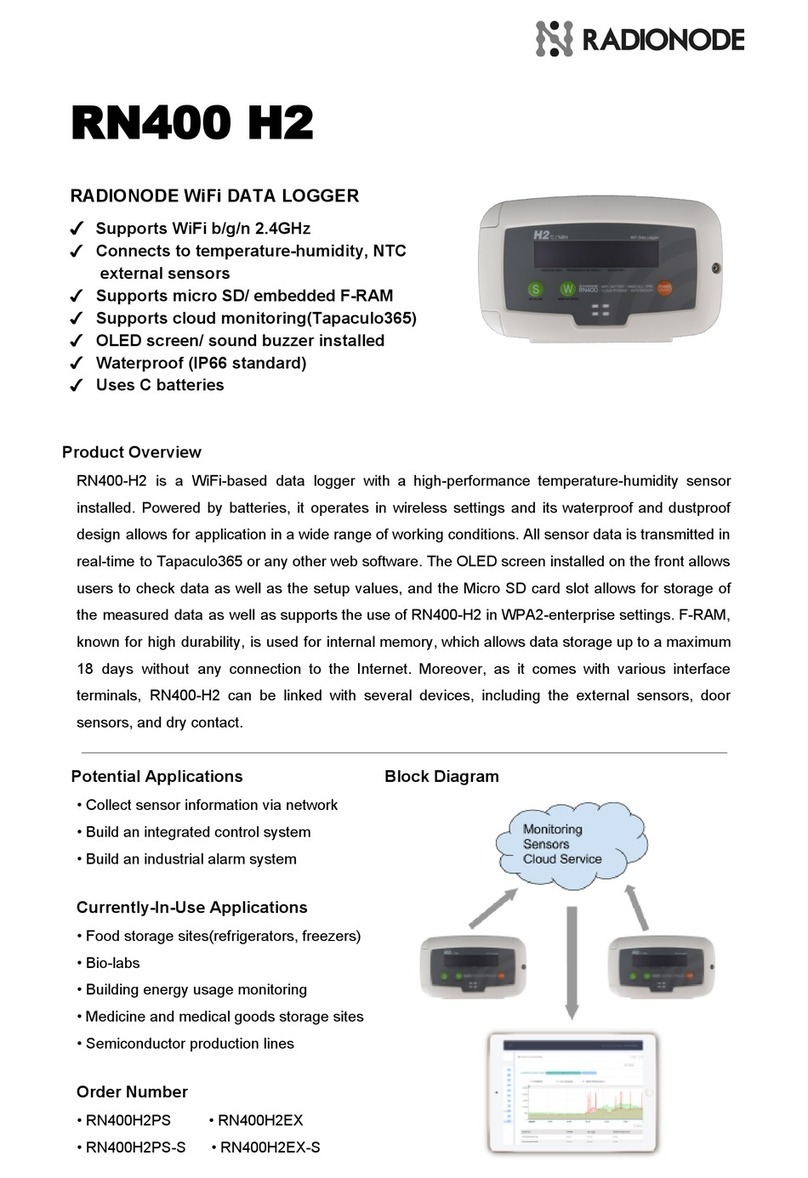
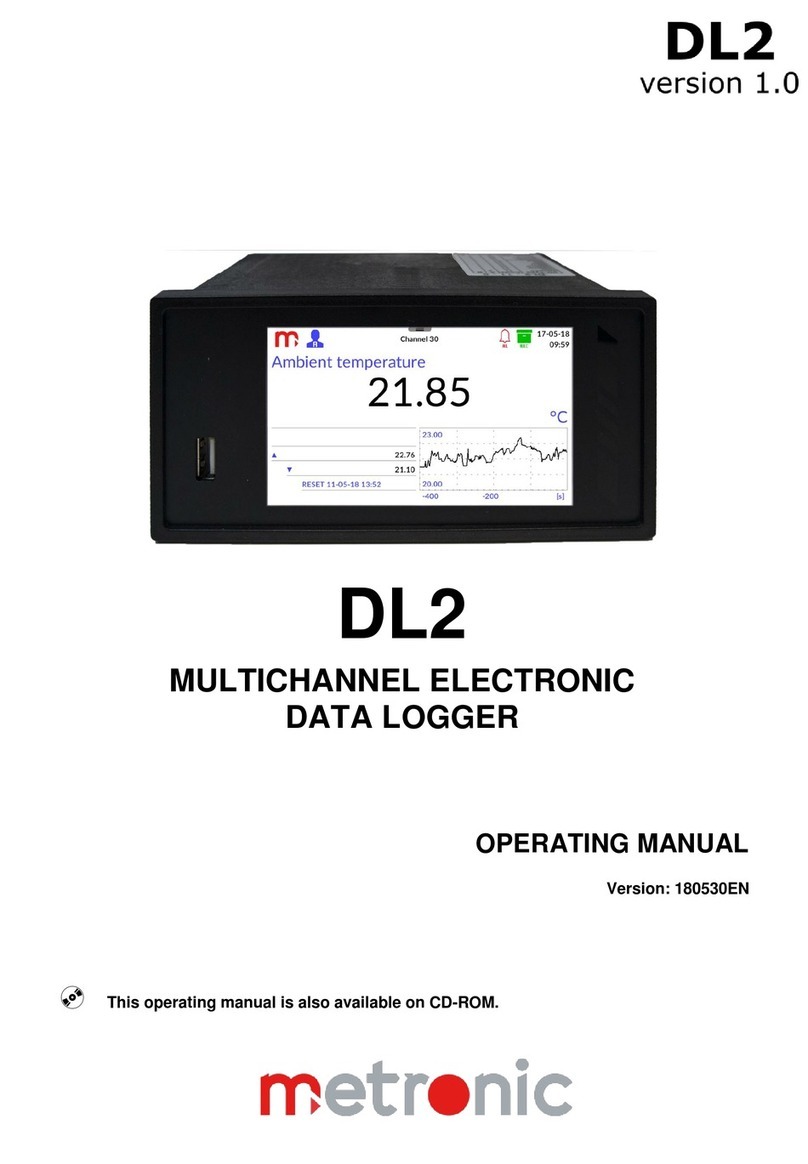
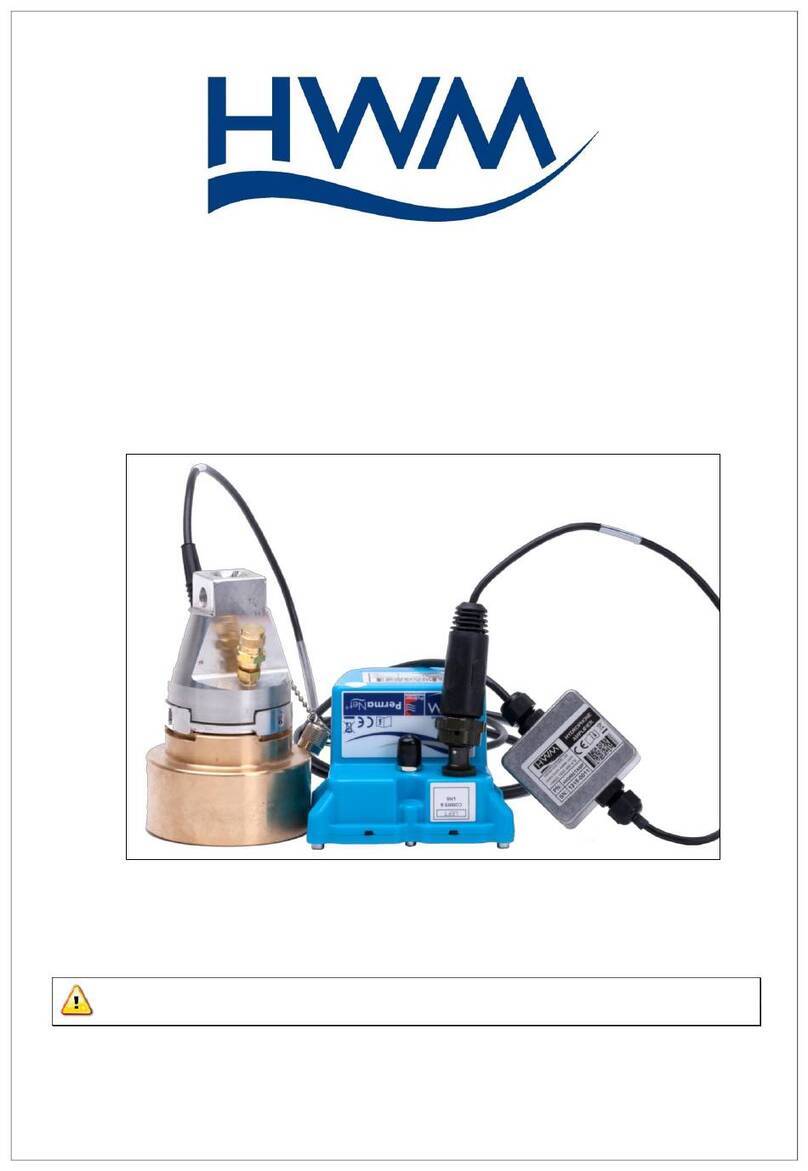
Nivus NivuLog Easy V3 User manual

User Manual for the GPRS Data Logger
NivuLogEasy V3
(Original Instruction Manual - German)
Rev. 03 valid from:
lFirmware version: 01v007
lApp. version: 02v012
lServer version: 47.10
lHardware version: 3.2
NIVUS GmbH
Im Täle 2
D-75031 Eppingen
Tel.: 0 72 62 / 91 91 - 0
Fax: 0 72 62 / 91 91 - 999
E-Mail: info@nivus.com
Internet: www.nivus.de
User manual
NivuLogEasy V3
NivuLogEasy V3 - Rev. 03 as of 24.10.2018 1 of 141

2 of 141 NivuLogEasy V3 - Rev. 03 as of 24.10.2018

Chapter 1 Table of contents
Chapter 1 Table of contents
User Manual for the GPRS Data Logger NivuLogEasy V3 1
Chapter 1 Table of contents 3
Chapter 2 Safety instructions 9
2.1 Use of the hazard warnings 9
2.2 General safety instructions 9
2.3 Safety and preventative measures for handling GSM/GPRS modems 10
2.3.1 Safety and precautionary measures for the installation of the GSM/GPRS modem 11
2.3.2 Safety measures for installing the antenna 11
2.4 Device labelling 11
2.5 Installation of spare and wear parts 12
2.6 Storage of the product 12
2.6.1 Separate storage of the device and power supply unit (recommended) 12
2.6.2 Storage with inserted power supply unit 13
2.7 Obligation of the operator 13
2.8 Personnel requirements 13
Chapter 3 Declaration of conformity 15
Chapter 4 Technical data 17
Chapter 5 General specifications 21
5.1 Translation 21
5.2 Copyright 21
5.3 General descriptive names 21
5.4 Overview 22
5.4.1 Block diagram 23
5.5 Intended use 24
5.6 General product information 24
Chapter 6 Functional principle 25
6.1 Internal processing of the measurement values 27
6.1.1 Filter module 28
6.1.2 Overflow module 29
6.1.3 Scale module (inputs) 29
6.1.4 Trim/sensor offset module 29
NivuLogEasy V3 - Rev. 03 as of 24.10.2018 3 of 141

6.1.5 Decay module 30
6.1.6 Control module 31
6.1.7 Alarm/trigger module 32
6.1.8 Record module 32
6.1.9 Setpoint module 33
6.1.10 Scale module (outputs) 33
6.2 Day change 34
6.3 Functionality of the internal data memory 35
6.4 Procedure in case of connection aborts 36
6.5 Aloha transmission mode 36
6.6 Automatic selection of the GSM network 36
6.7 Determining the GSM/UMTS/LTE signal strength 37
6.8 Determining the position data 37
6.9 Using the external SIM slot 37
Chapter 7 Storage, delivery and transport 39
7.1 Inspection of incoming deliveries 39
7.2 Scope of delivery 39
7.3 Storage 39
7.4 Transport 40
7.4.1 Transporting power supply units 40
7.5 Return 41
Chapter 8 Installation 43
8.1 Dimensions 43
8.2 Assembling the NivuLogEasy V3 43
8.3 Inserting/replacing the SIM card 49
8.4 Installing the NivuLogEasy V3 51
8.4.1 Wall mounting 52
8.5 Safety instructions for the cabling 53
8.5.1 Information on preventing electrostatic discharges (ESD) 53
8.6 Electrical installation 54
8.6.1 Connecting the sensors, actuators and power supply 54
8.6.1.1 Connection examples 57
8.6.2 Connecting the GSM antenna 57
4 of 141 NivuLogEasy V3 - Rev. 03 as of 24.10.2018

Chapter 1 Table of contents
8.6.3 Technical details about the universal inputs 58
8.6.3.1 0/4 to 20mA mode 58
8.6.3.2 0 to 2V mode 58
8.6.3.3 0 to 10V mode 58
8.6.3.4 Standard digital modes (digital, day counter, interval counter) 58
8.6.4 Technical details about the PT100/1000 interface 59
8.6.5 Technical details about the USB interface 59
8.6.6 Technical details about the outputs 60
8.6.6.1 Switchable sensor supply VOUT 60
8.6.6.2 Switchable sensor supply VEXT 61
8.6.6.3 Isolated switch contact (NO, CC) 61
8.6.7 Technical details about energy management 61
8.6.8 Technical details about the energy supply 62
8.6.8.1 Rechargeable battery pack for NivuLogEasyV3 (NLM0PSU413D+) 63
8.6.8.2 Rechargeable battery pack for NivuLogEasyV3 (NLM0PSU413D) 63
8.6.8.3 PSU DC for NivuLog Easy V3 (NLM0PSUDC) 64
8.6.8.4 PSU AC for NivuLogEasyV3 (NLM0PSUAC) 64
8.6.8.5 PSU DC+ for NivuLogEASYV3 (- upon request) 64
8.6.9 Technical details about detecting the failure of the supply voltage 65
8.6.10 Technical details about the system time 67
Chapter 9 Initial Start-Up 69
9.1 User information 69
9.2 General principles 69
9.3 Commissioning the system 69
9.4 Testing communication with the device 71
Chapter 10 User interfaces 73
10.1 User interface on the NivuLogEasy V3 73
10.1.1 Operating elements 73
10.1.1.1 Solenoid switch 73
10.1.1.2 2-colour status LED 73
10.2 User interface on the Device to Web server 75
10.2.1 Site configuration 75
10.2.1.1 Specific input screen for configuring the site 75
NivuLogEasy V3 - Rev. 03 as of 24.10.2018 5 of 141

10.2.1.1.1 Site 75
10.2.1.1.2 Comments 75
10.2.1.1.3 Measurement channels 75
10.2.1.1.3.1 Basis 75
10.2.1.1.3.2 Config 80
10.2.1.1.3.3 Alarms 87
10.2.1.1.3.4 Trigger 87
10.2.1.1.4 Output channels 89
10.2.1.1.5 Internal channels 93
10.2.1.1.5.1 Basis 93
10.2.1.1.5.2 Alarms 93
10.2.1.1.5.3 Trigger 94
10.2.1.1.6 Alarm settings 95
10.2.1.1.7 Calculated channels 95
10.2.1.1.7.1 Basis 96
10.2.1.1.7.2 Calculation 97
10.2.1.1.7.3 Alarms 98
10.2.1.1.8 Basic settings 99
10.2.1.1.9 FTP export settings 101
10.2.1.2 Default input screen for configuring the site 102
10.2.1.2.1 Site 102
10.2.1.2.2 Comments 102
10.2.1.2.3 Alarm settings 102
10.2.1.2.4 Calculated channels 102
10.2.1.2.4.1 Basis 103
10.2.1.2.4.2 Calculation 104
10.2.1.2.4.3 Alarms 105
10.2.1.2.5 Basic settings 106
10.2.1.2.6 FTP export settings 106
10.2.2 Device configuration 107
10.2.2.1 Comments 107
10.2.2.2 Measurement instrument 107
10.2.2.3 GPRS 108
6 of 141 NivuLogEasy V3 - Rev. 03 as of 24.10.2018

Chapter 1 Table of contents
10.3 Additional measurement channels 108
10.3.1 Counter readings of the infinite counters 108
Chapter 11 API 111
11.1 General 111
Chapter 12 Maintenance 113
12.1 General maintenance 113
12.2 Replacing the power supply unit 113
12.2.1 Charging the power supply unit 116
12.3 Power supply units with integrated energy store 117
Chapter 13 Removal/disposal 119
Chapter 14 Troubleshooting and repair 121
14.1 General problems 121
14.2 Log entries and error codes 123
14.2.1 Modem error 126
14.2.2 Module-specific critical errors 128
14.2.3 Module-specific information regarding the current operating state 128
14.3 Evaluating the device log 128
14.3.1 Evaluating the device log on the Device to Web server 128
14.3.2 Evaluating the device log using DeviceConfig 129
Chapter 15 Spare parts and accessories 131
15.1 Chargeable features 131
15.2 Assembly sets 131
15.3 Antennas 131
15.4 Power supply units 132
15.5 Charging devices and power supply units 132
15.6 Other accessories 132
Chapter 16 Document history 133
Chapter 17 Glossary 139
Chapter 18 Branch offices 141
NivuLogEasy V3 - Rev. 03 as of 24.10.2018 7 of 141

8 of 141 NivuLogEasy V3 - Rev. 03 as of 24.10.2018

Chapter 2 Safety instructions
Chapter 2 Safety instructions
For the connection, commissioning and operation of the NivuLogEasy V3 , the following information and
higher legal regulations of the country (e.g. VDE regulations), such as valid EX regulations as well as the
applicable safety and accident prevention regulations for the respective application case must be observed.
Read this manual completely before unpacking, setting up or operating this device. Observe all hazard,
danger and warning information. Non-observance can lead to serious injuries to the operator and/or damage
to the device.
Ensure that the safety equipment of this measurement instrument is not impaired. Install and use the
measurement system only in the manner and method described in this manual.
Important note: The manufacturer's products that are designed for use outdoors include extensive
protection against penetrating moisture and dust. If these products are connected to the power supply
or sensors by cables with connectors rather than permanently installed cables, the susceptibility of the
connector and socket to moisture and dust penetration is significantly higher. The operator is
responsible for protecting the connector and socket against penetrating moisture and dust in a
suitable way and complying with local safety regulations.
2.1 Use of the hazard warnings
DANGER:
Indicates a potential or threatening hazardous situation that will result in death or serious
injuries if not avoided.
WARNING:
Indicates a potential or threatening hazardous situation that can result in death or serious
injuries if not avoided.
CAUTION:
Indicates a potential hazardous situation that can result in minor or moderate injuries or
damage to this instrument.
Important note: Indicates a situation that can result in damages to this instrument if it is not avoided.
Information that must be particularly emphasised.
Note: Indicates a situation that does not result in any injury to persons.
Note: Information that supplements the specifications in the main text.
2.2 General safety instructions
WARNING:
Hazardous electric voltage can cause electric shock or burns. Always switch off all of the
used power supplies for the device before installing it, completing any maintenance work
or resolving any faults.
WARNING:
Ensure that the device is fully deactivated and cannot activate automatically when
sending/returning it as air freight. Information on this is provided in chapter "Storage of
the product" on page 12. If you have any unanswered questions, contact the manufacturer
(see "Branch offices" on page 141).
NivuLogEasy V3 - Rev. 03 as of 24.10.2018 9 of 141

WARNING:
Never use this device in areas where the use of wireless equipment is prohibited. The
device must not be used in hospitals and/or in the vicinity of medical equipment, such as
heart pacemakers or hearing aids, as their functionality could be compromised by the
GSM/GPRS modem contained in the device.
WARNING:
Never use this device in potentially explosive atmospheres and in the vicinity of highly
combustible areas (fuel stations, storage areas for combustible material, chemical plants
and detonation sites) or in the vicinity of flammable gases, vapours or dust.
2.3 Safety and preventative measures for handling GSM/GPRS
modems
The following safety and preventative measures must be observed during all phases of installation, operation,
maintenance or repair of a GSM/GPRS modem. The manufacturer is not liable if the customer disregards
these preventative measures.
CAUTION:
The GSM/GPRS modem connection must not be used in hazardous environments.
No guarantee of any kind, whether implicit or explicit, is given by the manufacturer and its suppliers for the use
with high risk activities.
In addition to the following safety considerations, all directives of the country in which the device is installed
must be complied with.
Important note: No liability shall be assumed at any time and under no circumstances for
connections via a GSM/GPRS modem for which wireless signals and networks are utilized. The
GSM/GPRS modem must be switched on and operated in an area where sufficient signal strength is
present.
10 of 141 NivuLogEasy V3 - Rev. 03 as of 24.10.2018

Chapter 2 Safety instructions
2.3.1 Safety and precautionary measures for the installation of the GSM/GPRS
modem
lThis device must only be installed by a trained technician who applies the recognised installation
practices for a radio frequency transmitter including the correct grounding of external antennas.
lThe device must not be operated in hospitals and/or in the vicinity of medical equipment such as heart
pacemakers or hearing aids.
lThe device must not be operated in highly flammable areas such as petrol filling stations, fuel storage
sites, chemical factories and explosion sites.
lThe device must not be operated in the vicinity of flammable gases, vapours or dusts.
lThe device must not be subjected to strong vibrations or impacts.
lThe GSM/GPRS modem can cause interferences if it is located in the vicinity of television sets, radios
or computers.
lDo not open the GSM/GPRS modem. Any modification to the equipment is prohibited and will result in
the operating licence being revoked.
lThe use of GSM services (SMS messages/data communication/GPRS, etc.) may incur additional
costs. The user is solely responsible for any resulting damages and costs.
lDo not install the device in any other way to the one described in the operating instructions. Improper
use will invalidate the warranty.
2.3.2 Safety measures for installing the antenna
lOnly use antennas that are recommended or supplied by the manufacturer.
lThe antenna must be installed at a distance of at least 20 cm from individuals.
lThe antenna must not be extended outside protected buildings and must be protected against lightning
strikes.
lThe voltage supply must be switched off before replacing the antenna.
2.4 Device labelling
The specifications in this manual apply exclusively to the device type NivuLogEasy V3 . The type plate is
located on the right side of the device and includes the following specifications:
lName and address of manufacturer
lOrder number
lSpecification of the device range
lSerial number
lEnvironmental conditions during operation
lProtection class
lCountry list profile of the SIM chip
lHardware revision
lCE marking
lChargeable features released at the time of delivery
The correct specification of the order number and serial number is important for all queries and spare part
orders. Only then can we process requests promptly and properly.
NivuLogEasy V3 - Rev. 03 as of 24.10.2018 11 of 141

Type plates NivuLogEasy V3
Note: This symbol indicates that the NivuLogEasy V3 is equipped with an integrated SIM chip.
Note: These operating instructions are part of the device and must be available for the user at all
times. The safety instructions included therein must be observed.
WARNING:
It is strictly prohibited to disable the safety equipment or modify its mode of operation.
2.5 Installation of spare and wear parts
Be advised that spare and accessory parts that have not been supplied by the manufacturer have also not
been inspected or approved by the manufacturer. The installation and/or use of such products can possibly
have a negative impact on the specified constructional properties of the device. The manufacturer shall not be
liable for any damages that arise from the use of non-original parts and non-original accessory parts.
2.6 Storage of the product
To safeguard the NivuLogEasy V3 , ensure that all relevant data was transferred to the Device to Web
server. If necessary, initiate a transmission directly on the device via the solenoid switch (see "Solenoid
switch" on page 73) and then check again that all of the relevant data has been transferred. This particularly
applies to the "Interval" connection type. If the "Interval & wakeup" connection type has been selected, you
can also initiate the transmission via the Device to Web server (see "Basic settings" on page 99). With the
"Online" connection type, the determined measurement data is immediately transferred to the Device to Web
server. The data on the server is always up-to-date and the device can be switched off at any time.
2.6.1 Separate storage of the device and power supply unit (recommended)
Remove the power supply unit before disconnecting the cables and antenna. If possible, switch off the supply
or charging voltage before disconnecting the cables from the VIN and GND clamps (see "Connecting the
sensors, actuators and power supply" on page 54). Store the NivuLogEasy V3 and power supply unit in the
original packaging.
The configuration and most recently determined data are retained. The system time also continues to run
thanks to the hardware real-time clock equipped with its own buffer battery. This means that a valid time basis
is available immediately following recommissioning (see "Technical details about the system time" on page
67).
12 of 141 NivuLogEasy V3 - Rev. 03 as of 24.10.2018

Chapter 2 Safety instructions
2.6.2 Storage with inserted power supply unit
Activate the transport lock, by setting the "Operation mode" in the "Basic settings" configuration section (see
"Basic settings" on page 99) to "transport". You may need to initiate a transmission again to ensure the
changed configuration is transmitted to the device. Wait until the status LED goes out (see "2-colour status
LED" on page 73), i.e. the connection to the server has been terminated. With the "online" connection type,
the determined measurement data and changed "Operation mode" are immediately transmitted to the Device
to Web server. Then disconnect the device from the supply or charging voltage. If possible, switch off the
supply or charging voltage before disconnecting the cables from the VIN and GND clamps (see "Connecting
the sensors, actuators and power supply" on page 54). The remaining cables and antenna can then be
removed. Store the NivuLogEasy V3 in its original packaging.
By activating the transport lock, the NivuLogEasy V3 is placed in a very energy-saving mode. However, it
may still occur that the inserted power supply unit is fully discharged if the device is stored for very long
periods. Although the configuration and the most recently determined data are always retained. The system
time also continues to run thanks to the hardware real-time clock equipped with its own buffer battery. This
means that a valid time basis is available immediately following recommissioning (see "Technical details
about the system time" on page 67). The transport lock is deactivated again by re-initiating Aloha
transmission mode (see "Aloha transmission mode" on page 36) and the NivuLogEasy V3 resumes
operation according to the configuration.
2.7 Obligation of the operator
WARNING:
In the EEA (European Economic Area), the national implementation of the framework
directive (89/391/EEC) as well as the associated specific directives and from these in
particular, the directive (2009/104/EC) about the minimum safety and health requirements
for use of work equipment by workers at work, each in their respective version are to be
complied with.
The operator must obtain the local operating licence and the associated documents.
In addition, the operator must comply with the local legal requirements for
lthe safety of the personnel (accident prevention measures),
lthe safety of the equipment (protective equipment and maintenance),
lthe product disposal (waste disposal law),
lthe material disposal (waste disposal law),
lthe cleaning (cleaning agents and disposal) and
lthe environmental protection amendments.
Before commissioning, the operator must ensure that the installation and commissioning – provided these
were performed by the operator himself – are in compliance with the local regulations.
2.8 Personnel requirements
Installation, commissioning and maintenance may only be completed by personnel who meet the following
conditions:
lQualified specialist personnel with the relevant training
lAuthorised by the facility operator
NivuLogEasy V3 - Rev. 03 as of 24.10.2018 13 of 141

Note: Qualified personnel
In the context of these instructions and the warnings on the product itself, individuals responsible for the setup,
installation, commissioning and operation of the product must have gained relevant qualifications relating to
their activities, including, for example:
lTraining, instruction and authorisation to activate/deactivate, ground and label electric circuits and
devices/systems in accordance with the standards of safety engineering.
lTraining or instruction on the maintenance and use of suitable safety equipment in accordance with the
standards of safety engineering.
lFirst aid training
14 of 141 NivuLogEasy V3 - Rev. 03 as of 24.10.2018

Chapter 3 Declaration of conformity
Chapter 3 Declaration of conformity
NivuLogEasy V3 - Rev. 03 as of 24.10.2018 15 of 141

16 of 141 NivuLogEasy V3 - Rev. 03 as of 24.10.2018

Chapter 4 Technical data
Chapter 4 Technical data
Voltage supply Rechargeable battery:
lRechargeable battery pack for NivuLogEasyV3 : 13,6Ah, Li-Ion , integrated
overvoltage protection
lRechargeable battery pack for NivuLogEasyV3 : 13,2Ah, Li-Ion , integrated
overvoltage protection
Direct power supply:
lPSU DC for NivuLog Easy V3 : DC protective circuit
lPSU DC+ for NivuLogEASYV3 : 900mAh, Li-Po , DC protective circuit
lPSU AC for NivuLogEasyV3 : 900mAh, Li-Po , 230VAC power supply unit
Additional information is provided in "Technical details about the energy supply" on
page 62.
Supply or charging
voltage
12...32VDC (max. 12W )
Housing Material: Luran S 797S / Lexan 923A Resin (housing/cover)
Weight: 330g (without power supply unit)
Protection class: IP66
Dimensions (WHD): 86 x 175 x 64mm (without antenna)
Operating
temperature
-20...+60°C
Air humidity 15...90%rH non-condensing
Storage
temperature
-30...+85°C
Display Two-colour LED for signalling the operating state
Operation Solenoid switch for initiating Aloha transmission mode
Antenna connector FME-M
Universal inputs 4 x analogue or digital
Modes:
l0/4...20mA: Resolution 6,3µA, max. 23,96mA, load 96Ω
l0...2V: Resolution 610µV, max. 2,5V, load 10k086
l0...10V: Resolution 7,97mV, max. 32V, load 4k7
lDigital: max. 32V, low <1,44V, high >3,36V, load 8k6
lDay counter: min. pulse length 1ms, load 8k6
lInterval counter: min. pulse length 1ms, load 8k6
lInfinite counter: min. pulse length 1ms, Bürde 8k6
Additional information is provided in "Technical details about the universal inputs" on
page 58.
NivuLogEasy V3 - Rev. 03 as of 24.10.2018 17 of 141

System time Hardware real-time clock with its own buffer battery and automatic time
synchronisation with the server.
Additional information is provided in "Technical details about the system time" on page
67.
Internal sensors Internal housing temperature
lMeasurement range: -20...+60°C
lResolution: 0,1°C
Humidity in the housing
lMeasurement range: 0...100% rH
lResolution: 0,1% rH
External
temperature sensor
1)
1 x PT100/1000 (including auto detection)
Additional information is provided in "Technical details about the PT100/1000
interface" on page 59.
Outputs 1 x switchable 3,3V supply (max. 180mA )
Modes:
lExt. warmup time
lDigital
1 x switchable sensor supply:
Output voltage (selected via configuration parameter):
l15V at Iout = 45mA
l23,3V at Iout = 45mA
Modes:
lExt. warmup time
lDigital
1 x isolated switch contact:
lImax: 130mA
lUmax: 32V
lRon: 35Ω
lfmax: 1000Hz
Modes:
lExt. warmup time
lDigital
lFrequency: Adjustment range 1...1000Hz, pulse duty factor 50%
lPulse/min
Additional information is provided in "Technical details about the outputs" on page 60.
18 of 141 NivuLogEasy V3 - Rev. 03 as of 24.10.2018

Chapter 4 Technical data
USB interface 1 x mini-B USB 2.0 slave for the connection to a PC. The DeviceConfig configuration
program must be installed on the PC to enable communication with the NivuLogEasy
V3 .
Additional information is provided in "Technical details about the USB interface" on
page 59.
Data memory Internal flash memory for up to 34.944 measurement cycles
Additional information is provided in "Functionality of the internal data memory" on
page 35.
Data type Infinite counter: s64 (64Bit signed)
Other measurement data: f32 (32Bit floating point)
Data transmission 2G/3G penta band modem:
l2G GPRS 850MHz / 1900MHz
l2G GPRS 900MHz / 1800MHz
lUMTS B1, B2, B4, B5, B6, B8, B19
SIM 2) The following options can be selected using the DeviceConfig configuration program:
lIntegrated SIM chip
lSIM slot
Additional information is provided in "Using the external SIM slot" on page 37
1) The chargeable feature "Unlocking of integrated temperature input (NLM0V3TEMP)" must be released to be able to use
the external temperature sensor.
2) The chargeable feature "Unlocking / Device License customers SIM (NLM0LIZENZ02)" must be released to be able to
use the SIM slot.
NivuLogEasy V3 - Rev. 03 as of 24.10.2018 19 of 141

20 of 141 NivuLogEasy V3 - Rev. 03 as of 24.10.2018
Table of contents
Other Nivus Data Logger manuals
