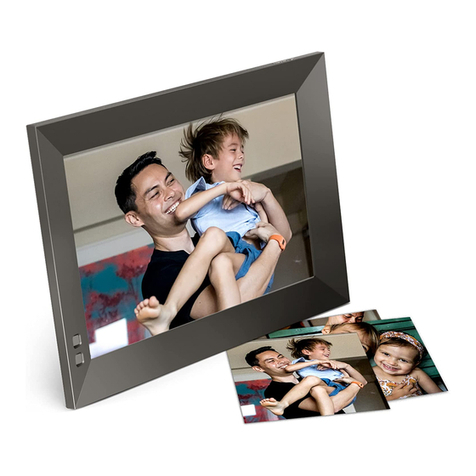
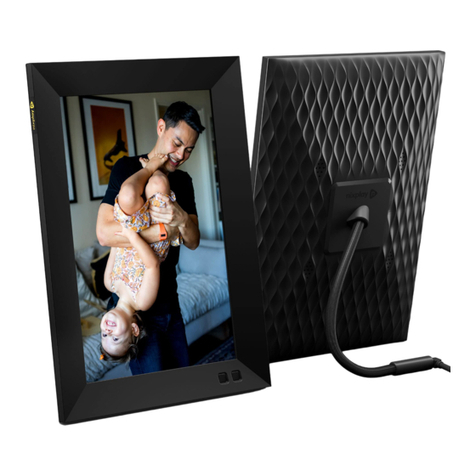
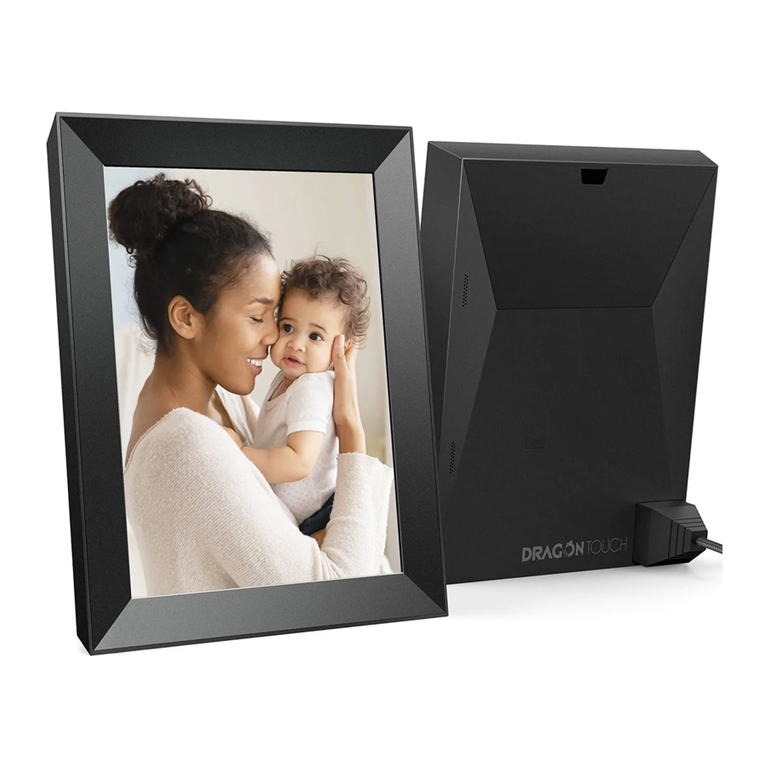
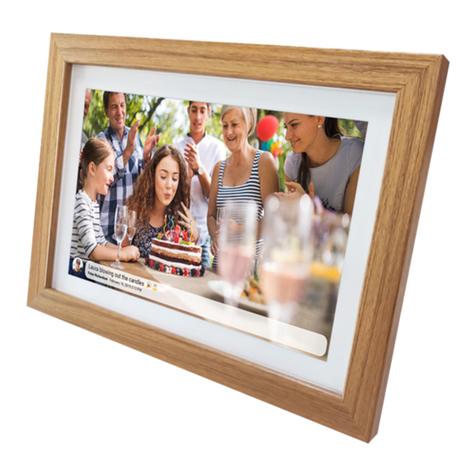
Nixplay W10E Reference guide

How to be an
Expert Nixplayer
A Brief Guide to Your Nixplay
W10E
Wifi Digital Photo Frame
You can get the e-label in the information section of the setting


Read This First,
Please
Nixplay cares deeply about providing your family with a great frame and service. We go to
great lengths to ensure your frame is delivered into your hands in perfect working order.
If your Nixplay isn’t working perfectly, please do let us know. We’re here to help.
We’re just a phone call, email or chat away.
Find our telephone number, email and web address at the back of this guide.

Table of Contents
English
Get to know your Nixplay Smart Photo Frame
Before using the Remote Control
Positioning your Frame
Wall mounting your Frame
Create Nixplay Account
Power on your Frame
Pairing your Frame
Starting to Nixplay
Earn Discounts… and More Nixplay Frames!
Deutsch
Lernen Sie Ihren Nixplay Smart Bilderrahmen kennen
Vor der Verwendung der Fernbedienung
Aufstellen des Rahmens
Wandmontage des Rahmens
Nixplay-Konto erstellen
Rahmen einschalten
Verbindung zum Bilderrahmen einrichten
Nixplay verwenden
Rabatte sammeln... und mehr Nixplay Bilderrahmen!
Italiano
Scopri la tua cornice digitale Nixplay
Prima di usare il telecomando
Posiziona la tua cornice
Come montare la cornice sulla parete
Crea un account Nixplay
Accendi la tua cornice
Associa la tua cornice
Inizia con Nixplay
Guadagna sconti...e tante altre cornici Nixplay!
Français
Informations essentielles sur votre cadre photo
intelligent Nixplay
Avant d’utiliser la télécommande
Positionner votre cadre
Monter votre cadre au mur
Créer votre compte Nixplay
Allumer votre cadre
Apparier votre cadre
Commencer à utiliser Nixplay
Gagnez des remises.... et de nouveaux cadres Nixplay !
5
9
11
13
17
19
21
23
25
5
9
11
13
17
19
21
23
25
5
9
11
13
17
19
21
23
26
5
9
11
13
17
19
21
23
26

Español
Conozca a su marco fotográco inteligente de Nixplay
Antes de usar el mando a distancia
Colocación del marco
Fijación del marco en la pared
Crear una cuenta de Nixplay
Encender el marco
Emparejamiento del marco
Empezar a usar su dispositivo Nixplay
Obtenga descuentos... y más marcos Nixplay
FCC
English
IC
English
Français
Contact us
5
9
11
13
17
19
21
23
26
31
32
32
34

Get to know your Nixplay Smart Photo Frame
B
A
B
A
A) Senses movement and turns the
frame on and off when motion sensor is
enabled.
B) Infra-red Sensor: Receives signals from
the remote control.
*On Nixplay Smart Photo Frame (Metal),
these sensors are not visible from the
exterior.
EN
A) Reagiert auf Bewegung und schaltet
den Rahmen ein und aus, wenn der
Bewegungssensor aktiviert ist.
B) Infrarotsensor: Empfängt Signale der
Fernbedienung.
*Beim Nixplay Smart Bilderrahmen
(Metall) sind diese Sensoren von außen
nicht sichtbar.
DE
A) Percepisce il movimento e accende e
spegne la cornice quando il sensore di
movimento è abilitato.
B) Sensore infrarosso: riceve segnali dal
telecomando.
*Sulla Cornice digitale Nixplay
(Metal), questi sensori non sono visibili
dall’esterno.
IT
5

A) Détecte les mouvements et allume ou
éteint le cadre lorsque le détecteur de
mouvement est activé.
B) Capteur infrarouge : Reçoit le signal de
la télécommande.
*Sur le cadre photo intelligent Nixplay
(Metal), ces capteurs ne sont pas visibles
depuis l’extérieur.
FR
A) Detecta el movimiento y activa o
desactiva el marco si se habilita el sensor
de movimiento.
B) Sensor de infrarrojos: Recibe señales
del mando a distancia.
*En los marcos fotográcos inteligentes
de Nixplay (metal), estos sensores no se
ven desde el exterior.
ES
6

D
E
C
F
G
H
K
L
I
J
C) Infra-red Transmitter*
D) On / Off
E) Navigation Menu
F) Back
G) Settings
H) Display Playlists (photos only)
I) Transition effects when playing photos
J) Select / Play / Pause
K) Volume Up
L) Volume Down
*Not applicable to Nixplay Smart Photo
Frame (Metal)
EN
C) Infrarotsender*
D) Ein / Aus
E) Navigationsmenü
F) Zurück
G) Einstellungen
H) Wiedergabelisten anzeigen (nur Fotos)
I) Übergangseffekte beim Anzeigen von
Fotos
J) Auswahl / Wiedergabe / Pause
K) Lautstärke erhöhen
L) Lautstärke verringern
*Gilt nicht für den Nixplay Smart
Bilderrahmen (Metall)
DE
7

C) Trasmettitore a infrarossi*
D) Acceso / Spento
E) Menù di navigazione
F) Indietro
G) Impostazioni
H) Visualizza playlist (solo foto)
I) Effetti di transizione durante la
riproduzione delle foto
J) Seleziona / Play / Pausa
K) Volume alto
L) Volume basso
*Non applicabile alla cornice digitale
Nixplay (Metal)
IT
C) Émetteur infrarouge*
D) Marche / arrêt
E) Menu de navigation
F) Retour
G) Réglages
H) Afchage des listes de lecture
(photos uniquement)
I) Effets de transition lors de la lecture
des photos
J) Sélectionner / Lire / Mettre en pause
K) Augmenter le volume
L) Baisser le volume
*Ne s’applique pas au cadre photo
intelligent de Nixplay (Metal)
FR
C) Transmisor de infrarrojos*
D) Encender / Apagar
E) Menú de navegación
F) Atrás
G) Conguración
H) Listas de reproducción de la pantalla
(solo fotografías)
I) Efectos de transición al reproducir
fotografías
J) Seleccionar / Reproducir / Pausa
K) Subir el volumen
L) Bajar el volumen
*No aplicable en marcos fotográcos
inteligentes Nixplay (metal)
ES
8

Before using the Remote Control
Nixplay Smart Photo Frame
M
Nixplay Smart Photo Frame (Metal)
N
9

M) Remove battery protector.
N) Insert 2 x AAA batteries (included).
EN
M) Batterieschutzfolie entfernen.
N) 2 x AAA-Batterien einsetzen (im
Lieferumfang enthalten).
DE
M) Rimuovi la striscia dal vano batteria.
N) Inserisci 2 pile AAA (incluse).
IT
M) Retirez l’étiquette transparente.
N) Insérez 2 piles AAA (incluses).
FR
M) Tire de la banda transparente.
N) Coloque 2 pilas AAA (se incluyen).
ES
10

Positioning your Frame
Free-standing in portrait or landscape
mode.
Use the cable stand to position your
frame in portrait or landscape mode.
Don’t worry: the stand has a rigid design
and can also be angled to position your
Nixplay view perfectly.
When not in use, the remote control can
be attached behind the frame by magnet
(not applicable when wall mounted).
EN
Freistehend im Hoch- oder Querformat.
Verwenden Sie den Kabelständer, um
Ihren Rahmen im Hoch- oder Querformat
zu positionieren.
Keine Sorge: Der Ständer ist stabil
konstruiert und kann auch abgewinkelt
werden, damit Sie den perfekten Blick auf
Ihren Nixplay haben.
Bei Nichtgebrauch kann die
Fernbedienung magnetisch hinter dem
Rahmen befestigt werden (gilt nicht bei
Wandmontage).
DE
Free-standing in modalità orizzontale o
verticale.
Usa il supporto per cavi per posizionare
la cornice in modalità orizzontale o
verticale.
Non ti preoccupare: il supporto ha
un design rigido e può anche essere
inclinato per una perfetta visualizzazione
della tua Nixplay.
Se non è utilizzato, il telecomando
può essere ssato dietro la cornice
con un magnete (non applicabile con il
montaggio a parete).
IT
11

Sur une surface horizontale, en mode
portrait ou paysage.
Utilisez le support de câble pour
positionner votre cadre en mode portrait
ou paysage.
Ne vous inquiétez pas : le support est
rigide et peut être plié de manière à placer
votre Nixplay dans la position idéale.
Lorsque vous n’utilisez pas la
télécommande, vous pouvez la ranger
derrière le cadre grâce à un aimant
(option non disponible quand le cadre
est xé au mur).
FR
No empotrado, en modo horizontal o
vertical.
Use el cable de soporte para colocar el
marco en modo horizontal o vertical.
No se preocupe: el soporte cuenta con
un diseño rígido que se puede adaptar
a la posición adecuada a n de poder
visualizar su Nixplay perfectamente.
Cuando no se usa, el mando a distancia
se puede jar magnéticamente detrás del
marco (esta característica no es aplicable
si el dispositivo se ja a la pared).
ES
12

1) Remove the back cover by sliding it to
the left to access the wall mount holes.
2) Use the included Wall Mounting Guide
to align where the screws need to be
drilled on the wall.
2 x M4 screws are included and required
for wall mount.
Depending on your wall type, you may
need to drill in the included anchors
before securing the screws.
3) Leave a 10mm gap between the wall
and the head of each screw where the
power cable can run through.
EN
1) Entfernen Sie die Rückseite, indem Sie
sie nach links schieben, um Zugang zu
den Bohrungen für die Wandmontage zu
erhalten.
2) Verwenden Sie die mitgelieferte
Schablone für die Wandmontage, um die
Bohrlöcher an der Wand zu markieren.
2 x M4 Schrauben sind im Lieferumfang
enthalten und für die Wandmontage
erforderlich.
Je nach Beschaffenheit der Wand müssen
Sie möglicherweise die mitgelieferten
Dübel vor dem Eindrehen der Schrauben
einsetzen.
Wall mounting your Frame
1
SLIDE OPEN TO
WALL MOUNT
1) Rimuovi il pannello sul retro facendolo
scorrere verso sinistra per accedere ai fori
per il montaggio a parete.
2) Usa la guida per il montaggio a parete
per il posizionamento corretto delle viti
sulla parete.
A seconda del tipo di parete, potrebbe
essere necessario forare e inserire i
tasselli prima di ssare le viti.
3) Lassen Sie zwischen Wand und
Schraubenkopf einen Abstand von 10
mm, durch den das Netzkabel geführt
werden kann.
2
DE
IT
13

1) Retirez le panneau arrière en le faisant
glisser sur la gauche pour que les trous
de xation apparaissent.
2) Utilisez le guide xation murale ci-joint
pour marquer l’emplacement des trous à
percer au mur.
Deux vis M4 sont incluses et doivent être
utilisées pour le montage mural.
Sur certains types de murs, vous devrez
percer et insérer les ancrages ci-inclus
1) Deslice la cubierta posterior hacia la
izquierda para extraerla y acceder a los
agujeros de jación a la pared.
2) Use la guía de jación a la pared
incluida para alinear la posición de
perforación de los tornillos en la pared.
Se incluyen 2 tornillos M4 que son
necesarios para la jación del dispositivo
a la pared.
3) Lascia uno spazio di 10 mm tra
la parete e la testa di ogni vite per
consentire il passaggio del cavo di
alimentazione.
avant de xer les vis.
3) Laissez un espace de 10 mm entre
le mur et la tête de chaque vis, pour
pouvoir y glisser le câble.
En función del tipo de pared, es posible
que deba realizar la perforación y la
jación de los anclajes antes de ajustar
los tornillos.
3) Deje un espacio de 10 mm entre la
pared y la cabeza de los tornillos para
pasar el cable de alimentación.
FR
ES
3
10mm
(0.4 inch)
14

4 5
4) Schließen Sie das Netzkabel direkt an
den Anschluss hinter dem Rahmen an.
5) Setzen Sie den Rahmen auf die beiden
Schrauben auf und schieben Sie ihn nach
unten, um ihn zu xieren.
Die 13.3- und 15.6-Zoll-Modelle sind
mit VESA 75 x 75 Wandhalterungen
kompatibel.
DE
4) Connect the power cable directly into
the port behind the frame.
5) Mount the frame onto the 2 screws and
slide down to lock into place.
On 13.3” and 15.6” models, VESA 75 x 75
wall mounts are compatible.
EN
4) Collega il cavo di alimentazione
direttamente nella porta dietro la cornice.
5) Monta la cornice sulle 2 viti e fai
scorrere verso il basso per bloccare in
posizione.
Sui modelli da 13.3” e 15.6”, sono
compatibili i montaggi a parete
VESA 75 X 75.
IT
15

4) Connectez directement le câble
d’alimentation au port situé à l’arrière du
cadre.
5) Montez le cadre sur les deux vis puis
faites-le glisser vers le bas pour le xer
fermement en position.
Sur les modèles de 13.3” et 15.6”, les
xations murales VESA 75 x 75 sont
compatibles.
FR
4) Conecte el cable de alimentación
directamente en el puerto detrás del
marco.
5) Coloque el marco en los 2 tornillos y
deslícelo hacia abajo para ajustarlo.
En los modelos de 13.3 y 15.6 pulgadas,
se admiten las unidades de jación VESA
75 x 75.
ES
VESA holes on
13.3” and 15.6” models
Wall-mount video guide:
www.nixplay.com/wall-mount
16
75mm
75mm

Create your Nixplay account
1) Download the Nixplay app
Search for ‘Nixplay’ on the Apple Store or
Google Play. If apps aren’t your thing, you
can do all of the above by logging in at
www.nixplay.com.
2) Create your Nixplay account
You’ll need one to pair and manage your
frame. Use your email address and create
a unique password to create an account.
3) Login to your new Nixplay account.
EN
1) Laden Sie die Nixplay-App herunter
Suchen Sie im Apple Store oder bei
Google Play nach „Nixplay“. Wenn Sie
keine App installieren möchten, können
Sie sich auch einfach unter www.nixplay.
com anmelden.
2) Erstellen Sie Ihr Nixplay-Konto. Dieses
wird benötigt, um Ihren Bilderrahmen zu
verbinden und zu verwalten. Geben Sie
Ihre E-Mail-Adresse und ein individuelles
Passwort ein, um das Konto zu erstellen.
3) Melden Sie sich bei Ihrem neuen
Nixplay-Konto an.
DE
1) Scarica l’app Nixplay
Cerca ‘Nixplay’ sull’Apple Store o su
Google Play. Se non hai dimestichezza
con le app, puoi fare tutto accedendo al
sito www.nixplay.com.
2) Crea il tuo account Nixplay. Ti servirà
per associare e gestire la tua cornice. Usa
il tuo indirizzo e-mail e crea una password
unica per creare un account.
3) Accedi al tuo nuovo account Nixplay.
IT
17

1) Téléchargez l’application Nixplay
Recherchez « Nixplay » sur Apple Store
ou Google Play. Si les applications ne
sont pas votre truc, vous pouvez faire
la même chose en vous connectant sur
www.nixplay.com.
2) Créez votre compte Nixplay. Vous aurez
besoin d’un compte pour apparier et
gérer votre cadre. Pour créer un compte,
vous devrez utiliser votre adresse e-mail et
un mot de passe unique.
3) Connectez-vous sur votre nouveau
compte Nixplay.
FR
1) Descargue la aplicación Nixplay
Busque Nixplay en Apple Store o Google
Play. Si preere no usar ninguna aplicación,
puede realizar todas las acciones indicadas
anteriormente mediante el inicio de sesión
en www.nixplay.com.
2) Cree su cuenta de Nixplay. Necesitará
una cuenta para emparejar y gestionar
su marco. Use su dirección de correo
electrónico y proporcione una clave única
para crear una cuenta.
3) Inicie una sesión en su cuenta de Nixplay.
ES
18

Power on your Frame
1) Plug in your Nixplay frame.
2) Point your remote control at the sensor
of your Nixplay screen to control your
frame. Follow the on-screen instructions.
* For Nixplay Smart Photo Frame (Metal),
your remote control will simply work at
short range.
EN
1) Schließen Sie Ihren Nixplay Rahmen an.
2) Richten Sie die Fernbedienung auf den
Sensor Ihres Nixplay-Bildschirms, um den
Rahmen zu bedienen. Folgen Sie den
Anweisungen auf dem Bildschirm.
* Beim Nixplay Smart Bilderrahmen
(Metall) funktioniert die Fernbedienung
auf kurze Distanz auch ohne sie in eine
bestimmte Richtung zu halten.
DE
1) Collega la tua cornice Nixplay.
2) Punta il telecomando verso il sensore
dello schermo Nixplay per controllare la
cornice. Segui le istruzioni sullo schermo.
* Per la cornice digitale Nixplay (Metal),
il telecomando funziona meglio a breve
distanza.
IT
19
For U.K. & E.U.
This manual suits for next models
1
Table of contents
Other Nixplay Digital Photo Frame manuals
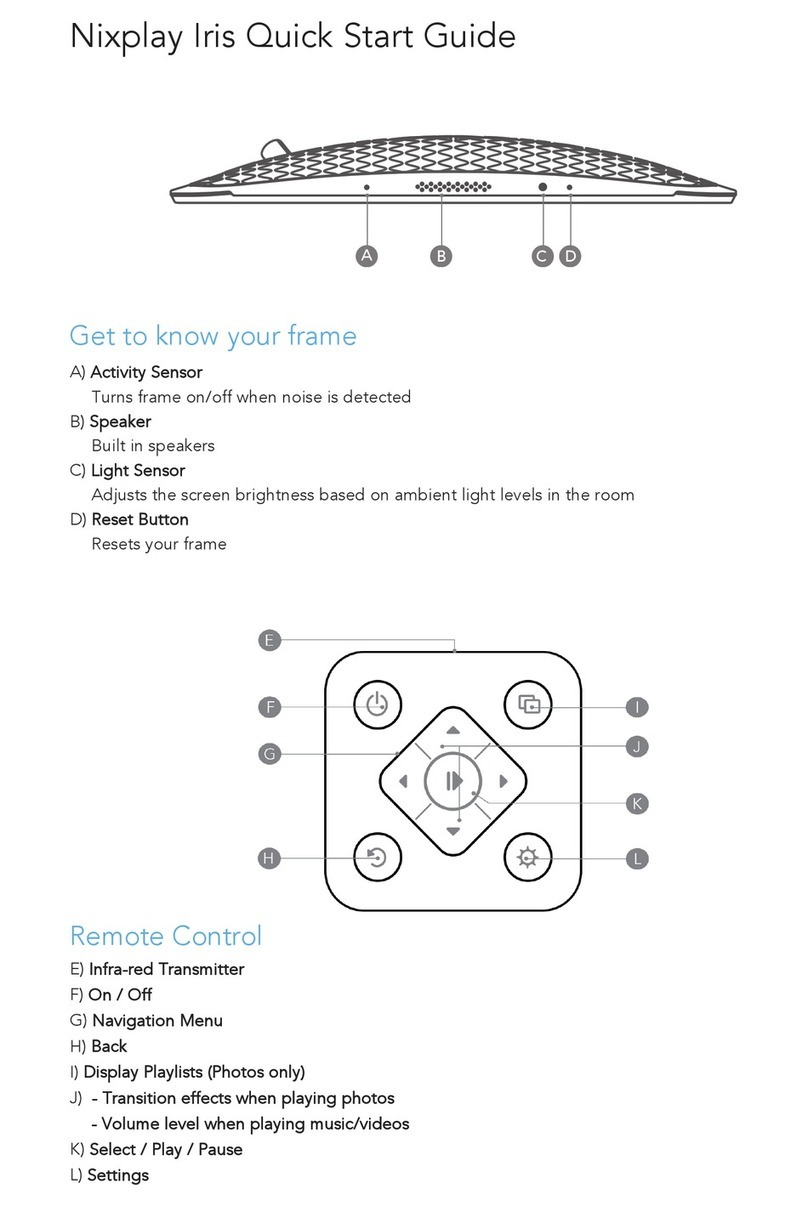
Nixplay
Nixplay W13D Reference guide
Nixplay
Nixplay Iris User manual
Nixplay
Nixplay W08F Reference guide

Nixplay
Nixplay W15 User manual

Nixplay
Nixplay W15A User manual
Nixplay
Nixplay W15C Reference guide
Nixplay
Nixplay WIFI CLOUD FRAME User manual
Nixplay
Nixplay W18 User manual
Nixplay
Nixplay W10G Reference guide
Nixplay
Nixplay W15D Reference guide
