Nixplay WIFI CLOUD FRAME User manual


1
Contents
1
2
Getting Started
Photos, Albums & Playlists
2.1 Create an Album
2.2 Adding Pictures to an Album
2.4Managing your Photos & Albums
2.5Connect to Social Media
2.6Create a Playlist
2.7Adding Pictures to a Playlist
2.8Managing your Playlist
3
4
5
6
Pair another Frame
Play your Playlist
Browse your Playlist
Settings
6.1
6.2
6.3
6.4
6.5
Frame Settings
Network Settings
Display and Volume
Time Zone Settings
Software Update
7
10
11
12
2
3
4
5
6
7
12
2.3 Mobile App & Email Album
6.6
6.7
Advanced Settings
Frame Information 8
8
9
11
9
10
Light Sensor
Activity Sensor
Warranty
Support
Compliance Information
Important Safety Information

2
1
Welcome to the Nixplay family and congratulations on receiving your Nixplay Iris! First,
to set it up follow the 'Quick Start Guide' included in the package
Once you have successfully paired your frame with your Nixplay Account you can now
begin uploading your photos! Upon logging in please watch the tutorial videos on the
'Welcome' Tab and go through the 'Interactive Tutorial' to jumpstart your Nixplay
Experience.
Important Note: If the Cloud Frame fails to connect or displays error messages during
the pairing process, please follow on-screen instructions and/or restart the Cloud Frame.
GETTING STARTED

3
2
2.1 CREATING AN ALBUM
1. Select the tab: Albums. To create an album, select Add New Album.
2. Name New Album and select OK: Enter the name of your album please note you can
rename your album at any time.
3. It should now display Album Created. Start adding photos by clicking Open Album &
Add Photos. If you want to do it later, click No Thanks, I’ll Do It Later.
2.2 ADDING PICTURES TO AN ALBUM
1. Select the tab, Albums and select Nixplay Albums.
2. Select the Album you want to add photos to and select Add New Photo. Alternatively,
you can transfer your photos by simply dragging the files from your computer into the
page when inside an Album.
2.4MANAGING YOUR PHOTOS & ALBUMS
With all your photos in your albums, you have full control of your photos which can be
managed and arranged very easily using the options provided.
You can choose to sort your photos by name and date.
Use Actions to manage your photos more easily. It allows you to move, rotate or delete
and download your photos
PHOTOS, ALBUMS AND PLAYLISTS
2.3MOBILE APP & EMAIL ALBUM
All photos you have received from using the mobile app and email will be saved under
this album.

4
2.5CONNECT TO SOCIAL MEDIA
A lot of our photos, pictures and memories are on Facebook, Dropbox, Google
Photos, etc.Now with our Nixplay Cloud Frame and Service, you can view them all on
your Cloud Frame. Simply select the relevant tab and log in to your social network.
Once you are logged in you will be able to access your photos through Nixplay.
2.6CREATE A PLAYLIST
Now that you have all your photos in your albums,you can start creating playlists
with them.
1. Select the tab, Playlists To create a playlist select Create a Playlist. Alternatively just
select the tab, Albums and select Create a Playlist.
2. Name This Playlist and select OK: Enter the name for your playlist. Please note you
can rename your playlist at any time. Now you are ready to put photos in your
playlist.
2.7ADDING PICTURES TO A PLAYLIST
1. Select the tab, Albums. You can choose to add photos to your playlist from Nixplay
Album, Mobile App & Email Album and Social Media Albums
2. Select the photos you want to move to your Cloud Frame: Simply tick the empty box on
the top left corner of the picture or use Actions: Select All if you want to add all your
photos. You may want to scroll down the page to load all photos in the album before
selecting all. Alternatively you can drag and drop the album into the playlist.
3. Once you have selected all the photos you want to add, drag the photos from your
album into the desired playlist in the Playlists panel located on the right on the website.
4. Click Save to continue. (If the playlist is not yet assigned/enabled to any Frame, you will
be prompted to either Save the playlist or to Save & Send to Frame immediately.)
2.8MANAGING YOUR PLAYLIST
1. Select the tab, Playlist.
2. Choose the Playlist you want to manage. You can change the order by dragging
and dropping photos the way you want your photos to be displayed. Select the
Actions button to see all the options you have.
3. Drag and Drop the playlist you want to add and select Publish to save your
playlist on your Cloud Frame.
Once your playlists are published onto your Cloud Frame, you are done! Now it’s time to
enjoy all the playlists that you have created.

3
5
By having more than one Cloud Frame paired to your account, you can share playlists with
other Cloud Frame users. This is great for your families and relatives as
you will be able to share all your moments together easily. Before you begin pairing
another Cloud Frame, please ensure your second Cloud Frame is setup next to a computer
for an easy and simple setup process.
1. Select the tab, Frames. You will notice your current Cloud Frame(s) followed by Pair a
new Frame.
2. Click Pair Another Frame. Please enter the 16 Digit Serial Number on the Cloud Frame.
Click Next when you are done.
3. Wait for the Cloud Frame and Nixplay Account as they begin pairing.
4. Your Cloud Frame should now be paired to your Nixplay Account. Click OK to complete
the pairing process.
1. To play your playlists select Browse Playlists from the Main
Menu.
2. This will display all the photos from your playlists
1. To browse your playlists, select Browse Playlists from the Main Menu.
2. Under Browse Playlists you will be shown a list of all the playlists you have
created and published with your Nixplay Account.
3. Simply choose the playlist you want to view from the list of playlists and select
OK.
PAIR ANOTHER FRAME
BROWSE YOUR PLAYLIST
PLAY YOUR PLAYLIST
4
5

6
6
You can change various settings on your Nixplay Cloud Frame so that it suits your needs
better. To change your Cloud Frame settings, select Settings from the Main Menu. When
you enter the Settings menu, you will see a list of settings for you to choose from:
6.1 FRAME SETTINGS
There are several settings you can change so that your WiFi Cloud Frame suits your
needs better. On the next page are the settings you can change.
SETTINGS
*please see section 8

6.2NETWORK SETTINGS
To connect to another WiFi network:
1. Use the UP/DOWN arrows on the Remote Control
2. Press OK to select your WiFi.
3. Enter your WiFi password (if required) and then select the Connect button
6.3DISPLAY AND VOLUME
Volume - Change the volume of the speakers (for future updates)
Brightness - Adjust the screen's brightness.
Light Sensor (checkbox) - Enable/Disable the Light Sensor.
Important Note: Even when the Light Sensor is enabled, you can still adjust the
brightness by moving the brightness slider bar. After choosing your preferred brightness
level, the frame will now use it as the 'standard' brightness and will adjust to the
ambient light level accordingly. (please see section 7)
6.4TIME ZONE SETTINGS
Set the time that is displayed on your Cloud Frame by selecting Set Time Zone. Once you
have chosen the correct time zone, press OK and your Cloud Frame will be updated to
reflect the changes.
6.5SOFTWARE UPDATE
To get the latest features and for us to continually improve upon your Nixplay Cloud
Frame, we require you do a software update. Your Cloud Frame will check for any
software updates when it starts up after being powered off or unplugged.
Important Note: It is critical that you do not switch off or unplug your Cloud Frame
during the update process.
7

8
6.7FRAME INFORMATION
Frame Information gives you all the technical information you need to know about your
Cloud Frame. Below is all the information that is displayed:
•Name:
•Location:
• Model:
•Username:
• Serial Number:
• Frame ID:
•Firmware:
•System
•Application
• Link Address:
• Network Address:
•FCC ID
• Total Space:
• Free Space:
ADVANCED SETTINGS
Enable Bad Network Connectivity Mode if network connectivity is sometimes not
consistently stable
Resync Frame deletes all photos saved in your frame and re-downloads them.
6.6

9
7 LIGHT SENSOR
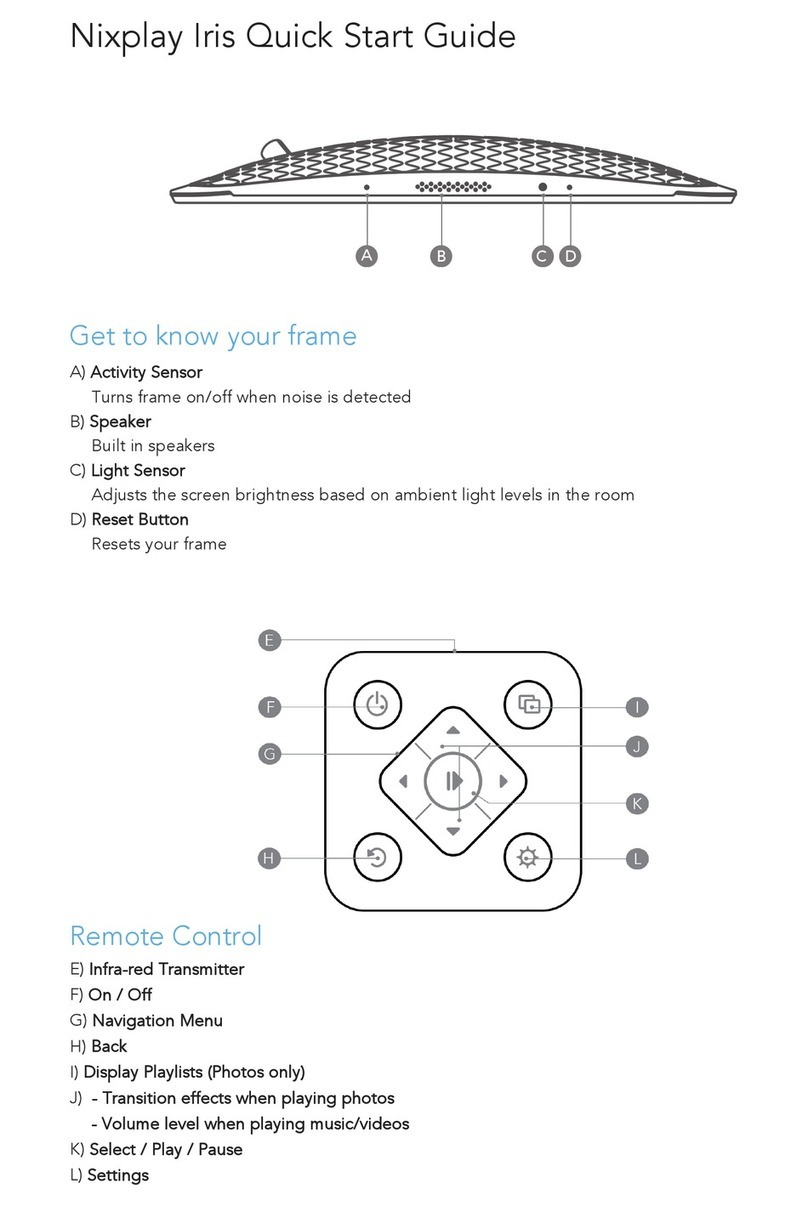
Designed to fit any home environment intelligently, the Nixplay Iris will dim and
brighten its panel to best display photos according to your ambient light level.
This setting can be enabled/disabled under Settings>Display Settings.
Light Sensor Disabled
Sets your frame to use the current brightness setting and will not change based on the
environment's light levels. Perfect if you will use the frame somewhere where the level
of ambient lighting does not change.
To change the frame's brightness setting please go to Settings>Display and Volume. (see
section 6.3)
Light Sensor Enabled
Automatically adjusts your screen brightness based on the surrounding ambient light
level. In environments with lower light the panel will dim and in brighter environments
the panel will brighten to best display your photos. A higher brightness level will help to
counteract the glare from direct light on your screen to improve overall picture color
and clarity.

10
8
Featuring smart sensing solutions, the Nixplay Iris Activity Sensor regularly measures the
sound level in the room and then detects variations. It will turn the frame on when it
detects increases to the ambient background sound level and off when it's quiet.
When the Activity Sensor is activated, you can set the sensitivity of the sound threshold
which will then turn the frame on or off. A setting of 10 is the most sensitive and will wake
the frame with the most ease, while a setting of 1 is the least sensitive.
Within the Activity Sensor, you can set the frame to turn off when no sound is detected
after a certain period of time (5 secs, 10 secs... etc). To set this, please go to
Settings>Frame Settings. (please see section 6.1)
ACTIVITY SENSOR

11
9 WARRANTY
Your Cloud Frame comes with a Full One-Year Manufacturer’s Warranty. The warranty
begins from the date of the rst customer purchase.
In the event your Cloud Frame requires servicing, please contact us via our website at
support.nixplay.com.
Please provide a copy of your original order information as proof of purchase.
For warranty coverage please visit shop.nixplay.com/pages/warranty

12
SUPPORT
COMPLIANCE INFORMATION
IMPORTANT SAFETY INFORMATION
Please refer to our FAQs on our website at support.nixplay.com
If you have any questions or feedback in regards to our product and service, reach us
by going to our support page on our website. The Nixplay Support Team is committed
to delivering exceptional service and will answer your questions and queries promptly
to solve your problems.
Waste Electrical and Electronic Equipment Directive (Applicable to Europe):
This symbol on the product or on its packaging indicates that this product
shall not be treated as household waste. There are separate collection
systems for recycling in your country. For more information about recycling
of this product, please contact the local authority or the retailer where you
purchased the product.
Always follow the basic safety precautions when using your Cloud Frame. This will reduce
the risk of re, electric shock, product damage and personal injury.
• Keep the Cloud Frame away from direct sunlight and heat sources such as radiators or
stoves.
• Do not block ventilation openings. Slots and openings on the Cloud Frame are
provided for ventilation. The openings should never be blocked by placing your Cloud
Frame on a cushion, sofa or other similar surface.
• Never place heavy or sharp objects on the LCD panel or Cloud Frame.
• Do not place the Cloud Frame on an unstable cart, stand, tripod, bracket or table.
• Only use the AC adapter included with the Cloud Frame. Using any other adapter will
void your warranty.
• Protect the power cord from being walked on or pinched particularly at plugs,
receptacles and the point where the cord attaches to the Cloud Frame.
WARNING: To reduce the risk of electric shock, do not remove the cover or back of the
unit. There are no user-serviceable parts inside. Please refer servicing to
qualied personnel.
10
11
12

13
WARNING:
WARNING:
The adapter is specifically designed for this Cloud Frame, use of an alternative model
might cause problems. In case of loss and failure of the adapter, please contact our
Frame, where and when you purchased, your address and we will send you a new
adapter.
For USA, Canada and Europe this is a free service. For other areas we will let you know in
advance if there will be a postage charge.
To prevent re or electric shock hazard, do not expose the unit to rain or
moisture.
Do not expose the Cloud Frame to water (dripping or splashing).
Objects lled with liquids, such as vases, should not be placed near the
Cloud Frame.

14
Table of contents
Other Nixplay Digital Photo Frame manuals
Nixplay
Nixplay W10G Reference guide
Nixplay
Nixplay W10J Reference guide
Nixplay
Nixplay W13D Reference guide
Nixplay
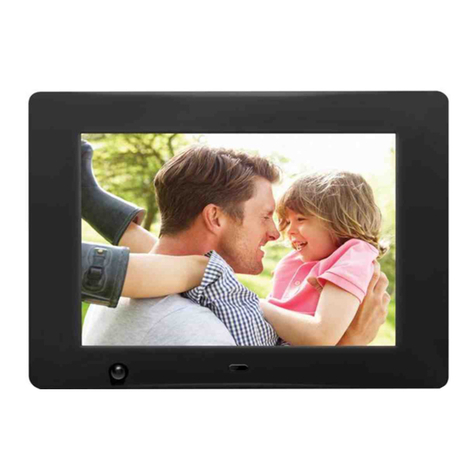
Nixplay Iris User manual
Nixplay
Nixplay Nixplay N User manual
Nixplay
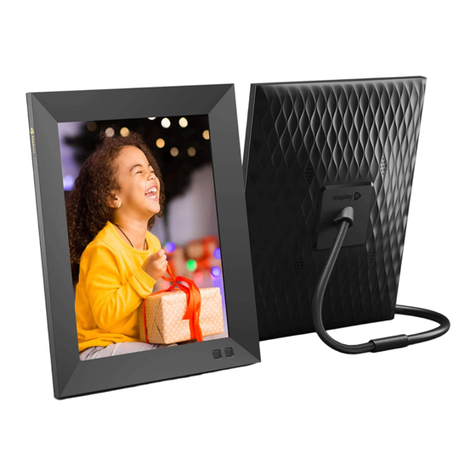
Nixplay W08F Reference guide
Nixplay
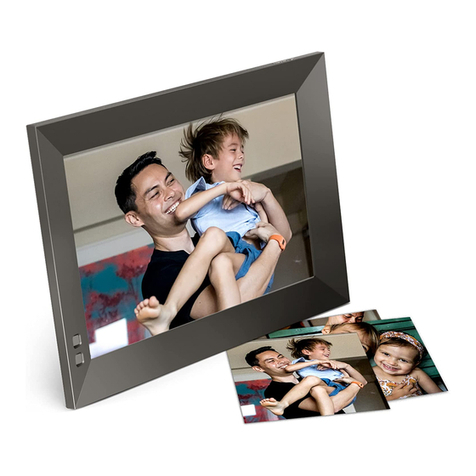
Nixplay W10E Reference guide
Nixplay
Nixplay Lola Reference guide
Nixplay
Nixplay W0538 Reference guide
Nixplay
Nixplay W15C Reference guide

