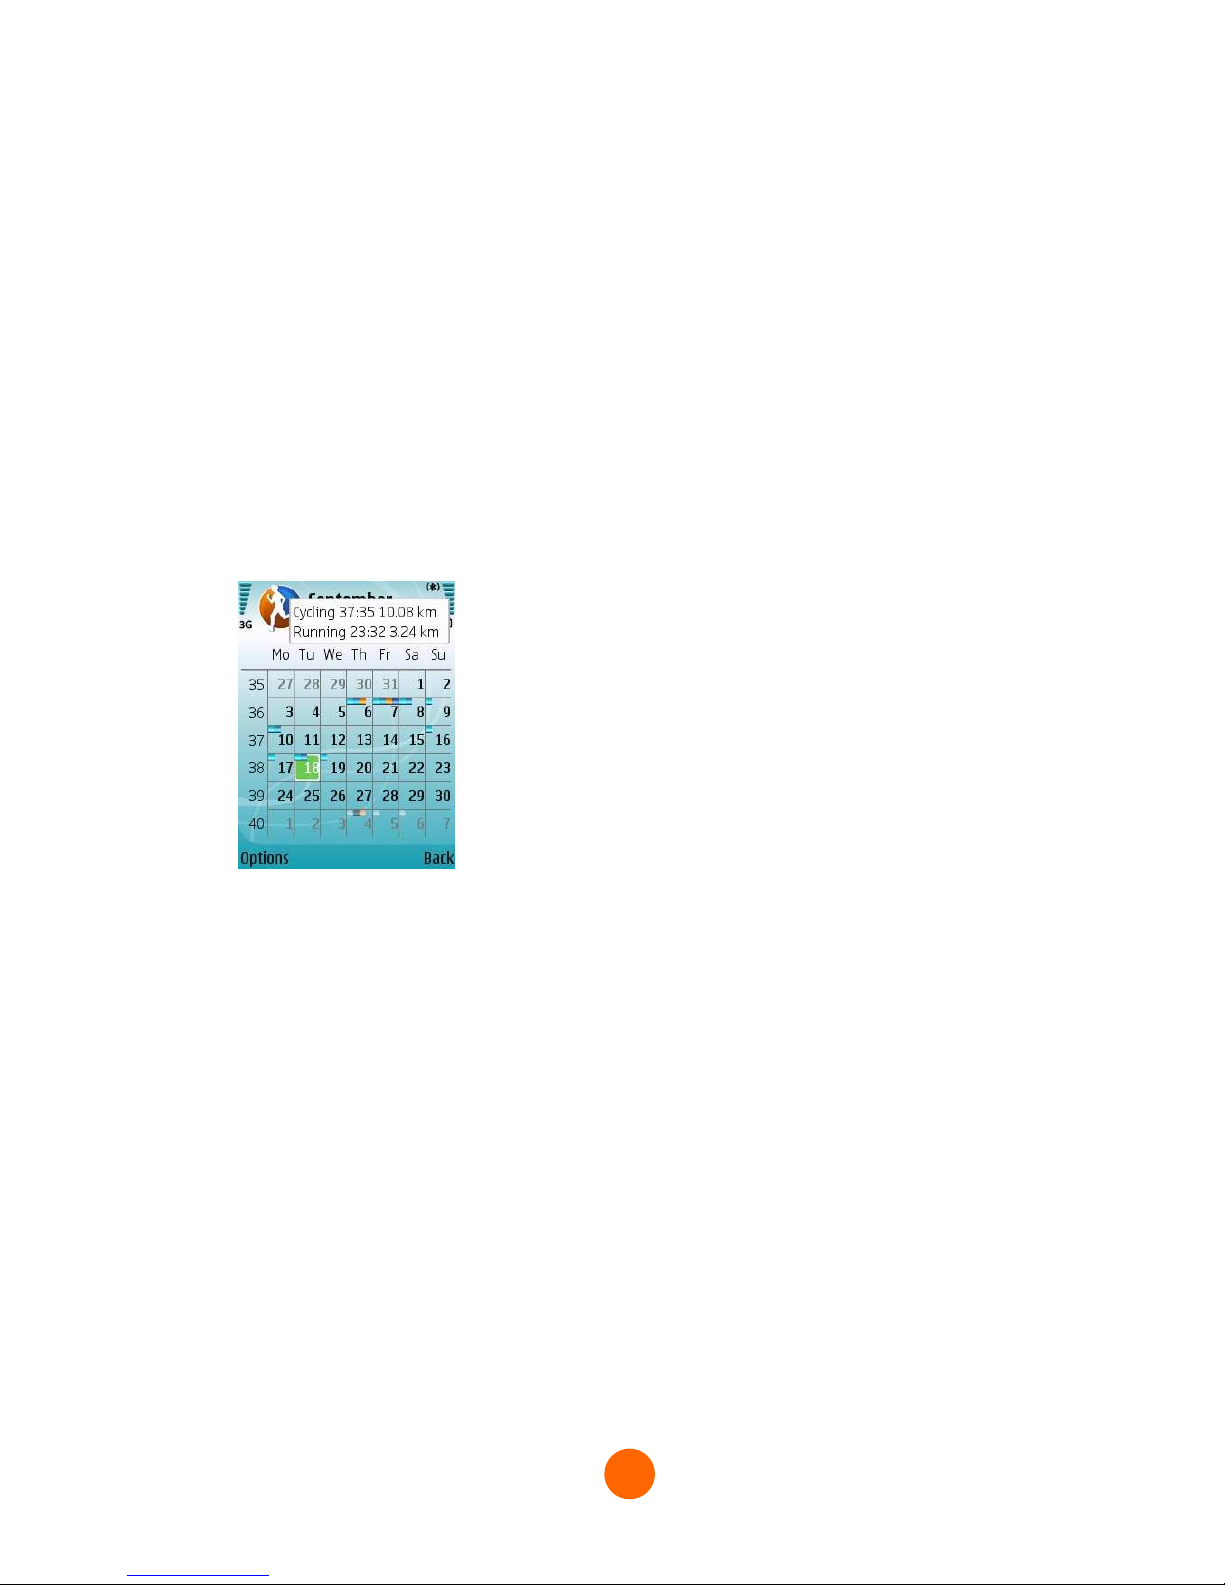
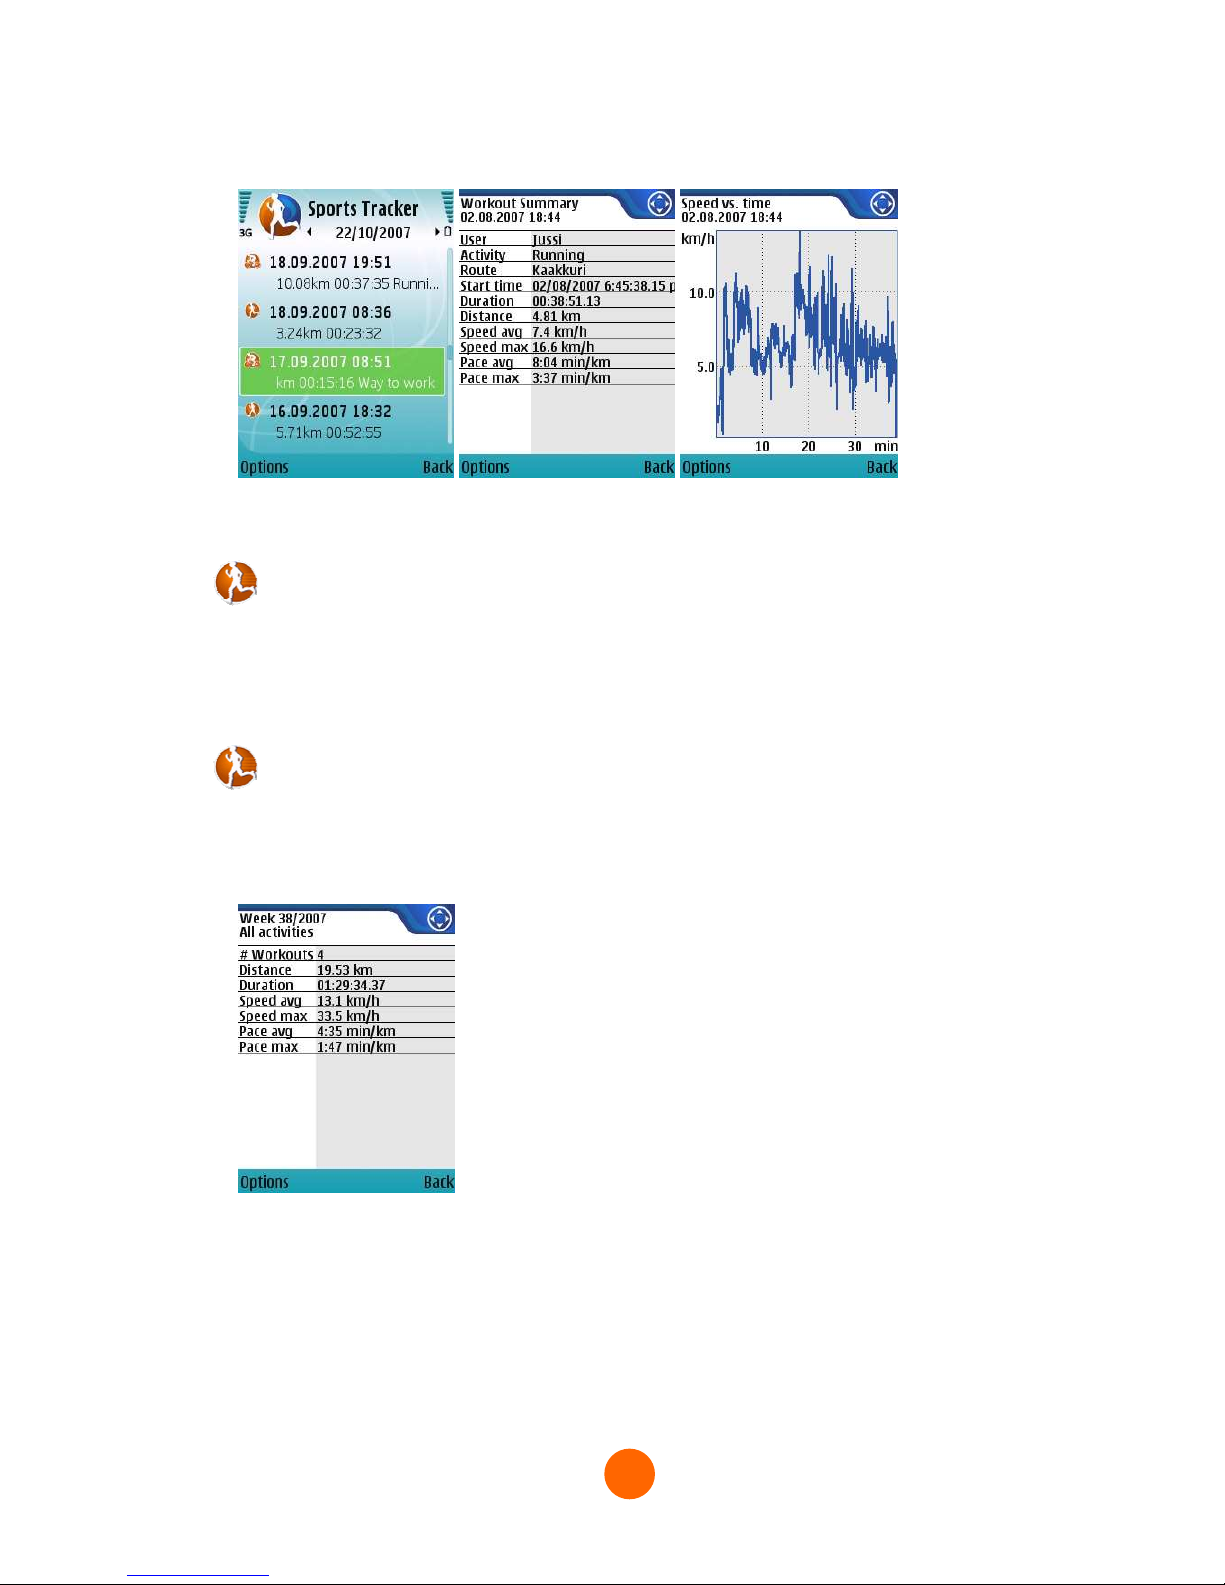
Nokia Sports Tracker User manual
Other Nokia Software manuals

Nokia
Nokia 5500 User manual

Nokia
Nokia E66 User manual

Nokia
Nokia NetMonitor User manual

Nokia
Nokia N86 8MP User manual

Nokia
Nokia FRING version 3.23 User manual

Nokia
Nokia 6310 Installation instructions

Nokia
Nokia E90 Communicator User manual

Nokia
Nokia 9201597R001 User manual

Nokia
Nokia City Lens User manual

Nokia
Nokia 5120 - Cell Phone - AMPS User manual

Nokia
Nokia 8850 - Cell Phone - GSM User manual

Nokia
Nokia 0276822 - Navigation Kit - GPS User manual

Nokia
Nokia Symbian S60 v5 User manual

Nokia
Nokia Transit User manual

Nokia
Nokia 8390 - Cell Phone - GSM User manual

Nokia
Nokia 7250 Installation instructions

Nokia
Nokia 6340i - Cell Phone - AMPS User manual

Nokia
Nokia E61 User manual

Nokia
Nokia Series 60 User manual

Nokia
Nokia 3320, 3360 User manual