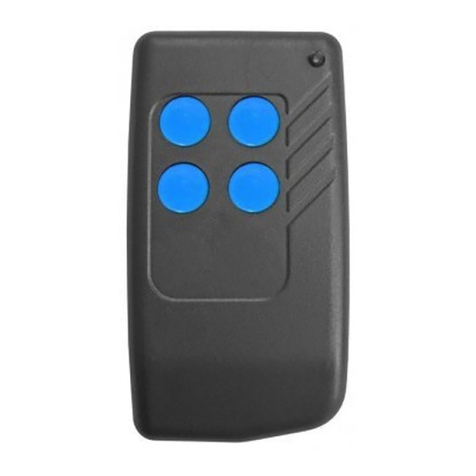
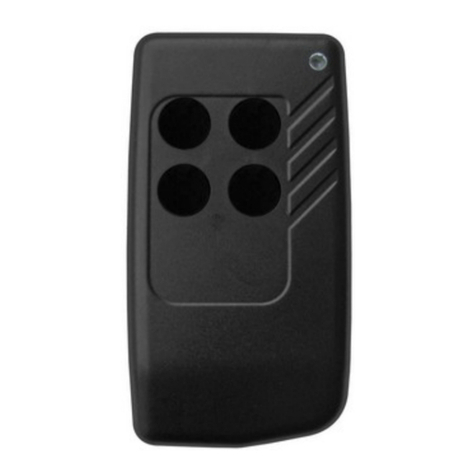
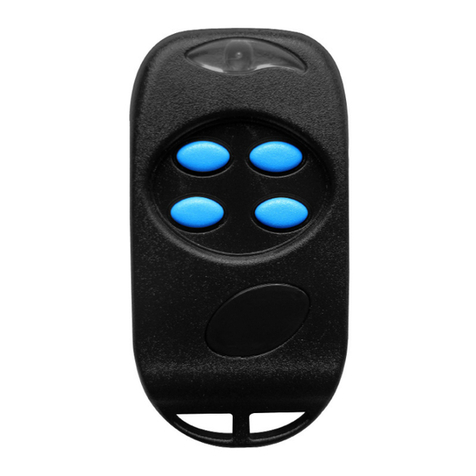
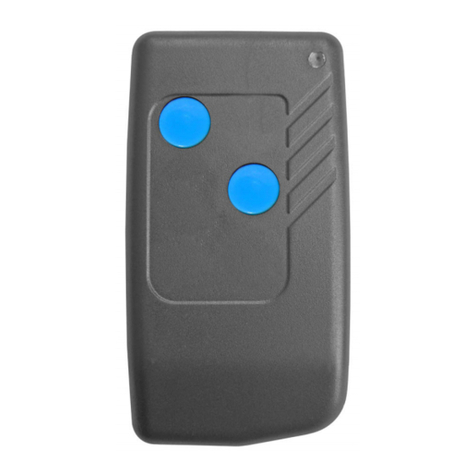
GB Remote control
!!!"ATTERY AND OPENING OF THE
REMOTE CONTROL [1]
Open the case with a screwdriver
!"#$%&'()*%&'(+, !-(A.(/&0(-%12(/(3/1(
2!/0(+, !-0 %$! (4!$! (12!(5#*(#6!&(
by,inserting it in the slit B. When the
battery is replaced, check the polarity.
Keep the battery away from children.
Dispose of the old battery in the correct
manner and according to your local
regulations.
!!!#$%&!'&(&)ATION [2]
The remote control has already a
6 #07,1%#&(1!+1(,#0!(%&(12!() +1(5711#&(.(
the others buttons haven’t got any code.
This operation create new codes for all
buttons and cancel all previous codes.
Push the button8( 1 C and after the
button 4 E and keep both pressed.
The LED8( D(&#-(%+(3/+2%&'(+4#-4y.
Wait at about 8 seconds and it will8(
+1/ 1(1#(3/+2%&'(9/+1!r.
Leave the button8( 1and after a while
the button 4.
Now every button has a generated code
from millions of different combinations.
!!!*$+!TO LEARN A CODE [3-4]
Push the button8( 1 C and after a
while the button 4 E and leave them
in the same time.
The led8( D(%+(3/+2%&'(9# (:(+!,#&0+.(
and this is the time to memorise
the original code.
During this time press and keep8(
pressed one button where you want
to memorize the code ( you can
choose from the
button 1,2,3,4)8(
Press and keep pressed the button8(
of the original remote control X
as shown in the picture no.4, pay
attention that the antenna of the
original remote control X, usually in
front of the remote control (check
it by opening the remote control)
should be as near as possible of the
antenna Fof the BANDY-C4.
The light D(3/+2!+( /6%04;(9# (/(-2%4!(
/&0(12!&(%1(3/+2!+( !'74/ 4;(1#(,#&) "(
that the code has been copied.
FR Emetteur
!!!#*,('&-&(.!%&!"ATERIE [1]
Ouvrir le boîtier avec un tournevis pour
enlever la vis de blocage A. Ensuite
prendre le tournevis et l’insérer
jusqu’au bout de la fente Bet faire
pression sur le boitier supérieur. En
cas de changement de batterie il faut
contrôler la polarité. Merci de tenir les
batteries hors de portée des enfants.
Les batteries ne doivent pas être
<!1=!+(/7*(# 07 !+("=&/'> !+("/%+(
/66# 1=!+(/76 >+(0?7&(,!&1 !(0!(1 %(
sélectif.
!! AUTOGENERATION DES CODES [2]
L’ émetteur dispose d’ un code de production
sur le premier touche, les autres touches
n’ont pas des codes. Cette procédure
'=&> !(0!($!/7*(,#0!+(6#7 (1#71!+(4!+(
touches et efface les codes précédemment
mémorisés.
Appuyer sur la touche8( 1 C puis sur la
touche 4 E et les mantenir appuyées.
@/(47"%> !(8( Dclignote lentement.
Attendre 8 secondes pour qu’elle8(
clignote rapidement
Relâcher le touche8( 1(!1(/6 >+(A7!4A7!(
instant le touche 4.
Maintenant un code a été généré sur chaque
touche parmi des millions de combinaisons
possibles.
!!!,//)&(%)&!0(!#$%&!12345
Appuyer sur la touche8( 1 C et la
touche 4 E simultanément : la
47"%> !(Dclignote
Relâcher simultanément les 28(
1#7,2!+(B(4/(47"%> !(D( !+1!()*!(
6!&0/&1(:(+!,#&0!+
C!&0/&1(,!+(:(+!,#&0!+("/%&1!&% (8(
appuyé une touche de la
télécommande Bandy (1,2,3 ou 4)
et faire de même sur la touche de la
télécommande originale a copié.
Approcher les télécommandes8(
comme indiqué sur la photo 4.
L’antenne de la télécommande8(
originale Xse trouve normalement
dans la partie antérieure,
(ouvrir l’émetteur pour contrôler
la position de l’antenne). La
télécommande d’origine doit
être la plus proche possible de
l’antenne Fdu BANDY-C4. Le
"%!7*(!+1(0!(6#+%1%#&&! (4!+(0!7*(
télécommandes dos à dos.
@/(47"%> !(Dclignote un instant
% ='74%> !"!&1(67%+(,4%'!(
='74%> !"!&1(6#7 (%&0%A7! (A7!(4/(
procédure d’apprentissage c’est bien
déroulée.
6!D&9# "/E%#&%(+744!(,! 1%),/E%#&%(&!4(+%1#(-!5(
6!D&9# "/1%#&(#&(12!(,! 1%),/1%#&(-!5(+%1!
6!Informations sur le site W!5(0!(4/(,! 1%),/1%#&
6!Dichiarazione di conformità
6!Conformity declaration
6!Déclaration de conformité
6!Il radiocomando BANDY-C4 é conforme ai
requisisti essenziali delle seguenti norme:
6!The remote control BANDY-C4
corresponds to the essential norms:
6!L’émetteur BANDYFGH(!+1(,#&9# "!(/7*(
principales directives des normes suivantes:
ETSI EN 301 489-3 EN 300 220-1
EN 300 220-3 EN 60950: 1997
6!Io sottoscritto amministratore Ernestino
Bandera, dichiaro che: l’apparato sopra
0!)&%1#(>(+1/1#(6 #$/1#(&!44/(,#&)'7 /E%#&!(
tipica di installazione e soddisfa i requisiti
essenziali di protezione delle direttive:
6!Me Ernestino Bandera the administrator,
declares that the remote control has been
1!+1!0(%&(/(1;6%,/4(%&+1/44/1%#&(/&0(+/1%+)!+(/44(
essential requirements of the directives:
6!Je soussigné, Ernestino Bandera,
administrateur, déclare que l’appareil a été
testé dans une installation typique et qu’il
!+1(,#&9# "!(/7*(6 %&,%6/4!+(0% !,1%$!+(0!(
protection des normes:
99/5/CE
Ernestino Bandera
Busto Arsizio, 17.09.2007
6!Frequenze di trasmissione autorizzate
6!Permitted transmission frequency
6!Fréquence de transmission autorisées
EU 433,92Mhz
www.nologo.info
www.ebtechnology.it
