Nordic ID RFM5110 User manual

RFM5110/RFM5111 Quick Start Guide
Nordic ID Fixed Smart Reader
with Axzon ReaderService™
This document captures the procedure to install
and use Axzon’s ReaderService™ on a Nordic ID
Fixed Smart Reader, such as the AR62 or AR82.
ReaderService runs as a microservice on the
NordicID reader’s software platform and serves two
important functions –firstly, it provides an
algorithmic core to aggregate raw sensor data from
Axzon’s Smart Passive Sensors and convert this data
into reliable, actionable information; secondly, it
provides an adaptation layer to deliver this
information to an application entity through
standard REST and Message Queue interfaces. The
application entity may be on-premise or cloud-
based.
The software package includes a lightweight,
embedded database and a WebUI to enable a quick
evaluation of Axzon’s sensor performance right out
of the box.
Key Features
•Simplifies Application Development for
Edge Integration
•Reader Configuration and Control
through ReaderService
•Sensor Data Aggregation and Processing
•World-wide UHF Operating Spectrum
Support
•Standard Interfaces to Enable Cloud
Connectivity
•Includes embedded database and WebUI
for quick evaluation
•Enables turn-key solutions from pilot to
production

Table of Contents
Introduction .................................................................................................................................... 3
Getting Started................................................................................................................................ 4
Next Steps ....................................................................................................................................... 7
Optimizing ReaderService™ Settings ........................................................................................ 7
Enabling Automatic Monitoring................................................................................................. 7
Access the Nordic ID web management interface...................................................................... 8
Editing ReaderService™ configuration files .............................................................................. 9
Redirecting the Message Queue................................................................................................ 10
Adjusting reader connectivity................................................................................................... 11
Upgrading ReaderService™ ..................................................................................................... 12
Known Issues................................................................................................................................. 13
WebUI starts before ReaderService™...................................................................................... 13
USB connection interferes with ReaderService™.................................................................... 13

Introduction
Axzon's innovative technology extends the use of RFID, an existing radio frequency (RF)
communication standard, to wirelessly sense real-time data without the use of a battery. The
RFM5110/RFM5111 Starter Kit contains everything required to quickly evaluate Axzon’s Smart
Passive Sensors, or with a systems integrator seamlessly connect to various cloud platforms or
custom applications. The complete system consists of the following items:
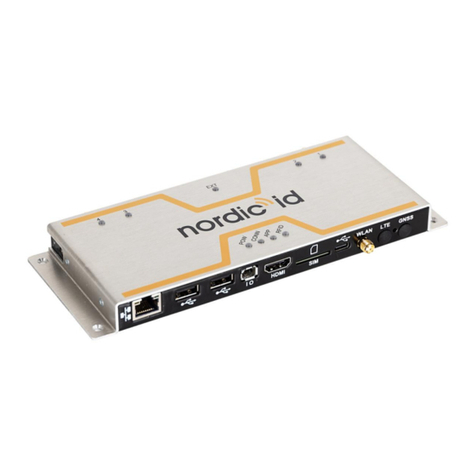
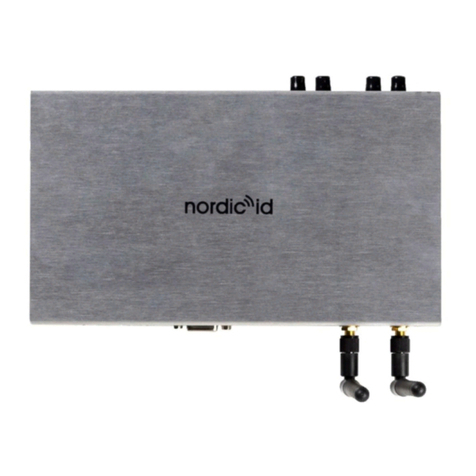
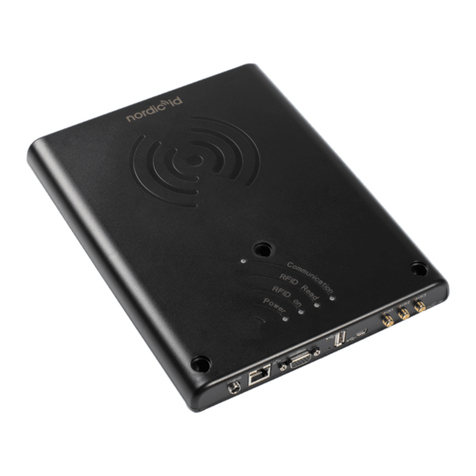
Nordic ID Fixed Smart Reader (AR62 or AR82)
Nordic ID readers communicate with tags and retrieve their sensor data. The fixed readers support
multiple antennas and provide a variety of connectivity options. Smart readers include an
integrated computer capable of supporting custom applications. For more information, refer to
the included Datasheet and User Guide which can also be found on Nordic ID's support
page: https://www.nordicid.com/support/downloads/nordic-id-ar-series/
Axzon ReaderService™and WebUI
ReaderService™ is a microservice that optimizes and simplifies controlling readers so that Axzon's
Smart Passive Sensors are measured accurately and efficiently. The standard interfaces allow
developers to focus on their end-user software instead of the complexities involved with RF and
RFID. For more information, refer to the provided User Guide.
The WebUI allows for quick operation and configuration of ReaderService™ from a web browser
running on a computer that has a network connection to the reader.
The software comes pre-installed on the smart reader and includes an evaluation license.
RF Antenna and Cable
An ultra-high frequency (UHF) RFID antenna and cable are designed to operate in all regulatory
regions which covers the frequency range 865-965 MHz.
Power Supply
A DC 24V/1.25A wall adapter is included to power the reader.
Sensors (sold separately)
Each sensor tag is identified and tracked by a unique Electronic Product Code (EPC). Sensors come
in several types and are designed to perform in a variety of environments. Refer to the sensor
specific documentation for more information such as if the sensor should be placed on metal or
on non-RF blocking material.

Getting Started
1. Connect the RF antenna to port 1 of the reader and aim the antenna towards the sensing
area
2. Place the sensor tags in clear line of sight from the antenna and around a meter away
3. Power on the reader and connect its Ethernet port to the internet
Note: the reader may use Power over Ethernet if the host is capable, otherwise the wall power
supply must be used
5. Wait a couple of minutes for the reader and ReaderService™ to start
6. Access the ReaderService™WebUI by pointing a browser to port 4747 of the reader's IP
address
If the IP address is unknown, follow these steps to use the Wi-Fi provided by the smart reader:
1. Connect the WLAN antenna to the reader's WLAN port
2. Connect to the reader's Wi-Fi (name: axzon_demo; password: smartpassivesensor)
3. Open a browser and go to http://192.168.1.1:4747
If the following error occurs: "Failed to connect to reader service at http://<<ip_address>>:19040"
Wait a couple of minutes and then refresh the page. For more information, refer to the known
issue: WebUI starts before ReaderService™
7. Ensure ReaderService™is connected to the reader module
Navigate to the settings page and if not connected, press Connect.

8. Perform a read operation
Navigate to the read page, select the appropriate configurations to perform a Power Modulation
Read and then press Start Reading.
A countdown will show when the read operation will complete. Stay on this page to see which
sensors were captured using the applied read settings.
9. Start continuous monitoring
Select the appropriate configurations to perform a Power Modulation Monitor, then hit Start
Monitoring.

10. Visualize monitoring measurements
While monitoring ReaderService™ will periodically perform a read operation and then send the
results to the Message Queue and internal database.
The latest results in the internal database can be seen on the data page. The interactive graph
displays one sensor measurement from a single tag (by EPC) at a time.
11. Stream data through the Message Queue
The sensor results are also available for real-time processing through the MQTT interface. To
receive the data, follow these steps:
1. Install an MQTT Client or demo application such as MQTT.fx
2. Connect to the MQTT Broker using the reader’s IP address and default port of 1883
3. Subscribe to the topic axzon-topic using a QoS of 2
4. Wait for a monitor cycle to complete to receive the message(s) containing sensor data

Next Steps
Optimizing ReaderService™Settings
To operate in a variety of applications, ReaderService™ settings such as active antenna port(s) and
monitor interval can be customized. For more information refer to the ReaderService™User
Guide. The WebUI allows quick evaluation to determine the desired parameters.
Configurations created on the configurations page will show up as options on the read page for
evaluation.
Enabling Automatic Monitoring
On startup, ReaderService™can be configured to automatically start monitoring for sensor tags.
To do this, save the desired monitor configurations and reboot the reader.

Access Nordic ID’s web management interface
The web management interface is used to configure the reader, check its status and manage
applications. The interface can be accessed by pointing a browser to the reader's IP address.
If prompted by a security certificate warning, skip it or force using HTTP instead of HTTPS.
The default login credentials are:
•Username = admin
•Password = admin

Editing ReaderService™ configuration files
Configuration files are stored on the smart reader and specify the default behavior of
ReaderService™. To edit them, ensure sshd is enabled in the web management interface:
SSH into the smart reader using the following credentials:
•user: rfm-reader-service
•password:
oReader OS < 1.3.8: rfm-reader-service
oReader OS > 1.3.8: see below
Starting with OS version 1.3.8, passwords for applications are randomly generated. To reset and
record the new value, navigate to the Applications tab in the web management interface and press
Reset under the Password column, then click the eye icon to reveal the new password.

The configuration files are located in /mnt/userdata/apps/rfm-reader-service/backend/reader-
service/conf
Redirecting the Message Queue
The Message Queue provides a generic interface to consume the sensor data in real-time. The
Message Queue settings are stored in the reader-service.properties configuration file.
To enable the Message Queue, set the following and then restart ReaderService™:
•reader-service.integration.type = MQTT
By default, the sensor data is pushed to a MQTT Server on the smart reader, but the following
setting can be modified to use an external MQTT Server:
•reader-service.push.to.mqtt.broker.url

Adjusting reader connectivity
By default, the reader's Ethernet port has DHCP enabled to work with any router and its Wi-Fi is
configured as wireless access point to provide a consistent IP address.
These features can be re-configured using the web management interface (preferred) or RFID
Configurator. For more information, refer to the documentation from Nordic ID.
In the Networking tab, the Ethernet and Wi-Fi settings can be configured as desired.

Upgrading ReaderService™
The web management interface also serves as the place to upgrade ReaderService™ to newer
versions. Note that this process will erase the existing license file and stored sensor data.
Ensure that a read/monitor operation is not currently running and then press Stop and then
Uninstall on each service.
In the Install new application tab, browse to and then upload ReaderService™and the WebUI. If
the services are stopped, either manually start them or power cycle the reader.
The license will need to be re-applied using the WebUI settings page.

Known Issues
WebUI starts before ReaderService™
ReaderService™ takes a couple of minutes longer to start than the WebUI. If the WebUI is accessed
during this time, it results in the error message: "Failed to connect to reader service
at http://<<ip_address>>:19040". It's recommended to wait a couple of minutes and then refresh
the page to try again.
USB connection interferes with ReaderService™
If a USB cable is plugged in, the reader module does not communicate properly. When
ReaderService™attempts to use the module in this state, it results in the error message: "Problem
connecting reader - Error while trying to query Reader Information. Invalid Reader Serial Number;
Serial = null". If this occurs, ensure the USB cable is disconnected and then try reconnecting.
This manual suits for next models
1
Table of contents
Other Nordic ID RFID System manuals
Popular RFID System manuals by other brands
caenrfid
caenrfid Slate R1260U Technical information manual
Techno Trade
Techno Trade VRD-485 Technical guide

3Disc
3Disc FireID user manual
Siemens
Siemens SIMATIC Ident Compact operating instructions
Feig Electronic
Feig Electronic OBID i-scan ID ISC.MR101-USB Installation
Kaba
Kaba Saflok SR Series installation guide
