manuals.online logo
Brands
  1. Home
  2. •
  3. Brands
  4. •
  5. NordicTrack
  6. •
  7. Home Gym
  8. •
  9. NordicTrack Grt300 User manual

NordicTrack Grt300 User manual

This manual suits for next models

1

Other NordicTrack Home Gym manuals

NordicTrack NTSY06990 User manual

NordicTrack

NordicTrack NTSY06990 User manual

NordicTrack E8100 Competition User manual

NordicTrack

NordicTrack E8100 Competition User manual

NordicTrack NTTL09510 User manual

NordicTrack

NordicTrack NTTL09510 User manual

NordicTrack NTBE01490 User manual

NordicTrack

NordicTrack NTBE01490 User manual

NordicTrack Ns Ski 350 User manual

NordicTrack

NordicTrack Ns Ski 350 User manual

NordicTrack Es Ski 3000 Skier User manual

NordicTrack

NordicTrack Es Ski 3000 Skier User manual

NordicTrack E8200 Competition Bench User manual

NordicTrack

NordicTrack E8200 Competition Bench User manual

NordicTrack NTTL10612 User manual

NordicTrack

NordicTrack NTTL10612 User manual

NordicTrack Revitalize 2.0 Inversion Bench User manual

NordicTrack

NordicTrack Revitalize 2.0 Inversion Bench User manual

NordicTrack Grt380 User manual

NordicTrack

NordicTrack Grt380 User manual

NordicTrack Club 900 User manual

NordicTrack

NordicTrack Club 900 User manual

NordicTrack E200 Bench User guide

NordicTrack

NordicTrack E200 Bench User guide

NordicTrack 360 NTS5805.0 User manual

NordicTrack

NordicTrack 360 NTS5805.0 User manual

NordicTrack E8200 Competition Bench Operating and maintenance manual

NordicTrack

NordicTrack E8200 Competition Bench Operating and maintenance manual

NordicTrack NTXC80182 User manual

NordicTrack

NordicTrack NTXC80182 User manual

NordicTrack E8500 Cts User guide

NordicTrack

NordicTrack E8500 Cts User guide

NordicTrack Ns Ski 300 User manual

NordicTrack

NordicTrack Ns Ski 300 User manual

NordicTrack Grt270 Bench User manual

NordicTrack

NordicTrack Grt270 Bench User manual

NordicTrack 831.159760 User manual

NordicTrack

NordicTrack 831.159760 User manual

NordicTrack Ns450 User manual

NordicTrack

NordicTrack Ns450 User manual

NordicTrack PT3 NTCCSY9897.0 User manual

NordicTrack

NordicTrack PT3 NTCCSY9897.0 User manual

NordicTrack Grt270 Bench Operating and maintenance manual

NordicTrack

NordicTrack Grt270 Bench Operating and maintenance manual

NordicTrack E8200 Competition Bench System manual

NordicTrack

NordicTrack E8200 Competition Bench System manual

NordicTrack NTW00730 User manual

NordicTrack

NordicTrack NTW00730 User manual

Popular Home Gym manuals by other brands

T.D.S. 3501 Assembly instructions

T.D.S.

T.D.S. 3501 Assembly instructions

Body Solid EXM1950 Assembly instructions

Body Solid

Body Solid EXM1950 Assembly instructions

Horizon Fitness OXFORD 6 manual

Horizon Fitness

Horizon Fitness OXFORD 6 manual

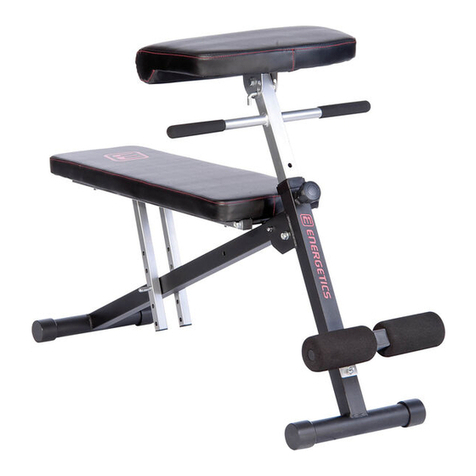
Energetics Multi Trainer 5.1 owner's manual

Energetics

Energetics Multi Trainer 5.1 owner's manual

Precor Discovery Series owner's manual

Precor

Precor Discovery Series owner's manual

Matrix MG-PL Series Service manual

Matrix

Matrix MG-PL Series Service manual

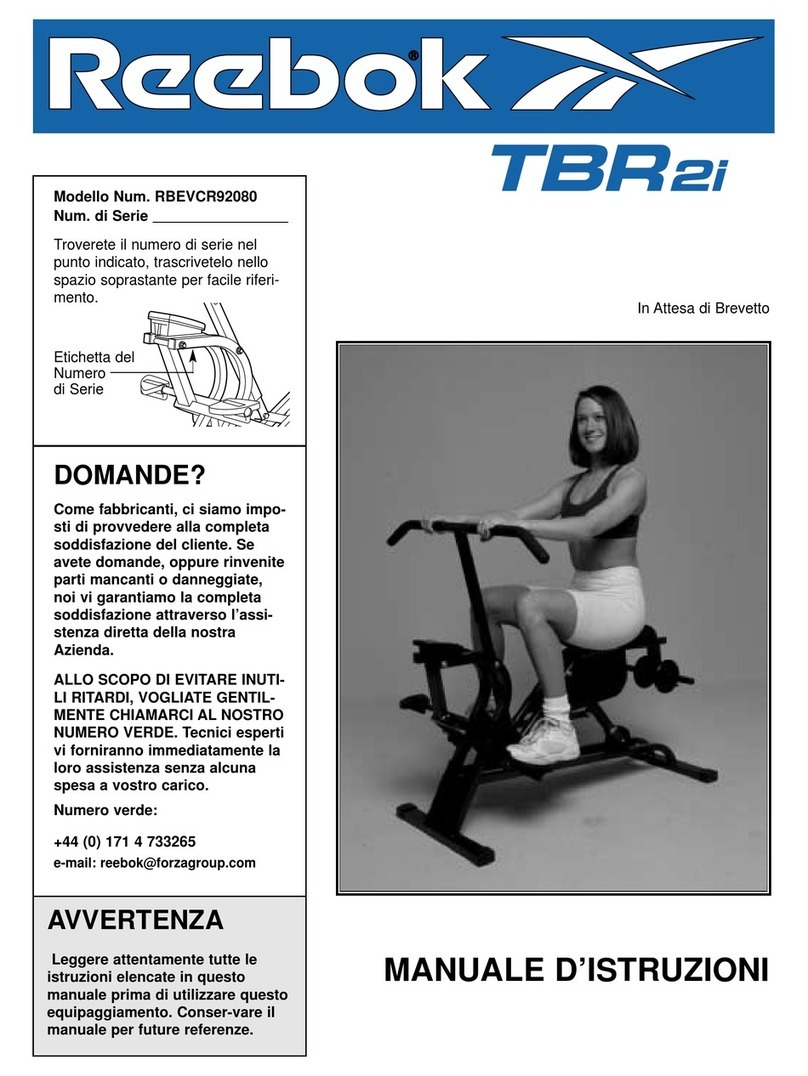
Reebok Tbr2i Manuale d'istruzioni

Reebok

Reebok Tbr2i Manuale d'istruzioni

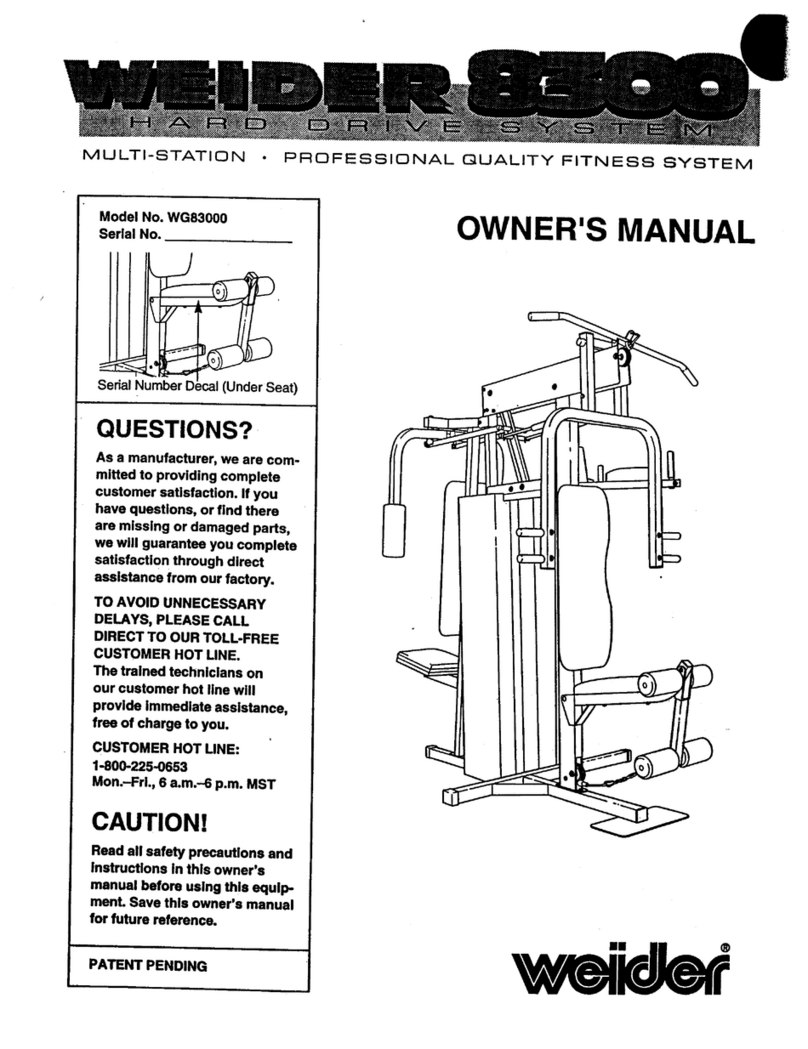
Weider 8300 Hard Drive manual

Weider

Weider 8300 Hard Drive manual

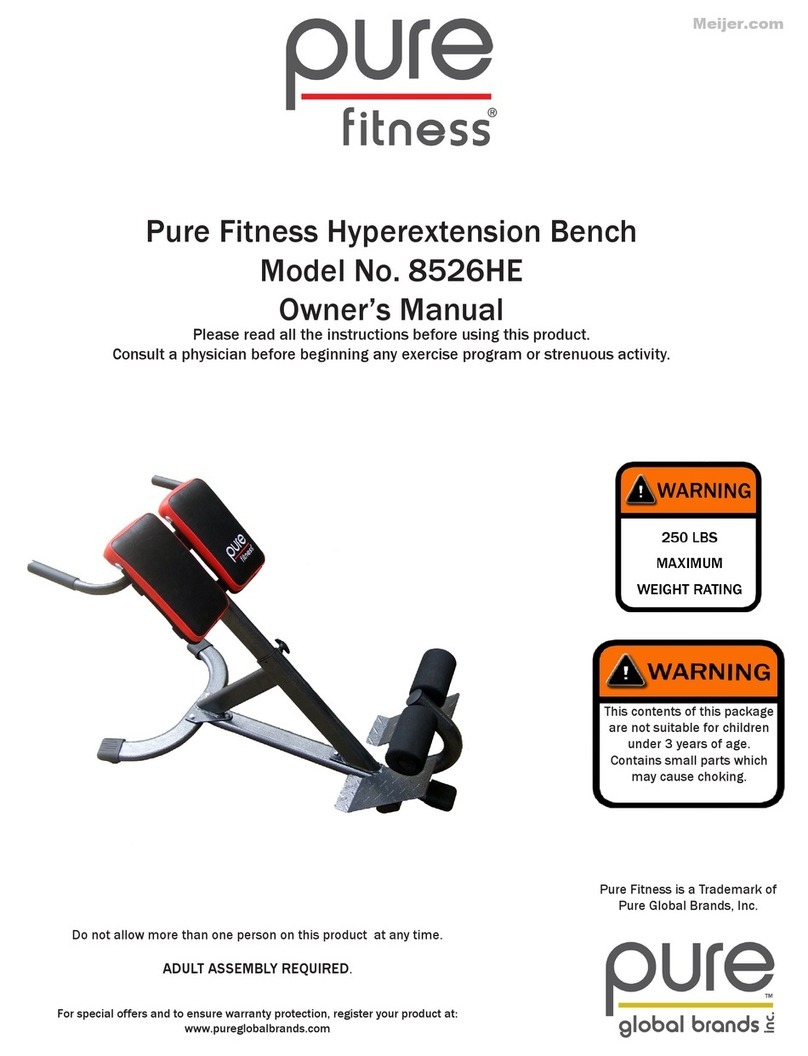
Pure Fitness 8526HE owner's manual

Pure Fitness

Pure Fitness 8526HE owner's manual

Weider 8700 I Bedienungsanleitung

Weider

Weider 8700 I Bedienungsanleitung

Bowflex Sport 001-6961 Assembly instructions

Bowflex

Bowflex Sport 001-6961 Assembly instructions

Insportline RW600 user manual

Insportline

Insportline RW600 user manual

Weider WEMC10161 user manual

Weider

Weider WEMC10161 user manual

Body Solid GHYP-345 owner's manual

Body Solid

Body Solid GHYP-345 owner's manual

Evo TAHOE 5105 user manual

Evo

Evo TAHOE 5105 user manual

ParaBody 40 Assembly instructions

ParaBody

ParaBody 40 Assembly instructions

JLL Ventus Pro Air Power instruction manual

JLL

JLL Ventus Pro Air Power instruction manual

Trojan Colorado 370 user manual

Trojan

Trojan Colorado 370 user manual

manuals.online logo
manuals.online logoBrands
  • About & Mission
  • Contact us
  • Privacy Policy
  • Terms and Conditions

Copyright 2025 Manuals.Online. All Rights Reserved.

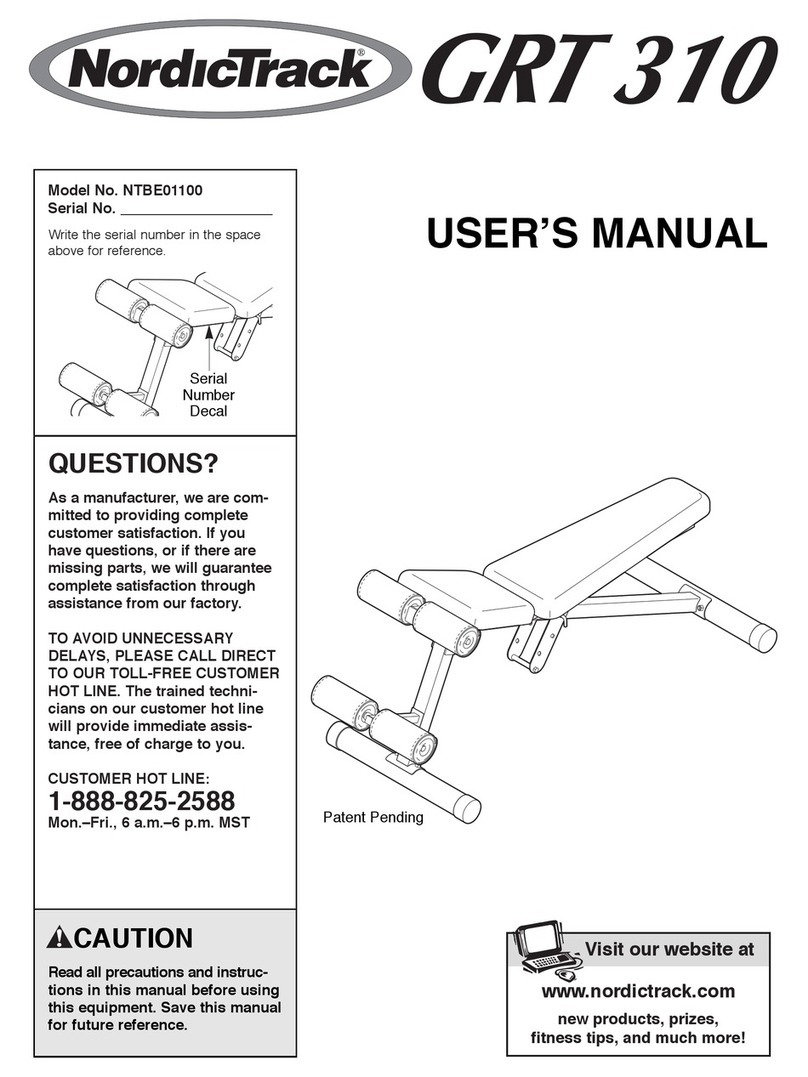
USER’S MANUAL
Visit our website at
www.nordictrack.com
new products, prizes,
fitness tips, and much more!
CAUTION
Read all precautions and instruc-
tions in t is manual before using
t is equipment. Save t is manual
for future reference.
Model No. NTBE29910
Serial No.
Write the serial number in the
space above for future reference.
Serial Number Decal (Under Seat)
QUESTIONS?
As a manufacturer, we are com-
mitted to providing complete
customer satisfaction. If you
ave questions, or if t ere are
missing or damaged parts, we
will guarantee complete satisfac-
tion t roug direct assistance
from our factory.
TO AVOID DELAYS, PLEASE
CALL DIRECT TO OUR TOLL-
FREE CUSTOMER HOT LINE.
T e trained tec nicians on our
customer ot line will provide
immediate assistance, free of
c arge.
CUSTOMER HOT LINE:
1-888-825-2588
Mon.–Fri., 6 a.m.–6 p.m. MST
2
WARNING DECAL PLACEMENT
WARNING D CAL PLAC M NT . . . . . . . . . . . . . . . . . . . . . . . . . . . . . . . . . . . . . . . . . . . . . . . . . . . . . . . . . . 2
IMPORTANT PR CAUTIONS . . . . . . . . . . . . . . . . . . . . . . . . . . . . . . . . . . . . . . . . . . . . . . . . . . . . . . . . . . . . . 3
B FOR YOU B GIN . . . . . . . . . . . . . . . . . . . . . . . . . . . . . . . . . . . . . . . . . . . . . . . . . . . . . . . . . . . . . . . . . . . 4
PART ID NTIFICATION CHART . . . . . . . . . . . . . . . . . . . . . . . . . . . . . . . . . . . . . . . . . . . . . . . . . . . . . . . . . . . 5
ASS MBLY . . . . . . . . . . . . . . . . . . . . . . . . . . . . . . . . . . . . . . . . . . . . . . . . . . . . . . . . . . . . . . . . . . . . . . . . . . . 6
CABL DIAGRAM . . . . . . . . . . . . . . . . . . . . . . . . . . . . . . . . . . . . . . . . . . . . . . . . . . . . . . . . . . . . . . . . . . . . .16
ADJUSTM NTS . . . . . . . . . . . . . . . . . . . . . . . . . . . . . . . . . . . . . . . . . . . . . . . . . . . . . . . . . . . . . . . . . . . . . . 17
B NCH ADJUSTM NT CHART . . . . . . . . . . . . . . . . . . . . . . . . . . . . . . . . . . . . . . . . . . . . . . . . . . . . . . . . . . .20
X RCIS GUID LIN S . . . . . . . . . . . . . . . . . . . . . . . . . . . . . . . . . . . . . . . . . . . . . . . . . . . . . . . . . . . . . . . 21
ORD RING R PLAC M NT PARTS . . . . . . . . . . . . . . . . . . . . . . . . . . . . . . . . . . . . . . . . . . . . . . . .Back Cover
LIMIT D WARRANTY . . . . . . . . . . . . . . . . . . . . . . . . . . . . . . . . . . . . . . . . . . . . . . . . . . . . . . . . . . . Back Cover
Note: A PART LIST/ XPLOD D DRAWING is attached in the center of this manual. Remove the PART
LIST/ XPLOD D DRAWING before beginning assembly.
NordicTrack is a registered trademark of ICON Health & Fitness, Inc.
TABLE OF CONTENTS
T e decals s own ere ave been placed on
t e weig t benc . If a decal is missing or illegi-
ble, please call our Customer Service
Department toll-free at 1-888-825-2588, Monday
t roug Friday, 6 a.m. until 6 p.m. Mountain
Time, to order a free replacement decal. Apply
t e decal in t e location s own.
Keep hands and
fingers clear of
this area.
3
1. Read all instructions in t is manual before
using t e weig t benc . Use t e weig t
benc only as described in t is manual.
2. It is t e responsibility of t e owner to ensure
t at all users of t e weig t benc are ade-
quately informed of all precautions.
3. T e weig t benc is intended for ome use
only. Do not use t e weig t benc in any
commercial, rental, or institutional setting.
4. Use t e weig t benc only on a level surface.
Cover t e floor beneat t e weig t benc to
protect t e floor.
5. Make sure all parts are properly tig tened
eac time you use t e weig t benc . Replace
any worn parts immediately.
6. Keep c ildren under 12 and pets away from
t e weig t benc at all times.
7. Keep ands and feet away from moving parts.
8. Always wear at letic s oes for foot protec-
tion w ile exercising.
9. Make sure t at t e cables remain on t e pul-
leys at all times. If t e cables bind as you are
exercising, stop immediately and make sure
t at t e cables are on t e pulleys.
10. Always set bot weig t rests at t e same
eig t.
11. T e weig t benc is designed to support a
maximum user weig t of 250 pounds. Do not
place more t an 310 pounds, including t e
barbell, on t e weig t rests. Do not place
more t an 150 pounds on t e weig t car-
riage. Note: T e weig t benc is designed to
be used wit an Olympic barbell. T e weig t
benc does not include a barbell or weig ts.
12. Always place an equal amount of weig t on
eac side of t e weig t carriage or barbell.
13. Always secure t e weig ts wit t e weig t
clips w en t ey are mounted on t e weig t
carriage.
14.
Always exercise wit a partner. Your partner
s ould be ready to catc t e barbell if you
cannot complete a repetition.
15. Always set t e back leg over t e center base
before using t e leg lever. Always attac t e
benc cable to t e low cable before perform-
ing a benc exercise.
16. Always move t e benc out of t e way w en
performing squat exercises. Always discon-
nect t e barbell from t e ig cable w en per-
forming an exercise t at does not require it.
T e barbell could be lifted off t e weig t rests
and fall.
17. If you feel pain or dizziness at any time w ile
exercising, stop immediately and begin cool-
ing down.
WARNING:Before beginning t is or any exercise program, consult your p ysician. T is
is especially important for persons over t e age of 35 or persons wit pre-existing ealt problems.
Read all instructions before using. ICON assumes no responsibility for personal injury or property
damage sustained by or t roug t e use of t is product.
WARNING: To reduce t e risk of serious injury, read t e following important precautions
before using t e weig t benc .
IMPORTANT PRECAUTIONS

4
Weight Carriage
Pulley Arm
Pulley Arm
Safety Spotter
Weight Rest
Weight Rest
Power Assist Leg
Bench Cable
Bracket
Rig t Side
Left Side
Note: T e terms “rig t side” and “left side” are determined relative to a person sitting on t e
benc ; t ey do not correspond to rig t and left on t e drawings in t e manual.
Backrest
Low Pulley
Station
Leg Lever
Seat
Pull-up Bar
BEFORE YOU BEGIN
Thank you for selecting the versatile NordicTrack®GRT
300 weight bench. The GRT 300 offers a selection of
weight stations designed to develop every major mus-
cle group of the body. Whether your goal is to tone
your body, build dramatic muscle size and strength, or
improve your cardiovascular system, the GRT 300 will
help you to achieve the specific results you want.
For your benefit, read t is manual carefully before
using t e weig t benc . If you have additional ques-
tions, please call our Customer Service Department
toll-free at 1-888-825-2588, Monday through Friday,
6 a.m. until 6 p.m. Mountain Time (excluding holidays).
To help us assist you, please note the product model
number and serial number before calling. The model
number is NTB 29910. The serial number can be
found on a decal attached to the weight bench (see
the front cover of this manual).
Before reading further, please review the drawing
below and familiarize yourself with the parts that are
labeled.
5
M10 x 75mm Bolt (73)
M10 x 78mm Bolt (70)
M10 x 100mm Bolt (66)
M10 x 45mm Bolt (76)
M10 x 86mm Bolt (63)
M10 x 97mm Bolt (90)
M10 x 81mm Bolt (65)
M10 x 91mm Bolt (67)
M10 x 120mm Bolt (75)
M10 x 62mm Carriage Bolt (74)
M10 x 57mm Bolt (78)
M10 x 164mm Bolt (71)
M10 x 154mm Bolt (69)
M10 Nylon Locknut (77)
M6 Locknut (80)
M10 x 25mm Button Bolt (81)
M10 x 102mm Bolt (91)
M4 x 19mm Screw (68)
M6 x 16mm
Bolt (72)
M5 Washer (92)
M6 Washer (62)
M8 x 12mm Screw (43)
M10 Washer (79)
PART IDENTIFICATION CHART
Refer to the drawings below to identify small parts used in assembly. The number in parentheses by each draw-
ing is the key number of the part, from the PART LIST in the center of this manual. Note: Some small parts
may ave been pre-attac ed. If a part is not in t e parts bag, c eck to see if it as been pre-attac ed.
6
Before beginning assembly, carefully read t e
following information and instructions:
•Assembly requires two people.
•Place all parts in a cleared area and remove the
packing materials. Do not dispose of the packing
materials until assembly is completed.
•Tighten all parts as you assemble them, unless
instructed to do otherwise.
•As you assemble the weight bench, make sure all
parts are oriented as shown in the drawings.
•For help identifying small parts, use the PART
ID NTIFICATION CHART on page 5.
T e following tools (not included) are required
for assembly:
• Two adjustable wrenc es
• One rubber mallet
• One standard screwdriver
• One P illips screwdriver
• Lubricant, suc as grease or petroleum jelly,
and soapy water.
Assembly will be more convenient if you have a
socket set, a set of open-end or closed-end
wrenches, or a set of ratchet wrenches.
Make T ings Easier for Yourself
verything in this manual is designed to ensure
that the weight bench can be assembled suc-
cessfully by anyone. However, it is important to
realize that the versatile weight bench has many
parts and that the assembly process will take
time. Most people find that by setting aside plen-
ty of time, assembly will go smoothly.
23
2
Numbers
on this
side
Numbers
on this
side
Holes
on this
side
1
77
22
50 74
77
ASSEMBLY
1.
Press a 2” x 3” Square Inner Cap (50) into the
end of the Right Base (22).
Identify the Right Upright (2) by the positions of
the numbers and the holes. Attach the Right
Upright to the Right Base (22) with two M10 x
62mm Carriage Bolts (74) and two M10 Nylon
Locknuts (77). Note: Be sure t at t e numbers
on t e Rig t Uprig t are on t e side s own.
Do not tig ten t e Nylon Locknuts yet.
Repeat this step with the Left Base (23) and the
Left Upright (1). Note: Be sure t e numbers on
t e Left Uprig t are on t e side s own in t e
inset drawing.
1
Before beginning assembly, make sure you
understand t e information in t e box
above. Important: Some of t e parts
described in t e assembly steps may be
pre-assembled.
5. Press two 75mm Bushings (26) into the top and
bottom of the Safety Spotter (10).
Attach the two Safety Spotter Bumpers (34) to the
Safety Spotter (10) with two M10 x 25mm Button
Bolts (81), two M10 Washers (79), and two M10
Nylon Locknuts (77).
Pull the Knob (30) out as far as it will go. Slide the
Safety Spotter (10) onto the top of the Center
Upright (3) and engage the Knob into an adjust-
ment hole. Turn the Knob clockwise until tight.
Press a 60mm Square Inner Cap (46) into the top
of the Center Upright (3).
4
7
4. Attach the Center Upright (3) to the Center Base
(24) with two M10 x 75mm Bolts (73), four M10
Washers (79), and two M10 Nylon Locknuts (77).
Do not tig ten t e Nylon Locknuts yet.
3
3. Press two 2” Round Inner Caps (47) into the ends
of the weight tube on the Weight Carriage (25).
Press two 75mm Bushings (26) into the top and
bottom of the Weight Carriage.
Orient the Weight Carriage (25) and the Center
Upright (3) so that the welded bolt and letters are
on the indicated sides. Slide the Weight Carriage
onto the bottom of the Center Upright.
Attach the Carriage Stop (27) to the indicated
hole in the Center Upright (3) with an M10 x
86mm Bolt (63) and an M10 Nylon Locknut (77).
222 77
77
24 53
53
50
1
90
90
23
5
77363
47
47
Weight
Tube
Letters near
the top of
this side
Welded
Bolt
27
26
26
25
77
79 79
73
24
3
26
77
77
26
3
81
79
79
81
Adjustment
Hole
34
34
10
46
30
2. Press two 50mm Thick Square Inner Caps (53)
and a 2” x 3” Inner Cap (50) into the ends of the
Center Base (24).
Have a second person hold the Right and Left
Uprights (1, 2 [not shown]). Attach the Right and
Left Bases (22, 23) to the Center Base (24) with
two M10 x 97mm Bolts (90) and two M10 Nylon
Locknuts (77). Do not tig ten t e Nylon
Locknuts yet.
8
6. Press two 75mm Bushings (26) into the top and
bottom of the Right Weight Rest (12).
Pull the Knob (30) out as far as it will go. Slide the
Right Weight Rest (12) onto the Right Upright (2)
and engage the Knob into an adjustment hole in
the Upright. Turn the Knob clockwise until tight.
Repeat this step with the Left Weight Rest (not
shown).
8. Press two 38.1mm x 76.2mm Inner Caps (49) into
the ends of the Right and Left Frames (5, 6).
Attach the Right and Left Frames (5, 6) to the
Center Upright (3) with an M10 x 81mm Bolt (65)
and an M10 Nylon Locknut (77).
Attach the Right Frame (5) to the Center Frame
(4) with an M10 x 120mm Bolt (75), an M10
Washer (79), and an M10 Nylon Locknut (77).
Attach the Left Frame (6) to the Center Frame in
the same manner.
Do not tig ten t e M10 Nylon Locknuts (77) yet.
6
9
30
26
12
26
2
89
6
5
77 9
65
9. Press a 60mm Square Arched Inner Cap (89) into
the end of the Top Frame (9).
Attach the Top Frame (9) to the Right and Left
Frames (5, 6) with two M10 x 81mm Bolts (65)
and two M10 Nylon Locknuts (77). Do not tig t-
en t e Nylon Locknuts yet.
7
8
46
77
77
7977
79
79
77
21
4
Decal
49
49
56
3
4
65
75
75
79
79
77
77
46
70
70 70
70
7. Press two 60mm Square Inner Caps (46) into the
tops of the Left and Right Uprights (1, 2).
Orient the Center Frame (4) with the decal on the
side shown. Attach the Center Frame to the Left
and Right Uprights (1, 2) with four M10 x 78mm
Bolts (70), four M10 Washers (79), and four M10
Nylon Locknuts (77). Do not tig ten t e Nylon
Locknuts yet.
9
11
12
13
13. Press a 38mm x 50mm Inner Cap (64) into the
indicated tube on the Sliding Seat Frame (15).
Press two 75mm Bushings (26) into the ends of
the Sliding Seat Frame.
Orient the Sliding Seat Frame (15) as shown. Pull
the Knob (not shown) out as far as it will go. Slide
the Sliding Seat Frame onto the Bench Frame
(14) and engage the Knob into an adjustment
hole in the Bench Frame.
Press a 60mm Square Angled Inner Cap (95) into
the end of the Bench Frame (14).
10
77
79
79
46
70
70
26
26
95
15
14
64 Knob
14
18
51
51
77
74
39
52
78
77
79 79
8
Top
40 Decal
5
10. Orient the Pull-up Bar (8) with the bend on top.
Attach the Pull-up Bar to the Right Frame (5) with
two M10 x 57mm Bolts (78), two M10 Washers
(79), and two M10 Nylon Locknuts (77). Do not
tig ten t e Nylon Locknuts yet.
Attach the Pull-up Bar (8) to the Left Frame (not
shown) in the same manner.
Tig ten t e M10 Nylon Locknuts (77) used in
steps 1–10.
11. Press two 38mm x 50mm Inner Caps (52) into
the top of the Back Leg (39). Press two 50mm
Square Inner Caps (51) into the ends of the
Stabilizer (40).
Orient the Stabilizer (40) so the decal is in the
position shown. Attach the Back Leg (39) to the
Stabilizer with two M10 x 62mm Carriage Bolts
(74) and two M10 Nylon Locknuts (77). Do not
tig ten t e Nylon Locknuts yet.
12. Press a 60mm Square Inner Cap (46) into the top
of the Front Leg (18).
Orient the Bench Frame (14) as shown. Attach
the Bench Frame to the Front Leg (18) with two
M10 x 78mm Bolts (70), two M10 Washers (79),
and two M10 Nylon Locknuts (77). Do not tig t-
en t e Nylon Locknuts yet.
10
14. Attach the Bench Frame (14) to the Back Leg
(39) with an M10 x 78mm Bolt (70), two M10 x
164mm Bolts (71), an M10 Washer (79), and
three M10 Nylon Locknuts (77). Do not tig ten
t e Nylon Locknuts yet.
17. Press two 38mm Square Inner Caps (44) into the
ends of the Support Leg (13).
Lubricate an M10 x 154mm Bolt (69). Attach the
Support Leg (13) to the Backrest Frame (16) with
the Bolt, two M10 Washers (79), and an M10
Nylon Locknut (77).
Lubricate an M10 x 164mm Bolt (71). Attach the
Support Leg (13) to the Back Leg (39) with the
Bolt, two M10 Washers (79), and an M10 Nylon
Locknut (77).
Lubricate two M10 x 45mm Bolts (76). Attach the
Backrest Frame (16) to the Sliding Seat Frame
(15) with the Bolts, two M10 Washers (79), and
two M10 Nylon Locknuts (77).
Do not overtig ten t e M10 Nylon Locknuts
(77); t e Support Leg (13) and t e Backrest
Frame (16) must be able to pivot easily.
16. Press four 25.4mm x 38.1mm Inner Caps (45)
into the Backrest Frame (16).
Orient the Backrest (38) as shown. Attach the
Backrest to the Backrest Frame (16) with four M6
x 16mm Bolts (72).
38
45
16
72
72
45
77
79
77
14
70
71
39
14
15. Attach the Leg Lever Bumper (54) to the Front
Leg (18) with the M4 x 19mm Screw (68) and an
M5 Washer (92).
Press a 38.1mm x 76.2mm Inner Cap (49) and a
2” x 3” Inner Cap (50) into the Leg Lever (19).
Lubricate an M10 x 102mm Bolt (91). Attach the
Leg Lever (19) to the Front Leg (18) with the Bolt
and an M10 Nylon Locknut (77). Do not over-
tig ten t e Nylon Locknut; t e Leg Lever must
be able to pivot easily.
68 18 Lubricate
49 50 77
91
15
16
17
19
54
92
79
79
79
77
77
77
76
76
44
44
39
13
69
79
16
15 71
79