6
T7406 – Technical Session May 17-01 6
Nortel Networks Confidential
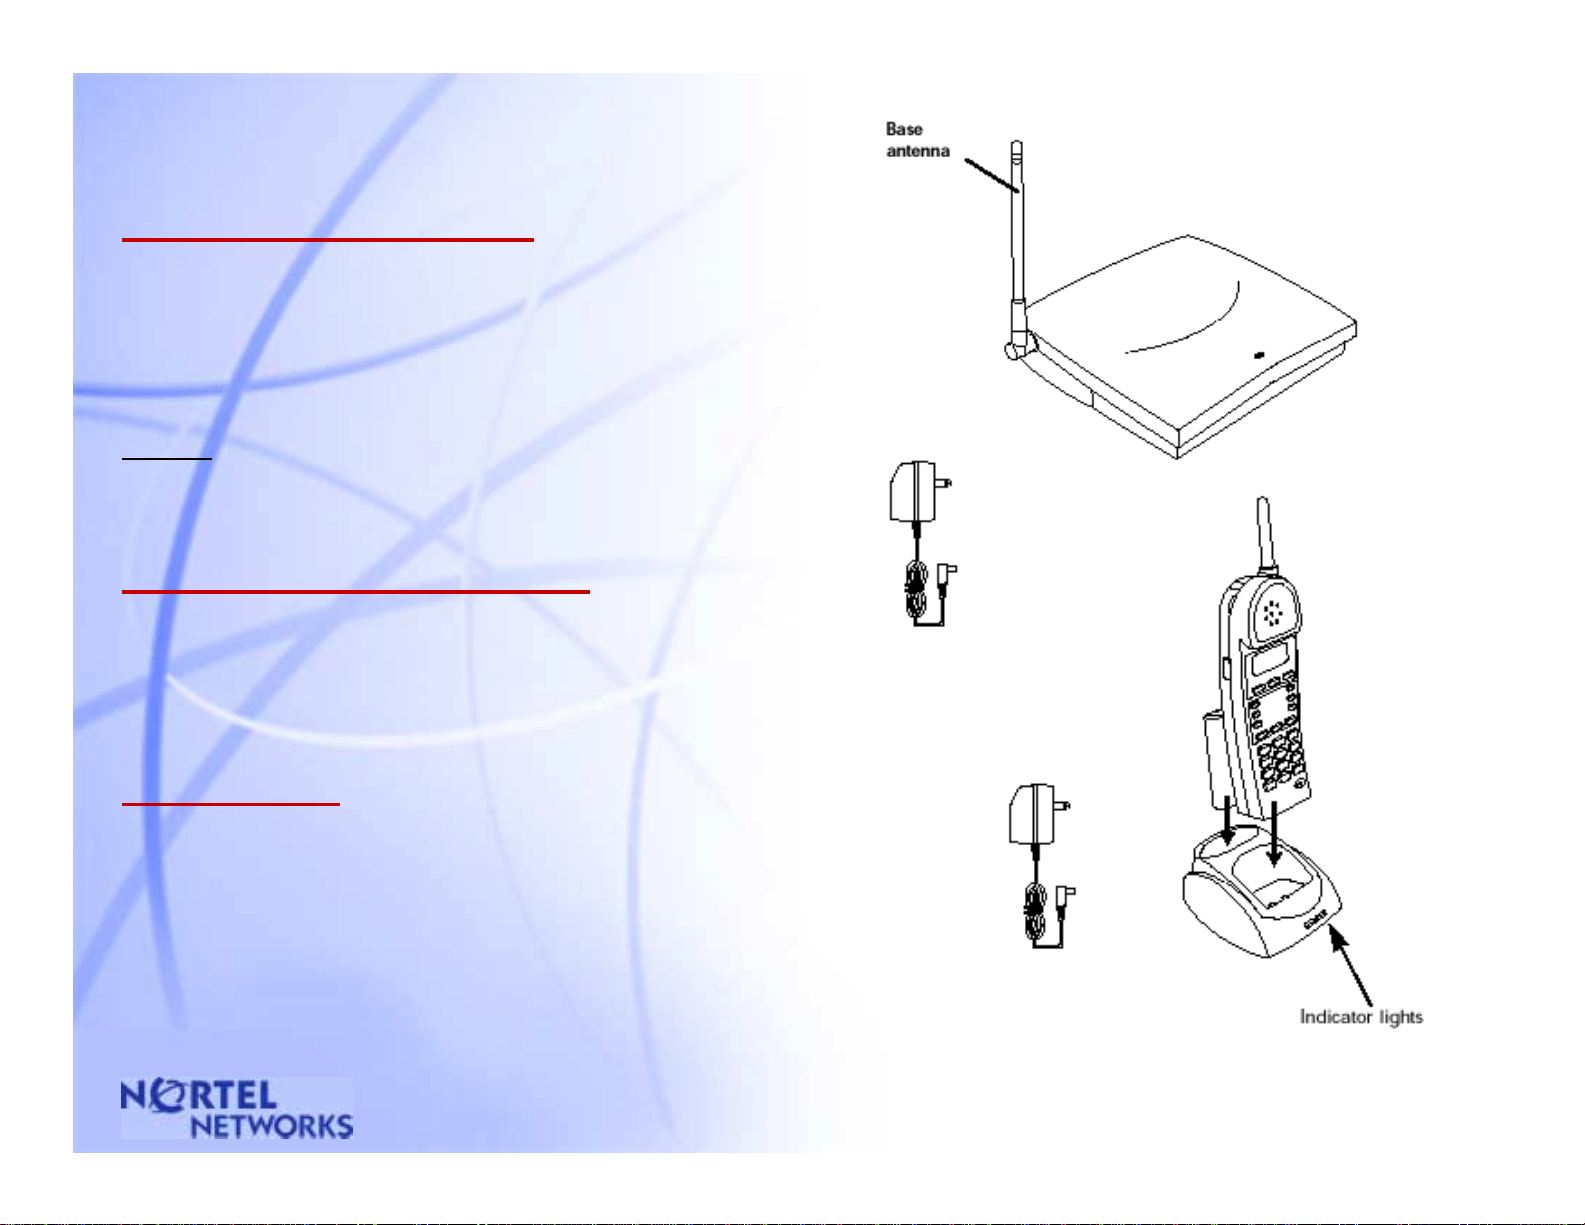
Installation
Before beginning installation, make sure that each T7406 set has one fully
charged battery to operate.
Begin the installation by locating an area where your radio will have
optimal performance. The base should not be installed where radio waves
are blocked or reflected, such as next to a filing cabinet. You can test this
by installing a base station in the proximity of your users and testing the
range available from that location. For best results, locate the base within
line of sight of the users, and at least eight feet off the ground. If two base
stations are being installed, place the bases a minimum of 20 feet apart.
Once your optimal location has been located, you can begin the
installation. You have the option of installing the Radio Base horizontally
on a surface in the workspace, or wall mount the Base. In either case, keep
the Base antenna at a 90 degree angle from the base.
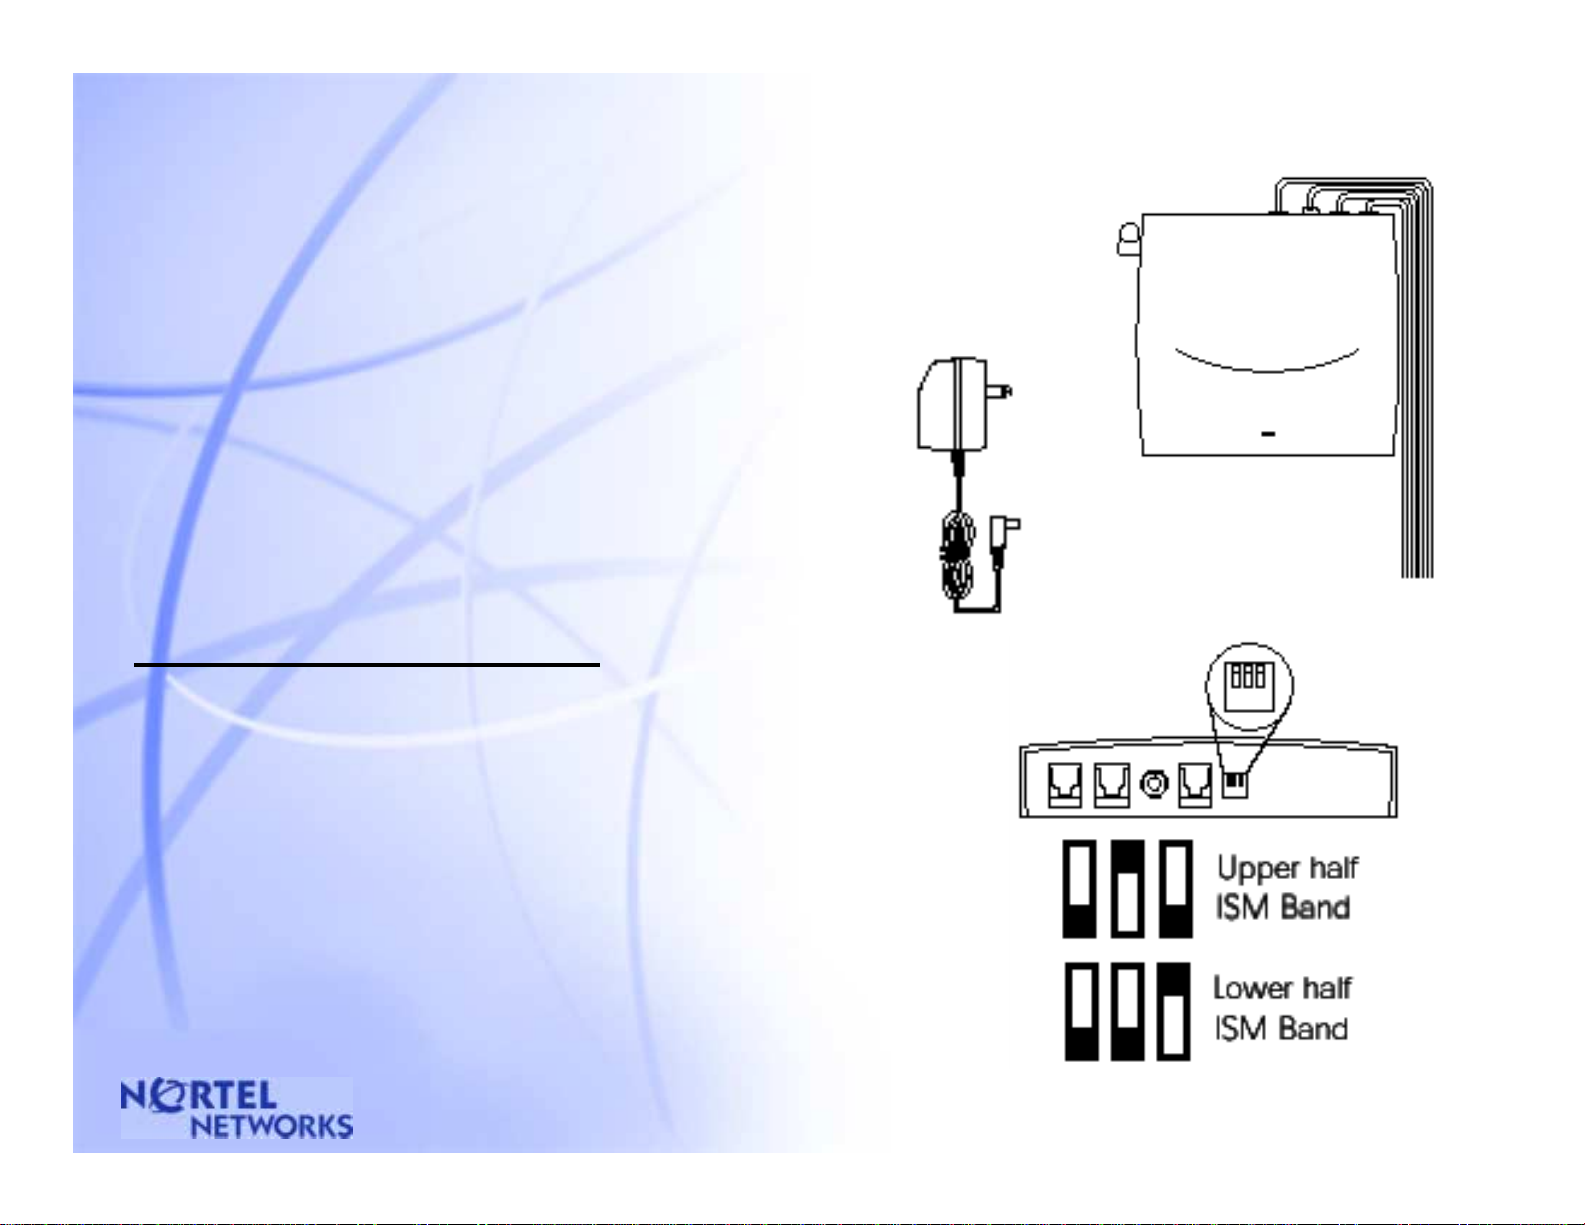
Note: You will need to drop 3 TCM loops to the location of the Radio Base.
You will also require power to the Base.