Northern Industrial Tools 148830 User manual
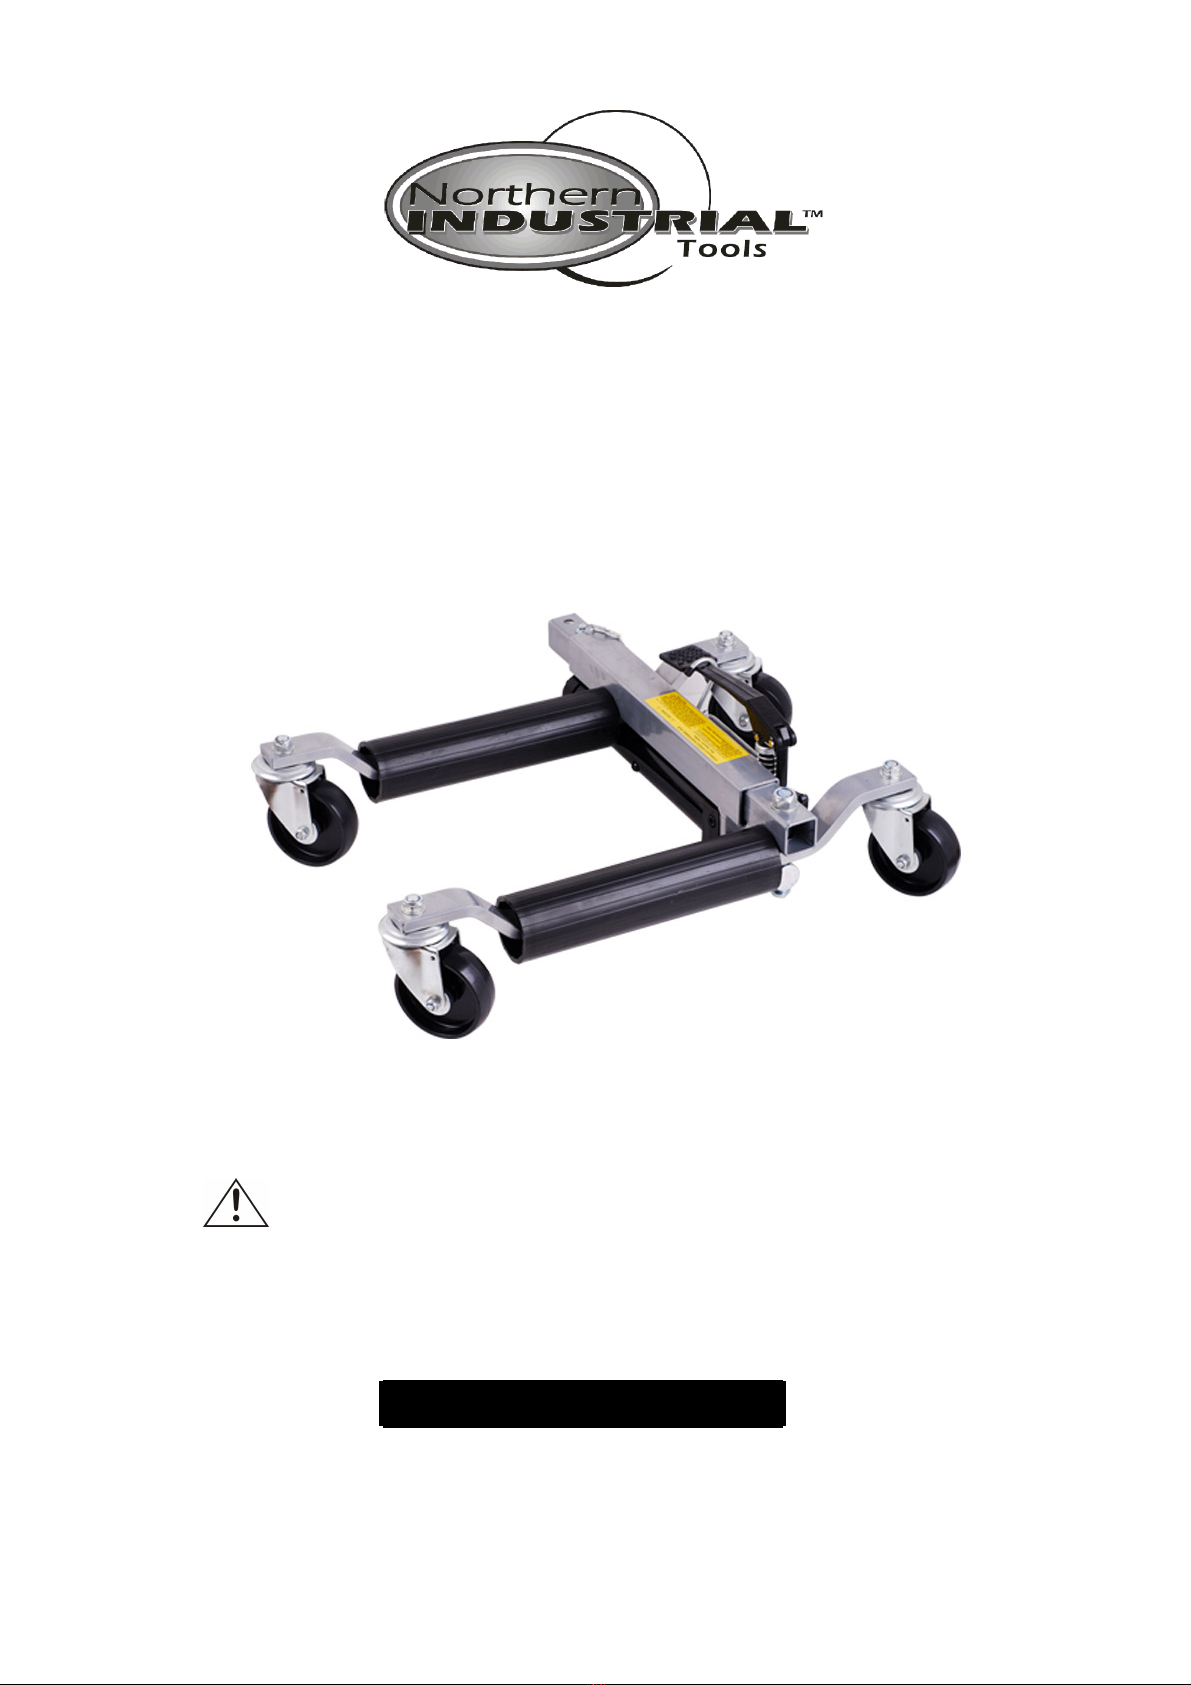
9 " H Y D R A U L I C V E H I C L E
P O S I T I O N I N G J A C K
OWNER’S MANUAL
WARNING: Read carefully and understand all
INSTRUCTIONS before operating. Failure to follow the
safety rules and other basic safety precautions may result
in serious personal injury.
Item #148830

Page of 7
2
Thank you very much for choosing a NORTHERN TOOL + EQUIPMENT CO., INC. Product! For
future reference, please complete the owner’s record below:
Model: _______________ Purchase Date: _______________
Save the receipt, warranty and these instructions. It is important that you read the entire manual
to become familiar with this product before you begin using it.
This machine is designed for certain applications only. Northern Tool + Equipment cannot be
responsible for issues arising from modification. We strongly recommend this machine is not
modified and/or used for any application other than that for which it was designed. If you have
any questions relative to a particular application, DO NOT use the machine until you have first
contacted Northern Tool + Equipment to determine if it can or should be performed on the
product.
For technical questions please call 1-800-222-5381.
INTENDED USE
Single hydraulic vehicle jack maneuvers vehicle in any direction on 4 strong casters. Using 2 jacks
permits full 180° vehicle pivot; using 4 jacks places vehicle on a 360° rolling platform.
TECHNICAL SPECIFICATIONS & PACKING LIST
Item
Description
Size of wheel
4"
Construction
A3 steel
Width of handle
9"
GENERAL SAFETY RULES
WARNING: Read and understand all instructions. Failure to follow all instructions listed
below may result in electric shock, fire and/or serious injury.
WARNING: The warnings, cautions, and instructions discussed in this instruction
manual cannot cover all possible conditions or situations that could occur. It must be
understood by the operator that common sense and caution are factors which cannot be built into
this product, but must be supplied by the operator.
SAVE THESE INSTRUCTIONS
WORK AREA
åKeep work area clean, free of clutter and well lit. Cluttered and dark work areas can cause
accidents.
åKeep children and bystanders away while operating this jack. Distractions can cause you to
lose control, so visitors should remain at a safe distance from the work area.

Page of 7
3
åBe aware of all power lines, electrical circuits, water pipes and other mechanical hazards in
your work area, particularly those hazards below the work surface hidden from the operator’s
view that may be unintentionally contacted and may cause personal harm or property damage.
åBe alert of your surroundings. Using jacks in confined work areas may put you dangerously
close to cutting tools and rotating parts.
PERSONAL SAFETY
åStay alert, watch what you are doing and use common sense when operating this jack. Do not
use a tool while you are tired or under the influence of drugs, alcohol or medication. A moment
of inattention while operating tools may result in serious personal injury.
åDress properly. Do not wear loose clothing, dangling objects, or jewelry. Keep your hair,
clothing and gloves away from moving parts. Loose clothes, jewelry or long hair can be caught
in moving parts.
åUse safety apparel and equipment. Use safety goggles or safety glasses with side shields
which comply with current national standards, or when needed, a face shield. This applies to all
persons in the work area. Also use non-skid safety shoes, hardhat, gloves, dust collection
systems, and hearing protection when appropriate.
åDo not overreach. Keep proper footing and balance at all times.
TOOL USE AND CARE
åRead all the instructions and warnings first before attempting to operate this jack.
åDO NOT operate jack on inclined surfaces. Jack must be used on level surfaces only.
Unanticipated motion can occur as soon as jack lifts tire from surface.
åDO NOT overload jack beyond the load rating (1500 lbs. per unit)
åDO NOT start the vehicle’s engine, or drive a vehicle while the jack is in use. Jacks are
designed for hand maneuvering of vehicles only.
åDO NOT use jack to lift tires wider than 9 inches.
åDO NOT attempt to push jack over obstacles. Jack is designed to be used on level and smooth
surfaces only.
åAfter lifting, be sure to always lock the pin in place before operating. Pull the pin out after
finishing work and then release the valve.
åDo not force the tool. Tools do a better and safer job when used in the manner for which they
are designed. Plan your work, and use the correct tool for the job.
åStore idle tools. When tools are not is use, store them in a dry, secure place out of the reach of
children. Inspect tools for good working condition prior to storage and before re-use.
åUse only accessories that are recommended by the manufacturer for your model.
Accessories that may be suitable for one tool may create a risk of injury when used on another
tool.
åKeep guards in place and in working order.
åNever leave tool unattended.
OPERATION
1. Place jack on floor and press down on the pedal to release pedal lock. Pull out the lock pin
from frame.
2. Before operation, open release valve by turning the hand-wheel counterclockwise. Expand
the jack with the hand-wheel to place the rollers around the tire; position the jack so both

Page of 7
4
rollers are in contact with the tire tread. To obtain the best control of the jack while
expanding the rollers around the tire, place your left hand on top of the left side axle and
place your right hand at the center of the pedal. Close the release valve by turning the
hand-wheel clockwise to a snug-tight position; jack may now be used.
3. Install jack so that the unit is parallel to the sidewall of the tire to be lifted. Leave
approximately 3/4" of clearance between tire and jack. This is very important. If unit is
misaligned, the tire may hit the axle of the jack and not the rollers; this may damage the
jack and void the warranty.
4. To lift tire, flip the directional lever up, then place foot on pedal, depressing the pedal with
smooth, even strokes. Cycle pedal until tire is lifted from surface one inch or less. After
lifting, the lower the tire is to the ground the more stable jack will be. After lifting, be sure
to always lock the pin in place before operation. If using more than one jack, repeat
process on the other tires and maneuver the vehicles as required.
5. To release jack, pull the pin out from the frame and open the valve by turning the
hand-wheel counterclockwise slowly. Jack may be removed when rollers disengage from
the tire.
MAINTENANCE
åMaintain your jack. It is recommended that the general condition of any jack be examined
before it is used. Keep your jack in good repair by adopting a program of conscientious
repair and maintenance. Have necessary repairs made by qualified service personnel.
åCleaning. Use only soap and a damp cloth to clean your tools. Many household cleaners
are harmful to plastics and other insulation.
Page of 7
5
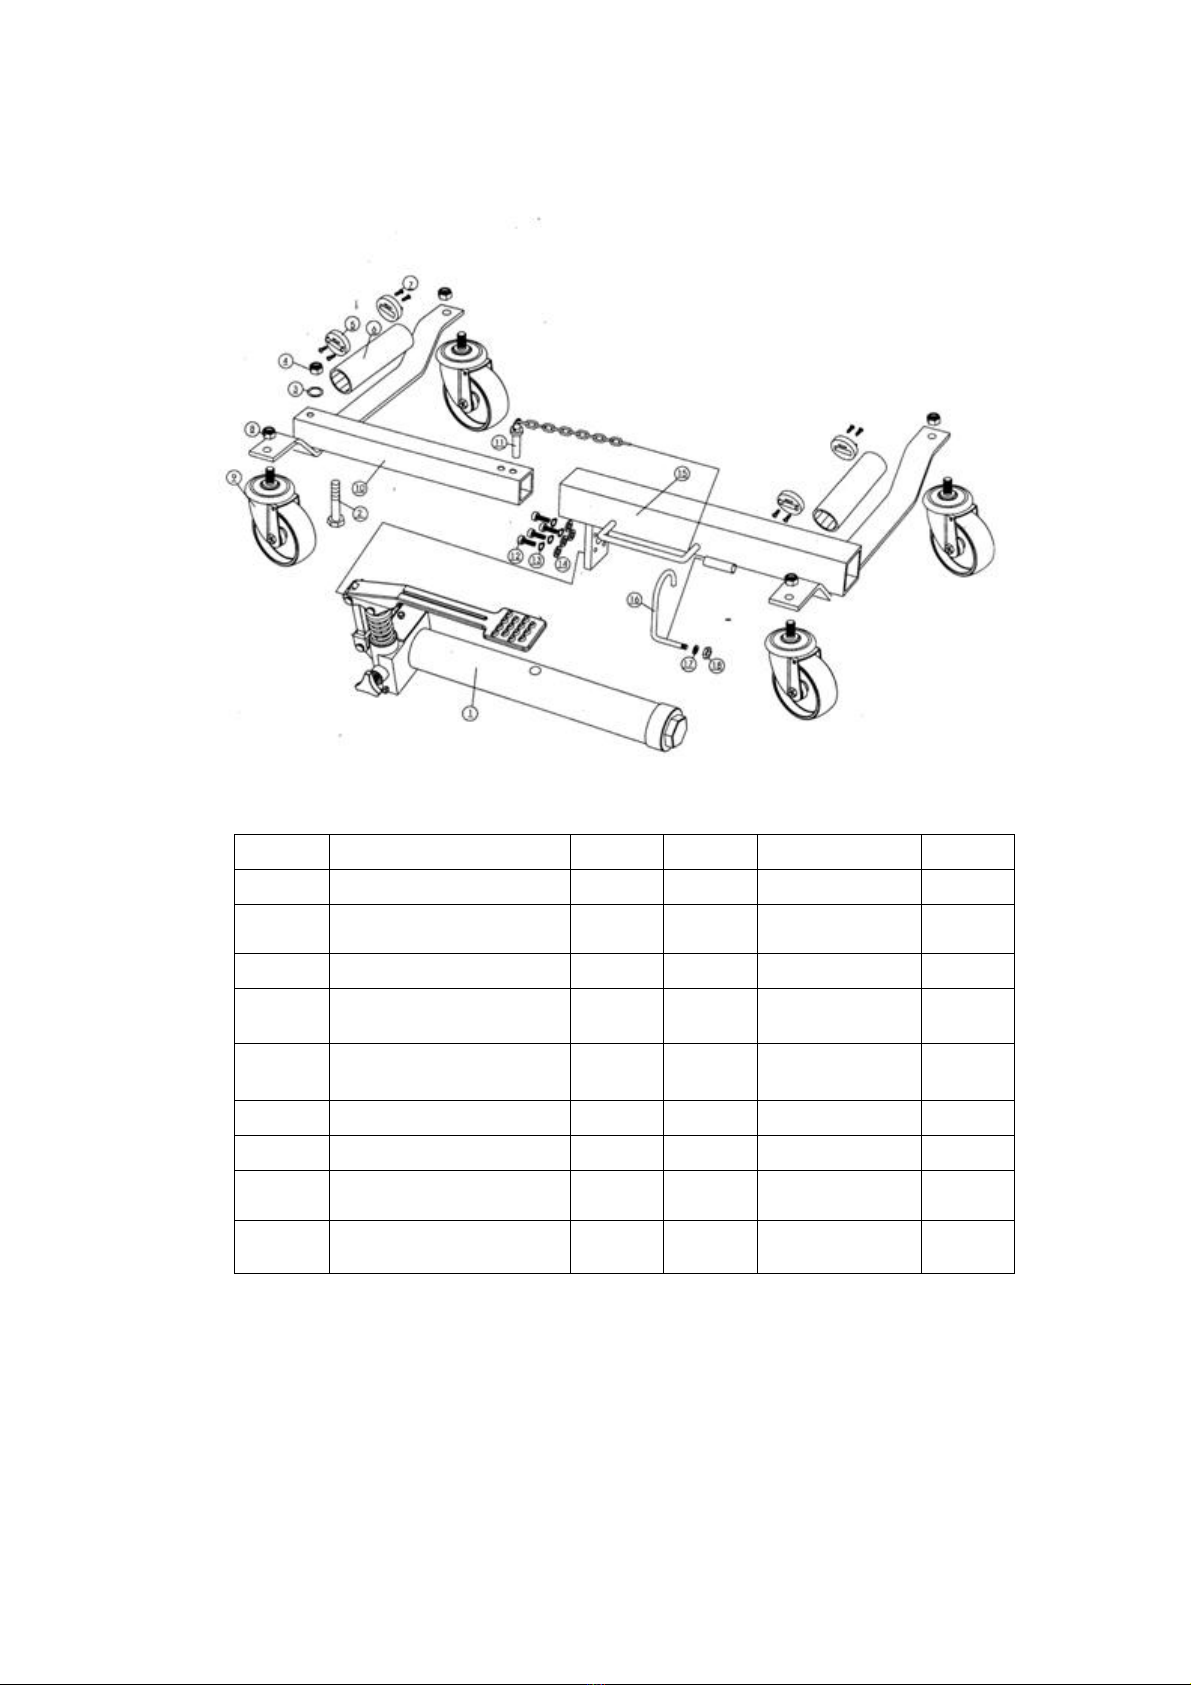
9” VEHICLE POSITIONING JACK PARTS LIST
Part#
Description
Qty.
Part#
Description
Qty.
1
Ram Assembly
1
10
Left Frame
1
2
Bolt M16*115
1
11
Lock Pin with
Chain
1
3
Flat Washer¢16
1
12
Screw M6*20
4
4
Nut M16
1
13
Lock
Washer ¢6
4
5
Roller Raceway
4
14
Flat Washer¢
6
4
6
Roller
2
15
Right Frame
1
7
Raceway Lock Screw
8
16
Hook
1
8
Lock Nut M12
4
17
Washer for
Hook
1
9
4” Swivel Caster
4
18
Nut for Hook
1
Table of contents
Popular Jack manuals by other brands

Pittsburgh
Pittsburgh 62590 Owner's manual & safety instructions

Powerbuilt
Powerbuilt 640405 Operating and maintenance instruction manual

Clarke
Clarke STRONG-ARM CTJ3000G quick start guide

Clarke
Clarke CTJ2500QLG Operating & maintenance instructions

Omega Lift Equipment
Omega Lift Equipment 18122C Operating instructions & parts manual

Pittsburgh
Pittsburgh 58816 Owner's manual & safety instructions


