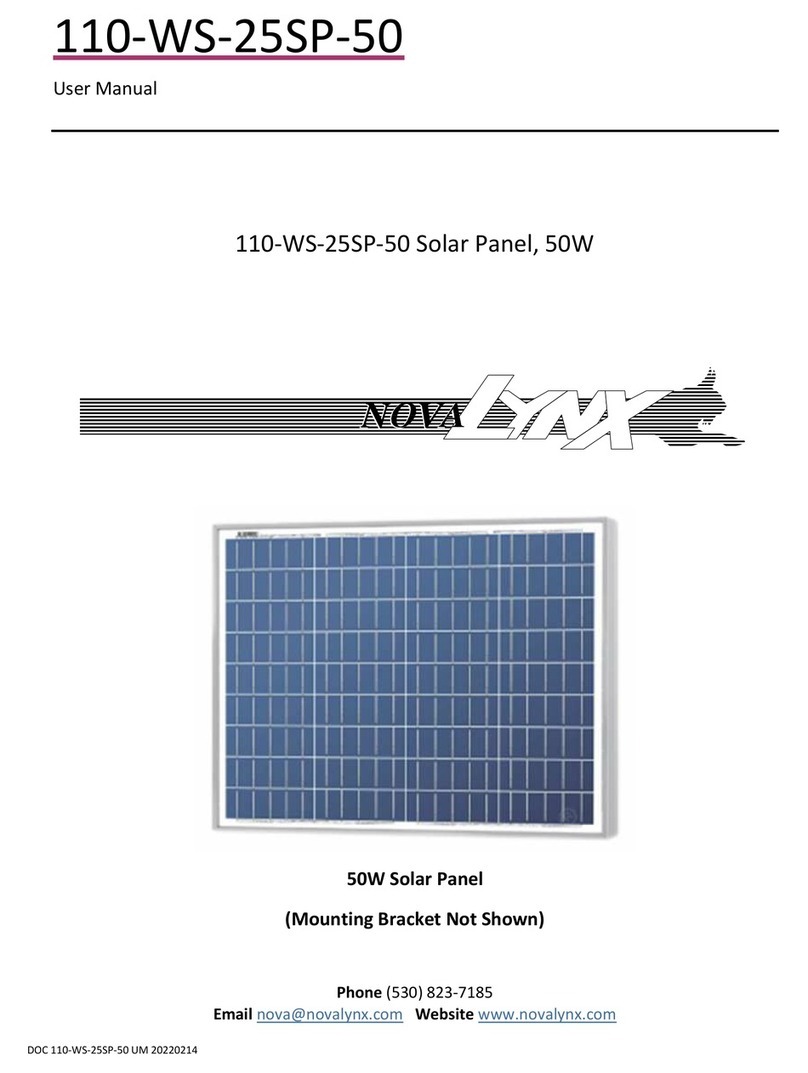
Novalynx 320 Series User manual

DOC 230-600 UM 20220214
320-600
User Manual
320-600 Solar Panel, 10W
a.k.a. 110-WS-25SP
Phone (530) 823-7185

NovaLynx Corporation
320-600 Page 2 February 2022
Receiving and Unpacking
Carefully unpack all components and compare to the packing list. Notify NovaLynx Corporation
immediately concerning any discrepancy. Inspect equipment to detect any damage that may have
occurred during shipment. In the event of damage, any claim for loss must be filed immediately with
the carrier by the consignee. Damages to equipment sent via Parcel Post or UPS require the consignee
to contact NovaLynx Corporation for instructions.
Returns
If equipment is to be returned to the factory for any reason, call NovaLynx between 8:00 a.m. and 4:00
p.m. Pacific Time to request a Return Authorization Number (RA#). Include with the returned
equipment a description of the problem and the name, address, and daytime phone number of the
sender. Carefully pack the equipment to prevent damage or additional damage during the return
shipment. Call NovaLynx for packing instructions in the case of delicate or sensitive items. If packing
facilities are not available take the equipment to the nearest Post Office, UPS, or other freight service
and obtain assistance with the packaging. Please write the RA# on the outside of the box.
Warranty
NovaLynx Corporation warrants that its products are free from defects in material and workmanship
under normal use and service for a period of one year from the date of shipment from the factory.
NovaLynx Corporation's obligations under this warranty are limited to, at NovaLynx's option: (i)
replacing; or (ii) repairing; any product determined to be defective. In no case shall NovaLynx
Corporation's liability exceed product's original purchase price. This warranty does not apply to any
equipment that has been repaired or altered, except by NovaLynx Corporation, or that has been
subjected to misuse, negligence, or accident. It is expressly agreed that this warranty will be in lieu of
all warranties of fitness and in lieu of the warranty of merchantability.
Address
NovaLynx Corporation
431 Crown Point Circle, Suite 120
Grass Valley, CA 95945-9531 USA
Phone: (530) 823-7185
Email: nova@novalynx.com
Website: www.novalynx.com
Copyright © 1988-2022 by NovaLynx Corporation

NovaLynx Corporation
320-600 Page 3 February 2022
CONTENTS
1 FORWARD ....................................................................................................................................................................... 4
2 INTRODUCTION ............................................................................................................................................................... 4
3 SPECIFICATIONS .............................................................................................................................................................. 4
4 INSTALLATION ................................................................................................................................................................. 5
5 CONNECTION .................................................................................................................................................................. 5
6 OPERATION ..................................................................................................................................................................... 6
7 WIRE DIAGRAM ............................................................................................................................................................... 7
8 MAINTENANCE ................................................................................................................................................................ 7
9 TROUBLESHOOTING ........................................................................................................................................................ 8

NovaLynx Corporation
320-600 Page 4 February 2022
1 FORWARD
Thank you for purchasing NovaLynx products. NovaLynx has been designing and manufacturing
weather instruments since 1988. NovaLynx represents several well-known brands of quality
manufacturers, including Gill Instruments, RM Young, Kipp & Zonen, and Vaisala. It is our hope that our
products will meet all your monitoring requirements.
2 INTRODUCTION
The 320-600 Solar Panel is simple to install and use. The rugged aluminum frame is attached to a fixed-
angle bracket that mounts to a mast or tower up to 2" (50 mm) in diameter. A fully-encapsulated
regulator is pre-wired to the panel, providing up to 600 mA current ideal for charging 12 V batteries.
The 10' (3 meter) cable includes a 2-pin quick-connect plug designed for easy connection to NovaLynx
logger systems.
The 320-600 Solar Panel is optimal for charging 7 Ah or 12 Ah battery systems. With a properly-sized
battery and adequate sunshine, the panel can supply continuous loads up to 60 mA. A fully charged
7 Ah battery can source 60 mA for about 4.5 days. Where long periods of overcast (up to 8 days @
60 mA) are expected, the larger 12 Ah battery is recommended.
3 SPECIFICATIONS
Panel output
10 Watt maximum @ 1000 W/m
2
and 25 °C
Panel design Polycrystalline silicon cells encapsulated with ethyl vinyl acetate for
UV protection. Heavy-duty anodized aluminum frame.
Panel dimensions 14" W x 12" H x 1.2" D ( 35.56 x 30.48 x 3.02 cm )
Regulator output 600 mA (max) @ 14.3 Vdc
Regulator design
Fully encapsulated, 100% solid state switching regulator with
reverse leakage protection, lightning protection, input noise
suppression, and low power consumption. Prevents overcharging.
Regulator dimensions 4.6" W x 2" H x 1.5 D ( 11.75 x 5.08 x 3.81 cm )
Regulator mounting
Regulator is bolted to the back frame of the solar panel and pre-wired
Indicator LED
Red LED indicates charging.
Cable 2-Conductor, 18 AWG, shielded, sunlight resistant, 10 feet ( 3 m )
Connector 2-pin quick-connect plug (standard)
Mast mounting hardware U-bolt clamp to fit up to 2" O.D. mast
Tilt angle (fixed) 45 degrees
Overall dimensions
14" W x 12" H x 4" D ( 35.56 x 30.48 x 10.16 cm )
Weight / Shipping 5 lbs / 8 lbs ( 2.3 kg / 3.6 kg )
320-600 Solar Panel
(SLP010-12U panel, ASC-12/4 regulator)

NovaLynx Corporation
320-600 Page 5 February 2022
4 INSTALLATION
Select a location that provides maximum exposure to sunlight. In the northern hemisphere, the front
surface of the panel should face south. In the southern hemisphere, the panel should face north.
The 320-600 Solar Panel mounting bracket holds the panel at a fixed 45 degree angle, which is a
compromise that works well in many locations. If an adjustable angle is needed due to the latitude, or
if less sunlight is available due to overcast conditions, consider using the NovaLynx 320-900 Solar Panel
instead. The 320-900 is a 20W panel with adjustable bracket that can be used in more challenging
situations.
Shade on even a small portion of the panel surface greatly lowers the efficiency of the panel, so avoid
placing the panel near or under trees, buildings, or any other objects that cast a shadow.
Avoid placing the panel below structures where birds will perch. If birds use the panel itself as a
landing spot, it may be necessary to apply a spike strip along the top edge of the mounting bracket to
keep the panel from being covered with bird droppings.
Regular maintenance includes cleaning the top surface of the panel whenever dust or debris collects.
Place the panel at a height where it is not difficult to reach for regular cleaning.
Mount the panel on a vertical mast or tower structure using the U-bolt provided, observing proper
orientation to the south (northern hemisphere). Route the cable to the logger or other device, and
secure the cable to the mast at 2' intervals to prevent the cable from whipping in the wind.
5 CONNECTION
CAUTION – Connect battery power to the logger BEFORE connecting the solar panel to the system.
Otherwise the logger may not "boot" properly, or excessive voltage may be applied to
the logger system. Do the reverse when powering down, i.e. disconnect the solar panel,
and then unplug the battery to turn off the logger.
CAUTION – The solar panel produces electricity whenever it is exposed to sunlight. There is always
the danger of short-circuiting which could cause sparks or damage to other electrical
equipment if not connected properly. It is advisable to cover the solar panel with an
opaque cloth while connecting the cable.
The 320-600 Solar Panel cable is provided with a 2-pin quick-connect plug which makes connection to
NovaLynx loggers a simple matter. The plug not only provides insulation which helps prevent sparks,
but also ensures that the polarity is correct for connection to the logger system. If the quick-connect
plug has been removed (i.e. the cable has flying leads), special precautions must be taken to ensure
that the exposed wires do not short together, and that proper polarity is observed.

NovaLynx Corporation
320-600 Page 6 February 2022
It is best to "boot" the logger from the battery before connecting the solar panel to the system. In the
case of NovaLynx loggers, this means connect the red battery connector to the positive battery
terminal first. The logger will start up normally and the battery will be in the circuit when the charger
connection is made. Connect the solar panel by plugging the quick-connect plug on the solar panel
cable into the quick-connect plug inside the logger enclosure. After the solar panel is connected,
remove the opaque cloth from the panel.
6 OPERATION
The operation of the regulator is completely automatic. No user interface is required after installation.
The controller will regulate the charging of the battery during conditions of heavy usage, or when left
unattended for long periods of time.
The regulator provides pulses of charging current at varying durations to maintain the battery at a full
state of charge and insure the long-term health of the battery. The “on” and “off” cycle time is wide
enough to eliminate electronic noise and short enough to insure the battery is always topped off. This
method allows the batteries to reach a higher voltage with the “on” cycle and protect the batteries
from gassing in the “off” cycle. This will provide the benefits of the higher voltage (reduced sulfation
and stirred up electrolyte) and prevent excessive gassing and excessive water loss.
During a typical day, charging begins with the battery at low capacity. Charging will be continuous. As
the battery charges up, current will pass into the battery for a while and eventually stop. Later,
charging will resume and the system will continue this cycle throughout the day. During the course of
the day, the duration of the charging period of each cycle will get shorter (cycling on for shorter
periods and staying off longer). When the battery is close to full charge, the regulator will pulse current
into the battery to achieve and maintain full charge. This pulse charging is indicated by the
"CHARGING" light occasionally turning on and off.
Please Note: The “CHARGING” light will be on when there is voltage from the solar array and the
battery can use more charging. This could result in the "CHARGING" light being on (bright or faint)
when the panels are in very low light conditions (i.e. night time with moonlight).

NovaLynx Corporation
320-600 Page 7 February 2022
7 WIRE DIAGRAM
320-600 Solar Panel Wire Diagram
BATT BATTARRAY ARRAY
NEGATIVE (-)POSITIVE (+)
SOLAR PANEL
JUNCTION BOX
( RED + )
( BLACK - )
( RED + )
( BLACK - )
ASC
CAUTION
DO NOT REVERSE BATTERY
PLUS(+) AND MINUS (-)
CONNECTIONS
DAMAGE WILL RESULT
BATTERY CHARGER REGULATOR
FOR PHOTOVOLTAIC SYSTEMS
CHARGING
LOGGER
DWG 890-0108-02
Cable, 10' (3 m)
2-conductor, 18 AWG
PN 330-0218DB
Quick-Connect
8 MAINTENANCE
Under normal conditions very little maintenance is required, but in areas where dust accumulates, the
panel may need to be cleaned frequently. An indicator is whether the battery voltage is maintained in
the best operating range. The regulator switches on when the voltage drops to 13.5 volts, and off at
about 14.3 volts. During the day when there is plenty of sunshine, the battery should remain in this
range.
1. Wash the surface of the solar panel as required using clean water and a soft cloth. Add a mild
liquid detergent to the water to remove heavy soil, if needed, then use clean water to rinse. Do
not use abrasive cleaners which might scratch the glass, reducing efficiency.
2. Check the U-bolt to ensure the panel is held securely.
3. Make sure the cable is secured to prevent whipping in the wind.
4. Trim any nearby trees that cast a shadow on the solar panel.
5. Install bird spikes if necessary.

NovaLynx Corporation
320-600 Page 8 February 2022
9 TROUBLESHOOTING
Power supply issues usually show up when the battery voltage gets too low for the system to function.
It can be difficult to identify the cause, as there are many parts to the system. Efficient troubleshooting
involves understanding the possible causes and eliminating simplest cases first.
1. If there is a fuse in the system, check the fuse with an ohm-meter. If the fuse is burned out,
determine where the fault lies and correct it before trying a new fuse.
2. Many system failures are due to poor electrical connections.
a. Visually inspect all connections.
b. Tighten screw terminal connections.
c. Where wires are held by crimp connectors, tug gently on the wires to check whether the
connection is tight. Re-crimp as required. NOTE: crimp connections may also be soldered for
maximum durability.
d. Disconnect and re-connect plug-style connectors, to refresh the connection.
TROUBLESHOOTING MATRIX
Low Battery Voltage &
Charging LED off
CAUTION: Use the 10A scale and input jack on the multimeter to check the
short-circuit current, unless you are sure that the fuse on the mA input is one
amp or more.
1. The solar panel may not be working. Disconnect the red wire from the solar
panel junction box. Check the open circuit voltage (18-24 volts) and short-
circuit current (600 mA in direct sun) between the red wire and the black
wire coming from the junction box.
2. The regulator may not be working. Disconnect the quick-connect plug from
the logger. Check the open circuit voltage (14.3 volts) and short-circuit
current (600 mA in direct sun).
Low Battery Voltage &
Charging LED on
1. The system may not have had time to re-charge after a prolonged period of
overcast weather.
2. The battery/charging system is not sized correctly for the load requirement.
The 320-600 Solar Panel with 7 Ah battery can operate a 60mA load given
good positioning and sunlight. It may not be adequate where bad weather
predominates. Cold weather can reduce the ability to charge the battery.
Charging LED blinks on
and off
This is normal operation when the battery is fully charged. However, rapid
blinking and/or a buzzing sound can also indicate a poor battery. If the battery
does not maintain its charge overnight, consider exchanging the battery.
Regulator is hot to the
touch
The regulator does get warm during normal operation, but if it is too hot to
touch it may be defective.
Other manuals for 320 Series
2
This manual suits for next models
4
Table of contents
Other Novalynx Solar Panel manuals


