Novatel P720 User manual

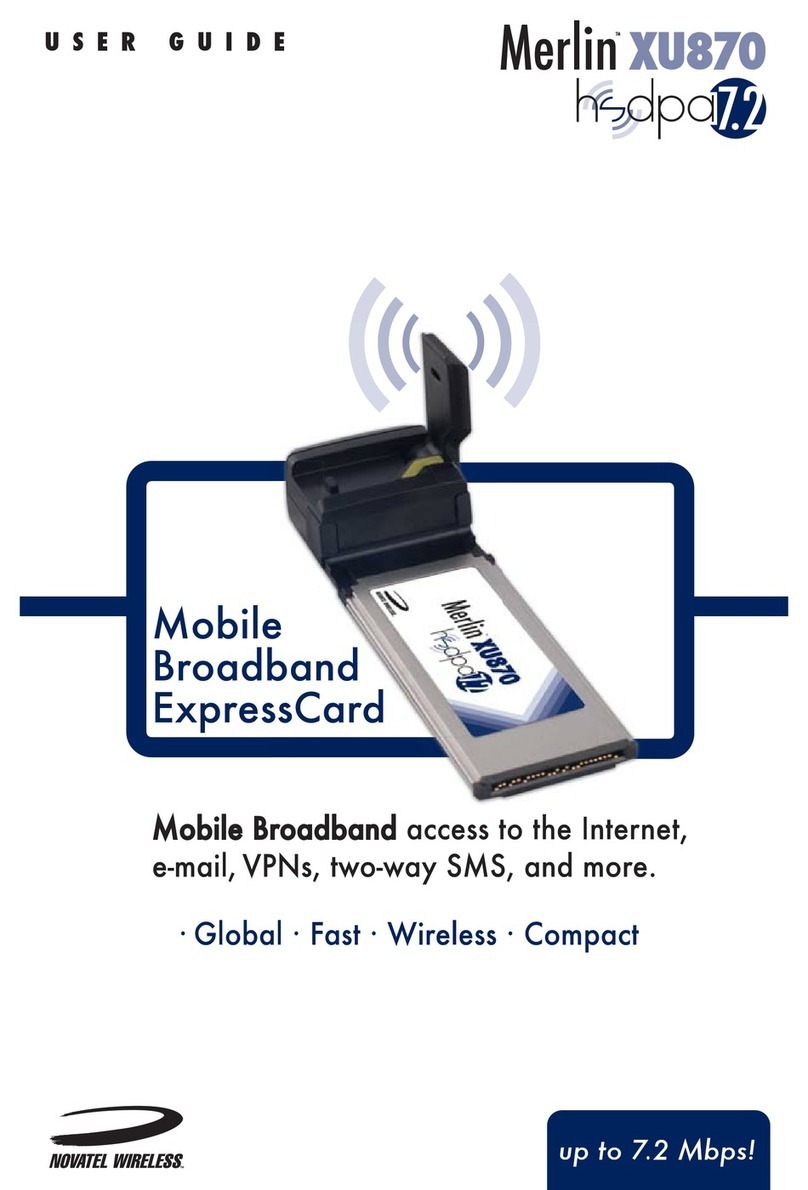
Novatel Wireless P720 PC card
Getting started guide.

Thank you for purchasing a Novatel Wireless P720 PC card from Bell.
This card will enable you to connect to the Internet using Canada’s fastest
high speed mobile network at broadband-like speeds.
Use this PC card to visit your favourite Web sites, connect to your corporate
Virtual Private Network (VPN), exchange files with colleagues or run
network applications.
This guide details how to set up your computer for use with the PC card.
• Getting started
• Installing the Mobile Connect software
– on the Windows® 2000/XP platform
– on the Windows Vista™ platform
• Choosing/installing the PC card driver
• Activating your PC card
• Making a connection
• Troubleshooting
Welcome

Getting started
Before activating your P720 PC card, ensure you have the
following information:
• Your Mobile Directory Number (MDN)/
Phone Number
• Your Mobile Station ID (MSID)
• Your Unlock Key
• A Bell wireless account with data rate plan
If you don’t have an account or a data rate plan, go to your nearest Bell store,
Bell wireless dealer or speak with your Bell account representative to get set up.
• The P720 PC card’s Electronic Serial Number (ESN),
an eight or eleven-character code located
on the bottom side of the PC card
To install and operate the Novatel Wireless P720 PC card, ensure your
computer has the following system resources:
Operating system Microsoft® Windows 2000, XP, or Vista
Card slots 1 Type II PC card slot
Communication ports 2 free COM ports
I/O Resources 1 IRQ, 4096 bytes of I/O space
Memory 128MB
Disk space 200MB
Disk drives CD-ROM drive
System requirements

Installing the Mobile Connect software
on the Windows 2000/XP platform
Caution:
Do not insert the P720 PC card until you have finished installing the
Mobile Connect software on the Windows 2000/XP platform and are
instructed to do so.
Mobile Connect from Bell is a software application that allows you to manage
your wireless connections, both over the data optimized high speed mobile
network from Bell and over 802.11 Wi-Fi. You will need to install this software
and then select the P720 PC card when prompted to do so:
1. Insert the installation CD into your CD-ROM drive. The Mobile Connect
installer should start automatically. If it does not start, select Start, Run
and enter d:\setup.exe, where d: is your CD-ROM drive letter.
2. Follow the Mobile Connect InstallShield® Wizard. It will guide you
through the process of installing the Mobile Connect application. Use
the Next and Back buttons to navigate through the installation wizard.
To continue with the installation, you must click Yes to accept the terms
of the License Agreement.

Mobile
Connect
3. Select Restart or Finish to complete the installation. Once the installation
procedure is complete, a restart may be required. If a restart is not
required, Mobile Connect will launch automatically. If your computer
restarts, launch the Mobile Connect application by clicking on the
Mobile Connect desktop icon.
4. The first time Mobile Connect runs, it will check for incompatible
applications. Often these are utility programs supplied by your Wi-Fi
device or laptop vendor. Mobile Connect will replace these programs,
so it is safe to stop them from running by pressing the Stop All button.
Once all the incompatible applications are stopped, as shown in the
window below, click OK to continue.

5. Mobile Connect will also prompt you to import Wi-Fi profiles from
your existing computer configuration. This allows it to manage all
your wireless connections. If you would like Mobile Connect to
import your Wi-Fi network profiles and security keys, click Yes and
follow the onscreen instructions in the Wi-Fi Profile Import Wizard.
6. Mobile Connect will ask for your Mobile Directory Number (MDN).
Please enter it twice to confirm and click OK.

Caution:
Do not insert the P720 PC card until you have finished installing the
Mobile Connect software on the Windows Vista platform and are
instructed to do so.
Mobile Connect from Bell is a software application that allows you to manage
your wireless connections, both over the data optimized high speed mobile
network from Bell and over 802.11 Wi-Fi. You will need to install this software
and then select the P720 PC card when prompted to do so.
Under the Start button, select Control Panel. A new window will open up;
select User Accounts & Family Safety, then select User Accounts and then
Turn User Account Control on or off. Lastly, deselect Use User Account
Control (UAC) to help protect your computer, and click OK.
Installing the Mobile Connect software
on the Windows Vista platform
You may need to restart your computer.
1. Insert the installation CD into your CD-ROM drive. The Mobile Connect
installer should start automatically. If it does not start, select Start, then
Computer, select the CD-ROM drive and run the setup.exe program.

Mobile
Connect
3. Select Restart or Finish to complete the installation. Once the installation
procedure is complete, a restart may be required. If a restart is not required,
Mobile Connect will launch automatically. If your computer restarts,
launch the Mobile Connect application by clicking on the Mobile Connect
desktop icon.
2. Follow the Mobile Connect InstallShield Wizard. It will guide you
through the process of installing the Mobile Connect application. Use
the Next and Back buttons to navigate through the installation wizard.
To continue with the installation, you must click Yes to accept the terms
of the License Agreement.

4. The first time Mobile Connect runs, it will check for incompatible
applications. Often these are utility programs supplied by your Wi-Fi
device or laptop vendor. Mobile Connect will replace these programs,
so it is safe to stop them from running by pressing the Stop All button.
Once all the incompatible applications are stopped, as shown in the
window below, click OK to continue.
5. Mobile Connect will ask for your Mobile Directory Number (MDN).
Please enter it twice to confirm and click OK.

Choosing/installing the P720 PC card driver
1. During the first run, Mobile Connect will prompt you to select a device
through the Device Selection Wizard. Click Novatel Wireless from the
manufacturer list, and P720 from the model list.
2. Mobile Connect will ask if you have installed the P720 PC card before.
Since this is your first time, you should click No and continue with Next.

3. Mobile Connect will then install drivers for the P720 PC card.
Follow the onscreen instructions and click Next.
Please follow instructions on this window.

4. Once Mobile Connect has finished installing the drivers, it will prompt you
to insert the P720 PC card into your computer’s card slot. Hold the card
by the black antenna stub with the Bell label facing up. Firmly push
the P720 PC card into the PC card slot, but do not force it in, as this
may damage the card’s connectors. Remember to remove any shipping
material or temporary placeholder cards your laptop vendor may have
left in the card slot. Only after Microsoft® Windows® informs you with a
message from the System Tray that the P720 PC card has been installed
and is ready to use, should you click Next.

6. Finalize the installation by clicking Finish. If the system did not detect
the P720 PC card, you can use the Back button to retry the installation
of the driver.
5. Once you have confirmed Microsoft Windows has stated the device
is ready to use, select Yes and click Next.

2. The Activation Wizard will prompt you to enter your Unlock Key. Type the
six-digit number into the field provided and click Next.
Activating your PC card
1. Now that the P720 PC card is configured for use with your computer,
Mobile Connect will automatically open the “Manual Provisioning” screen.
If it does not open, click the Tools menu button, shaped like a wrench,
and select Activation Wizard.

3. The Activation Wizard will automatically populate the MDN and MSID.
Please verify that both fields are correct. Otherwise, please enter your
Mobile Directory Number (MDN) and Mobile Station ID (MSID).
Enter these two numbers* into the fields provided.
*These ID numbers are the numbers you wrote down in the beginning of this guide.
4. Mobile Connect will attempt to activate your P720 PC card. Once
successful, you will see the message window below. You are now
ready to connect to the network.

Making a connection
To connect to the Internet, simply press the Connect button on the
Mobile Connect main program window:
To disconnect, click the Connect button again.
The Mobile Connect main program window lets you view available networks
and establish connections. Some of the key indicators and buttons include:
A. Connect This button will make a connection to the wireless network. By default,
it will connect to the high speed mobile network. When you’re ready
to disconnect, click it again.
B. Signal strength This graph display shows the strength of the wireless network signal.
C. Show available
networks
This button will open the Available Networks window, which displays
both mobile high speed and core network connections, as well
as Wi-Fi networks.
D. Status display This text display alternates between showing what networks are
available and the status of the current connection.
E. Connection timer This text display shows the length of the current connection.
F. Minimize and
Close buttons
These buttons allow you to minimize the Mobile Connect program, close
windows to the Windows System Tray or close the program altogether.
G. Tools menu This button opens a menu to select various configuration options.
Use it to create your own Wi-Fi networks or reactivate your P720 PC card.
H. Roaming
indicator
This indicator tells the user that they are roaming on a Bell Partner
Network. Roaming rates will apply.
A
B
G
D
F
E
C
H

Inserting and removing the P720 PC card
from your computer.
Before you insert the P720 PC card into your computer, you must first
install the Mobile Connect software application, then choose and install
the P720 PC card software driver. If you haven’t already done this, you
should do so now. Once the Mobile Connect software is installed, the
P720 PC card can be inserted or removed from your computer at any
time, using these instructions.
It is recommended to remove the P720 PC card when transporting your
computer, because the P720 PC card antenna stub is exposed outside the
confines of your laptop.
To insert the card
• Insert the P720 PC card into the PC card slot
• The computer will beep
• Start Mobile Connect from the desktop
• The P720 PC card is powered on when inserted
To remove the card
• Disconnect and quit Mobile Connect
• Double click the Unplug and Eject Hardware Icon
on the Windows System Tray
• Select the NEC PCI to USB Open Host Controller and click Stop,
then confirm by clicking OK
• The computer will beep
• Remove the P720 PC card from the PC card slot

Troubleshooting
Below is a list of common error messages and possible solutions regarding
the use of your P720 PC card.
Intermittent connectivity
and/or low throughput.
• Open the antenna to the upright position or reorient
or relocate the entire computer to a different location.
Bell core network or Bell
high speed network does not
show in the Show Available
Networks display;
and/or
The LED indicator on the
P720 PC card glows red;
and/or
The display “No Wi-Fi network
is available” or only local Wi-Fi
networks are shown.
• Service may not be available in your location. Relocate
the computer to a different location. Coverage maps
are available on bell.ca/coverage
• The network may be unavailable due to maintenance.
Try the connection again at a later time.
• The card may not be inserted properly. Remove and
reinsert the P720 PC card into the slot.
• The drivers for the Novatel Wireless P720 PC card may
not be installed. Run the Device Selection Wizard again
through the Mobile Connect Tools/Set-up Hardware
menu, as described by this option.
• Your computer may not have the correct hardware drivers
for the PC card slot. Contact your system vendor for
assistance in installing the correct drivers.
When clicking Connect, the
message “Your connection
attempt to the network failed”
is displayed.
• No service may be available in your location. Relocate
the computer to a different location. Coverage maps
are available on bell.ca/coverage
• The network may be unavailable due to maintenance.
Try the connection again at a later time.
• The P720 PC card may not be activated or the phone
number supplied may be incorrect. First, attempt the
Activation Wizard process again, as described in this
Getting started guide. If this does not resolve the problem,
contact Bell Client Care.
Note: Bell PC cards do not need login credentials.
These are generated internally by the Activation Wizard.
If you are prompted to check the login username and
password, these remain blank for the Novatel Wireless
P720 PC card.
Symptoms Solution

Troubleshooting (continued)
You may also contact Bell Wireless Data Support at:
1 877 DATA-123 (1 877 328-2123)
For Atlantic region customers, please call:
1 866 434-0344
During the Device Selection
Wizard process, the message
“The specified port is not
available” is displayed;
and/or
The LED indicator on the
P720 PC card is not lit.
• The P720 PC card may not be inserted properly.
Remove and firmly reinsert the card into the slot.
• The drivers for the Novatel Wireless P720 PC card may
not be installed. Run the Device Selection Wizard again
through the Mobile Connect Tools/Set-up Hardware
menu, as described in this guide.
• Your computer may not have the correct hardware drivers
for the P720 PC card slot. Contact your system vendor for
assistance in installing the correct drivers.
The LED indicator on the
P720 PC card glows orange.
• Remove and firmly reinsert the P720 PC card into the slot.
• Shut down and restart the computer.
• If the above actions do not resolve this problem, contact
Bell Client Care.
Symptoms Solution

Available in 1xEV-DO coverage areas. Speeds may vary with your technical configuration, Internet traffic,
server, environmental conditions or other factors. Novatel images; ©2007 Novatel Wireless Inc. All rights
reserved. Merlin, MobiLink and the Novatel Wireless logo are all trademarks of Novatel Wireless, Inc. Microsoft,
Windows and Windows Vista are either registered trademarks or trademarks of Microsoft Corporation in the
United States and/or other countries. InstallShield is a registered trademark or trademark of Macrovision
Corporation in the United States of America and/or other countries. All other brands and product names are
trademarks of their respective holders. Manufactured under U.S. Patent No. 5129098. System requirements
for laptops: Microsoft Windows 2000, XP or Vista operating system, 1 Type II PC card slot, 2 free COM ports;
I/O resources: 1 IRQ, 4096 bytes of I/O space, CD-ROM drive. Licensed by QUALCOMM® Incorporated under
one or more of the following United States Patents and/or their counterparts in other nations: 4,901,307
5,490,165 5,056,109 5,504,773 5,101,501 5,506,865 5,109,390 5,511,073 5,228,054 5,535,239
5,267,261 5,544,196 5,267,262 5,568,483 5,337,338 5,600,754 5,414,796 5,657,420 5,416,797
5,659,569 5,710,784 5,778,338. Patents Pending.
Table of contents
Other Novatel Computer Hardware manuals