NPM ORON 56 User manual

Permanent makeup device
The ORON 56 is a permanent makeup device based
on ”Dermo-pigmentation” insertion of pigments using
a proprietary needle.
User Manual
Hardware Revision: REV00
Firmware Revision: REV01

Table of Contents:
Content Page
Device Parts........................................................................................ 3
Getting Started..............................................................
..............
.......3-4
Main power supply.............................................................................5-6
Handle...............................................................................
......
..........6-7
Integrated Needle Head..
..............
............................................
.....
......7
Pedal....................................................................................................8
Control Unit.........................................................................
..........
.......9
Training, repair, packaging and warranty..............................................9
General information and troubleshooting............................................10
Classication..............................................................
.......
.................10
Technical information...................................................
................
......10
Labels...............................................................
........................
.........10
Maintenance..................................................
.........................
...........10
2

Head
for Needle
Power
Station
Hand piece Pedal
Power Supply
Control Unit and Parts
Device parts:
Control unit
Power supply
Activation foot pedal
Handle(needle holder assembly)
3

Control unit
4
Handle Position
Electronic Ciruit
Model Name
Handle
On/Off
Power
On/Off
Decrease Speed
Increase
Speed
Speed Display
12VDC – Power supply input
PIECE – Handle Cable input
PEDAL– Foot Pedal Cable input
Control unit Connectors
Pedal Connector
Handle Connector
Power Connector
VDC Control unit Connectors:
Numerical display – Displays
device speed
Piece key – Activities/Deactivates
power to the Handle
Power key – Turns the control unit On or Off
Electronic circuit –Displays Device Status On/Activity

5
Getting Started
Before using the ORON 56 Device please follow the next steps:
Wear disposable gloves
Make sure all cables are securely connected
Power the base unit On and activate the Piece
ORON 56 Power on:
Press the Power key
Press the Piece key
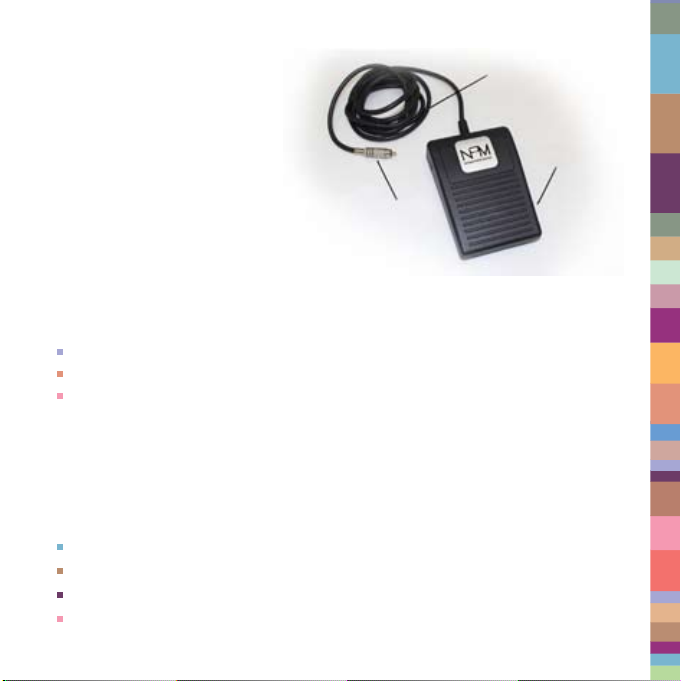
Press the foot pedal (the foot pedal is momentary action based. It will stop the Piece
activation as soon as it is released)
ORON 56 Power off:
Release the foot pedal
Press the Piece key
Press the Power key
Place the handle back into the control unit base
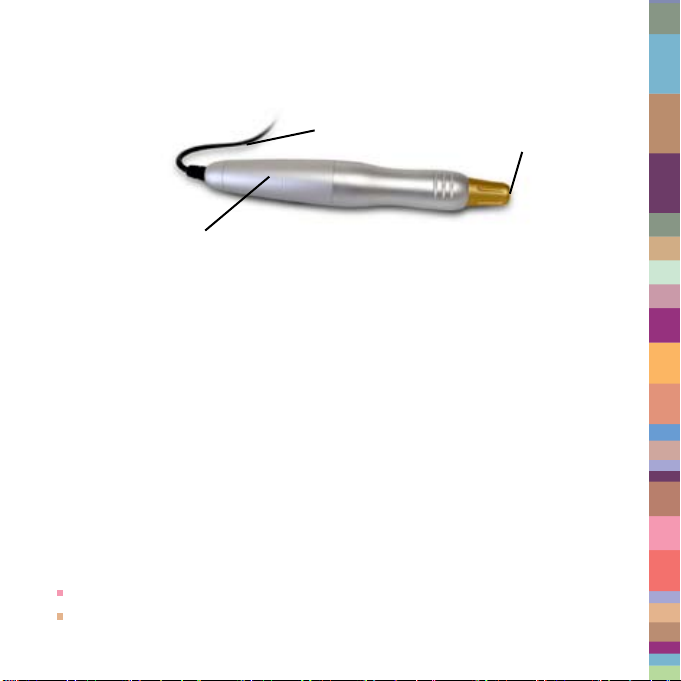
Preparing the device for usage:
Connect the handle cable to the control unit connector labeled PIECE
Connect the foot pedal to the control unit connector labeled PEDAL
Connect the power supply cable to the control unit connector labeled 12VDC
Press the POWER key
Press the PIECE key
Select the integral needle suitable for the treatment
Place the needle in the handle head and rotate quarter turn clockwise to lock the
needle in position
Press the foot pedal
To adjust needle position, hold the handle base in your left hand (needle pointing
up). Turning the needle holder clockwise will increase needle height. Turning the
needle holder counter clockwise will decrease needle height.
The unit is now ready for permanent makeup implementation

6
Control Unit
Weight: 915 grams
Speed display
The speed display range is 100-200
To increase speed press the “+” key
To decrase speed press the “-“ key
Speed control keys
Press the POWER
key
A LED light above the
key indicated control
unit power status
PIECE key –
enables handle
activation by pressing
the foot pedal

7
The pen is used to hold the permanent makeup needle. It is connected
to the control unit via a cable.
Cable length 180 cm
Pen weight 88 grams
The PIECE LED light indicates the unit’s power status
1.Needle holder
2.Power supply connector
3.Power supply cable
4.The pen is constructed from two parts, Pen base and needle base.
The needle base can be sterilized (disconnect from handle base by
rotating counter clockwise
Note:
While not in use keep the handle in a plastic wrap
Clean the handle gently using moistened wipes
Pen
Device Parts:
Cord
Hand piece
Needle
Position

8
Integral needle
Warning: The ORON 56 device can only be used by NPM authorized and
trained staff
Connecting the needle
Use disposable gloves
Make sure the ORON 56 control unit is powered off
Take the needle out of the sterile packaging (make sure the package is not damaged
prior to opening it, if it is, do not use it)
Insert needle into the handle needle base
Rotate the needle a quarter turn clockwise to lock it in place.
Activate the handle by pressing the foot pedal
After treatment:
Make sure the ORON 56 control unit is powered off
Turn the needle a quarter turn counter clockwise and pull it out of the needle
base
Dispose of the needle properly
Place the handle back into the control unit
Needle
Head
Insert area
Locking Mechanism

9
Cord
Pedal
Connector
to Power Station
Foot pedal
Pressing on the foot pedal activates the handle motor
The foot pedal is connected to the control unit via a cable (180cm long)
Activating the foot pedal
Make sure the foot pedal connector is securely connected to the control unit
Press the foot pedal to activate the unit
Release the foot pedal to deactivate the unit
A second option is available for those who don’t want to use a foot pedal, a silver
connector is available to connect instead of the foot pedal. This connector will activate
the hand piece automatically as soon as you press the piece button. Press one time
to start and a second time to stop activation.
Warning
Do not place any objects on the foot pedal
Make sure the foot pedal location is completely dry
To keep the foot pedal clean, it is recommended to wrap it with plastic or plastic bag
If needed the foot pedal can be cleaned with moist wipes

10
Power supply
Cord
Electrical Plug
Connector
to Power Station
The power supply supplies electrical power to the control unit
Connect the power supply connector to the control unit
Connect the handle cable to the control unit
Connect the power supply to the mains supply (When connected to power the
control unit’s LEDs blinks)
Note: Make sure the power supply cable is free of foreign objects
Specialized Training:
Training is done only by authorized NPM training guide
Training includes:
System operation
Troubleshooting
Permanent makeup techniques
An NPM course completion certicate is given after successfully completing
the course

11
Warning:
Do not use or operate the unit without proper training
Repairs: Only NPM technicians are authorized to repair the unit
Do not attempt repairing the unit yourself
Packaging: The unit and accessories are supplied in a specially designed case
The unit is labeled with a serial number
Warranty:
Warranty period is 24 months from day of purchase (please keep all purchase
documentation)
Printed warranty card is supplied with the unit. Make sure it is included in the unit’s
documentation
The warranty card includes the following information:
NPM company information
Serial number
Purchase date
Customer information
Warranty is void in case the unit is not in its original casing and/or without a serial
number
Unit transportation only in its original case
Use only NPM parts
Do not use and needles other then NPM’s
Troubleshooting:
If the device fails to operate:
Make sure all cables are properly connected
Make sure it is properly connected to the mains supply and the Display LEDs are
blinking
Make sure the ‘POWER’ and ‘Piece’ LEDs are on
Make sure the needle is connected
Make sure the foot pedal is activated
Warranty

Do not attempt repairing the device yourself
Classication:
The unit is classied as Class 1
Continues use, portable
Do not use near ammable material
Storage and operational environmental conditions:
10-40 degrees centigrade
30-75% relative humidity
700-1060 hPa atmospheric pressure
Warning:
Read instructions before use
Not reusable
Dispose of properly
Cleaning and sterilization
Use moist wipes to clean all working areas
Alcohol use is permitted
Use disposable gloves
Warning - Please read instructions
Not for reuse
BF applied part
Manufacturer name
Do not dispose
Wish you
Successful performance!
NPM Ltd.
WWW.NPM-INTERNATIONAL.COM
Service
Other NPM Personal Care Product manuals
Popular Personal Care Product manuals by other brands

Frankford Arsenal
Frankford Arsenal 868686 instruction manual

Conair
Conair BODY BENEFITS SU1RTC manual

Hedensted Gruppen
Hedensted Gruppen HG user manual

Invacare
Invacare InTouch Stabilite Cushion Assembly, installation and operating instructions

ArianaSpas
ArianaSpas Lipo-9 manual

Specialised Orthotic Services
Specialised Orthotic Services 3D MODULAR SEATING SYSTEM user manual