5
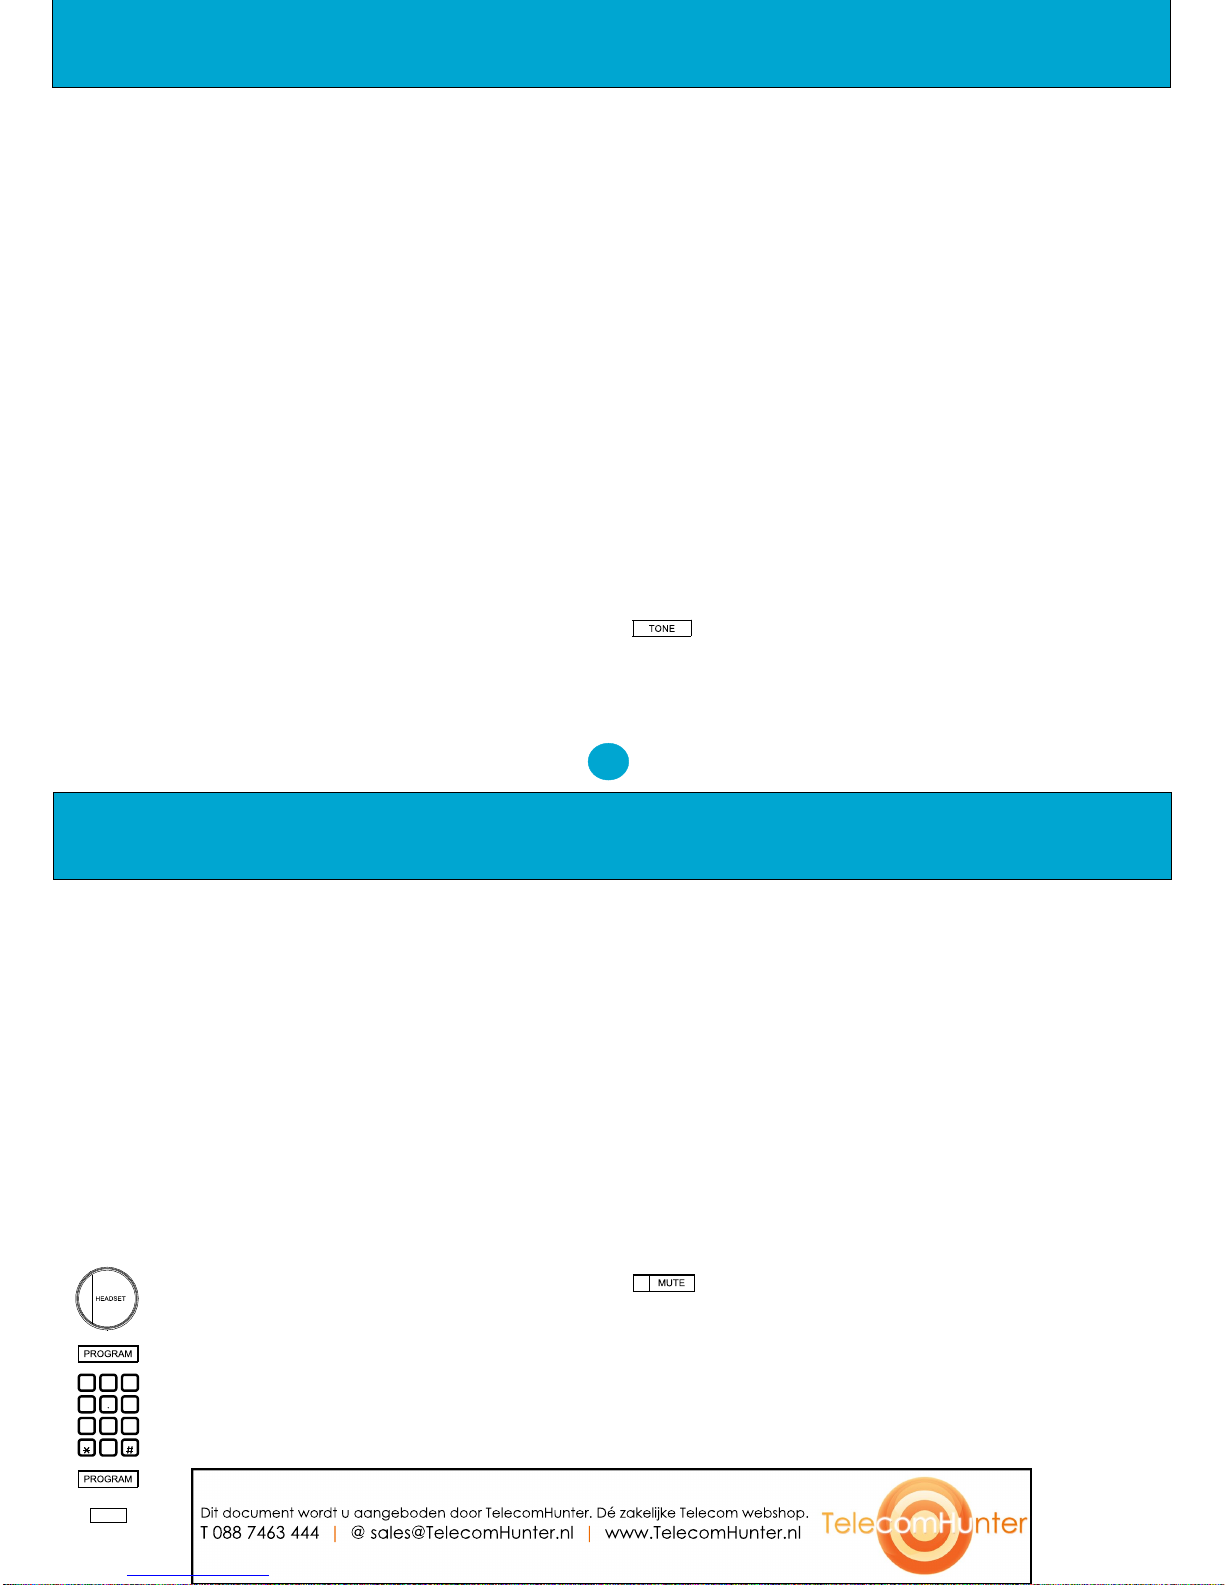
Alternatively, you may also press the Mute button on
the handset. As long as the handset Mute button is
pressed, the microphone mute function is activated.
Releasing the handset Mute button will re-enable the
microphoneforconservation.
In a office environment where for security reasons, a
'Push To Talk' facility is required, the handset button
can converted by switching a small micro switch
located in the compartment directly above the handset
button.
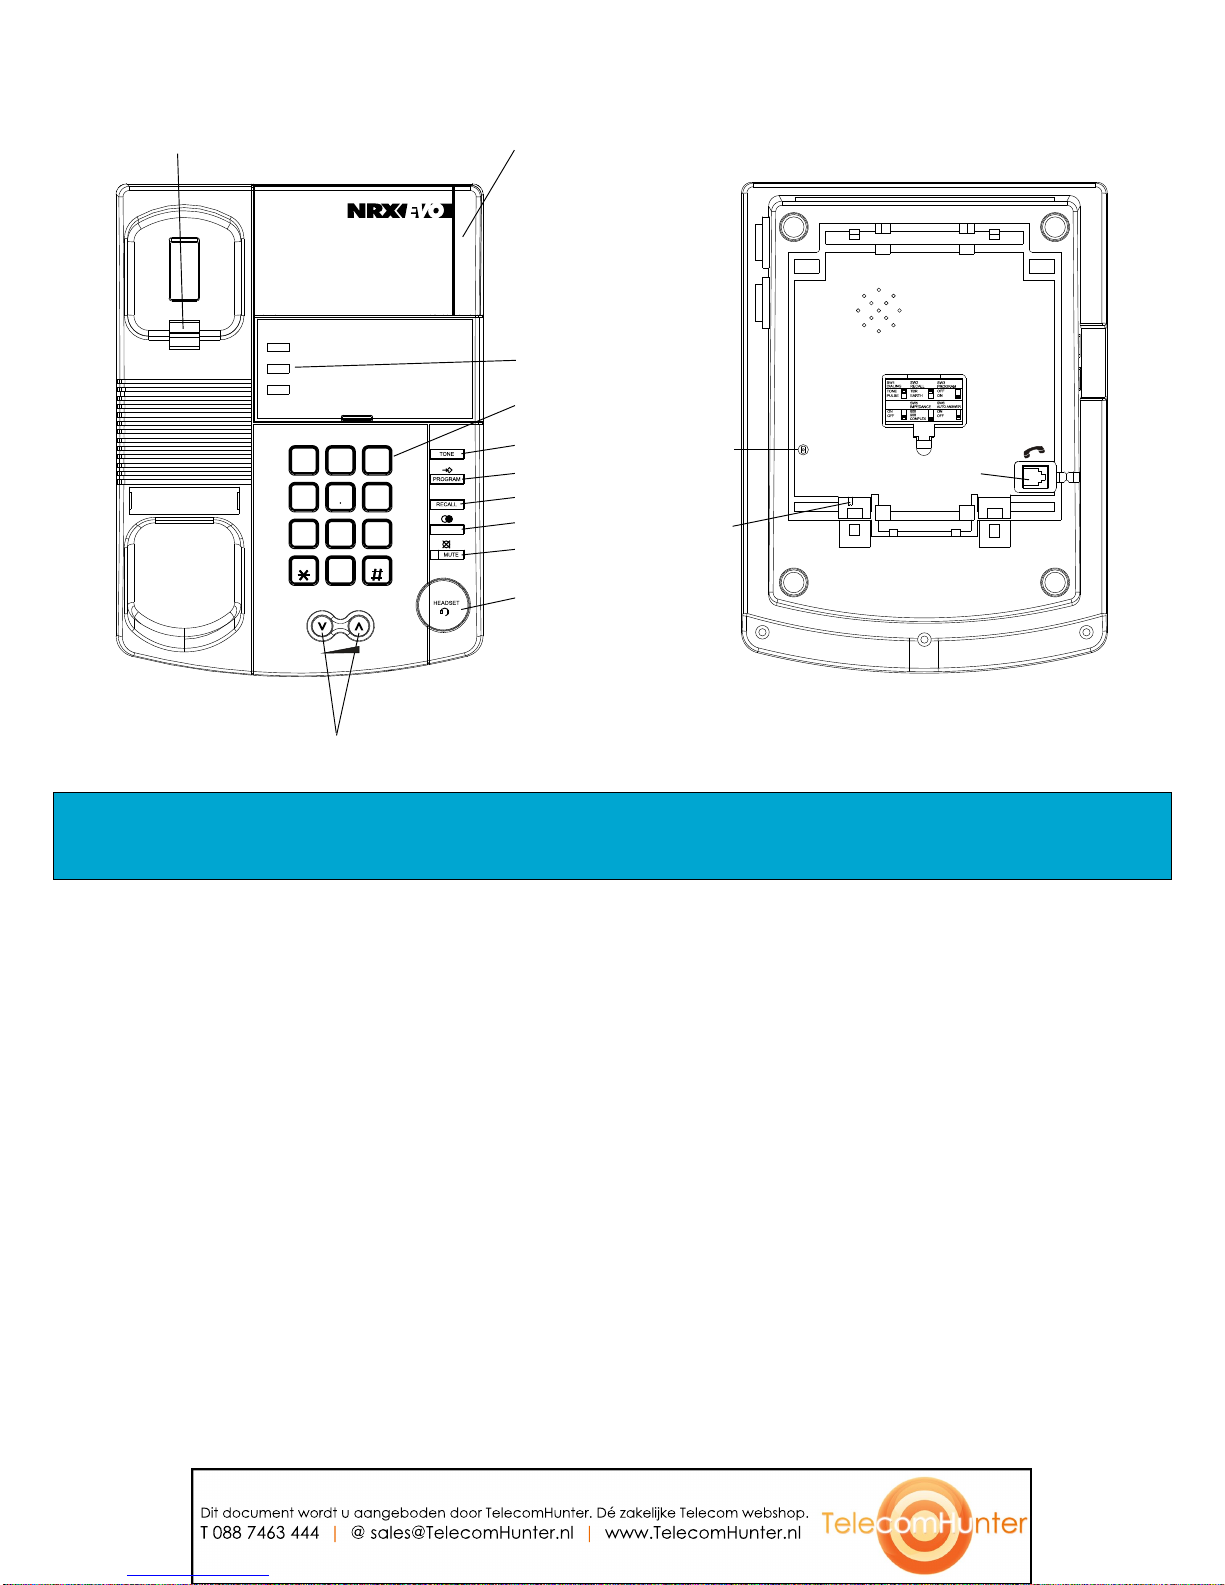
2.7 ImpedanceMatching
The Impedance Matching switch (SW5) inside the
battery compartment allows the NRX EVO 250 to be
connected to different types of PABXs. There are 3
positions for this switch. The default setting is
compatible to the BT's PSTN network, for matching
other PABXs, make a phone call and slide the switch at
different locations and find the position where the
soundonthereceiverisatbestquality.
2.8 Modem/DataConnectionSocket
The NRX EVO 250 has two (2) sockets marked
‘MODEM’,whichallowstheusertoconnectanextra
Operation
telephone, modem or fax machine to the telephone
line. These sockets are located at the back of the base
cabinet. Only equipment complying with EN 60950
andintendedforconnectiontothetelephonenetwork
shouldbeconnectedtotheseports.
2.9 MessageWaiting
The NRX EVO 250 has built in message waiting
indicators that are compatible with most types of
PABX with such a facility. Different types of
message waiting signal can be programmed into the
telephoneusingthefollowingprocedure:
90VDC-LiftHandsetthenenter:
[PROGRAM][REDIAL][0][PROGRAM][*]
The telephone is supplied set to the default setting of
MWI - 90VDC. The SW4 '90VMWI' switch located
in the switch compartment should always be set to
ONforallMWIoptions.
POLARITYREVERSAL-Lifthandsetthenenter:
[PROGRAM][REDIAL][1][PROGRAM][*]
Tosetlineconfiguration-LiftHandsetthenenter:
[PROGRAM][REDIAL][0000][REDIAL][[n][#]
4
Operation
n=0 - B Line is low
n=1 - B Line is high
HIPATH/HICOM-Lifthandsetthenenter:
[PROGRAM] [REDIAL] [3] [PROGRAM] [*]
Also switch Hicom Sensitivity switch on the base of
the telephone to left ‘Low’. At all other times this
should be switch to the right ‘High’.
MD 110 - Lift handset then enter:
[PROGRAM] [REDIAL] [4] [PROGRAM] [*]
AT & T/ALCATEL - Lift handset then enter:
[PROGRAM] [REDIAL] [5] [PROGRAM] [*]
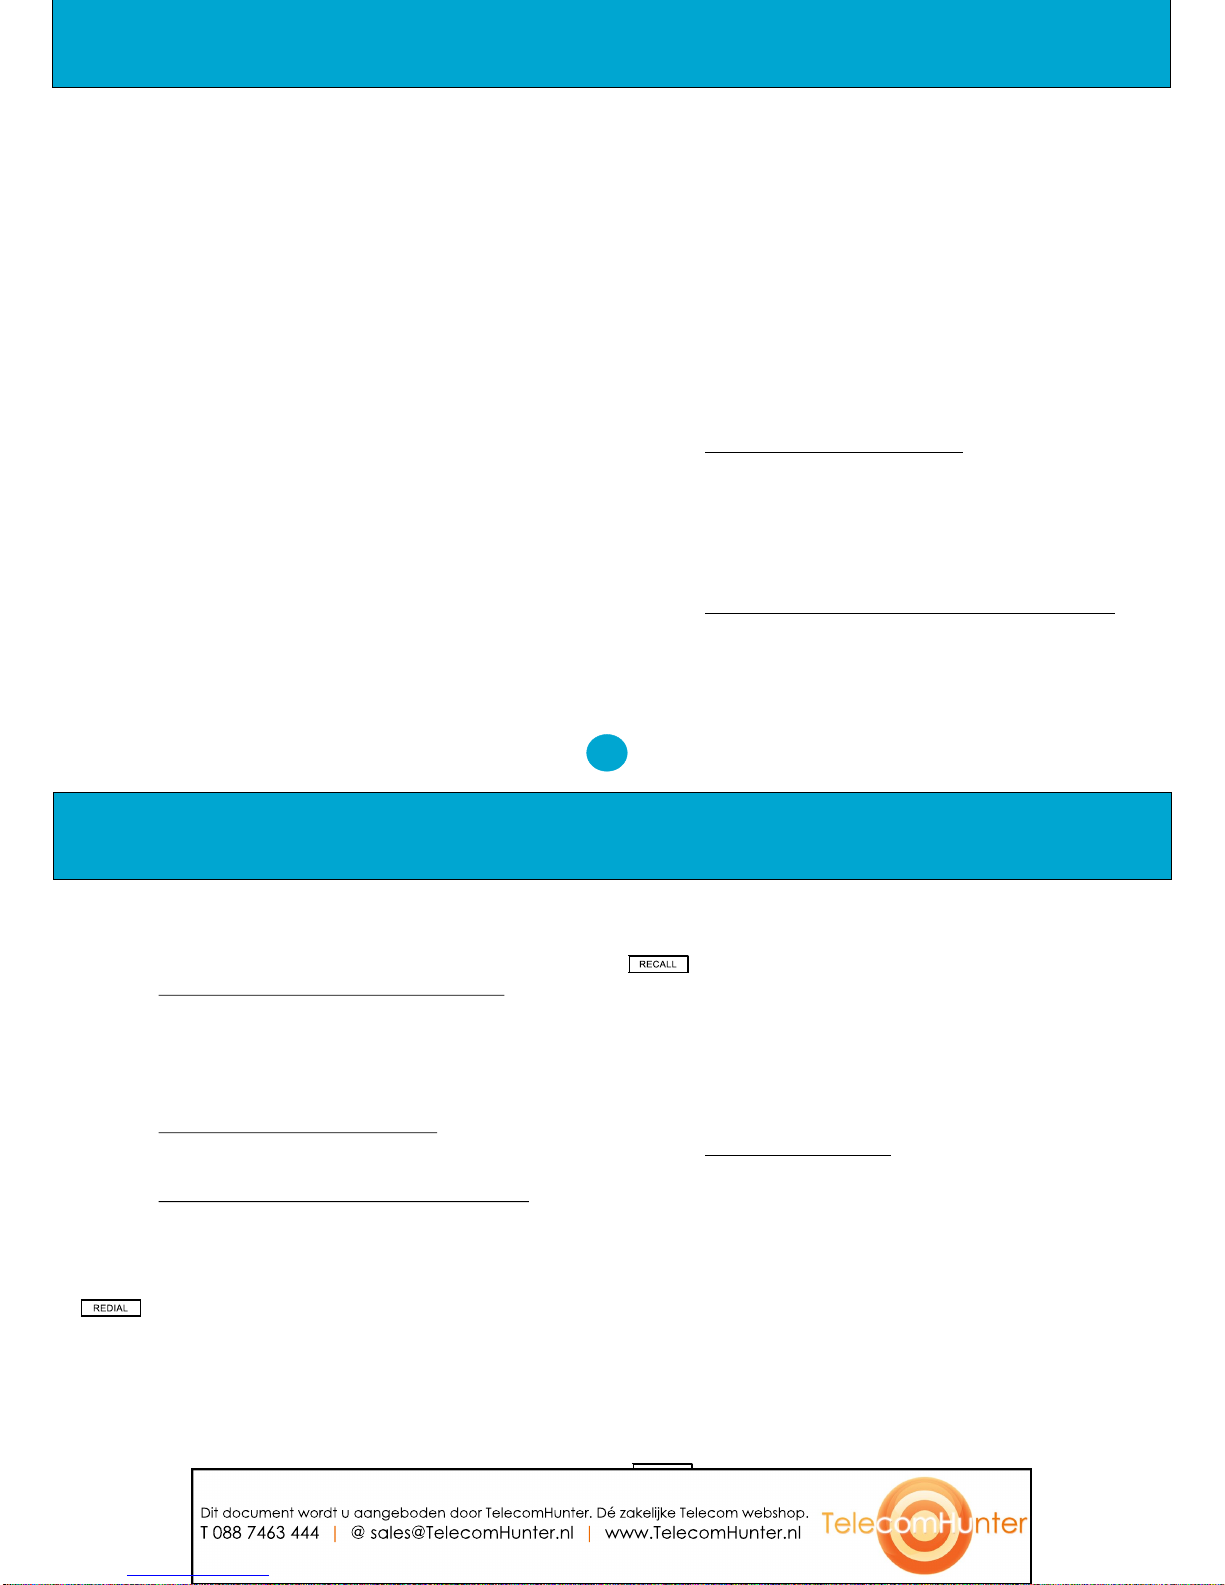
2.10 Pause Button
If the NRX EVO 250 is being connected to a PABX
systemwhich requires thediallingof an additionaldigit
(mostcommonly digit"9"),apause mayberequired for
accessing the external telephone line. The Pause key
may be used for providing the pause period of about 2
seconds waiting for this dial tone after the first digit has
been dialled. This will be stored in the Last Number
Redial memory and be automatically inserted in the
numberwhenthe'REDIAL’buttonisused.
2.11RecallFacility
The NRX EVO 250 has a Recall facility which is
used to access network/PBX services. The Recall
facility can be configured for either ‘Earth Recall’or
‘Timed Break Recall (TBR)’using switch number 2
locatedintheswitchcompartment.
The TBR timing can be adjusted by the following
procedure.
Lifthandsetthenenter:
[PROGRAM][REDIAL][n][PROGRAM][RECALL]
NOTE: TBR Timing can be set by altering the value
ofn. n=1(100ms) n=2(200ms)etc.upto600ms
Thetelephonedefaultsettingisn=1(TBR100ms).
2.12 LastNumberRedial
If you dial a number and find it is engaged or there is
no reply, replace the handset. The number will be
retained in the memory until you dial a different
number.
Whattodo: Liftthehandset
Pressthe'REDIAL’button
PAUSE