10 11
Setting the Mode
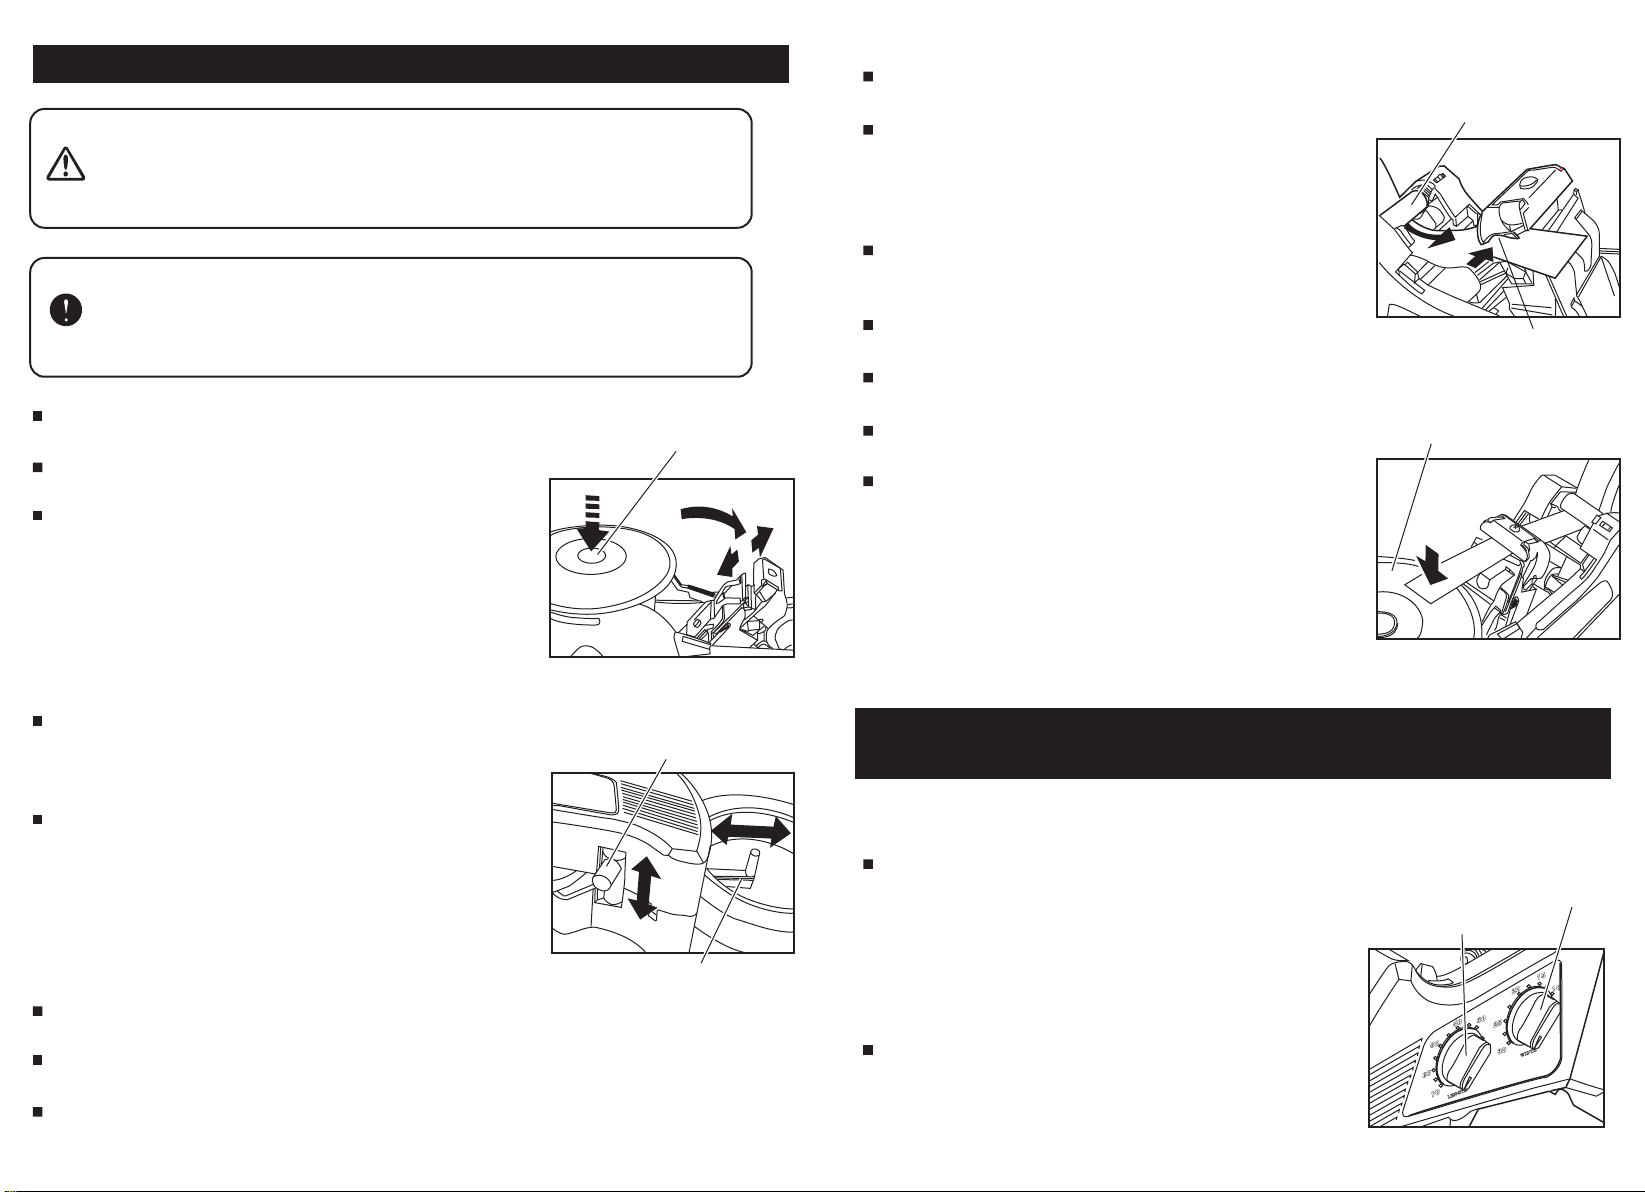
Press the START BUTTON longer. (Purple light is on)
When you remove the tape from the TURN TABLE, press the START BUTTON again.
(Confirm the beep sound comes again, and START BUTTON is flashing in Red and
Blue alternately.)
设定模式
You can choose three different kinds of mode according to your job demands.
Press the START BUTTON longer until a slightly beep sound comes.
When you press the START BUTTON longer, the mode will be changed as the chart below.
Turn the POWER SWITCH on. When pressing the START BUTTON, you can use PRESET
MODE to set the number of cut.
根据不同任务的要求可以设定三种工作模式。
一直按住启动按钮,直到发出"哔"的轻响。
当更长时间按住启动按钮时,工作模式将根据下表所描述的改变。
打开电源开关。 当按下启动按钮时,可以使用预设模式来设定切割数量。
When you remove the tape over the MOVABLE SENSOR, machine will start to cut
again automatically
当把胶带从可移动传感器上拿走时机器将自动继续切割。
Press the START BUTTON longer. (Blue light is on)
长按启动按钮。 (蓝灯亮)
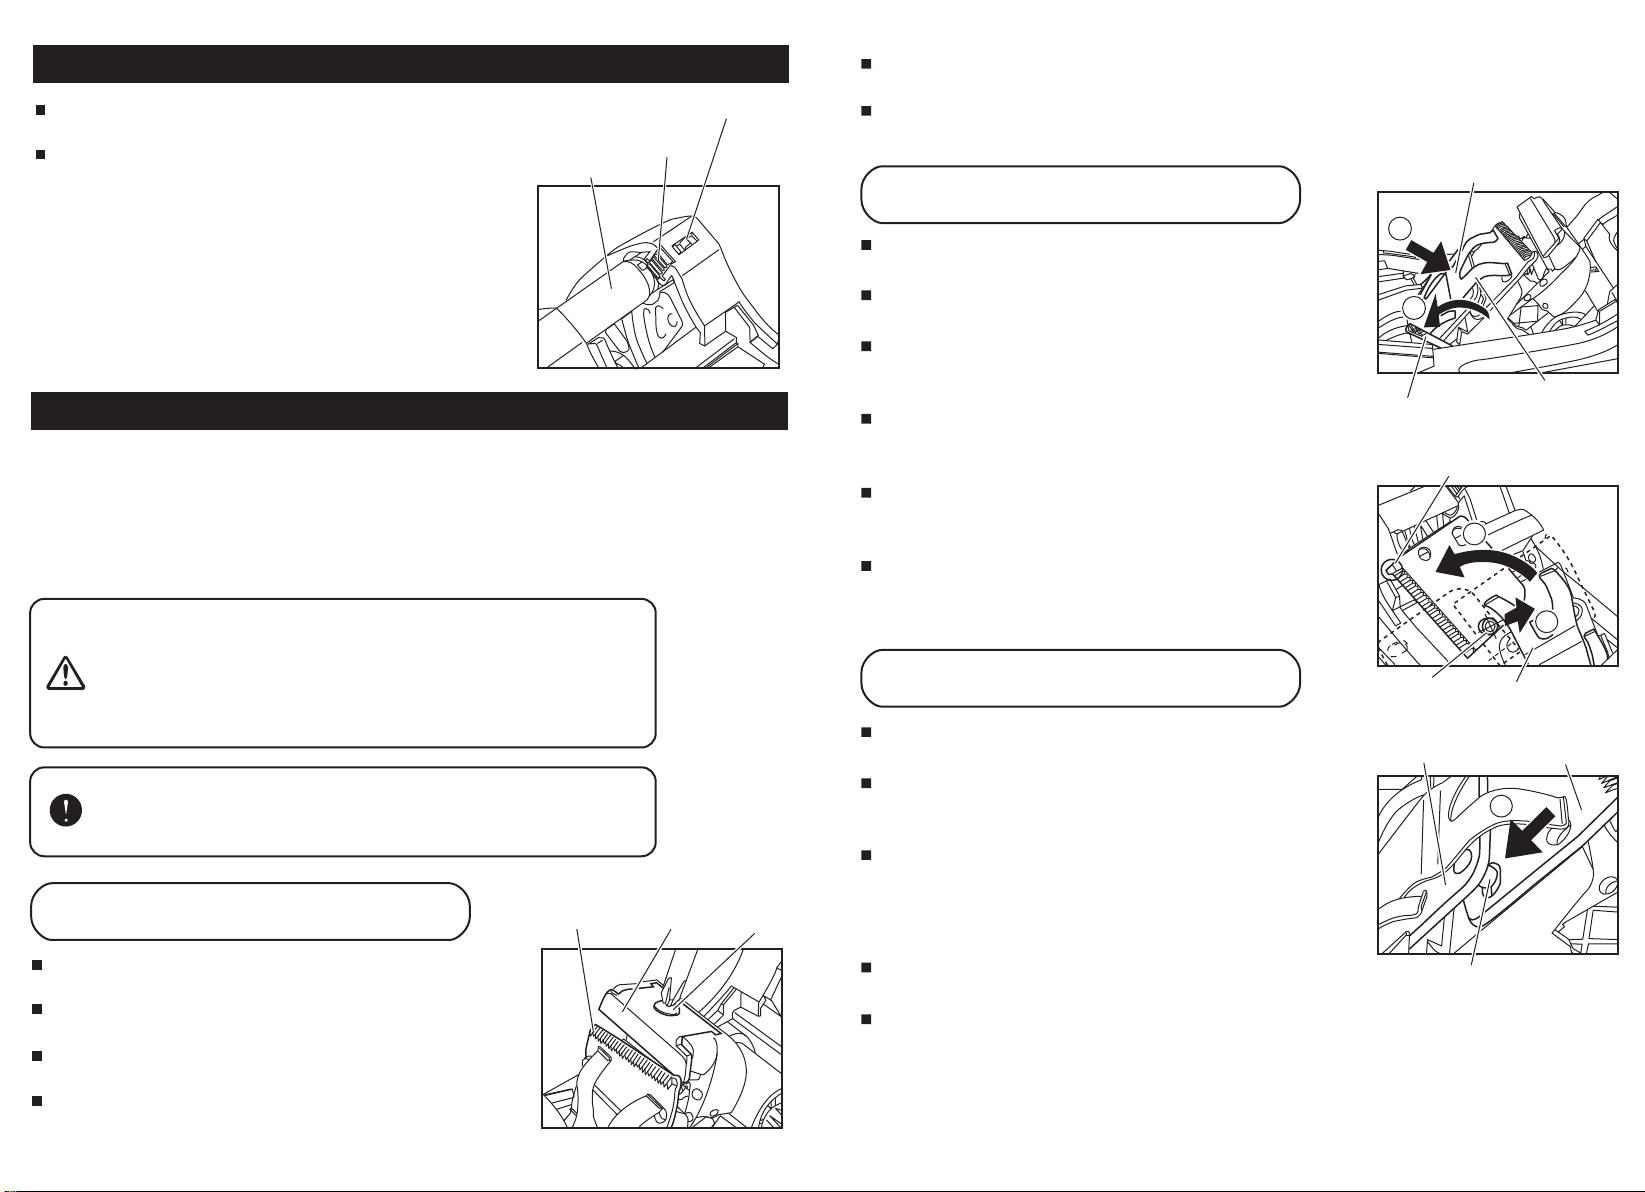
Move the MOVABLE SENSOR to the desired position.
将可移动传感器移到想要的位置。
Press the START BUTTON then start.
按下启动按钮启动。
传感器模式 A
传感器模式 B
传感器模式 A(蓝灯亮)
传感器模式 B(紫灯亮)
取出胶带
蓝
停止 启动
长按启动按钮。 (紫灯亮)
Move the MOVABLE SENSOR to the desired position.
将可移动传感器移到想要的位置。
Press the START BUTTON then start.
按下启动按钮启动。
将胶带从转盘拿走时,再次按下启动按钮。
When the tape reach over the MOVABLE SENSOR, the machine will stop cutting.
当胶带到达可移动传感器时机器停止切割。
Turn the POWER SWITCH off.
关闭电源开关。
ZCUT-870 is able to be programmed.
ZCUT-870 能够进行编程控制。
During pressing the START BUTTON, turn the POWER SWITCH on in a same time.
在按下启动按钮的同时打开电源开关。
When the beep sound come, leave your finger from the START BUTTON.
当听到"哔"的声音时松开启动按钮。
(确认再次发出"哔"的声音,而且启动按钮红蓝相间闪烁。)
(For example, if you want to set 10 pieces, you should press the START BUTTON
eight times. Maximum set number of cut is 15 pieces.)
Press the START BUTTON and set the desired the number of cut minus two.
按下启动按钮,然后将数量设定为想要的数量减2。
When you set the number of cut, press the START BUTTON longer until beep sound comes.
当设定完需要切割的数量后,长按启动按钮直到发出"哔"的声音。
Make sure the START BUTTON light turned Red.
确保启动按钮灯变为红色。
Press the START BUTTON and start to operate.
按下启动按钮然后开始运行。
(比如,要设定切割 10 片,则需要按下启动按钮八次。 最大设定数量为 15 片。)
(The machine will stop cutting when reach the number of cut which you set.)
(After turn the POWER SWITCH off. the number of cut is still memorized.)
(When you stop the machine during operation, press the START BUTTON. At this
moment, the machine has already reset the number of cut.)
(Press START BUTTON again for re-start.)
(机器达到设定的数量后将停止切割。)
(关闭电源开关后,设定的切割数量仍将保存。)
(需要在机器运行时停止机器则按下启动按钮。这时机器将重置切割数量。)
(再次按下启动按钮然后重新开始运行。)
When the tape reach over the MOVABLE SENSOR, machine will stop cutting.
当胶带到达可移动传感器时机器停止切割。
(If the machine can not stop cutting to pass through the MOVABLE SENSOR, check
and adjust the position of MOVABLE SENSOR again.)
(如果胶带达到可移动传感器时机器无法停止切割,请再次检察与调整可移动传感器位置。)
When the tape reach over the MOVABLE SENSOR, machine will stop cutting
当胶带到达可移动传感器时机器停止切割。
(如果胶带达到可移动传感器时机器无法停止切割,请再次检察与调整可移动传感器位置。)
(If the machine can not stop cutting to pass through the MOVABLE SENSOR, check and
adjust the position of MOVABLE SENSOR again.)
POWER SWITCH ON
+
START BUTTON
set the number of cut
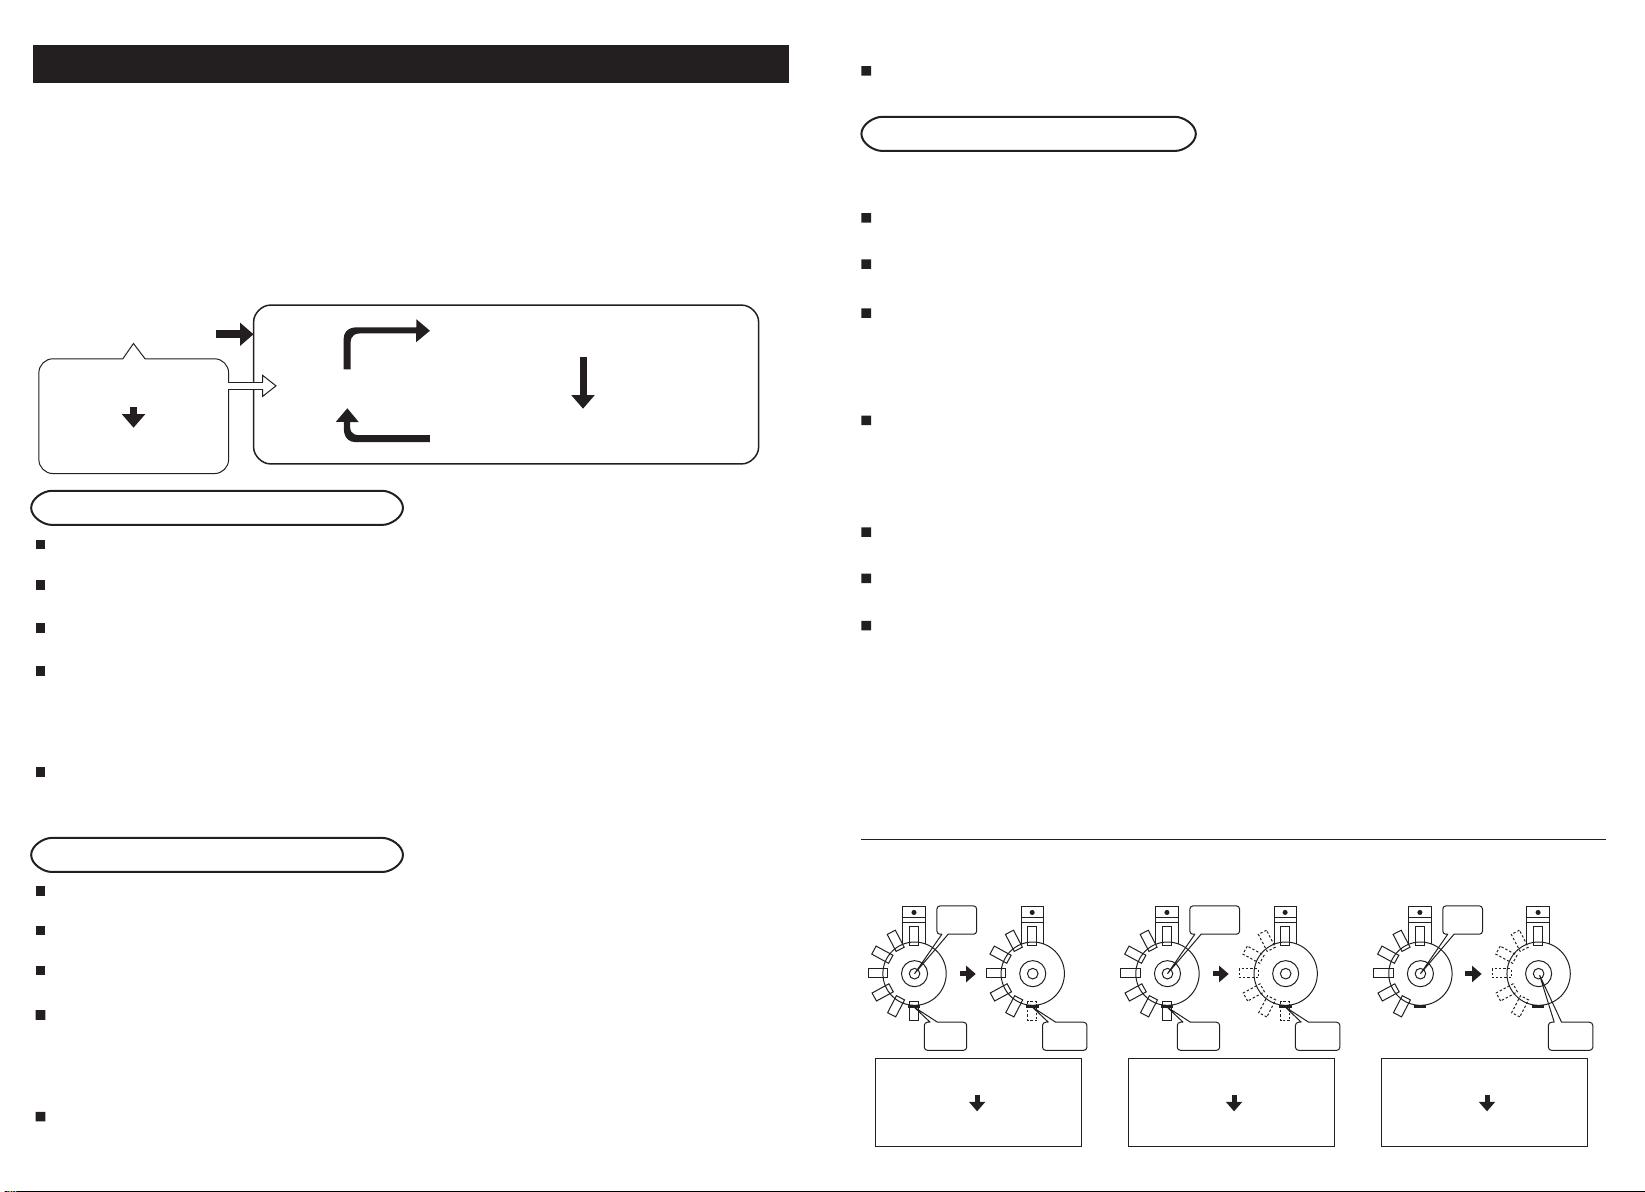
SENSOR MODE A
SENSOR MODE B 传感器模式 A 传感器模式 B
SENSOR MODE A SENSOR MODE B
预设模式 PRESET MODE
预设模式
PRESET MODE
SENSOR MODE A (Blue light is on)
SENSOR MODE B (Purple light is on)
Remove the tape
重新自动启动
Re-Start automatically
Blue
stop
预设模式(红灯亮)
启动按钮
设定切割数量
电源开关
PRESET MODE (Red light is on)
start
取出胶带
紫
停止 启动
Remove the tape
按下启动按钮然后重新运行
Re-Start automatically
Purple
stop start
切割后停止
红
启动
Remove the tape
按下启动按钮然后重新运行
Re-Start automatically
Red
start