6
PLAYBACK CONTROLS
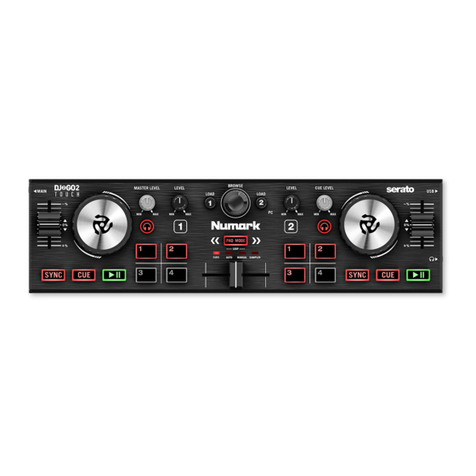
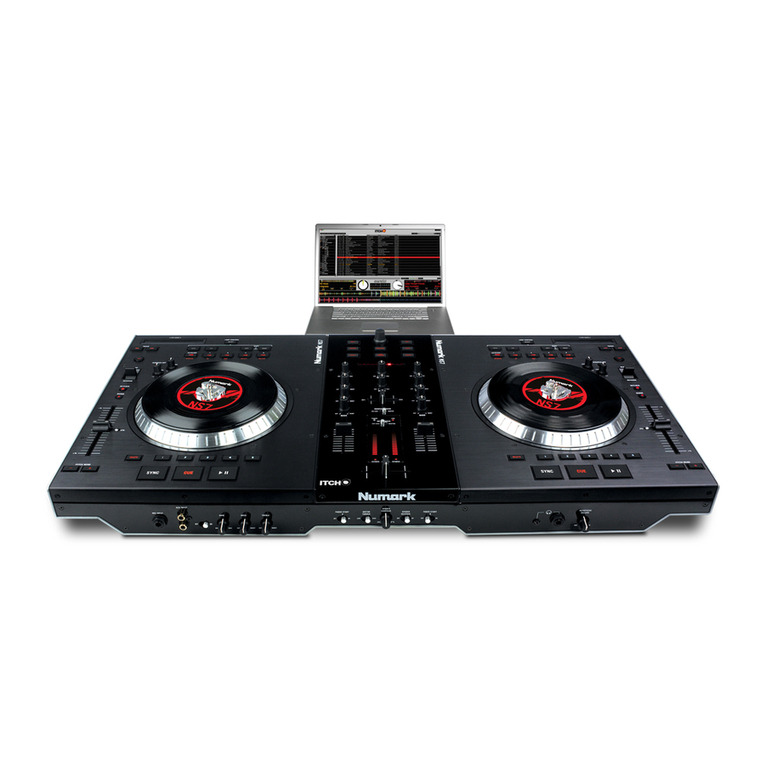
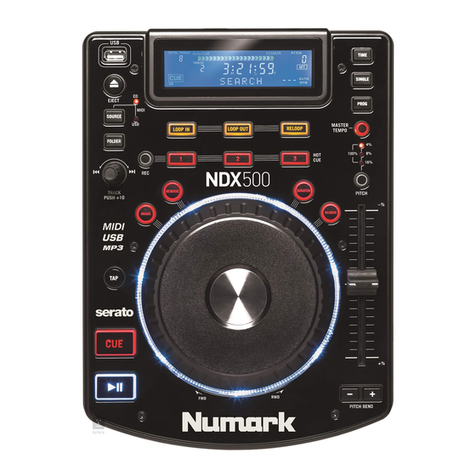
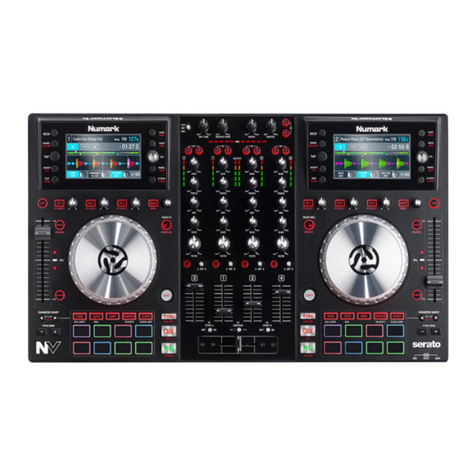
12. LAYER – Selects which software Deck is controlled by that hardware Deck. The left Deck can control software Deck A
or C; the right Deck can control software Deck B or D. (When using Sample Decks, those Decks will be C and D.)
13. PLATTER – This platter controls the Audio Pointer in the software.
14. PLAY / PAUSE –
Audio Decks: Starts or pauses playback of the selected Deck.
Sample Decks: Starts or pauses playback of all loaded samples.
15. CUE –
Audio Decks (CUE):
•If no Temporary Cue Point is assigned, or if the Deck is paused, press this to set a Temporary Cue Point.
While the track is playing, press it again to return to the Temporary Cue Point and pause playback.
•Hold down this button to start playback from the Temporary Cue Point. Release it to return to the Temporary
Cue Point and pause playback.
•Hold down this button and PLAY / PAUSE simultaneously to start playback from the Temporary Cue Point.
Release both buttons to allow playback to continue.
Sample Decks (SAMPLE GROUP RETRIGGER): Press this to retrigger all loaded samples on those Sample Decks.
16. SYNC – Automatically matches the corresponding Audio Deck’s tempo with the MASTER BPM.
17. BLEEP / REVERSE (FILTER STRIP ON/OFF) – When this button is engaged (lit solid red), moving your finger across
the STRIP SEARCH (FILTER STRIP) will sweep the filter. When this button is disengaged (off), moving your finger
across the STRIP SEARCH (FILTER STRIP) will set the filter's frequency.
18. SCRATCH – Press this to turn Scratch Mode on/off. When in Scratch Mode, the button will be lit, and moving the
PLATTER will scratch the track. When not in Scratch Mode, moving the PLATTER will bend the track's pitch.
19. SKIP –
Audio Decks (SCRUB): Press and hold this button then turn the PLATTER to scrub forward or backward through
the track. (Scratch Mode will be disabled while this button is pressed.)
Sample Decks (LOAD SAMPLE FROM LOOP RECORDER): Press and hold this button then press HOT CUE
BUTTON 1, 2, 3, or 4 to load the loop in the Loop Recorder to a Sample Deck.
CUE CONTROLS
20. DELETE CUE / SHIFT –
Audio Decks (DELETE CUE POINT): Press and hold this to enable Delete Cue Mode (the button will be lit red),
then press a white HOT CUE BUTTON to delete its assigned Cue Point.
Sample Decks (LOAD SAMPLE): Press this button to engage it (so it is lit solid red) to allow you to load samples to
the four Sample Decks. Press HOT CUE BUTTON (PLAY SAMPLE) 1, 2, 3, or 4 to load the selected sample to the
corresponding Sample Deck.
21. HOT CUE BUTTONS –
Audio Decks (HOT CUE BUTTONS): Each of these buttons assigns a Cue Point or returns the track to that Cue
Point. When a HOT CUE BUTTON is red, you can assign a Cue Point by pressing it at the desired point in your
track. Once it is assigned, the HOT CUE BUTTON will light up white. To return to that Cue Point, simply press it.
Tip: If the Deck is paused, holding a lit HOT CUE BUTTON will start playback from that Cue Point. Releasing
it will return the track to that Cue Point and pause playback.
Note: Cue Points cannot be overwritten. You must first erase a Cue Point by pressing or holding the DELETE
CUE button while pressing the appropriate HOT CUE BUTTON.
Sample Decks (PLAY SAMPLE):
BUTTONS 1-4 – Engage the DELETE CUE / SHIFT (LOAD SAMPLE) button (so it is lit solid red), then press one of
these buttons to load the selected sample to the corresponding Sample Deck.
BUTTON 5 (SAMPLE RETRIGGER MODE) – This button has two states, which affect how BUTTONS 1-4 play their
respective samples.
•When this button is lit red: Pressing BUTTONS 1-4 will play or stop their respective samples.
•When this button is lit white: If a sample is playing, pressing that Sample Deck's button (1, 2, 3, or 4) will
retrigger the sample. If a sample is not playing, pressing and holding that Sample Deck's button (1, 2, 3, or 4)
will play the sample; releasing it will stop playback and return the Audio Pointer to the beginning of the sample.
