Grouping WiFi Smart Sockets
Several WiFi Smart Sockets can be configured as a group. To combine devices
into a group, follow the steps below.
1. In the Amazon Echo™ application, tap the hamburger menu at the top left
corner and select Smart Home.
2. Tap CREATE GROUP and give the group a name (eg smart sockets).
3. Select devices to be included in the group, then tap SAVE.
Normal Operation
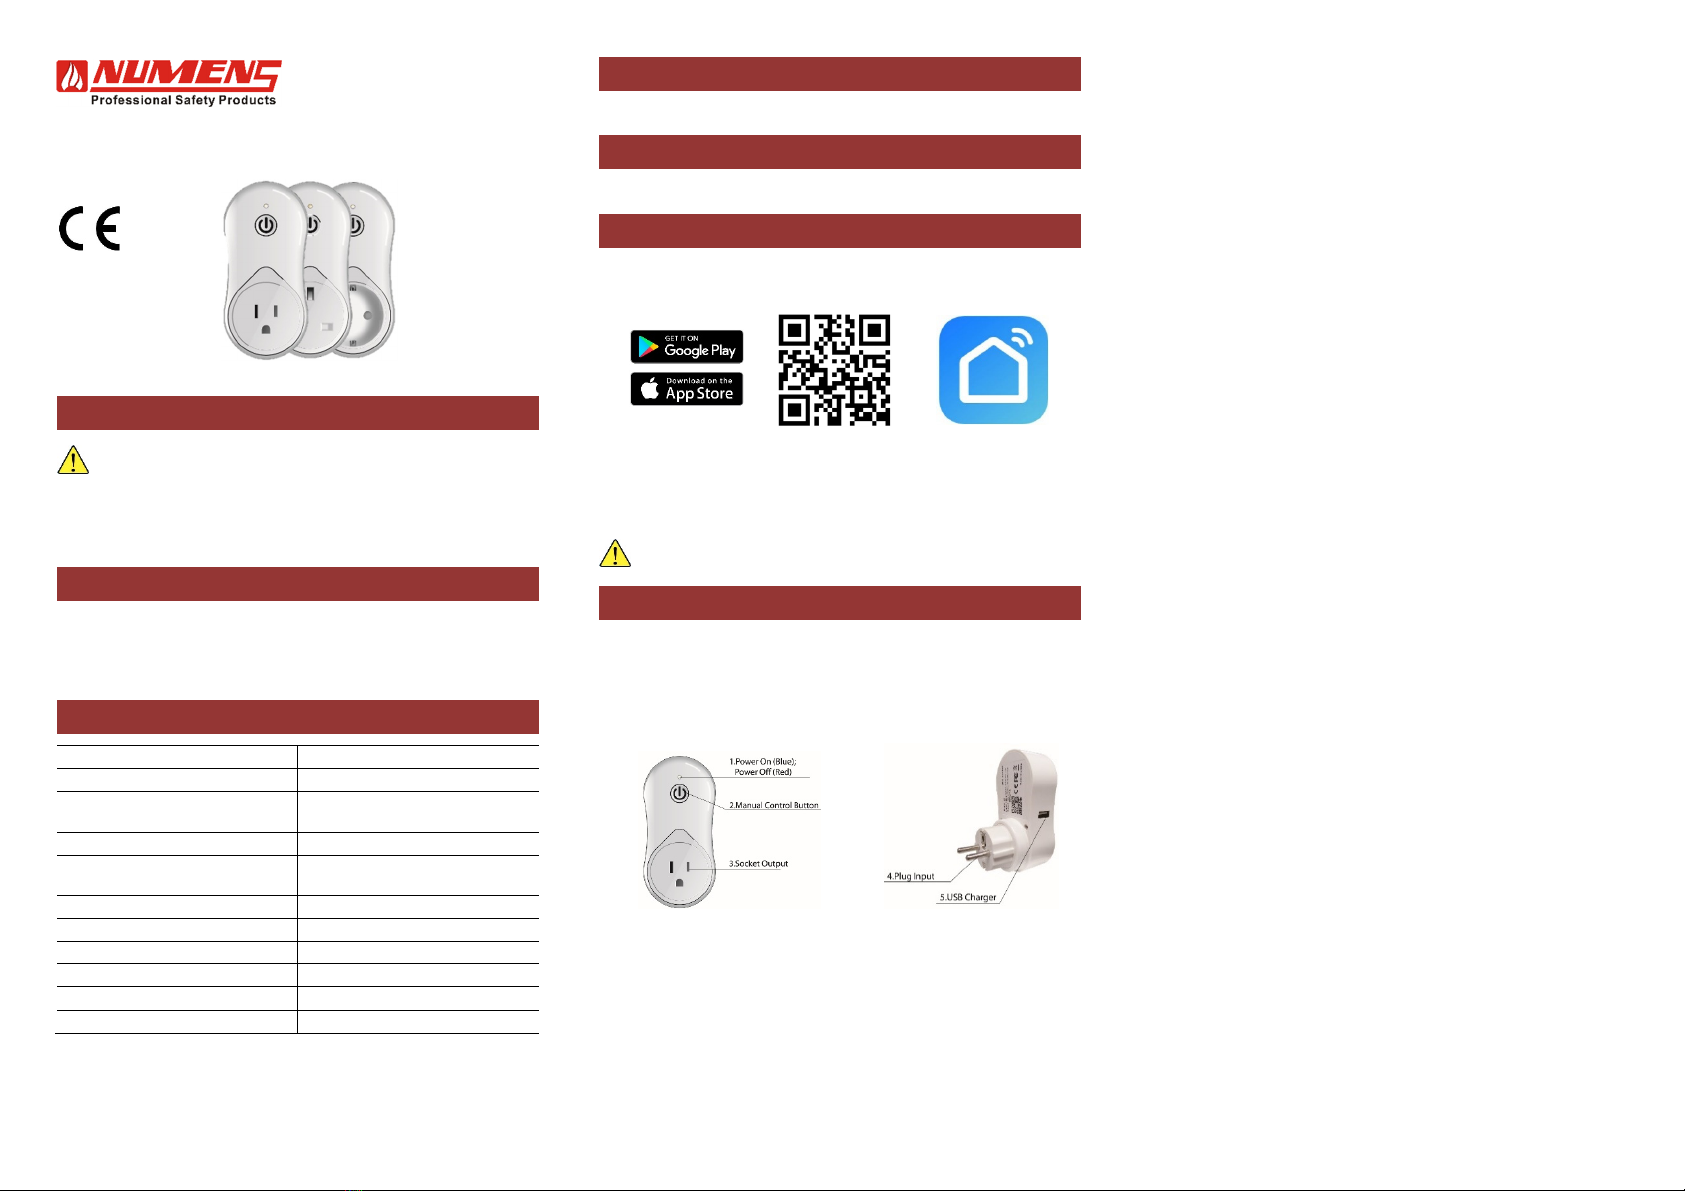
Power On/Off
To switch on/off the smart socket, tap the on/off button on the main screen of the
Smart Life application. The LED indicator will be blue when the power is on, and
red when the power is off.
Manual Control
The outlet may be switched on and off manually by pressing the Manual Control
Button (see Fig. 1).
USB Charger
The WiFi smart socket includes a USB charger output to charge devices (see
Fig. 1).
Controlling with Amazon Echo™ and Alexa™
The WiFi Smart Socket can be controlled by the Amazon Echo™ using voice
commands and the device name set above, such as “Alexa, turn on <device
name>”.
When devices are configured as a group, the group can be controlled by the
Amazon Echo™ using voice commands and the group name set above, such as
“Alexa, turn on my Smart Sockets”.
Care and Maintenance
Firmware Update
New features may be added to the firmware embedded in your WiFi smart
socket. To check for updates to firmware:
1. Tap Info.
2. Tap Check for Firmware Update.
Reset
If the WiFi smart socket fails to respond to commands, it may need to be reset.
1. Unplug the WiFi smart socket from the mains outlet.
2. Plug the device back into the mains outlet and turn on the outlet power
switch.
3. Press and hold the Manual Control Button (see Fig. 1) until the LED
indicator flashes quickly (between 5 s and 10 s).
4. Follow the steps above in Configuration to set up the device.
Remove Device
1. To remove the device from the application list, tap Info (●●●) at the upper
right-hand corner of the application.
2. Tap Remove Device to remove the device.
Service
For service or repair, return the unit intact to the supplier or to Numens (see the
address at the end of this manual), stating the reason for the return and details
of any fault.
References
Reference Description
31-0081 100 WiFi smart socket
Models
Model Features
100-001 UK socket
100-002 EU socket
100-003 US socket
Disposal
This product is designed to work reliably for 10 years
after the installation date. Devices should not be
disposed of as land-fill. Please dispose in an
environmentally friendly manner.
WARNING: This is an important document. Retain it for the life of the
device.
Limited Warranty
In order to protect your rights, please retain the original purchase receipt for the
proof of purchase. No warranty can be offered without the original purchase
receipt.
Ambest Electronics (Ningbo) Co Ltd ("Numens"), warrants the enclosed product excluding
any battery(ies), to be free from defects in materials and workmanship under normal use
and service for a period of 1 year from date of purchase or 18 months from the date of
manufacture, whichever is the lesser period. This LIMITED WARRANTY is the sole and
exclusive warranty, express or implied for Numens products. No employee, agent, dealer
or other person is authorized to alter, modify, expand or reduce the terms of this warranty
or to make any other warranty on behalf of Numens.
Numens' obligation of this Warranty shall be limited to the repair or replacement of any
part of the product which is found to be defective in materials or workmanship under
normal use and service during the Warranty Period. Products in need of repair should be
returned, shipping prepaid, to Customer Service Department, Numens, 9 Xizhao Road,
Innovative Industrial Area, Dong Qian Lake, Ningbo, Zhejiang, China 315121.
Numens shall not be obligated to repair or replace units which are found to be in need of
repair because of damage, unreasonable use, modifications, or alterations occurring after
the date of purchase. The duration of any implied Warranty, including that of
merchantability or fitness for any particular purpose, shall be limited to the period of 1 year
commencing from the date of purchase. In no case shall Numens be liable for any
consequential or incidental damages for breach of this or any other Warranty expressed
or implied whatsoever, even if the loss or damage is caused by Numens’ negligence or
fault. Some jurisdictions do not allow the exclusion or limitation of incidental or
consequential damages, so the above limitation or exclusion may not apply to you. This
Warranty gives you specific legal rights, and you may also have other rights which vary
from jurisdiction to jurisdiction. Numens makes no warranty with respect to the batteries,
expressed or implied, written or oral, including that of merchantability or fitness for any
particular purpose.
View the complete range of products at
www.numens.com
Numens 9 Xizhao Road, Innovative Industrial
Area, Dong Qian Lake, Ningbo, Zhejiang, China
315121
Helpline: +86 574 8281 7218
© 2017 Ambest Electronics (Ningbo) Co Ltd. All rights
reserved. All specifications and other information shown
were current at the date of publication and subject to
chan
e without notice.
33-0025-r01_2017-10