nVent.com |9
3 HEAT-TRACING CABLE INSTALLATION
3.1 Heat-tracing cable storage
• Store the heat-tracing cable in a clean, dry
location. Temperature range: –40°C to 60°C
• Protect the heat-tracing cable from mechanical
damage and moisture.
3.2 Pre-installation testing
Check materials received:
• Review the HWAT cable design and compare the
list of materials to the catalogue numbers of the
heat-tracing cables and connection kits received
to confirm that the proper materials are on site.
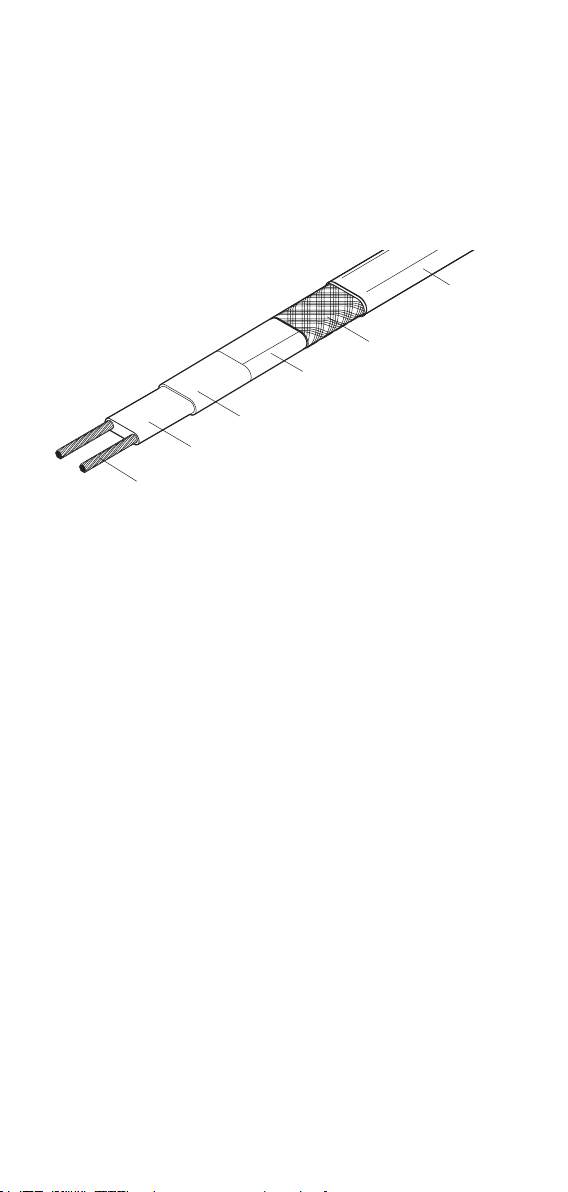
The HWAT cable type is printed on its jacket.
• The HWAT System is limited to 230 V service
when using the HWAT-ECO control unit. Ensure
that the service voltage available is correct.
• Inspect the heat-tracing cable and connection kits
to ensure there is no in-transit damage.
• Make sure that the inner jacket of the heat-tracing
cables is not damaged. Carry out an insulation
resistance check on every reel for this (see
section9). Do not power the heat-tracing cable
when it is on thereel.
Check the pipe:
• Make sure that all mechanical pipe tests (i.e.
hydraulic pressure test/rinsing) have been carried
out completely and the pipe fittings are finally
tightened.
• Walk the system and plan the routing of the heat-
tracing cable on the pipe.
• Inspect the piping and remove any burrs, rough
surfaces or sharp edges.
3.3 Installation
• Reel off the heat-tracing cable. Pull it loosely
along the pipe. Make sure that the heat-tracing
cable always runs along next to the pipe when
there are obstructions.
• Install the cable in straight runs along the pipe.
Spiralling the heat-tracing cable is not necessary.
• When installing the heat-tracing cable, the cable
must not be compressed or pinched between
two objects. Wall and floor penetrations and pipe
straps are particular areas of concern.