9
- GB -
Pos: 131 /Alle Produkte/ Überschriften/ H2 Symbole auf dem Gerät @ 21\mod_1 292588857121_121. doc @ 127058 @ @ 1
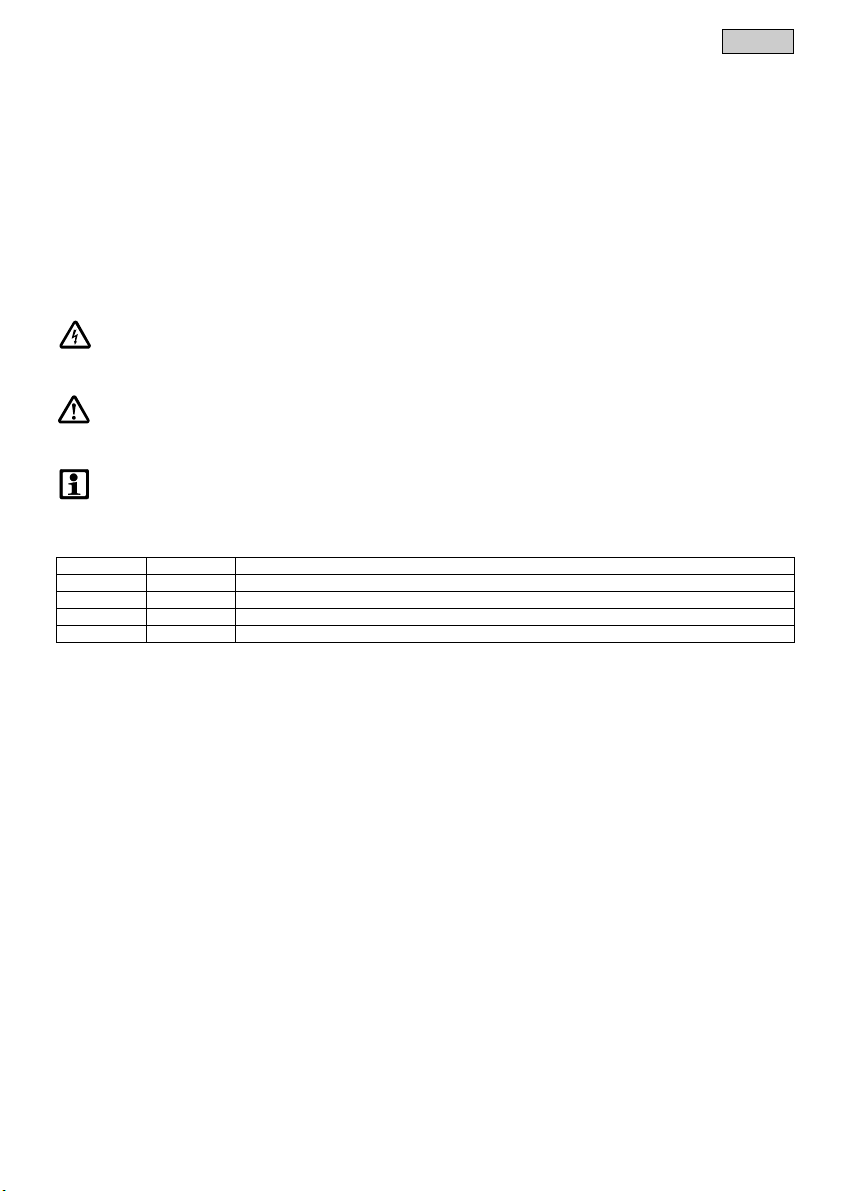
Symbols on the unit
Pos: 132 /Alle Produkte/ Symbole/War nsymbole (WS) auf dem Gerät/W S Einleitungssatz @ 22\mod_1 298533939291_121.doc @ 130855 @ @ 1
D
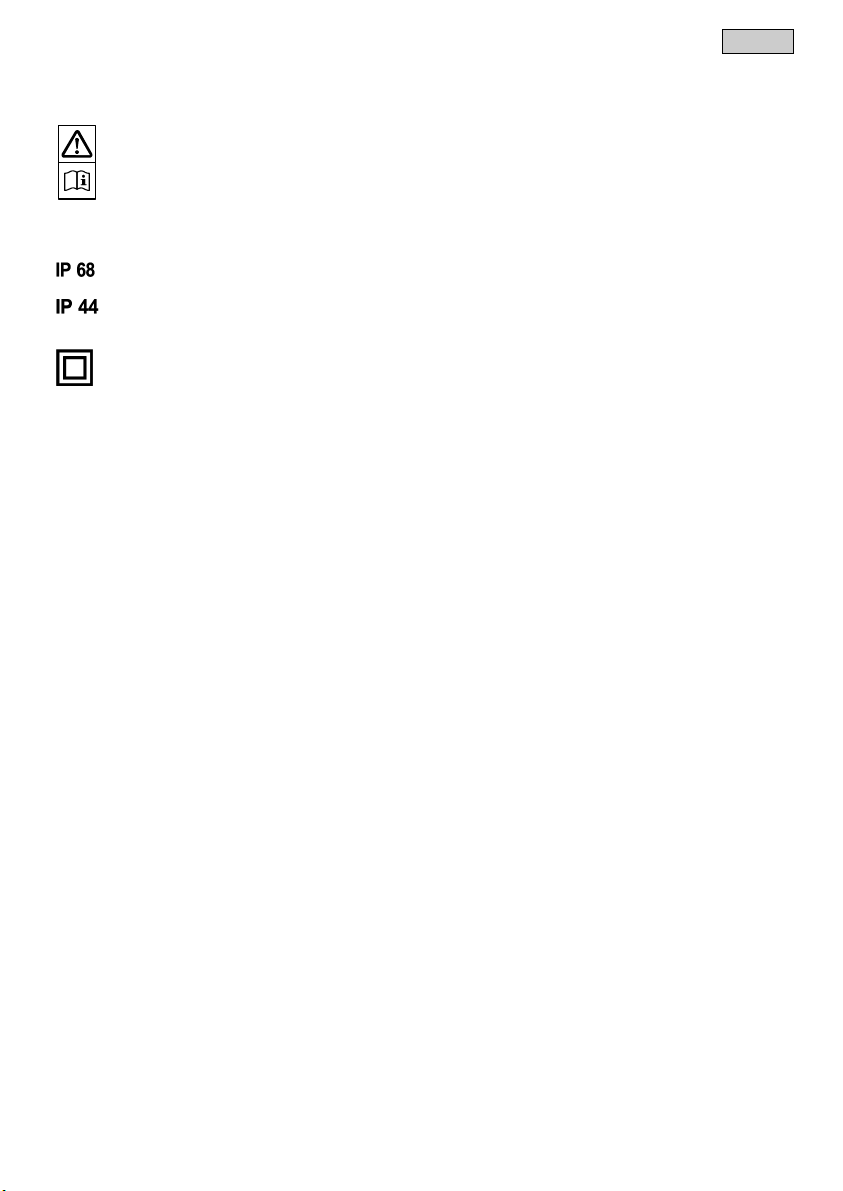
The warning symbols on the unit have the following meaning:
Pos: 133 /Alle Produkte/ Dummy_module/Absta nd 3 pt @ 11\mod_12519018468 64_0.doc @ 72826 @ @ 1
Pos: 134 /Alle Produkte/ Symbole/War nsymbole (WS) auf dem Gerät/W S GAlese n! @ 22\mod_129853415487 0_121.doc @ 130911 @ @ 1
D
Risk of personal injury if used incorrectly
Incorrect use of the unit can cause injury or damage to assets. Always read the instructions for use first.
Pos: 135 /Alle Produkte/ Dummy_module/Absta nd 6 pt @ 7\mod_119662799710 6_0.doc @ 41651 @ @ 1
Pos: 136 /Alle Produkte/ Symbole/Gebrauchssy msbole (GS) auf dem Gerät/ GS Einleitungssat z @ 22\mod_1298548922991_ 121.doc @ 131449 @ @ 1
Symbols
The symbols on the unit relating to its use have the following meaning:
Pos: 137 /Alle Produkte/ Dummy_module/Absta nd 3 pt @ 11\mod_12519018468 64_0.doc @ 72826 @ @ 1
Pos: 138 /Alle Produkte/ Symbole/Gebrauchssy msbole (GS) auf dem Gerät/ GS IP 68 @ 22\mod_12985510583 95_121.doc @ 131617 @ @ 1
Protection against the ingress of splash water. Suitable for permanent use under water up to a depth of 1 m.
Pos: 139 /Alle Produkte/ Dummy_module/Absta nd 3 pt @ 11\mod_12519018468 64_0.doc @ 72826 @ @ 1
Pos: 140 /Alle Produkte/ Symbole/Gebrauchssy msbole (GS) auf dem Gerät/ GS IP 44 @ 22\mod_12985510625 98_121.doc @ 131645 @ @ 1
Protection against touching dangerous components with objects up 1 mm diameter. Splash-water protected
on all sides.
Pos: 141 /Alle Produkte/ Dummy_module/Absta nd 3 pt @ 11\mod_12519018468 64_0.doc @ 72826 @ @ 1
Pos: 142 /Alle Produkte/ Symbole/Gebrauchssy msbole (GS) auf dem Gerät/ GS Schutzklasse 2 @ 22\ mod_1298551066551_121. doc @ 131673 @ @ 1
Protection against contact by the insulated housing (protection class II).
Pos: 143 /Alle Produkte/ Dummy_module/Absta nd 6 pt @ 7\mod_119662799710 6_0.doc @ 41651 @ @ 1
Pos: 144 /Alle Produkte/ Überschriften/ H1 Aufstellen und Anschli eßen @ 11\mod_12513568004 20_121.doc @ 71354 @ @ 1
Installation and connection
Pos: 145 /Alle Produkte/ Überschriften/ H2 Mechanische Instal lation @ 22\mod_129673139 6299_121.doc @ 129464 @ @1
Mechanical installation
Pos: 146 /Alle Produkte/ Bildbezeichnunge n/Angabe der Maßeinhei t für alle Längenmaße @ 22\mod_1 297353177671_121. doc @ 130561 @ @ 1
All dimensions in millimetres (mm).
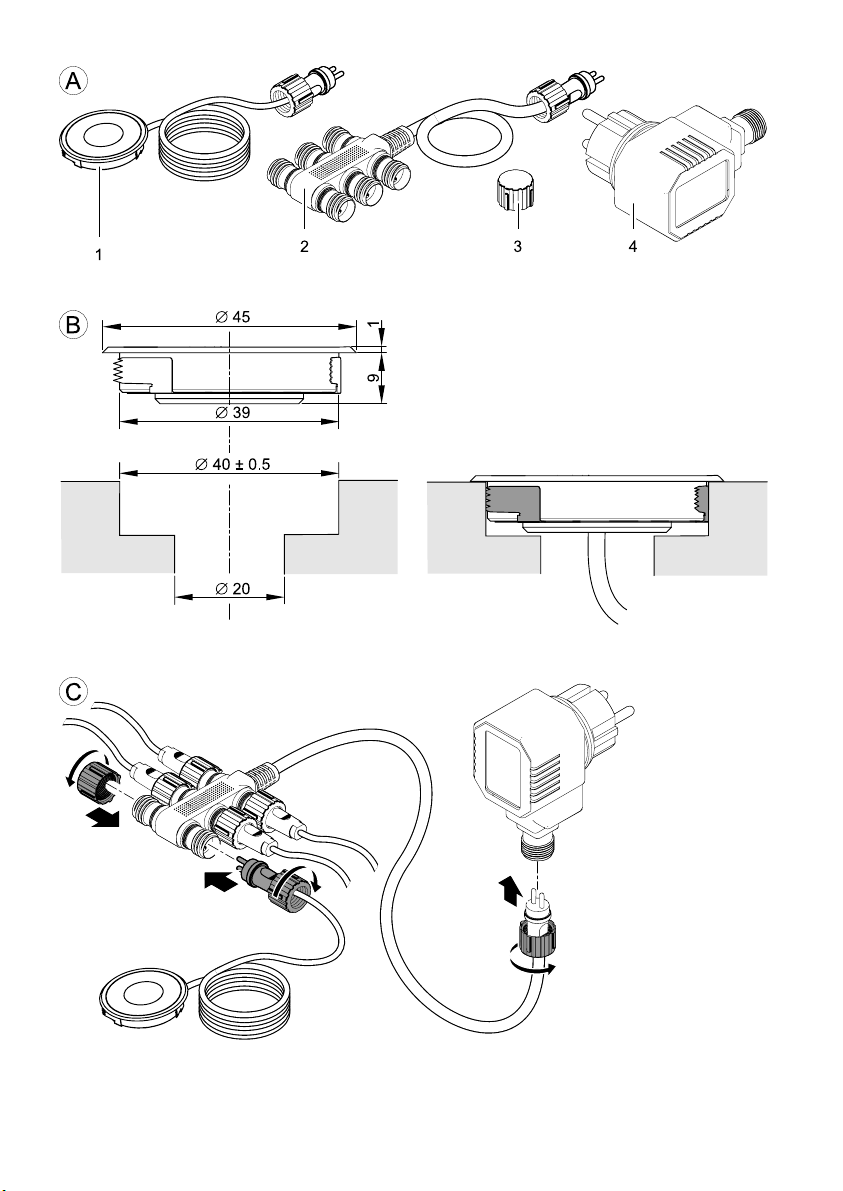
Pos: 147 /Alle Produkte/ Bildbezeichnunge n/Bild (B) @ 21\mod_12925 80931316_121.doc @ 126338 @ @ 1
Figure B
Pos: 148 /Alle Produkte/ Überschriften/ H4 Hinweise zur Montage @ 22\ mod_1297686070737_121. doc @ 130731 @ @ 1
Installation information
Pos: 149 /Lampen/Wasser spieltechnik/ Lunaqua Terra LED/Montage und I nbetriebnahme Lun aqua Terra LED @ 22\mod_12965 67094749_121.doc @ 128824 @ @1
−The lamps are fitted with installation clamps. No other fastening means are approved. They can be fitted into the
floor, to the wall or ceiling consisting of rigid materials, such as stone, wood, plastics.
−The connection cables of the lights can be routed directly in the ground or in the sand/gravel bed. It might be advan-
tageous to route the cables in a protective tube to prevent damage.
−Place the plug-in transformer and the connector at a place protected from the influence of weather.
Pos: 150 /Alle Produkte/ Dummy_module/Absta nd 3 pt @ 11\mod_12519018468 64_0.doc @ 72826 @ @ 1
Pos: 151 /Alle Produkte/ Überschriften/ H4 So gehen Sie vor: @ 21\mod_12856 75922044_121.doc @ 124057 @ @ 1
How to proceed:
Pos: 152 /Lampen/Wasser spieltechnik/ Lunaqua Terra LED/Montage Lun aqua Terra LED @ 22\mod_12985 60138875_121.doc @ 131703 @ @ 1
−Sketch the installation locations of the plug-in transformer, connector and individual lamps.
−Check that the cable lengths are sufficient for the planned installation. Extend the set, if necessary, with correspond-
ing extension cables or additional lamps from the Oase accessories range.
−Mark installation holes and drill using a drill bit suitable for the individual base material.
Hole diameter for the lamp: 40 mm.
Depth of the hole: min. 15 mm.
Hole diameter for the connection cable: 20 mm.
−Lead the connection cable through the hole.
−Insert the lamp in the drilled hole such that the lamp makes contact with the installation surface. If necessary,
slightly press the wings of the clamping spring against the housing using a screw driver.
Pos: 153 /Alle Produkte/ Überschriften/ H2 Elektrische Instal lation @ 22\mod_12976858 51845_121.doc @ 130703 @ @1
Electrical installation
Pos: 154 /Alle Produkte/ Bildbezeichnunge n/Bild (C) @ 21\mod_129258 0934676_121.doc @ 126366 @ @ 1
Figure (C)
Pos: 155 /Alle Produkte/ Überschriften/ H4 So gehen Sie vor: @ 21\mod_12856 75922044_121.doc @ 124057 @ @ 1
How to proceed:
Pos: 156 /Lampen/Wasser spieltechnik/ Lunaqua Terra LED/Anschlu ss der Leuchten an Ansc hlussverteiler @ 22\mod_1 296731003118_121. doc @ 129437 @ @ 1
−Route the lamp connection cables to the connector.
−Connect the plug of the individual lamps to the connector outputs, and secure each connection with the union nut.
Hand-tighten the union nut (splash-water protection!).
−Close outputs, which are not used, by means of the protection cap (splash-water protection!).
−Connect the connection cable of the connector to the plug-in transformer. Hand-tighten the union nut (splash-water
protection!).
Pos: 157 /Alle Produkte/ Sicherheit/Vor schriftsmäßig elektr ische Installati on/4.5 SIC ERW E-I nst. - Trafo 2m Abstand vom Wasser @ 11\ mod_1253270072865_121.d oc @ 74473 @ @ 1
−Install the transformer at a minimum safety distance of 2 m from the water.
Pos: 158 /Alle Produkte/ Dummy_module/=== == Seitenwechsel === == @ 0\mod_1125648978015_0. doc @ 1631 @ @ 1