Ocean Rodeo SHIFT GEN 3 User manual

User Manual
SHIFT GEN 3/PILOT GEN 2


2
SHIFT GEN3 / PILOT GEN2User Manual
TABLE OF CONTENTS
WARRANTY.....................................................................................................................
SAFETY PRECAUTIONS.................................................................................................
SHIFT FEATURES...........................................................................................................
PILOT FEATURES...........................................................................................................
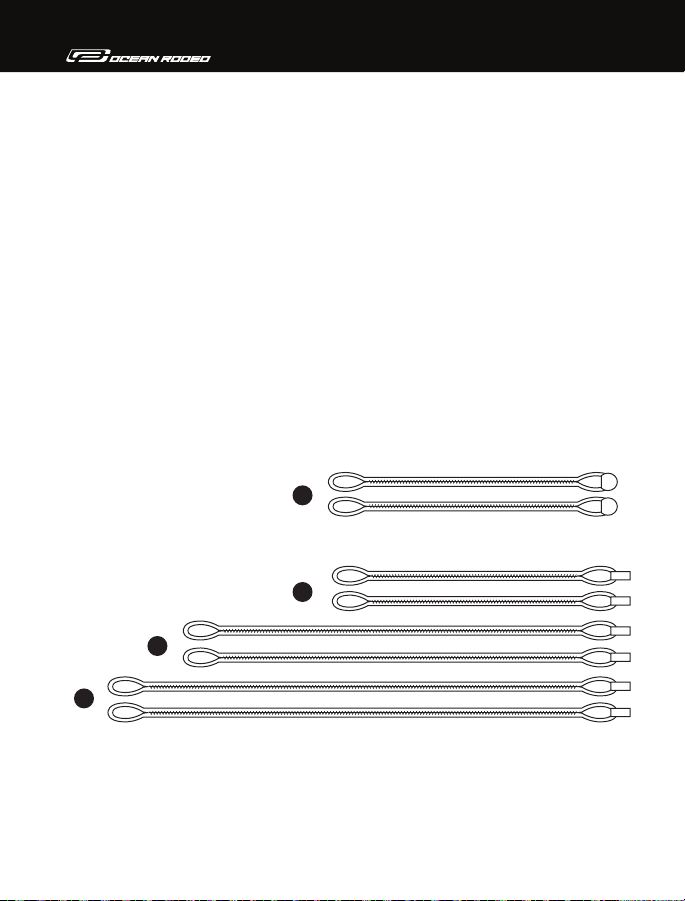
PIGTAIL GUIDE..............................................................................................................
GEN 9 PUNCHOUT TRIM LOOP................................................................................
TRIM LOOP RELEASE CUFF ACTIVATION...............................................................
TRIM LOOP RESET.......................................................................................................
USING THE LOCK IN TUBE.......................................................................................
QUICK CHANGE TRIM LOOP......................................................................................
BELOW BAR SWIVEL .................................................................................................
LEASH TO LINE ATTACHMENT.................................................................................
LEASH TO HARNESS ATTACHMENT.........................................................................
RELEASE CUFF MAINTENANCE.................................................................................
SINGLE FRONT LINE FLAGOUT DEPOWER............................................................
USING THE I3 SIDEWINDER (SHIFT)......................................................................
TUNING THE LINES (SHIFT)......................................................................................
USING THE I3 G-STOP (SHIFT) ...............................................................................
THE I3 FORCE TENSIONER SYSTEM (SHIFT).....................................................
BAR TRIM ADJUSTMENT (PILOT).........................................................................
STORING AND CARING..............................................................................................
ISO COMPLIANCE..........................................................................................................
3
3
5
7
9
10
11
12
13
13
15
16
17
19
20
21
23
25
26
27
28
30

3
WARRANTY
All kite control bars are covered by a one year warranty offered to the
original purchaser on workmanship and materials. Warranty is limited to the
repair or replacement at Ocean Rodeo’s sole discretion.This warranty does
not cover damage caused by normal wear and tear, misuse or negligence
and does not extend to any other equipment possibly damaged in the event
of a product failure.
This warranty is invalid and void if unauthorized repairs or modifications
have been made to the equipment. Bars used for professional or com-
mercial use (rentals, instruction, etc) are covered under a 30 day warranty
only. Repairs or alterations not covered by warranty will be billed to the
customer.
SAFETY PRECAUTIONS
� Get instructions specific to your kite and its safety systems.
� Be first aid certified and carry first aid and rescue devices.
� Consult your doctor prior to taking kite lessons.
� Always wear a nationally approved personal flotation device when on
the water.
� Dress appropriately for the weather and water temperatures.
� Check your equipment’s condition before every session; look for signs of
use and potential failure.
� Never kite alone.
� Do not kite in overpowered or gusty conditions.
� Do not kite in offshore wind conditions.

4
SHIFT GEN3 / PILOT GEN2User Manual
Caution: Kite powered sports can be very dangerous and physically
demanding.The user of this product should understand that participating
in kite powered sports may involve serious injury or death and agree to
observe the following safety precautions:
� Before launching your kite at an unfamiliar location, scout for safety
hazards and consult other kiters in the area for possible concerns (rocks,
reefs, currents, changeable weather, local ‘best practices’, etc).
� Never launch with obstacles or people closer than two full line lengths
downwind.
� Never kite near power lines!
� Never ask a non-kiter to launch or land your kite!
� Always wear a kite leash! Never wear a board leash!
� Always weigh your kites with rocks or sand when on the beach to prevent
inadvertent launch.
� Always announce your launch so people around you can be prepared to
move or assist in the event of a problem.
� Do not exceed your ability. Be honest with yourself.
� Never use alcohol or other mind altering drugs prior to kiteboarding.
� Never modify or otherwise alter any safety or release system.
� Never kite if your release system is not fully functional.

5
A
E
F
N
M
JI
H
O
P
R
C
D
K
Q
S
L
G
B

6
SHIFT GEN3 / PILOT GEN2User Manual
A
B
C
D
E
F
G
H
I
J
K
L
M
N
O
P
Q
R
S
.............................. I3 LINE SPLITTER
.......................... BACK FLYING LINES
.... FORCE TENSIONER SPRING CAP
....... I3 FORCE TENSIONER SYSTEM
.............. I3 G-STOP - BAR STOPPER
................................... LOCKING TUBE
........................................ BAR FLOATS
...................................... GROOVE BAR
................................. I3 SIDEWINDER:
BACK LINE TRIM TUNER
........................ BELOW BAR SWIVEL
............ PUSH AWAY RELEASE CUFF
............. LEASH ATTACHMENT RING
.......................................... TRIM LOOP
..................................... LOCK IN TUBE
................. PUSH AWAY KITE LEASH
RELEASE CUFF
..................... STAINLESS CLIP WITH
RETRACTABLE COVER
......................... LEASH TO HARNESS
CONNECTOR
...................................... LEASH FLOAT
......................................... LEASH LINE
SHIFT FEATURES

7
A
F
D
H
N
U
O
Q
S
V
R
G
C
I
J
K
P
T
W
LM
B
E

8
SHIFT GEN3 / PILOT GEN2User Manual
A
B
C
D
E
F
G
H
I
J
K
L
M
N
O
P
Q
R
S
T
U
V
W
.........................FRONT FLYING LINES
...........................BACK FLYING LINES
..................................................PULLEY
.......... SINGLE FRONT LINE RE-RIDE
..........................BACK LINE LEADERS
.........................................TRIM CLEAT
......................VELCRO TRIM HANDLE
....................................STOPPER BALL
...........................................BAR FLOAT
..........FRONT LINE TUBING SHEATH
.....................................CENTRE LINER
..............................................BAR GRIP
............................LINE STORAGE TAB
.........................BELOW BAR SWIVEL
.....................................RELEASE CUFF
..............LEASH ATTACHMENT RING
...........................................TRIM LOOP
......................................LOCK IN TUBE
................. PUSH AWAY KITE LEASH
RELEASE CUFF
..................... STAINLESS CLIP WITH
RETRACTABLE COVER
......................... LEASH TO HARNESS
CONNECTOR
...................................... LEASH FLOAT
......................................... LEASH LINE
PILOT FEATURES

9
D
PIGTAIL GUIDE
Warning:
Before riding with your new Ocean Rodeo Shift bar, please ensure you are
using the appropriate pigtails and that your kite is properly rigged.
Included with this bar you have received:
2 x 20cm front line pigtails (A)
2 x 20cm back line pigtails (B)
2 x 30cm back line pigtails (C)
2 x 35cm back line pigtails (D)
All back line pigtails have been colour coded red and green to indicate left
and right.
Note:
If you have noticeable front line stretch, you can offset it by replacing the
backline pigtails with one of the longer alternative sets provided.
A
B
C

10
SHIFT GEN3 / PILOT GEN2User Manual
RIDER
GEN 9 PUNCHOUT TRIM LOOP
Your Gen 3 Shift bar features the ISO compliant Gen 9 Punchout trim loop.
Designers Tip:
The push release cuff has a lip for improved grip on one side and is smooth
on the opposite side.
It is important that you attach the trim loop with the lip of the cuff facing
you.The smooth side faces away from the rider as it reduces the chance of
accidental activation of the release cuff, should you bump it on the edge of
a board during deep water starts.
Raised lip faces rider

11
TRIM LOOP RELEASE CUFF ACTIVATION
Note: Always test your quick release before each session and always flush
release after each session!
To separate yourself from the trim loop in an emergency situation, push the
release cuff away from you.
As long as your kite leash is attached to the flagout ring, the control bar will
ride up a single front line and depower the kite.
In most instances upon release the cuff will remain in the UP position for a
quick reset.

12
SHIFT GEN3 / PILOT GEN2User Manual
TRIM LOOP RESET
To reset your trim loop after it has been released:
� Begin by locking the cuff in the UP position if it is not already.To do this
hold the trim loop system in an upright position and push up on the cuff.
�Hold the quick release by the swivel head, and insert the ring end of the
trim loop back into the quick release.
�Push the loop up into the quick release while holding the swivel head,
opposing this force. The loop will snap back into the quick release once
enough pressure has been applied.
WARNING: Ensure fingers are kept away from the release cuff while
resetting!

13
QUICK CHANGE TRIM LOOP
The trim loop can easily be replaced or switched out in favor of Ocean
Rodeo’s Slider or Freestyle loops.
To remove and replace the loop simply push up on the release cuff insuring
the loop is released and exposing the connection screw. Using a fin key
remove the screw and pull the loop out. Slide the new loop in and replace
the screw. (As shown on page 14)
USING THE LOCK-IN TUBE
The lock-in tube helps keep your trim loop hooked in if you have slack or
minimal tension on your lines while riding.To use the lock-in tube, simply
flex the tubing into the head of the harness, under the trim loop.

14
SHIFT GEN3 / PILOT GEN2User Manual
Note: Slider loop must be used with correctly sized ring on the harness
rope to ensure clean release. Refer to manual supplied with slider loop for
most recent information.
Slider Loop Freestyle Loop

15
BELOW BAR SWIVEL
Twisted front lines can affect the operation of your front line flagout
depower system.
To correct twisted front lines: Grasp the swivel head and turn it in the
opposite direction of the line twists.
WARNING: Multiple twists in your front lines can create dangerous
amounts of friction and prevent proper depowering when the front line
flagout system is activated. Untwist your lines regularly!

16
SHIFT GEN3 / PILOT GEN2User Manual
LEASHTO CENTRE LINE ATTACHMENT
To attach the leash to the trim loop slide the EVA float back to expose the
clip and clip it onto the flagout rig as shown below.
Designer Tips:
Once clipped onto the flagout ring, slide the float back up to cover the clip
opening. By doing this you eliminate a potential line snag point.

17
LEASH TO HARNESS ATTACHMENT
Note: Always attach your leash with the release cuff end closest to your
harness!
Remove the connection tether from the leash and attach it to the harness
ring, as shown below.

18
SHIFT GEN3 / PILOT GEN2User Manual
Once the connector tether has been attached to your harness, reset the
leash’s quick release following the steps shown below.

19
RELEASE CUFF MAINTENANCE
Note: Always flush sand and debris out your release systems after each
session.
This manual suits for next models
1
Table of contents
Other Ocean Rodeo Aircraft manuals

Ocean Rodeo
Ocean Rodeo FLITE User manual

Ocean Rodeo
Ocean Rodeo ALUULA User manual

Ocean Rodeo
Ocean Rodeo SLE Series User manual

Ocean Rodeo
Ocean Rodeo Stick-Shift User manual

Ocean Rodeo
Ocean Rodeo Control User manual

Ocean Rodeo
Ocean Rodeo ALUULA G Series Setup guide

Ocean Rodeo
Ocean Rodeo Go Joe User manual

Ocean Rodeo
Ocean Rodeo Stick-Shift Gen 2 User manual