OHDIOLAB KRAKEN PRO User manual

KRAKEN PRO
User Manual

Kraken Pro
Charging Case
WHAT’S IN THE BOX
Ear Tips (S, M, L)
USB-C
Charging Cable Carry Pouch
1
Kraken Pro Earbuds
OTG Adapter

OVERVIEW
2
Left earphone
charging slot
Right earphone
charging slot
LCD display Type-C
charging port
Left earphone
(L)
Right earphone
(R)
Microphone & LED indicator
Touch button
Ear tip

FIRST TIME USE
•Activate the earphones by placing both earbuds into the charging case.
•Before using for the first time, charge the battery to full for optimum battery capacity and
lifetime.
•Use only the original USB-C charging cable provided to avoid any damage.
3

WEARING
•Insert each earbud into your ear and adjust them so that they fit comfortably.
•Choose the most suitable ear tip size (S/M/L) for your ears for a comfortable fit and better
sound experience.
Note: Your left ear and right ear may be suitable for different sizes of ear tips (shown in
Figure-A). Insert the earbuds with the ear tips into your ear canal, then adjust the earbuds to
position them in a secure and comfortable position (shown in Figure-B).
4
(Figure A) (Figure B)

PAIRING NEW DEVICE
1. Power on the earphones by opening the charging case or taking them out from the
charging case.
•Earphones start flashing blue light means both earphones are pairing each other.
•Main earphone (L) flashes red and blue alternately and the auxiliary earphone (R)
light is off meaning both earphones are successfully paired.
2. Search for ‘
we-free
’ in the Bluetooth menu on your mobile device and tap to pair.
3. Once pairing is successful, both earphones will make a beep sound.
5

SUBSEQUENT USE OF EARBUDS
Take both earbuds out of the charging case, they will automatically turn on and connect to
the last connected device within range.
6
RE-PAIRING LEFT & RIGHT EARBUDS
In some circumstances where left and right earbuds failed to pair correctly,
1. Take both earbuds out of the charging case.
2. Double tap the left and right earbuds when the blue light flashes slowly to
automatically pair them.
When pairing is completed, the main earbud flashes red and blue alternately while the other
earbud indicator is off.
After the earbuds are successfully connected to the mobile device, both earbud indicators
will turn off.

CHARGING
Charging the Earbuds
•Place both earbuds into their corresponding slots in the charging case to start charging.
•Close the lid of charging case and earbuds will start charging automatically.
•If lid is open, charging will start after 2 minutes.
•Earbuds LED indicator will shine red light while charging and goes out once fully charged.
•Refer to the LCD display to see battery charging status of each earbud.
•LCD display will turn off within 5 seconds after earphones are fully charged.
Charging the Charging Case
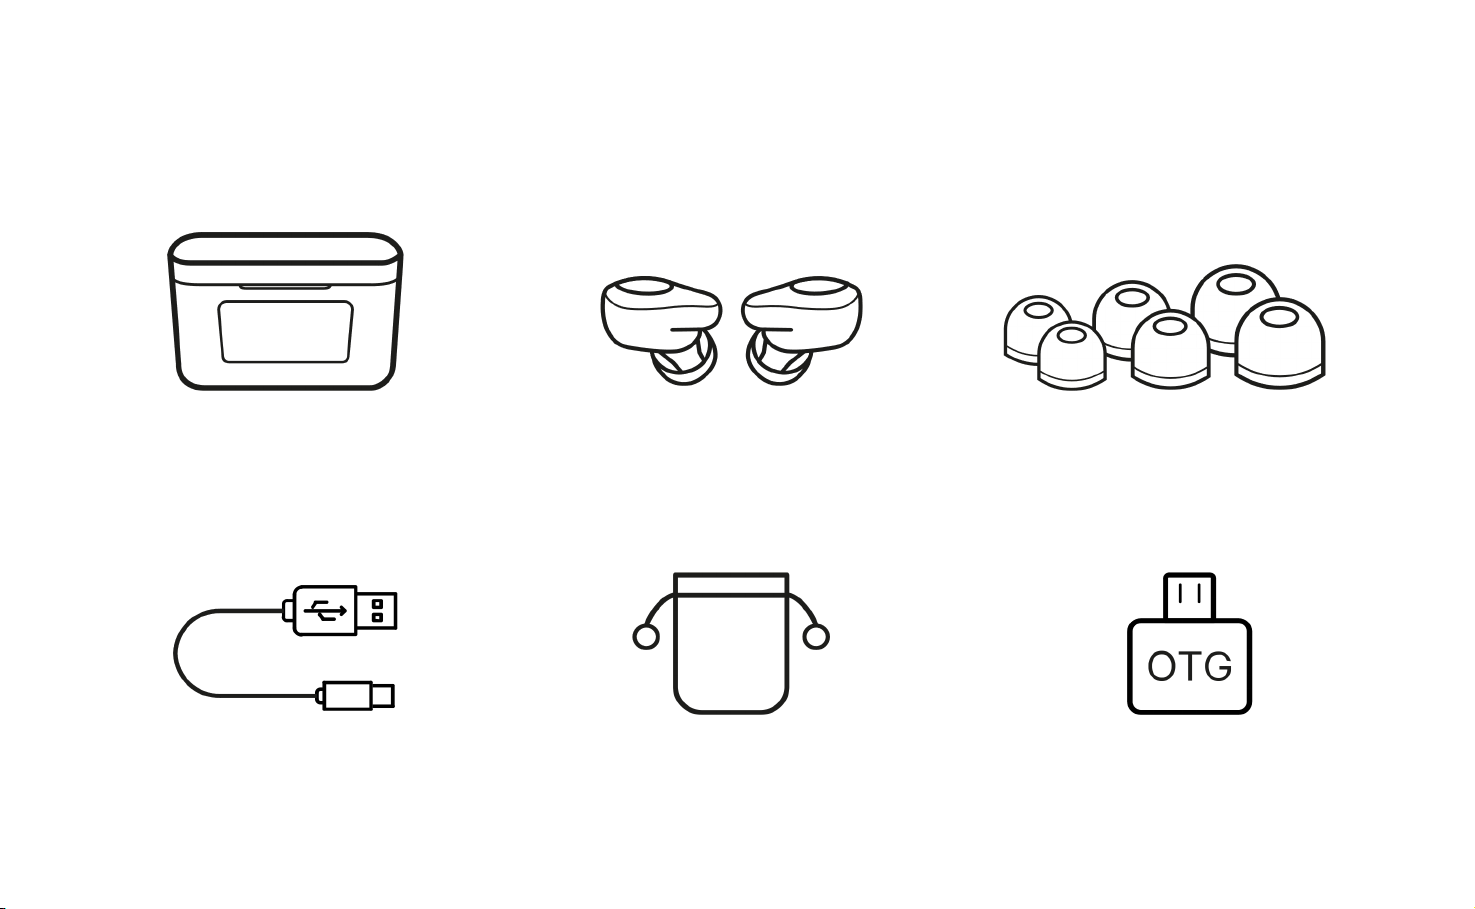
•Connect the supplied USB-C cable into the charging port and plug it into a USB power
supply or certified wall charger to charge the case.
•It takes up to 1.5 hours to fully charge the earbuds and the charging case.
•Refer to the LCD display to see battery charging status.
7

USING AS A PORTABLE BATTERY CHARGER
8
•The charging case also serves as a portable power bank to charge your mobile devices.
•Insert OTG adapter into the Type-C port on the charging case to connect a matching
charging cable to directly charge your mobile device.
•While your mobile device is being charged, LCD display will display the amount of battery
charge remaining in the charging case from 100% to 1%.
•The LCD display will turn off after the mobile device is fully charged or when the charging
case battery has depleted.

POWER CONTROL
Power On
Remove both earbuds from the charging case.
Alternatively, tap and hold the touch zone for 3s.
Power Off
Place both earbuds back into the charging case.
Alternatively, tap and hold the touch zone for 8s.
Shut Down
Place both earbuds back into the charging case.
Alternatively, disconnect left/right earbud from the mobile device. After 3 minutes of no
device connection, left/right earbud will shut down automatically.
9
Touch zone

PHONE CONTROL
Answer/Hang Up Call
Double tap the touch zone to answer, double tap again to hang up.
Reject a Call
Tap and hold the touch zone for 2s.
Volume Adjustment (+/-)
•Decrease volume (-): Long tap the Left earphone touch zone to gradually reduce the
sound volume.
•Increase volume (+): Long tap the Right earphone touch zone to gradually increase the
sound volume.
•When the volume is adjusted to the maximum volume, there will be an alarm tone.
10
Touch zone

MUSIC CONTROL
Play/Pause Music
Open the music player on your mobile device, tap the touch
zone once on either Left or Right earbud.
Play Previous Song
Double tap the touch zone of the Left earbud.
Play Next Song
Double tap the touch zone of the Right earbud.
11
Touch zone
VOICE CONTROL
Activate Voice Assistant
Triple tap the touch zone of the Right earbud.

SPECIFICATIONS
•Model: Kraken Pro
•Bluetooth Version: 5.0
•Bluetooth Profile: HSP, HFP, A2DP, AVRCP
•Connection Range: Up to 15 meters
•Waterproof Level: IPX7
•Playtime
•Music Time: Up to 7.5 hours*
•Talk Time: Up to 4 hours*
•Standby Time: Up to 200 hours
•Charging Time: Approx. 1 hours
•Connector Type: USB-C
•Battery Capacity
•Charging Case: 3000mAh
•Earbud: 60mAh
•Dimensions
•Earbud: L19 x W22 x H24 mm
•Charging Case: L76 x W30 x H48 mm
•Net Weight: 98.5g
12
*Duration of use may vary depending on the connected mobile device, features being used, settings, signal strength,
operating temperature, frequency band, and other methods of use.

PRECAUTIONS & USAGE
•Do not disassemble, adjust, or repair the product arbitrarily.
•Do not use the product while driving or when your hearing is needed to perceive dangers
from your surroundings.
•Do not blast music at an uncomfortable high volume as it may result in hearing loss.
•Do not use the product in strong electromagnetic interference and radiation
environments.
•Charge the product again if not used for over 1 month.
WARNING
•Do not expose the product to extreme temperatures (under 0°C or over 45°C).
•Do not store the product in a wet or dusty environment.
•Do not place heavy objects on the product.
•Do not drop the product from a high place.
•Do not submerge the product in the water.
•Do not disassemble, adjust, or repair the product arbitrarily.
•Do not use any cleaning agents containing alcohol, ammonia, benzene, or abrasives.
13

Complies with
IMDA Standards
DA108378
Designed in Germany
Made in China
Table of contents
Other OHDIOLAB Headphones manuals