manuals.online logo
Brands
  1. Home
  2. •
  3. Brands
  4. •
  5. Oki
  6. •
  7. All In One Printer
  8. •
  9. Oki C910 Manual

Oki C910 Manual

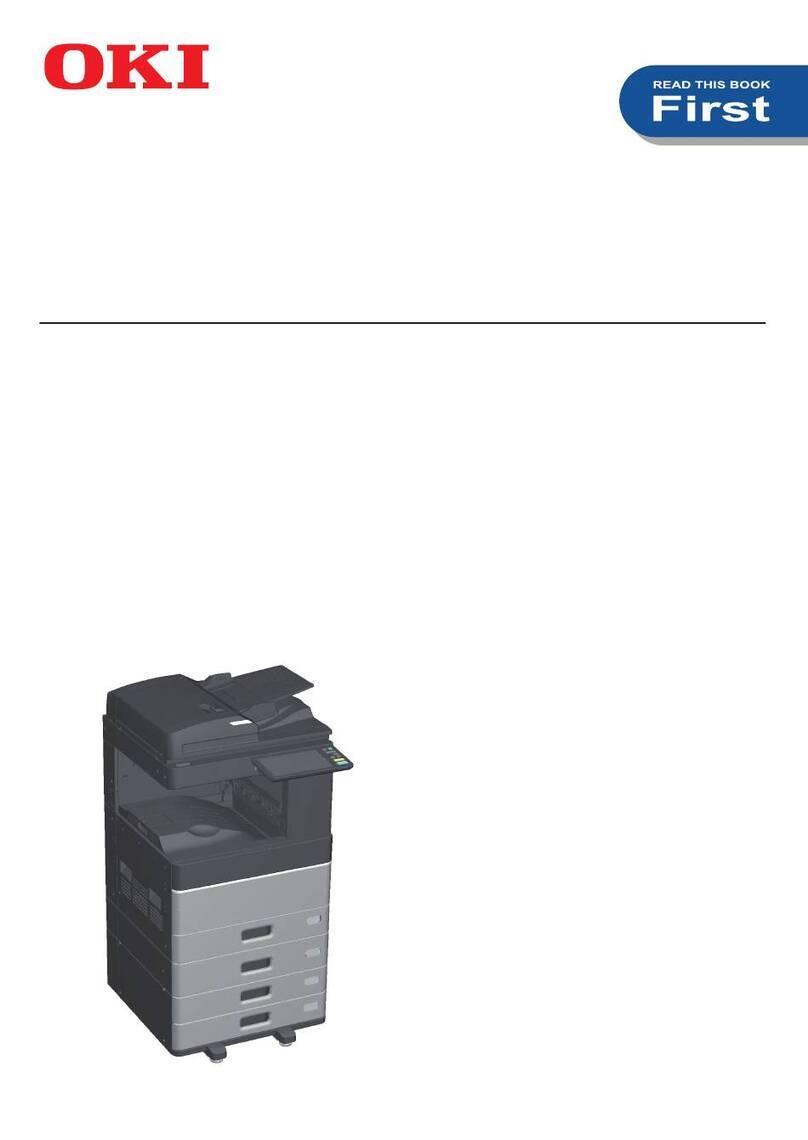
OKI proColor™C910 /C930 Engine
Service Training & Disassembly Procedures
DISTRIBUTED AT THE C910 /C930 SERVICE TRAINING CLASSES
OKI DATA TRAINING DEPARTMENT REV.3.20
2000 Bishops Gate Blvd.
Mt. Laurel, NJ 08054
II
Copyright 2011 by Oki Data Americas, Inc. All Rights Reserved.
This document describes the disassembly of the Oki Data A3 9 series of printer engines.
It is to be used during Oki Data Service Training. It is not designed to be a self-directed
course, as Oki Data Trainers will provide additional information as required during the
course. We are not responsible for typographical errors nor or we responsible for
manufacturing changes that are considered part of a products life cycle.
This document is being provided in conjunction with an Oki Data sponsored and
instructor led course. Be aware that the machine you are working with may have already
been disassembled, resulting in parts and / or screws being incorrectly replaced.
You are responsible for your own personal safety as you work through this course. You
are expected to know how to safely operate, disassemble, and repair machines of this
type. Oki Data is providing disassembly, troubleshooting, repair and reassembly
instructions specific to this series of printers. Oki Data assumes that each student has
already demonstrated their knowledge of basic electronics, troubleshooting, disassembly
and reassembly of this type of equipment.
Important Safety Notes:
•This product generates potentially lethal voltages. While Oki Data has made
every attempt to insure safe operation and voltage interruption by installing safety
circuits, it is possible to by-pass these safety circuits. Oki Data will not be
responsible for the safety of any attendee who knowingly by-passes any of these
safety devices.
•The printer units are very heavy. The ES3640 printer weighs approximately 190
pounds. Safe lifting techniques are required and Oki Data assumes that the
attendee is versed in established safe lifting techniques.
•These printers contain large amounts of metal that may have sharp edges or
burrs on edges. Oki Data assumes no liability for carelessness that results in
injuries to attendees. In short – Be Aware – Be Careful - Don’t Fool Around!
•If you are unsure of something – ask the Oki Data Trainer before continuing.
•Follow the disassembly instructions as they are written to insure your safety as
well as your successful disassembly/reassembly of the printer(s) you’ll be
working with.
Course Instructions:
1. The Oki Data A3 printer engine weighs almost 200 pounds, so use caution
and common sense when lifting, moving, or placing it on a surface.
2. Follow the procedures as they are written.
3. If you encounter any problems, notify the instructor.
4. NOTE: steel screws go into metal; Black screws go into plastic.
5. Use Electrostatic Discharge precautions when handling the electronics
portions of the printers.
6. Pay very close attention to the wiring harnesses and how they are routed.
This will save time when you reassemble your unit!
7. Pay particular attention to not pinching cable assemblies when
reassembling the unit.
8. Watch for sharp edges and burrs on the metal covers and support
brackets. This machine contains a lot of metal – Be careful!
9. Store the removed screws with the appropriate assembly they secure.
10.Notify the instructor if you have any left over parts/screws once you’ve
completed the re-assembly. This is IMPORTANT since these are training
machines and will be used for additional training classes.
11.We do not “booby trap” machines prior to disassembly or re-assembly.
We may introduce problems after your unit is reassembled and tested:
This is the best way to learn troubleshooting techniques.
12.Learn as much as you can - Enjoy the class – Ask questions
13.Remember; It Is Your Course! Ask questions of the instructors.
14.When completing the course critique, be honest; If you find a problem,
want to make a suggestion, utilize the comments section on the rear of the
critique form. We Do Pay Attention to These Comments! Remember:
Constructive Criticism is always welcome and it helps us to improve this
course.
III
This Page Is Intentionally Blank
IV
A3 Printer Engine Disassembly Procedures
All directions are referenced from the “Front / Operator Panel” of the machine
Install the consumables (First Time Use machines only)
Remove drum and toner assemblies from the black bags (if so equipped) and reinstall in
your printer.
1. Print the following pages:
1.1.1. “Configuration Pages”
1.1.2. “Demo Page 1”
2. Unplug the power cord from the wall
and from the printer.
2.1. Remove all consumables
from the printer.
2.1.1. Drum and toner
assemblies go back in the
black bags and fold the
tops of the bag to block
light leakage.
2.1.2. Remove the Transfer
Belt.
2.1.3. Remove the Fuser
assembly.
2.1.4. Remove Waste Toner
Box
2.2. Close the printer cover.
1
3. Remove the Paper
Cassette from the
printer.
4. Removing the Power
Supply Cover.
4.1. Remove 5
screws from
the Power
Supply Cover.
4.2. Remove the
Power Supply
Cover.
2
3
5. Removing the Right
Side Cover and the
Right Side Lower
Access Cover.
5.1. Remove 2
screws from
the Right Side
Cover and use
a flat blade
screwdriver to
release the
four tabs. Push
down on the
top taps and
up on the
bottom tabs.
5.2. Release the
latch.
5.3. Remove the
Right Side
Cover.
5.4. Remove the
Right Side
Lower Access
Cover by
gently prying
the plastic pins
away from the
metal frame.
6. Removing the Rear
Right Side Cover.
6.1. Open the Top
Cover and
remove two
screws.
6.2. Remove the
Rear Right
Side Cover.
4
7. Remove the Duplexer
(if equipped) / Dummy
Duplex Cover from the
left side.
8. Removing the Left
Side Cover.
8.1. Remove the 4
screws and
release the
tabs by
pressing down
with a flat
blade
screwdriver.
8.2. Remove the
Left Side
Cover.
5
9. Removing the Front
Cover Assy.
9.1. Lift the Op
Panel as far as
possible and
open the Front
Cover Assy.
Remove the 2
screws from
the support
straps.
NOTE: Be sure the
Waste Toner Box has
been removed.
9.2. Make sure the
cover is open
all the way –
remove it by
pushing to the
left on the
black hinges
and moving the
cover to the
right.
6
10. Removing the Right
Cover Guard
NOTE:Read the next 2
pages before starting this
step to familiarize yourself
with the procedure!
10.1. Remove 1
screw and use
a flat blade
screwdriver to
release the
tab.
10.2. Remove Right
Cover Guard.
7
10.3. Take note of
the wire routing
in the Right
Cover Guard
for the Waste
Toner Box
sensor and
unthread.
10.4. Remove the
Sensor board
and wiring
harness from
the right cover
card as an
assembly.
8
11. Removing the Left
Cover Guard
NOTE: Lift the Basket
Assy.
11.1. Remove 2
screws and
use a flat blade
screwdriver to
release the 3
latches.
11.2. Remove the
Left Cover
Guard.
9
12. Removing the Front
Cover Guard
12.1. Remove 3
screws and
remove the
Front Cover
Guard.
12.2. The Front
Cover Guard
has a very tight
fit even with
the screws
removed.
Gently work it
off.
10
13. Removing the
Operator Panel.
NOTE:Read the next 2
pages before starting this
step to familiarize yourself
with the procedure!
13.1. Remove 2
screws.
13.2. Remove the
Op Panel but
do not let it
drop as there
is ribbon cable
attached.
13.3. Release the 2
latches on the
underside of
the Op Panel.
11
13.4. Remove the
Op Panel
Cover.
13.5. Remove 1
screw
13.6. Gently unplug
the ribbon
cable.
12
14. Removing the Plate
Shield Assy. (Rear
Metal Cover)
14.1. Be sure the
Top Cover is
closed. Loosen
the 2 captured
thumb screws
on the side and
remove the 2
screws along
the top.
NOTE: Be careful when
handling any sheet metal
as there may be sharp
edges left over from the
manufacturing process.
14.2. Lifting up and
at the angle
shown, remove
the Plate
Shield Assy.
13
15. Removing the Engine
Board Fan and Air
Duct
15.1. Gently release
tab.
15.2. Remove the air
duct by pulling
it outward.
14
15.3. Unplug the fan
connector.
15.4. Release the
tabs that
secure the fan
to the Plate
Shield Box
Assy. (Card
Cage) and
remove the fan
by lifting up
and out.
15
NOTE:
16. Removing the Controller
Board
16.1. Remove the single
screw from the I/O
panel.
16.2. Unplug the 2 power
connectors for the
fans.
16.3. Remove two
screws on the fan
bracket. Take note
that these screws
are longer than
rest.
16.4. Remove the
bracket and fans.
Oki Data manufactures and sells many different versions
of this A3 Engine, employing different controller cards:
Some are EFI Fiery™ designed boards while others utilize
Oki Data designed controller boards. The controller
boards pictured in this document may be different from
the machine you are disassembling.
16

Other manuals for C910

7

This manual suits for next models

1

Other Oki All In One Printer manuals

Oki C3530n MFP User manual

Oki

Oki C3530n MFP User manual

Oki CX4545 MFP User manual

Oki

Oki CX4545 MFP User manual

Oki MB461MFP Quick reference guide

Oki

Oki MB461MFP Quick reference guide

Oki B2520 MFP User manual

Oki

Oki B2520 MFP User manual

Oki C3530n MFP Service manual

Oki

Oki C3530n MFP Service manual

Oki ES3640eMFP User manual

Oki

Oki ES3640eMFP User manual

Oki MC560 Plus User manual

Oki

Oki MC560 Plus User manual

Oki CX2033MFP User manual

Oki

Oki CX2033MFP User manual

Oki MB290 User manual

Oki

Oki MB290 User manual

Oki MC780 series User manual

Oki

Oki MC780 series User manual

Oki C941dn User manual

Oki

Oki C941dn User manual

Oki CX4545 MFP User manual

Oki

Oki CX4545 MFP User manual

Oki MPS480mb Quick start guide

Oki

Oki MPS480mb Quick start guide

Oki ES3640eMFP User manual

Oki

Oki ES3640eMFP User manual

Oki CX3641 MFP Quick start guide

Oki

Oki CX3641 MFP Quick start guide

Oki CX2033 How to use

Oki

Oki CX2033 How to use

Oki MB441 User manual

Oki

Oki MB441 User manual

Oki C3530n MFP Configuration guide

Oki

Oki C3530n MFP Configuration guide

Oki MC160N User manual

Oki

Oki MC160N User manual

Oki C301 User manual

Oki

Oki C301 User manual

Oki C5510 User manual

Oki

Oki C5510 User manual

Oki ES3640eMFP User manual

Oki

Oki ES3640eMFP User manual

Oki MC780fx Instruction Manual

Oki

Oki MC780fx Instruction Manual

Oki MC352 User guide

Oki

Oki MC352 User guide

Popular All In One Printer manuals by other brands

Konica Minolta bizhub 250 Product guide

Konica Minolta

Konica Minolta bizhub 250 Product guide

Xerox ColorQube 9303 user guide

Xerox

Xerox ColorQube 9303 user guide

Xerox WorkCentre 3345 Quick use guide

Xerox

Xerox WorkCentre 3345 Quick use guide

Fuji Xerox DOCUPRINT C1190 FS user manual

Fuji Xerox

Fuji Xerox DOCUPRINT C1190 FS user manual

Muratec MFX-2590 Administrator's guide

Muratec

Muratec MFX-2590 Administrator's guide

Brother MFC-J2330DW Quick setup guide

Brother

Brother MFC-J2330DW Quick setup guide

Epson WorkForce Pro ST-C5000 user guide

Epson

Epson WorkForce Pro ST-C5000 user guide

Toshiba e-studio 901 Operator's manual

Toshiba

Toshiba e-studio 901 Operator's manual

Canon PIXMA MX452 Setup guide

Canon

Canon PIXMA MX452 Setup guide

Canon imageCLASS MF5630 Quick reference guide

Canon

Canon imageCLASS MF5630 Quick reference guide

Ricoh Aficio MP 171 Specifications

Ricoh

Ricoh Aficio MP 171 Specifications

Brother MFC-9340CDW user guide

Brother

Brother MFC-9340CDW user guide

Lexmark X544DN user guide

Lexmark

Lexmark X544DN user guide

Brother DCP-J140W Advanced user's guide

Brother

Brother DCP-J140W Advanced user's guide

Lexmark W850n manual

Lexmark

Lexmark W850n manual

Samsung SCX-340x Series Service manual

Samsung

Samsung SCX-340x Series Service manual

Triumph Adler DC 2230 Instruction handbook

Triumph Adler

Triumph Adler DC 2230 Instruction handbook

Canon Pixma MG7100 Series Online manual

Canon

Canon Pixma MG7100 Series Online manual

manuals.online logo
manuals.online logoBrands
  • About & Mission
  • Contact us
  • Privacy Policy
  • Terms and Conditions

Copyright 2025 Manuals.Online. All Rights Reserved.