manuals.online logo
Brands
  1. Home
  2. •
  3. Brands
  4. •
  5. Oklahoma Sound
  6. •
  7. Indoor Furnishing
  8. •
  9. Oklahoma Sound 22 User manual

Oklahoma Sound 22 User manual

OKLAHOMA SOUND CORPORATION
Table Top Lectern
ASSEMBLY MANUAL
MODEL #22
OPTIONAL EQUIPMENT
Additional Units (sold separately)
For these and other OSC accessories, please contact your dealer, or:
OKLAHOMA SOUND CORP.
149 Entin Road, Clifton, NJ 07014
Tel 973-594-9000 • Fax 973-594-9339
www.oklahomasound.com • e-mail: info@oklahomasound.com
LECTERN B ASE-A V C AR T / #112
Converts your TABLE TOP Lectern to
a FULL FLOOR Lectern or use as an
AV cart for your presentation equip-
ment.Includes shelf and four easy
roll castors, with two locking.
Dimensions: 211⁄8" W x 333⁄4"Hx171⁄2" D
BRASS READING LAMP / #BRL
Attach an elegant brushed brass read-
ing lamp to the reading table of your
new Speaker Stand.Not only will you
shed light on the subject,but you will
add pizzaz to your new stand.
Available Color Options
Medium Oak • Light Oak • Mahogany • Walnut
FULL FLOOR LECTERN / #222
Attractive and durable lectern made
of 5/8" stain and scratch resistant
thermofused melamine laminate on
MDF. Full sized reading surface, shelf
and paper/book stop built in.Floor
glides provided.
Dimensions: 23" W x 461⁄2" H x 16" D
OPTIONAL EQUIPMENT
Additional Units (sold separately)
LECTERN BASE-AV CART / #112
Converts your TABLE TOP Lectern to a
FULL FLOOR Lectern or use as an AV
cart for your presentation equipment.
Includes shelf and four easy roll casters,
with two locking.
Available Color Options
Medium Oak • Light Oak • Mahogany • Walnut
BRASS READING LAMP / #BRL
Attach an elegant brushed brass reading lamp
to the reading table of your new Speaker Stand.
Not only will you shed light on the subject, but
you will add pizzaz to your new stand.
FULL FLOOR LECTERN / #222
Attractive and durable lectern made
stain and scratch resistant thermofused
malamine laminate onMDF. Full sized
reading surface, shelf and paper/book
stop built in. Floor glides provided.
Dimensions: 23" W x 46½" Hx16"D
ASSEMBLY MANUAL
Table Top Lectern
MODEL #22
INTRODUCTION
The model #22 is a versatile and portable table top
with the optional base sold separately). ¾" stain and
scratch resistance thermofused melamine laminate
TABLE TOP LECTERN: Model 22
5) Once again go over all the cams and check to make
sure the lectern is sturdy.
Congratulations! You have successfully assembled your
lectern, which if properly cared for should give you long
and satisfactory usage (Diagram F).
Diagram "F"
2 7
ASSEMBLY INSTRUCTIONS
Assembly Tips
• Do not use a sharp instrument such as a knife or screwdriver to
open the packaging, as this may scratch or damage the unit
• All assembly should be done on a clean protected surface
such as carpet or the like.
• Make sure that you have all the required parts. (A list of all
the parts is listed below.)
• Read the instructions carefully and follow the diagrams to
ensure an easy and correct assembly.
Tools Required
#2 Phillips Head Screwdriver
Hammer
Parts
12 Cams...............
12 Cam Bolts ..............................
4 Platic Glides.........
1 Front Panel
1 Right Panel
1 Left Panel
1 Bottom (Shelf Panel)
Reading Surface
which is already installed)
Example of Cam Lock Assembly
3) Now connect the left side Panel C to the semi assembled unit.
Be sure to align the cam bolts to the holes on both the front
panel and the bottom panel. Then once agian tighten cams as
in step 1 (Diagram D)
Diagram "E"
4) Stand the lectern up. Taking Panel D the reading surface
of the lectern with the 4 installed cam-bolts facing down
(the book stopper will be facing up), align bolts with
holes on the top edges. Once they are in place apply
all of the top edges, then tighten cams (Diagram E).
TABLE TOP LECTERN: Model 22
Diagram "D"
63
TABLE TOP LECTERN: Model 22
INSTALLATION OF HARDWARE
1) Lay out the wood panels as shown in Diagram A (make
sure the factory drilled holes are facing upwards) You
can determine the top of the front panel by identifying
the edge cut on an angle.
2) Identify the holes numbered "1" in Diagram A. Screw
the bolts into the inserts with the #2 Phillips head
screwdriver. Be sure to tighten the screws all the way.
BE CAREFUL NOT TO OVER-TIGHTEN THE BOLTS AS THIS
WILL FORCE THE INSERTS TO STRIP THE WOOD!
3) The cams should be inserted in the larger holes as
shown on diagram. MAKE SURE THE ARROW ON THE
CAM IS POINTING TO THE CLOSEST EDGE AND ALIGNED
WITH THE HOLE ON THE EDGE.
4) Using a hammer gently tap plastic glides into bottom
edge as shown below (Diagram A). GLIDES SHOULD BE
INSTALLED NO FURTHER THAN ONE INCH FROM END.
A
B
C
E
D
Diagram "A"
Angle Cut Edge
ASSEMBLY OF LECTERN
It is important that the instructions on the assembly are
followed carefully
the front Panel B. Align the holes on the front panel
edges with the two cam bolts on the side Panel A.
Tighten the cams by turning clock-wise until locked
(Diagram B)
2) The next piece to be assembled will be the bottom
Panel E. Make sure the cams face the bottom of the
lectern. The two bolts on Panel A will align with the two
holes on the edge of the bottom Panel E (these holes
reach until the cams). Gently push the panel down on
to the cam bolts until the panel is completely on the
right side panel. Tighten Cams
(Diagram C)
Notice there will be a gap of between ¾" and 1" between
the bottom panel and the front panel this is needed for
the optional model #112 see back page.
Diagram "B"
Diagram "C"
4 5

Other Oklahoma Sound Indoor Furnishing manuals

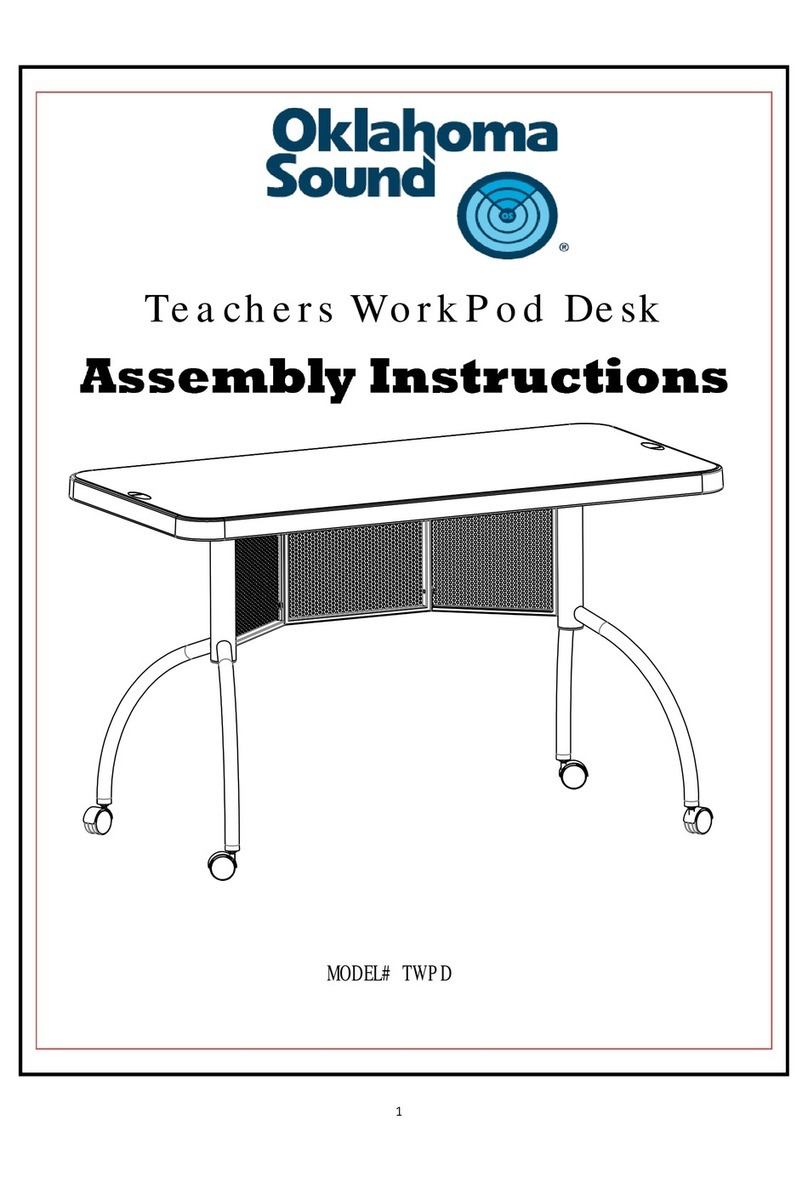
Oklahoma Sound Teachers WorkPod Desk TWPD User manual

Oklahoma Sound

Oklahoma Sound Teachers WorkPod Desk TWPD User manual

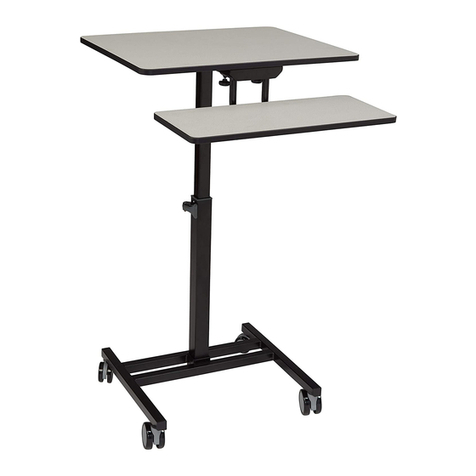
Oklahoma Sound EduTouch EDTC User manual

Oklahoma Sound

Oklahoma Sound EduTouch EDTC User manual

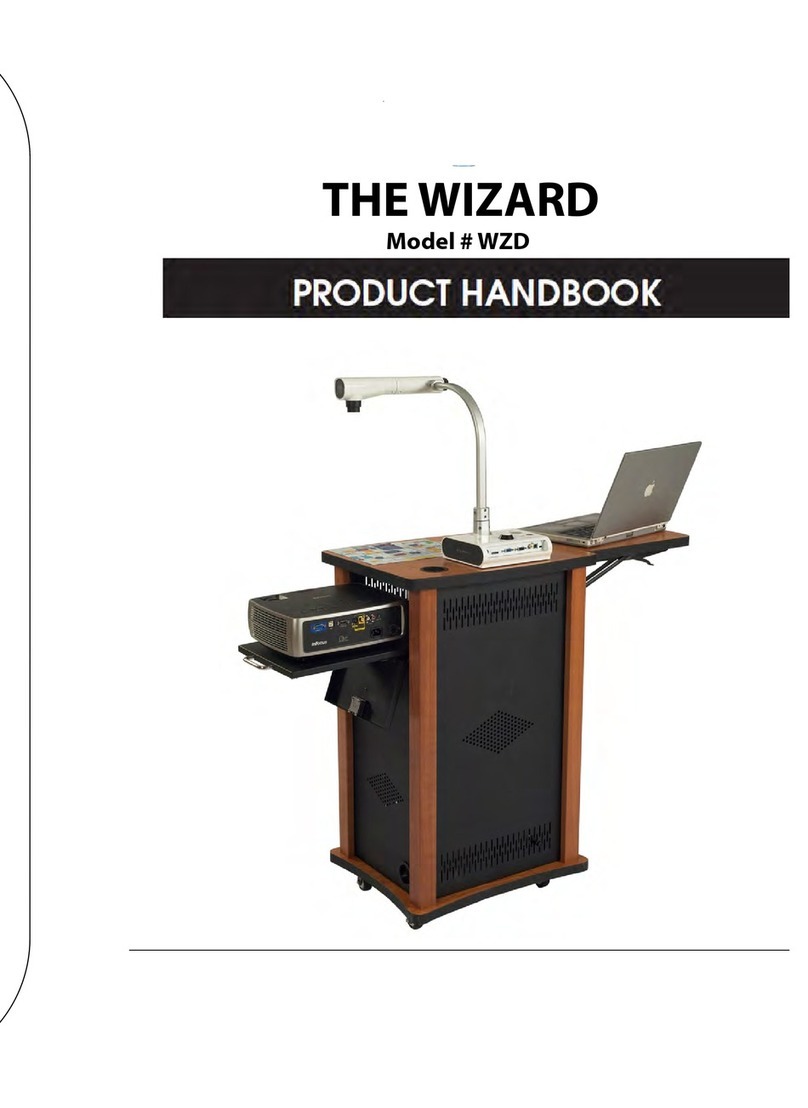
Oklahoma Sound WZD User manual

Oklahoma Sound

Oklahoma Sound WZD User manual

Oklahoma Sound TWPL User manual

Oklahoma Sound

Oklahoma Sound TWPL User manual

Oklahoma Sound The Vision 611 User manual

Oklahoma Sound

Oklahoma Sound The Vision 611 User manual

Popular Indoor Furnishing manuals by other brands

VERTBAUDET 70501-1152 manual

VERTBAUDET

VERTBAUDET 70501-1152 manual

LDI Spaces Safco Vue 3394 Assembly instructions

LDI Spaces

LDI Spaces Safco Vue 3394 Assembly instructions

OVE PAOLA Assembly instructions

OVE

OVE PAOLA Assembly instructions

Target windham WNMEDIASBK Assembly instructions

Target

Target windham WNMEDIASBK Assembly instructions

Autonomous ErgoChair Assembly and instruction manual

Autonomous

Autonomous ErgoChair Assembly and instruction manual

Costway OP70829 user manual

Costway

Costway OP70829 user manual

Rauch 72843.054 Assembly instructions

Rauch

Rauch 72843.054 Assembly instructions

Wren Kitchens FRONTALS INFINITY PLUS quick start guide

Wren Kitchens

Wren Kitchens FRONTALS INFINITY PLUS quick start guide

Garden Trading Luccombe Sofa Set Assembly instructions

Garden Trading

Garden Trading Luccombe Sofa Set Assembly instructions

Compac Furniture CUBO CUB-CU128-FP Assembly instruction

Compac Furniture

Compac Furniture CUBO CUB-CU128-FP Assembly instruction

Whittier Wood Furniture McKenzie 1372GACI Assembly instructions

Whittier Wood Furniture

Whittier Wood Furniture McKenzie 1372GACI Assembly instructions

Thomasville CUSFUQB-1UBL-E manual

Thomasville

Thomasville CUSFUQB-1UBL-E manual

Ilva PERK 1069761 Assembly instruction

Ilva

Ilva PERK 1069761 Assembly instruction

Atlantic Furniture FOUR TIER BOOK SHELF Assembly instructions

Atlantic Furniture

Atlantic Furniture FOUR TIER BOOK SHELF Assembly instructions

Costway CB10235 manual

Costway

Costway CB10235 manual

Otto 459277 Assembly instructions

Otto

Otto 459277 Assembly instructions

Homestead 89-386-917 manual

Homestead

Homestead 89-386-917 manual

Barcelona Moveis Home MONACO NEW BC-6153 Assembly instructions

Barcelona Moveis

Barcelona Moveis Home MONACO NEW BC-6153 Assembly instructions

manuals.online logo
manuals.online logoBrands
  • About & Mission
  • Contact us
  • Privacy Policy
  • Terms and Conditions

Copyright 2025 Manuals.Online. All Rights Reserved.