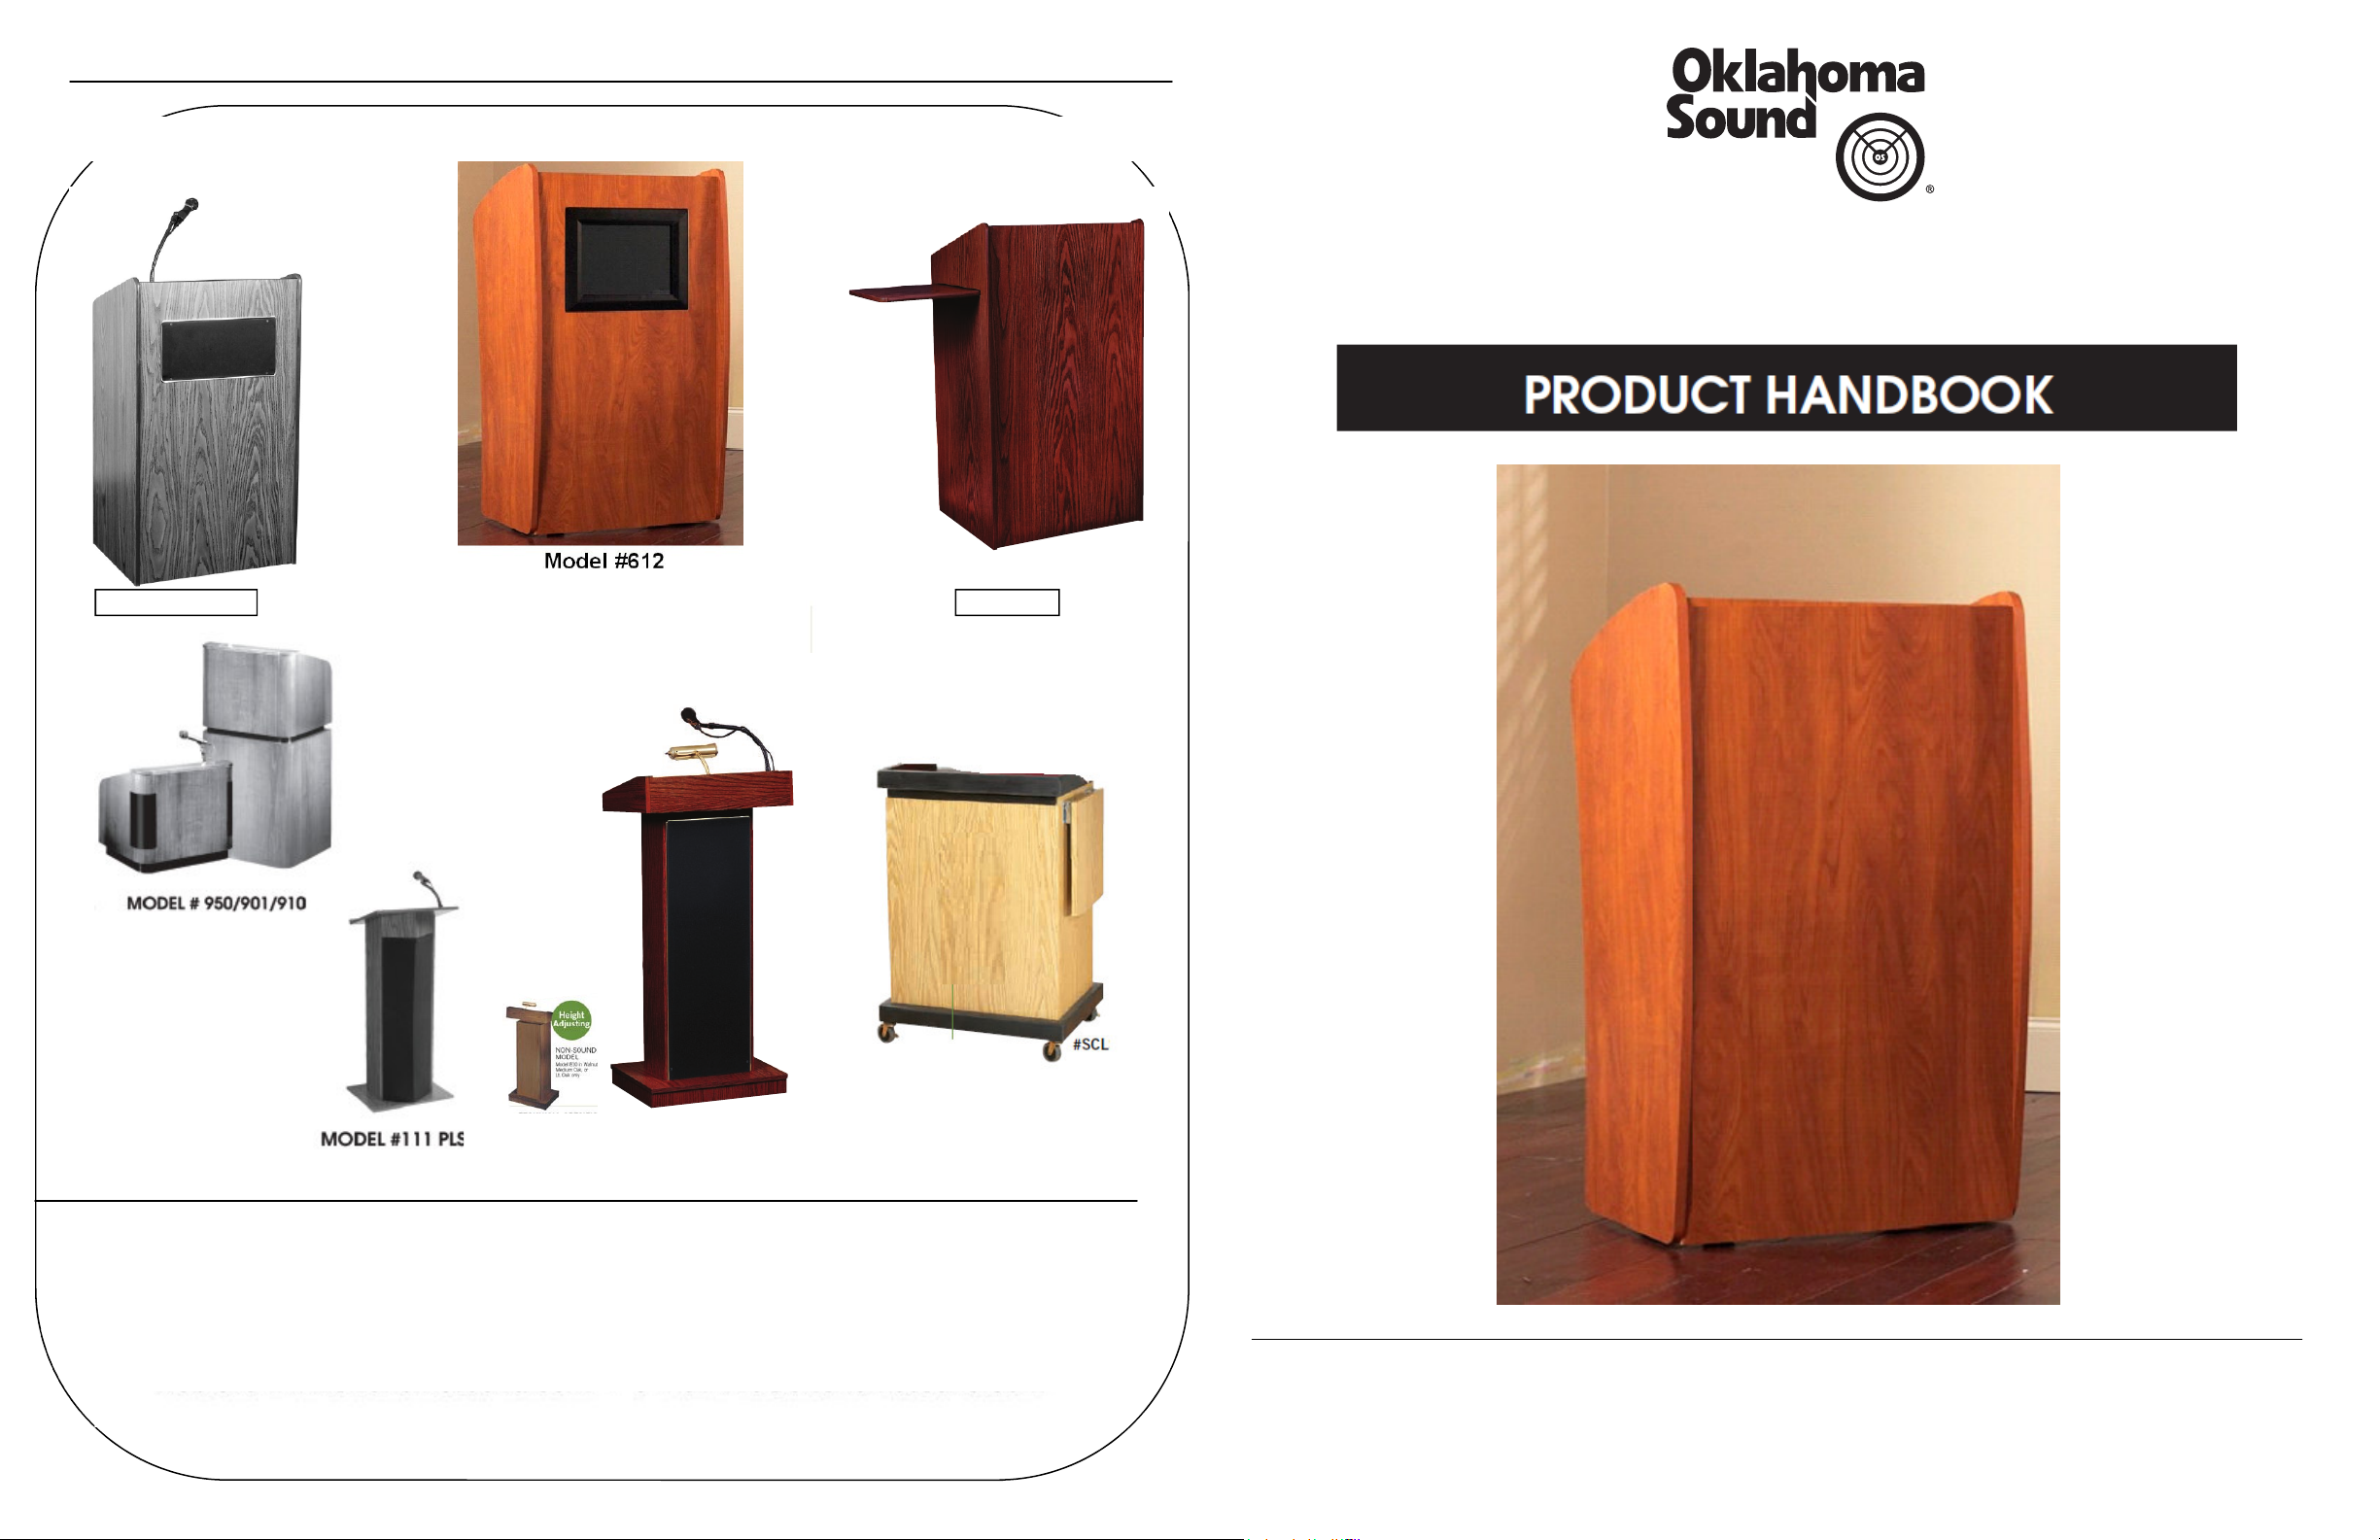
Oklahoma Sound
INTRODUCTION
Congratulations!!! On your purchase of the Model #SK Sound Kit. This kit
will easily transform your lectern into a sound unit, allowing your presenta-
tion to be amplified and heard by everyone in the audience. The kit is easy
to install in a matter of minutes and can be removed
2
Kit includes:
1 Series 100 amplifier.
2 Speakers.
1 Handheld microphone.
1 Tie clip microphone.
1 Goose neck with base and microphone holder.
2 Velcro strips for speaker.
1 Velcro strip for amplifier.
4 Small screws to secure amplifier.
1 Easy connect wire.
IMPORTANT SAFTEY INFORMATION
As with any electric/electronic device, care should be taken during use.
ALWAYS turn off the amplifier before opening or servicing any part of
the unit. Please handle your lectern with the care it deserves.
Manufactures Warranty
Our lecterns undergo the most rigid and exacting test for superior quality and performance before leaving our factory.
Oklahoma Sound warrants this product to be free from defective material and workmanship on this unit for five years
from the date of resale by an authorized Oklahoma Sound distributor. Oklahoma Sound will replace defective parts and
repair malfunctioning products under this warranty when the defect occurs under normal installation and use, provided
that the unit is returned to our factory via prepaid transportation after direct authorization and approval form Oklahoma
Sound. This warranty provides that examination of the returned product must disclose in our judgment a manufacturing
defect. This warranty does not extend to any product which has been subject to misuse, neglect, accident, improper in-
stallation or where the serial number has been removed if defective and is given in lieu of any other warranty implied or
expressed and will not cover any damage.
Also available from Oklahoma Sound
Model SK-B
Model SK-B is a bracket system that will mount the speakers to the lectern
providing the option of having the speakers swivel to your desired angle.
Note: The brackets will have to be screwed to the side panels of the lectern.
Oklahoma Sound
3
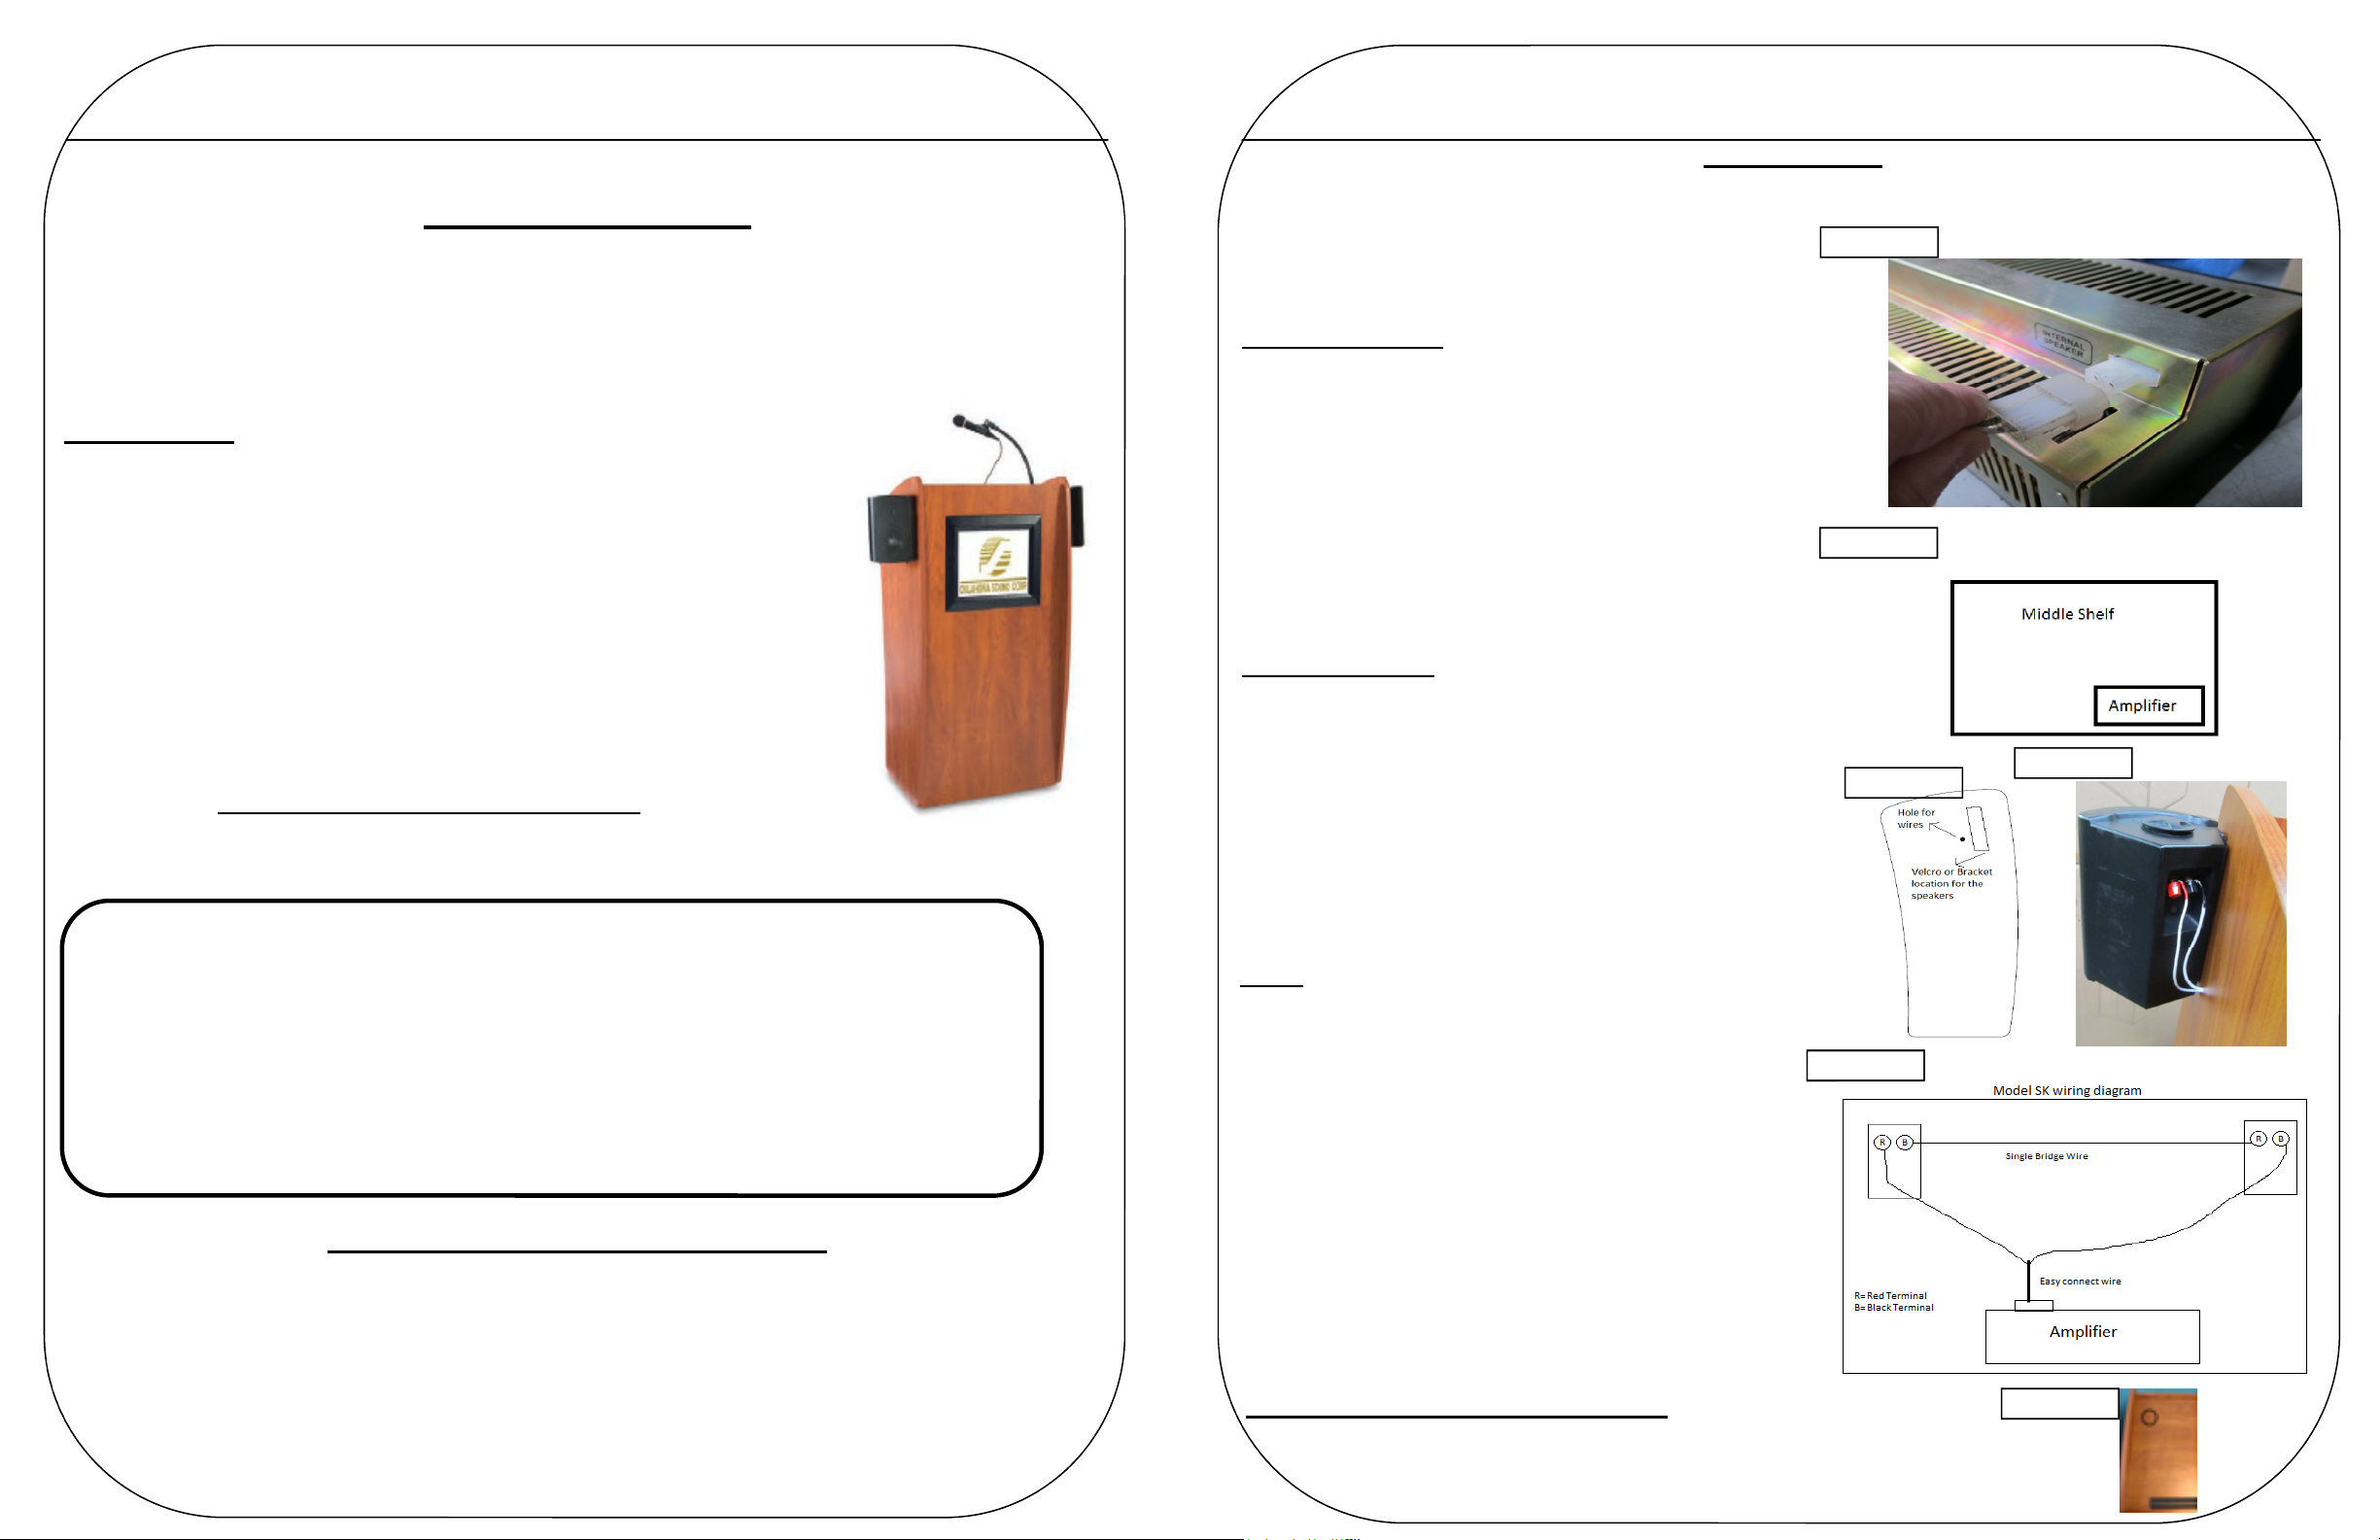
Speaker Assembly:
Diagram 1
1. Begin by locating the 2 small caps on both sides of
the side panels. Gently pull them out by using a flat
screwdriver or similar tool. USE CAUTION to avoid
scratching the panels.
Amplifier Installation
1. Remove amplifier from carton and place on a flat sur-
face. Attach the easy connect wiring to the back of
the amplifier. See Diagram 1. Once attached be sure
that the double wire is split into two to enable attach-
ment to both right & left speakers.
2. Once the plug is fastened to the back of the amp, se-
cure the amplifier to the middle shelf. (See Diagram
2 for recommended location.) The amplifier can be
attached by either using the self adhesive Velcro strip
or by screwing to the shelf. To screw the amplifier to
the shelf insert the four provided screws through the
two holes on both sides of the amplifier chassis and
tightly screw in using a power tool.
Speaker installation
1.
1.1.
1. Remove both sets of Velcro strips from the carton.
2.
2.2.
2. Each set of Velcro Strips is made up of two parts.
One side is to adhered to the lectern and the other to
the speaker.
3.
3.3.
3. Remove the plastic from the back of the side that you
intent to adhere to the lectern and firmly stick to side
panel See diagram 3 for correct Velcro location.
4.
4.4.
4. Carefully remove speakers from carton. Continue by
removing the plastic backing from the back of the
Velcro and firmly stick it to the side of the speaker.
5.
5.5.
5. Once both sides of Velcro strips are in place, firmly
join the speaker to the lectern.
Wiring
1.
1.1.
1. Begin by taking both sides of the easy-connect wire,
which is now connected to the back of the amplifier,
and feed each of the wires through the holes on each
of the side panels.
2.
2.2.
2. Once the two ends have been properly fed through
the panels, secure the wires to the terminals located
at the back of the speakers. To properly secure wires
to terminal, loosen plastic caps to expose terminal
hole and insert wire. Once inserted, tighten plastic
caps. IMPORTANT: One end of the wire should be
attached to the BLACK terminal on the right speaker
and the other wire should be attached to the RED
terminal on the left speaker. (See diagram 5).
3. Proceed by feeding the single bridge wire through the
holes on each of the side panels. Connect the wire to
the RED terminal on the right speaker and to the
Black terminal on the left speaker .
Diagram 2
IMPORTANT: Do not install Sound Kit until your lectern is fully assembled.
Diagram 4
Diagram 5
Diagram 3
Goose neck Microphone Holder Installation
1. Predrill 3 holes in recommended location on lectern surface, by using the
microphone holder base as guide. (See Diagram 6 for recommended location.)
2. Secure microphone holder to lectern surface by fastening the 3 provided screws.
Diagram 6