Table of Contents
Important Information
Important Safety Precautions
Introducing the OLEVIA TV
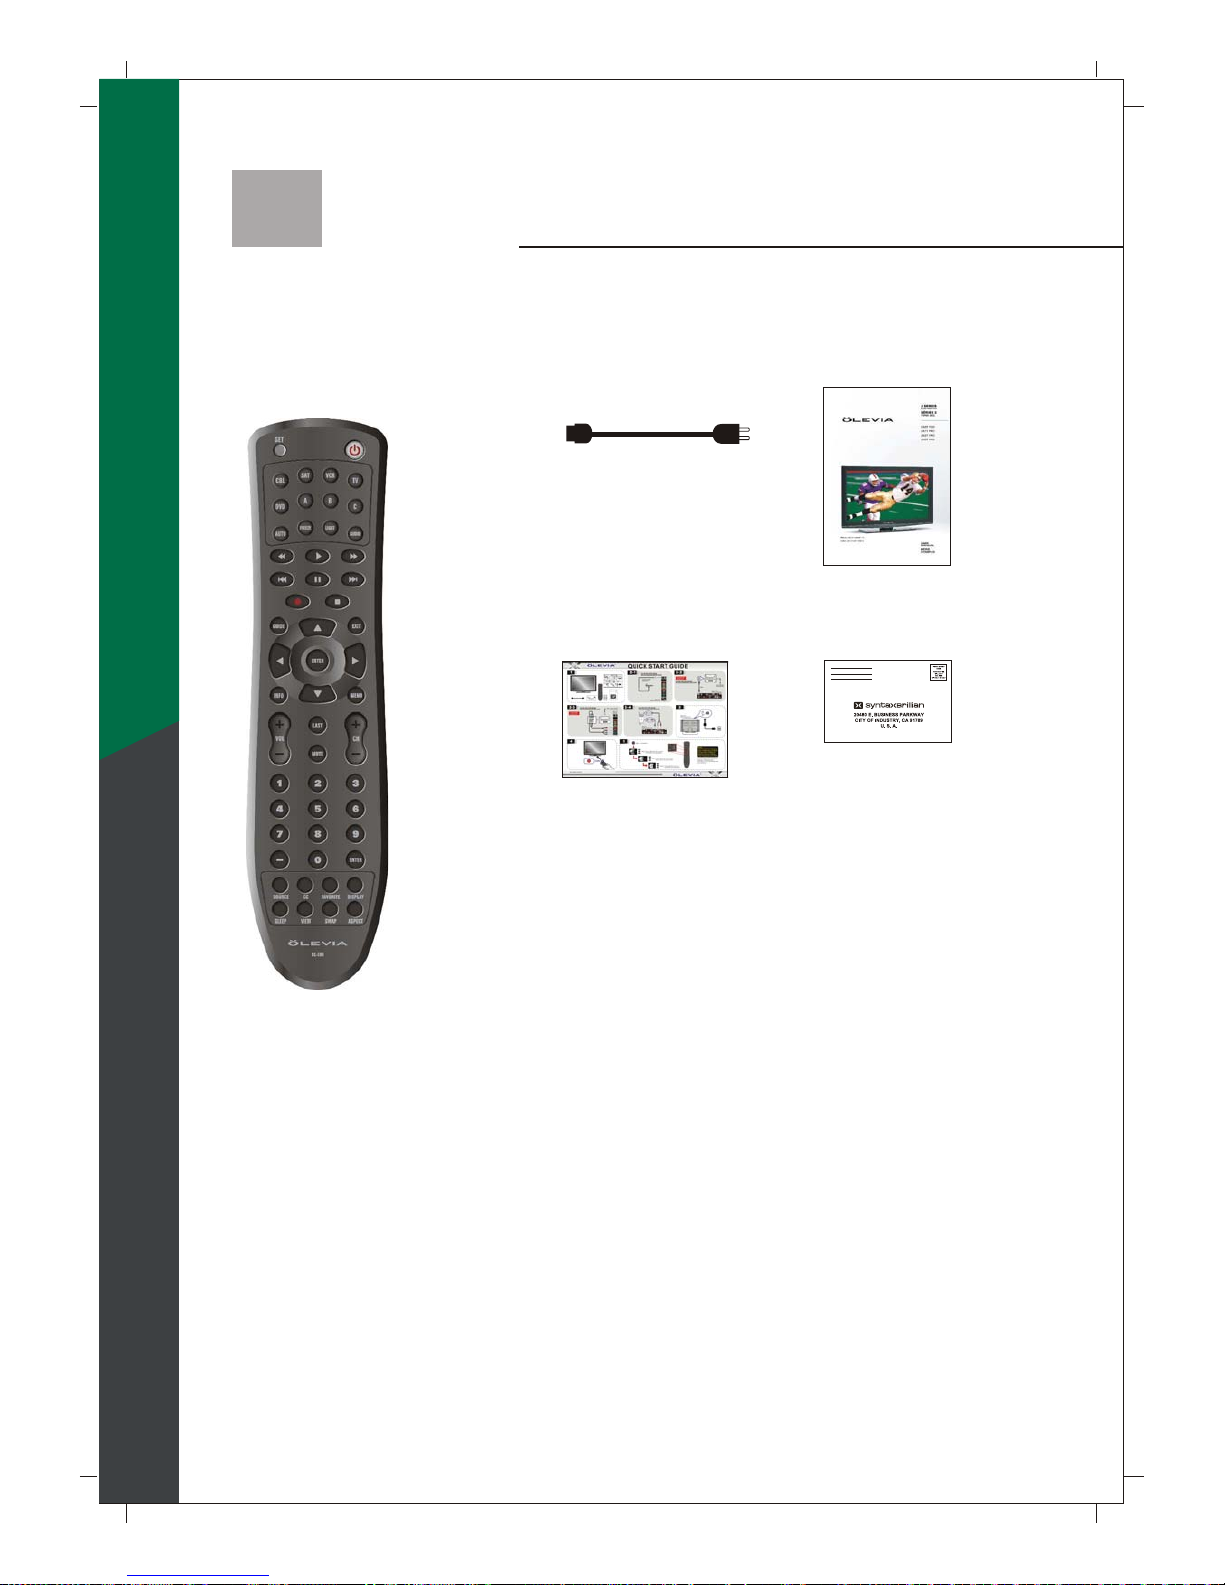
Accessories
TV Installation And Connection Guide
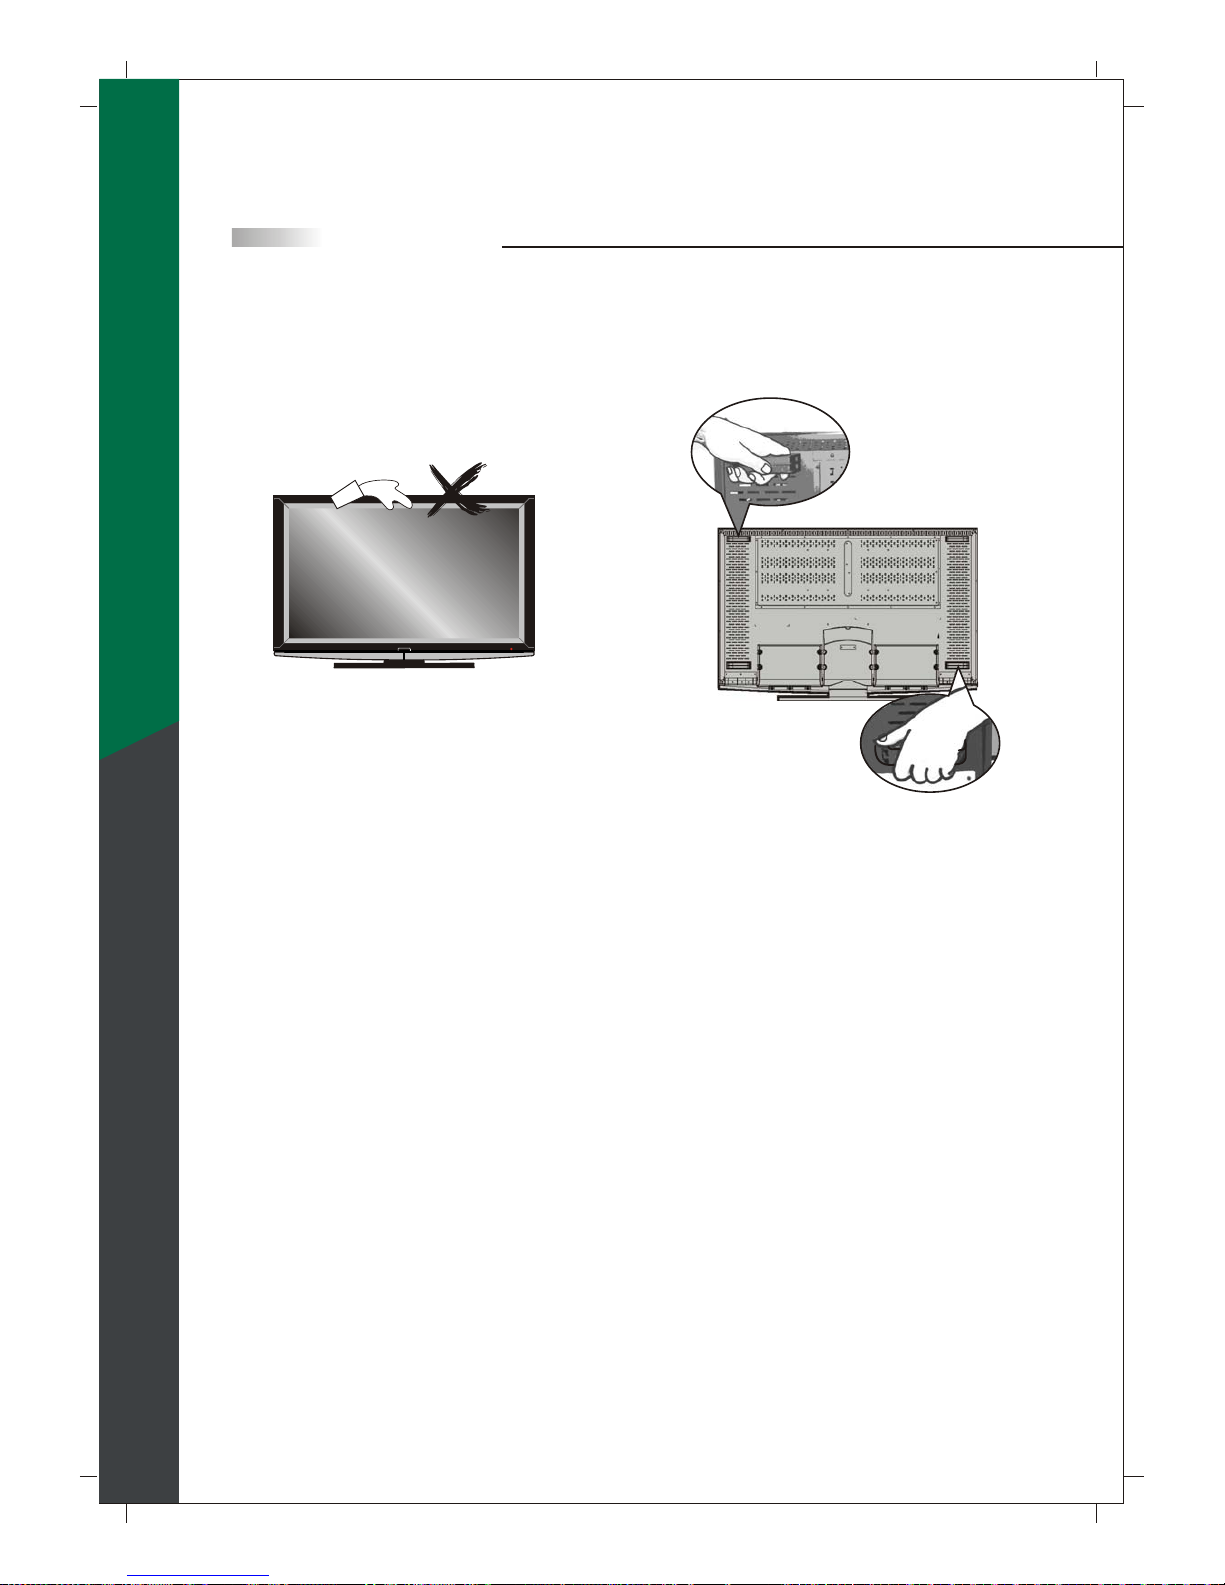
Identifying Front Controls and Rear Panels
- Descriptions of Connector Types
- Turn the power on the TV
Installation
- Connecting to an Antenna or Video Equipment with Antenna Outlet
- Connecting to a Set-Top-Box with HDMI Cables
- Connecting to a Satellite Receiver or Cable Box with Component Connectors
- Connecting to a DVD Player with A/V or S Video Cables
- Connecting to a DVD Player with Component Cables
- Connecting to a DVD Player with HDMI Cables
- Connecting to a Satellite Receiver or Cable Box with A/V Cables
- Connecting to a VCR, PVR, or DV with A/V Cables
- Connecting to a Blue-Ray DVD Player or HD-Receiver with HDMI Cables and a
PC with VGA Cables
- Connecting to a D-VHS with HDMI Cables
- Connecting to a D-VHS with Component Cables
- Connecting to an Audio Receiver
- Connecting to a Home Theater System or Earphone Set
- Instruction for Uploading New Firmware
Remote Control Guide
Remote Function Keys & Description
Programming the Remote Control
Battery Installation
On Screen Display (OSD)
Introduction
Operating in the OSD
Initial Screen
PICTURE OSD Adjusting TV Picture Settings
- Description of Settings
- Selecting the Picture Mode
- Adjusting the Picture Quality
AUDIO OSD Adjusting Sound Quality
- Description of Settings
- Adjusting the Audio Settings
- MTS System for Stereo TV
SCREEN OSD Adjusting Screen Modes
- Description of Settings
- Changing the Screen Mode
- Selecting the Picture/Video Source
SETUP OSD Adjusting Personal TV Settings
- Description of Settings
- Searching the TV Channels
- Editing Channels
- Closed Caption Options
- Setting up Parental Control Password
- Activating the Parental Control Feature
- Resetting the Password
- Setting the Date and Time
- Setting the TV Timer
- Timeout Settings for OSD Menu
- TV OSD Languages
- Setting DPMS
- Setting LED Light
- Factory Default Option
- Displaying the Firmware Version
Specifications
Timing Mode for VGA and HDMI(PC)
Pixels Policy
Glossary
1
2
5
7
27
28
29
30
30
30
31
32
32
33
35
37
37
37
38
39
39
39
43
44
44
45
46
50
51
51
57
58
59
59
60
60
60
60
60
61
63
64
65
8
10
11
12
13
14
15
16
17
18
19
20
21
22
23
24
25
26
English