manuals.online logo
Brands
  1. Home
  2. •
  3. Brands
  4. •
  5. OLT
  6. •
  7. Garden House
  8. •
  9. OLT GardenSaver GS84-D User manual

OLT GardenSaver GS84-D User manual

Outdoor Living Today www.outdoorlivingtoday.com sales@outdoorlivingtoday.com
Page 1
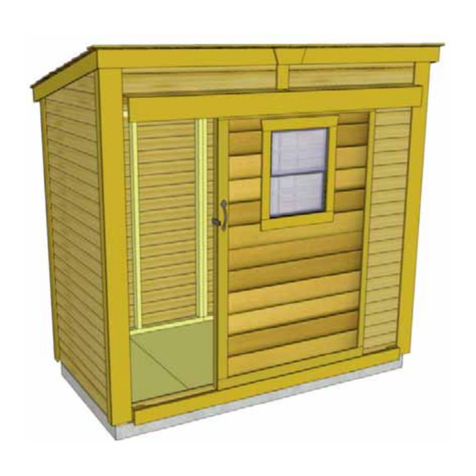
8x4 GardenSaver Garden Shed
with Double Door
Assembly Manual
Revision #1.5
January 11, 2022
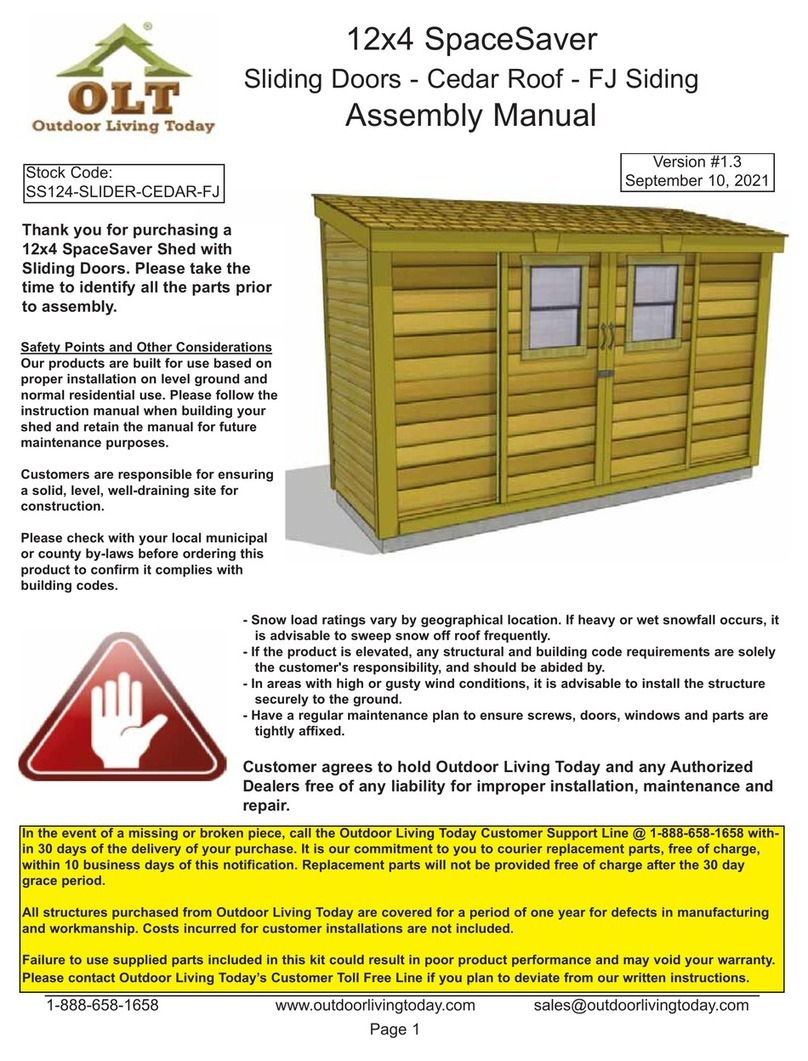
Thank you for purchasing
an 8x4 GardenSaver Garden
Shed with Double Doors
Please take the time
to identify all the parts prior
to assembly.
Please be aware that it is the
customers’ sole responsibility
to acquire the necessary
building permits and or obtain
approval from their local
county, municipality or HOA
prior to purchasing. Generally,
shed structures under 100
square feet do not require
permits in most jurisdictions
in the United States and
Canada.
Stock Code #
GS84-D
In the event of a missing or broken piece, call the Outdoor Living Today Customer Support Line @ 1-888-658-1658 with-
in 30 days of the delivery of your purchase. It is our commitment to you to courier replacement parts, free of charge,
within 10 business days of this notification. Replacement parts will not be provided free of charge after the 30 day
grace period.
All structures purchased from Outdoor Living Today are covered for a period of one year for defects in manufacturing
and workmanship. Costs incurred for customer installations are not included.
Failure to use supplied parts included in this kit could result in poor product performance and may void your warranty.
Please contact Outdoor Living Today’s Customer Toll Free Line if you plan to deviate from our written instructions.
- Snow load ratings vary by geographical location. If heavy or wet snowfall occurs, it
is advisable to sweep snow off roof frequently.
- If the product is elevated, any structural and building code requirements are solely
the customer's responsibility, and should be abided by.
- In areas with high or gusty wind conditions, it is advisable to install the structure
securely to the ground.
- Have a regular maintenance plan to ensure screws, doors, windows and parts are
tightly affixed.
Customer agrees to hold Outdoor Living Today and any Authorized
Dealers free of any liability for improper installation, maintenance and
repair.
What to do before my Shed arrives?
Become familiar with this assembly manual and determine if you can•
complete the project yourself or will require a professional contractor.
Clear the construcon area and ensure a clear pathway for delivery when•
the freight company arrives. Remove all debris: roots, grass, rocks, etc.
Excavate the site. Contact your local ulies company to ensure there are•
no gas or electric lines buried in the area before digging.
Decide on the type of foundaon you will be using:•
 Concrete slab, or
 46 inches of crushed gravel with paver stones or 4x4 stringers.
You can find the footprint for your shed on Page 3 of your Assembly Manual.
If doing the assembly yourself, have all the necessary tools ready to go and•
in working condion. A list of required tools can be found aer the parts list.
One helper is recommended to assist in construcng your shed.•
It generally takes two people two days to assemble a shed. If you’re hiring
a contractor, their rate should be in line with that duraon of work.
Toll Free 1-888-658-1658 www.outdoorlivingtoday.com sales@outdoorlivingtoday.com
Page 2
Foundation Types for 8x4 Garden Shed
Concrete Slab Foundation:
- Slab must be at least the same size as assembled floor frame (45 1/2” x 96”) or larger.
- 6” Deep foundation.
- 0.6 Cubic Yards of concrete required.
- A concrete slab will have the longest durability out of your foundation options.
Once level, a concrete slab is the easiest surface to build on.
Gravel with 4x4 Pressure Treated Stringers:
- Excavate at least 6” deep, and 6” wider than floor frame on each side.
- 1.0 Cubic Yards of gravel required, approximately 9 wheelbarrows.
- 3 - 4x4 Pressure Treated Stringers 8’ long required.
- Evenly spaced, with one at each end of floor frame.
Saves money on materials, easy to level and work with.
Gravel with Patio Paver Stones:
- Excavate at least 6” deep, and 6” wider than floor frame on each side.
- 1.0 Cubic Yards of gravel required, approximately 9 wheelbarrows.
- 15 patio pavers (8” x 8” or larger).
- Center patio paver stones underneath floor runners and underneath seams in floor joists.
Patio paver stones are widely available from most landscape stores.
45 1/2”
96”
45 1/2”
96”
6” Deep
67 1/2”
108”
3 - 4”x4”x96”
15 Patio Stones
Floor FrameConcrete Foundation Completed Foundation
17 1/2”
Gravel Foundation Gravel Foundation with treated stringers Completed Foundation
Gravel Foundation Gravel Foundation with Patio Pavers Completed Foundation
67 1/2”
108”
Toll Free 1-888-658-1658 www.outdoorlivingtoday.com sales@outdoorlivingtoday.com
Page 3
Thank you for purchasing our 8x4 GardenSaver Double Door Shed.
Please take the time to identify all the parts prior to assembly.
Parts List:
A. Floor Section
1 - 45 ½” x 75” - Large Floor Frame (2 Joists unattached)
1 - 45 ½” x 21” - Small Floor Frame (2 Joists ATTACHED)
2 - 1 ½” x 3 ½” x 71 3/4” - Floor Joists
(Steps 1 - 2)
5 - 1 ½” x 3 ½” x 45 ½” - Floor Runners
(Steps 3 - 5)
1 - 5/8” x 45 ½” x 75” - Plywood Flooring
1 - 5/8” x 45 ½” x 21” - Plywood Flooring
(Steps 6 - 8)
B. Wall Section
4 - 1 ½” x 2 ½” x 45 ½” - Wall Plates
4 - 45 ½” x 75” - Wall Panels
2 - 12” x 73” - Narrow Wall Panels
(Steps 9 - 18)
2 - 2” x 3 ½” x 6 ½” - Door Headers - Short (Dado on edge)
1 - 2” x 3 ½” x 78” - Door Header - Long
Dado cut on edge- Aluminum Support Strip Attached
2 - 1 ½” x 3 ½” x 73” - Door Jambs - Vertical
(Steps 19 - 21)
2 - Top Triangular Siding Pc for Angle Wall Extendors (L/R)
2 - 45 ¼” - Angle Wall Extendors (L/R)
2 - 9” x 45 ½” - Wall Extendors
(Steps 22 - 28)
1 - ¾” x 3 ½” x 70” - Horizontal Wall Cleat
1 - ¾” x 3 ½” x 21” - Horizontal Wall Cleat
(Step 29)
C. Rafter & Roof Section
6 - 1 ½” x 2 ½” x 54” - Rafters
2 - ½” x 3 ½” x 48” - Front Soffits
2 - ½” x 3 ½” x 48” - Rear Soffits
(Steps 31 - 36)
2 - Rafter/Facia Nailing Plates - ¾” x ¾” x 51”
(Step 37)
2 - Roof Panels - 51” w x 56” d (1 - Left 1- Right)
(Steps 38 - 40)
4 - 5 ½” Wide x 16” to 18” long - Filler Shingles
(Steps 41 - 44)
D. Miscellaneous Section
(Skirting, Trim, Door, Facia & Misc. Parts)
6 - ¾” x 4 ½” x 45 ¼” - Bottom Skirting (Bevel Siding)
(Steps 47 - 50)
8 - 7/8” x 2 ½” x 36” - Corner Filler Trims
2 - 7/8” x 2 ½” x 10” - Front Center Corner Filler Trims
(Steps 51 - 53)
2 - ½” x 3 ½” x 77 ½” - Vertical Door Trims
(Steps 54 - 55)
2 - ½” x 5 ½” x 79” - Rear Corner Trims
2 - ½” x 5 ½” x 88 ¾” - Front Corner Trims
2 - ½ x 2 ½” x 80” - Side Rear Corner Trims
1 - ½ x 2 ½” x 79” - Rear Middle Trim
2 - ½” x 2 ½” x 88 ¾” - Side Front Corner Trims
(Steps 56 - 59)
1 - ½” x 2 ½” x 88 ¼” - Horizontal Door Trim
1 - ½” x 2 ½” x 8 ⅝” - Front Middle Trim
(Step 60)
2 - 31 ½” x 72” - Full Doors
(Steps 61 - 65)
2 - ½” x 4” x 54 1/8” - Side Facia (Angle Cut Ends) - reverse
4 - ½” x 4” x 50 ½” - Front and Rear Facia
(Steps 66 - 68)
2 - ½” x 4 ½” x 51 5/8” - Roof Ridge Boards
(Step 69)
2 - Detail Facia Plates (4” high)
(Step 70)
2 - ½” x ½” x 28 7/8” - Upper Interior Door Trims
4 - ½” x ½” x 35 7/8” - Side Interior Door Trims
(Steps 71 - 72)
1 - 1 ½” x 2 ½” x 6” - Upper Door Stop
1 - ¾” x 2 ½” x 64” - Lower Door Stop /Floor Threshold
(Steps 73 - 74)
1 - ½ x 2 ½” x 70” - Interior Vertical Door Flange
(Steps 75 - 76)
1 - 45 ¼” - Extra Piece of Bevel Wall Siding - Use if wall panel
siding is damaged or to shim floor or door.
Note: All Trim, Facia and Bottom Skirting pieces will be positioned rough face out when installed.
Toll Free 1-888-658-1658 www.outdoorlivingtoday.com sales@outdoorlivingtoday.com
Page 4
8x4 GardenSaver DD HARDWARE PACKAGE
Door Handle x 2
Square Drive Bit
Hardware Kit (Provided)
Safety Glasses Work Gloves
Safety Equipment Required (Not Provided)
Ladder
Screw Gun/Drill Tape Measure
Hammer Wood Clamp
Level Pliers
Tools Required (Not Provided)
1/8” & 1/2” Drill Bits
Drop Latch
Utility Knife
2 1/2”
1 1/4”
3/4”
90° Metal
Bracket x 8
2”
Cane Bolt
1 1/2” Finishing Nail
168 Pcs.
115 Pcs.
24 Pcs.
38 Pcs.
245 Pcs.
Tee Hinge x 6
Black Headed
Black Headed
Toll Free 1-888-658-1658 www.outdoorlivingtoday.com sales@outdoorlivingtoday.com
Page 5

Other OLT Garden House manuals

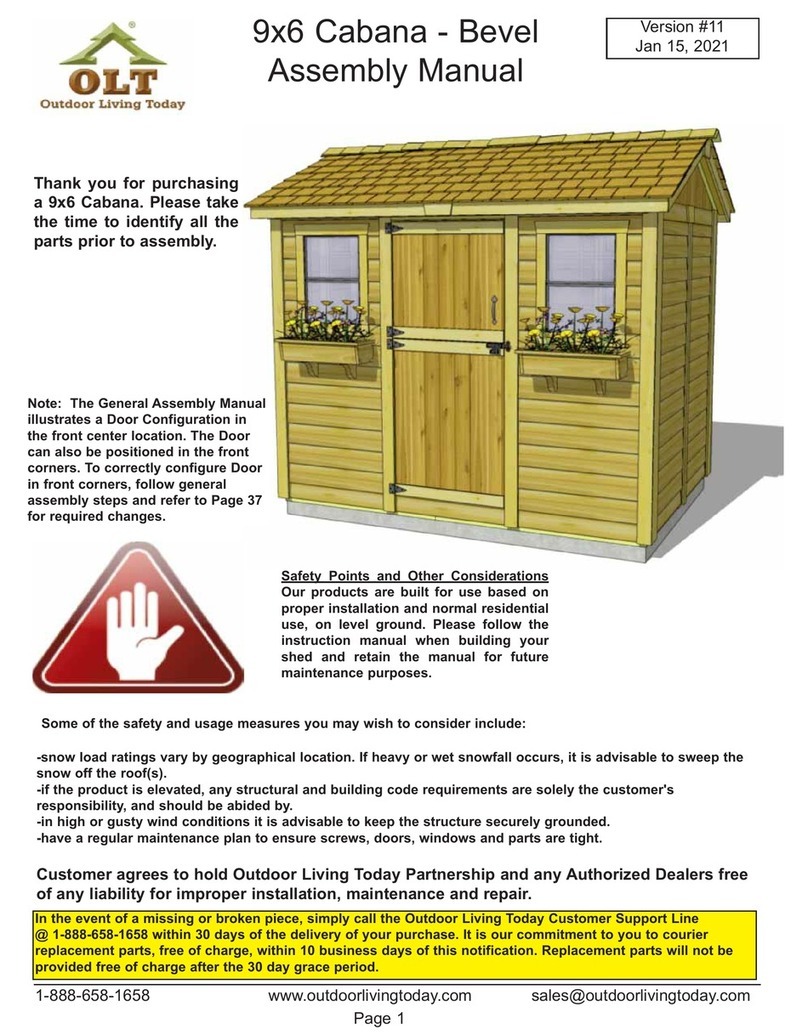
OLT CLA128-SLIDER-METAL-ES User manual

OLT

OLT CLA128-SLIDER-METAL-ES User manual

OLT SS84-SLIDER-Ply-AK User manual

OLT

OLT SS84-SLIDER-Ply-AK User manual

OLT SS84-SLIDER-METAL-AK User manual

OLT

OLT SS84-SLIDER-METAL-AK User manual

OLT SpaceSaver SS124-SLIDER-CEDAR-AK User manual

OLT

OLT SpaceSaver SS124-SLIDER-CEDAR-AK User manual

OLT GS84-SLIDER-METAL-FJ User manual

OLT

OLT GS84-SLIDER-METAL-FJ User manual

OLT SunShed SSGS1216-AK-Ply User manual
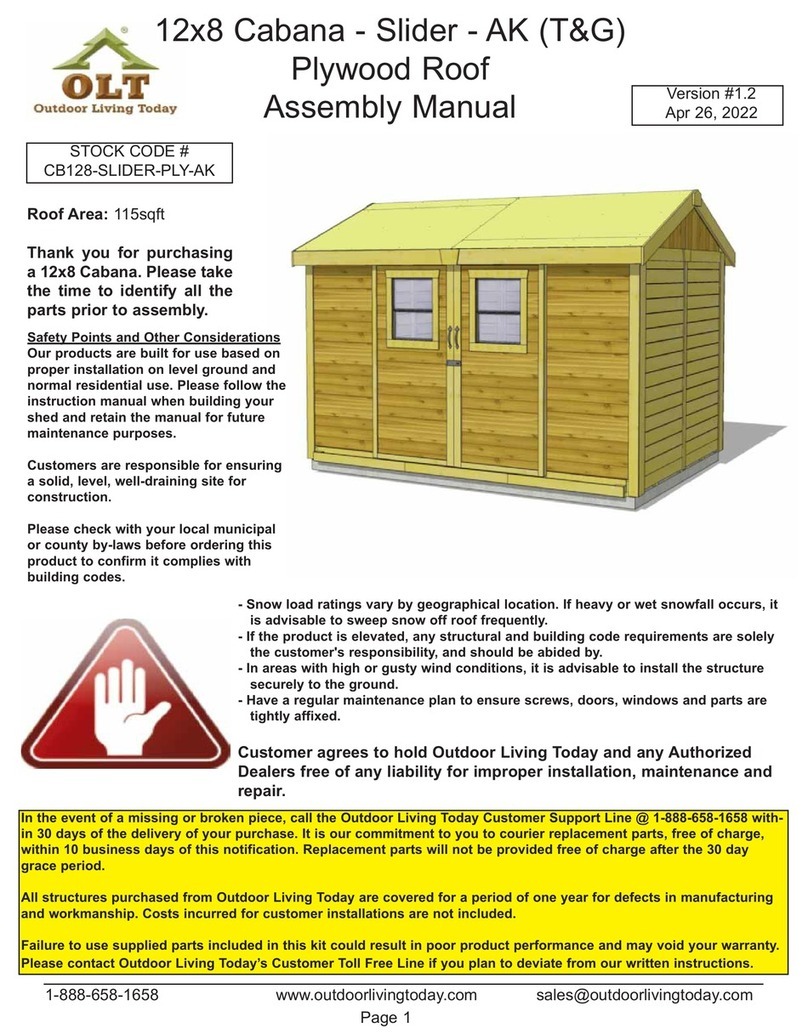
OLT

OLT SunShed SSGS1216-AK-Ply User manual

OLT GS84-D-FJ User manual

OLT

OLT GS84-D-FJ User manual

OLT 8x4 GardenSaver User manual

OLT

OLT 8x4 GardenSaver User manual
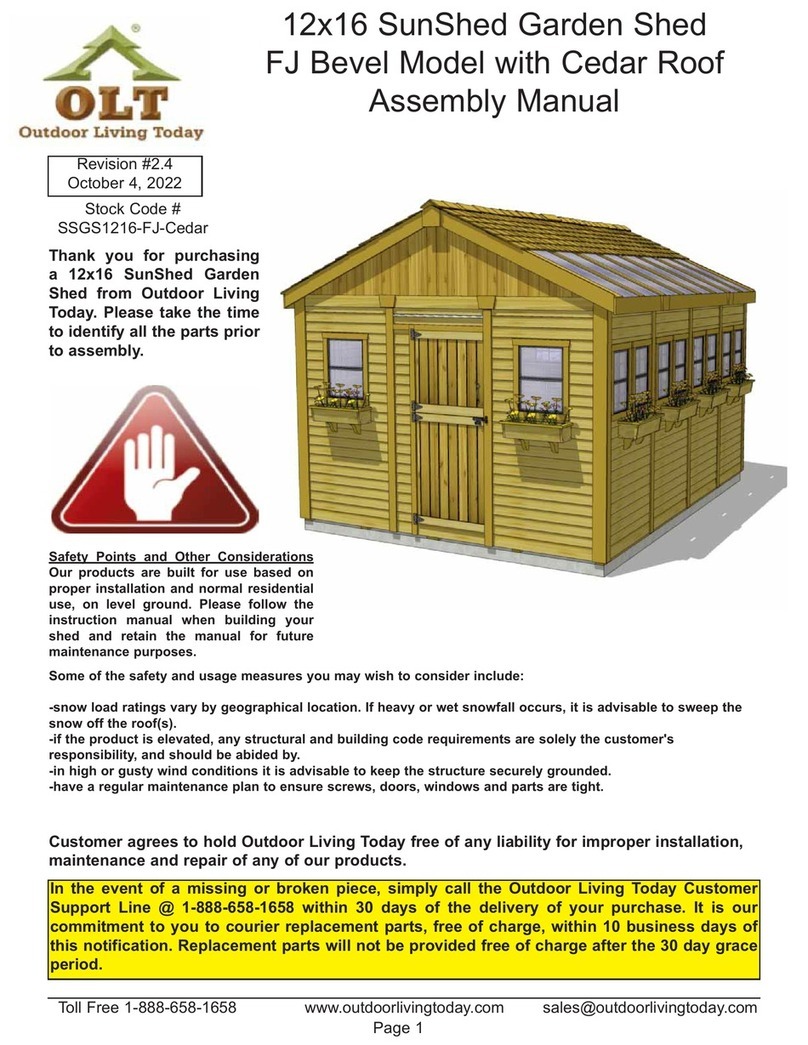
OLT Architectural Knotty with Cedar Roof User manual

OLT

OLT Architectural Knotty with Cedar Roof User manual

OLT GS84-SLIDER-PLY-FJ User manual

OLT

OLT GS84-SLIDER-PLY-FJ User manual

OLT PEN99 User manual

OLT

OLT PEN99 User manual

OLT SpaceSaver SS124-SLIDER-PLY-FJ User manual

OLT

OLT SpaceSaver SS124-SLIDER-PLY-FJ User manual

OLT GS84-SLIDER-CEDAR-AK User manual

OLT

OLT GS84-SLIDER-CEDAR-AK User manual

OLT SunShed SSGS1216-FJ-Metal User manual

OLT

OLT SunShed SSGS1216-FJ-Metal User manual

OLT T&G User manual

OLT

OLT T&G User manual

OLT FJ Bevel User manual

OLT

OLT FJ Bevel User manual
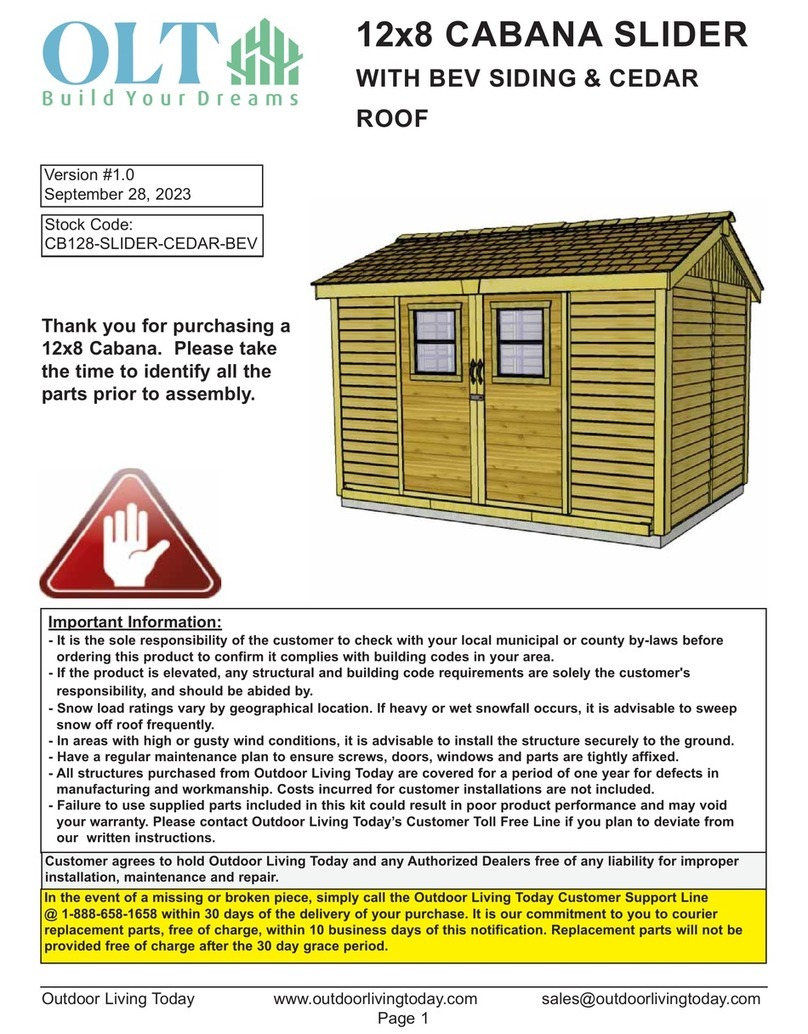
OLT SunShed Greenhouse 8x12 User manual

OLT

OLT SunShed Greenhouse 8x12 User manual

OLT 8x4 SpaceSaver Garden Shed Bevel Model with Plywood... User manual

OLT

OLT 8x4 SpaceSaver Garden Shed Bevel Model with Plywood... User manual

OLT FL Bevel User manual

OLT

OLT FL Bevel User manual

OLT GS84-SLIDER-METAL-AK User manual

OLT

OLT GS84-SLIDER-METAL-AK User manual

OLT 12x12 SpaceMaker Garden Shed User manual

OLT

OLT 12x12 SpaceMaker Garden Shed User manual

OLT 8x8 Pine SpaceMaker User manual

OLT

OLT 8x8 Pine SpaceMaker User manual

OLT SpaceSaver SS124-SLIDER-PLY-AK User manual

OLT

OLT SpaceSaver SS124-SLIDER-PLY-AK User manual

OLT GS124-SLIDER-CEDAR-AK User manual

OLT

OLT GS124-SLIDER-CEDAR-AK User manual

Popular Garden House manuals by other brands

Yardmaster 66 ZGEY Assembly instructions

Yardmaster

Yardmaster 66 ZGEY Assembly instructions

Mercia Garden Products 0628LOG181-V4 manual

Mercia Garden Products

Mercia Garden Products 0628LOG181-V4 manual

Lemeks Palmako PA120-5930-6 Assembly, installation and maintenance manual

Lemeks

Lemeks Palmako PA120-5930-6 Assembly, installation and maintenance manual

Rion Hobby Gardener Assembly instructions

Rion

Rion Hobby Gardener Assembly instructions

Select ISAAC E9682 Assembly manual

Select

Select ISAAC E9682 Assembly manual

Palmako Saale installation manual

Palmako

Palmako Saale installation manual

Palmako Roger FR44-5953-2 installation manual

Palmako

Palmako Roger FR44-5953-2 installation manual

Lemeks Palmako Grace PM56-4529 Assembly, installation and maintenance manual

Lemeks

Lemeks Palmako Grace PM56-4529 Assembly, installation and maintenance manual

Mercia Garden Products 03WES0808-V1 General instructions

Mercia Garden Products

Mercia Garden Products 03WES0808-V1 General instructions

Mercia Garden Products 03DTSHHP1206HGD4MW-V1 General instructions

Mercia Garden Products

Mercia Garden Products 03DTSHHP1206HGD4MW-V1 General instructions

Shire Salcey Assembly

Shire

Shire Salcey Assembly

Pergola kits USA PREMIUM VINYL PAVILION Assembly manual

Pergola kits USA

Pergola kits USA PREMIUM VINYL PAVILION Assembly manual

G21 Boston 882 manual

G21

G21 Boston 882 manual

Mercia Garden Products 05DTMBPN0503DD-V1 Assembly instructions

Mercia Garden Products

Mercia Garden Products 05DTMBPN0503DD-V1 Assembly instructions

Rutland County Burley 6ft Assembly instructions

Rutland County

Rutland County Burley 6ft Assembly instructions

Palmako Roger 27,7 installation manual

Palmako

Palmako Roger 27,7 installation manual

Mercia Garden Products 01PTOSBA0306DDNW-V1 General instructions

Mercia Garden Products

Mercia Garden Products 01PTOSBA0306DDNW-V1 General instructions

Gartenhaus-King Valery manual

Gartenhaus-King

Gartenhaus-King Valery manual

manuals.online logo
manuals.online logoBrands
  • About & Mission
  • Contact us
  • Privacy Policy
  • Terms and Conditions

Copyright 2025 Manuals.Online. All Rights Reserved.