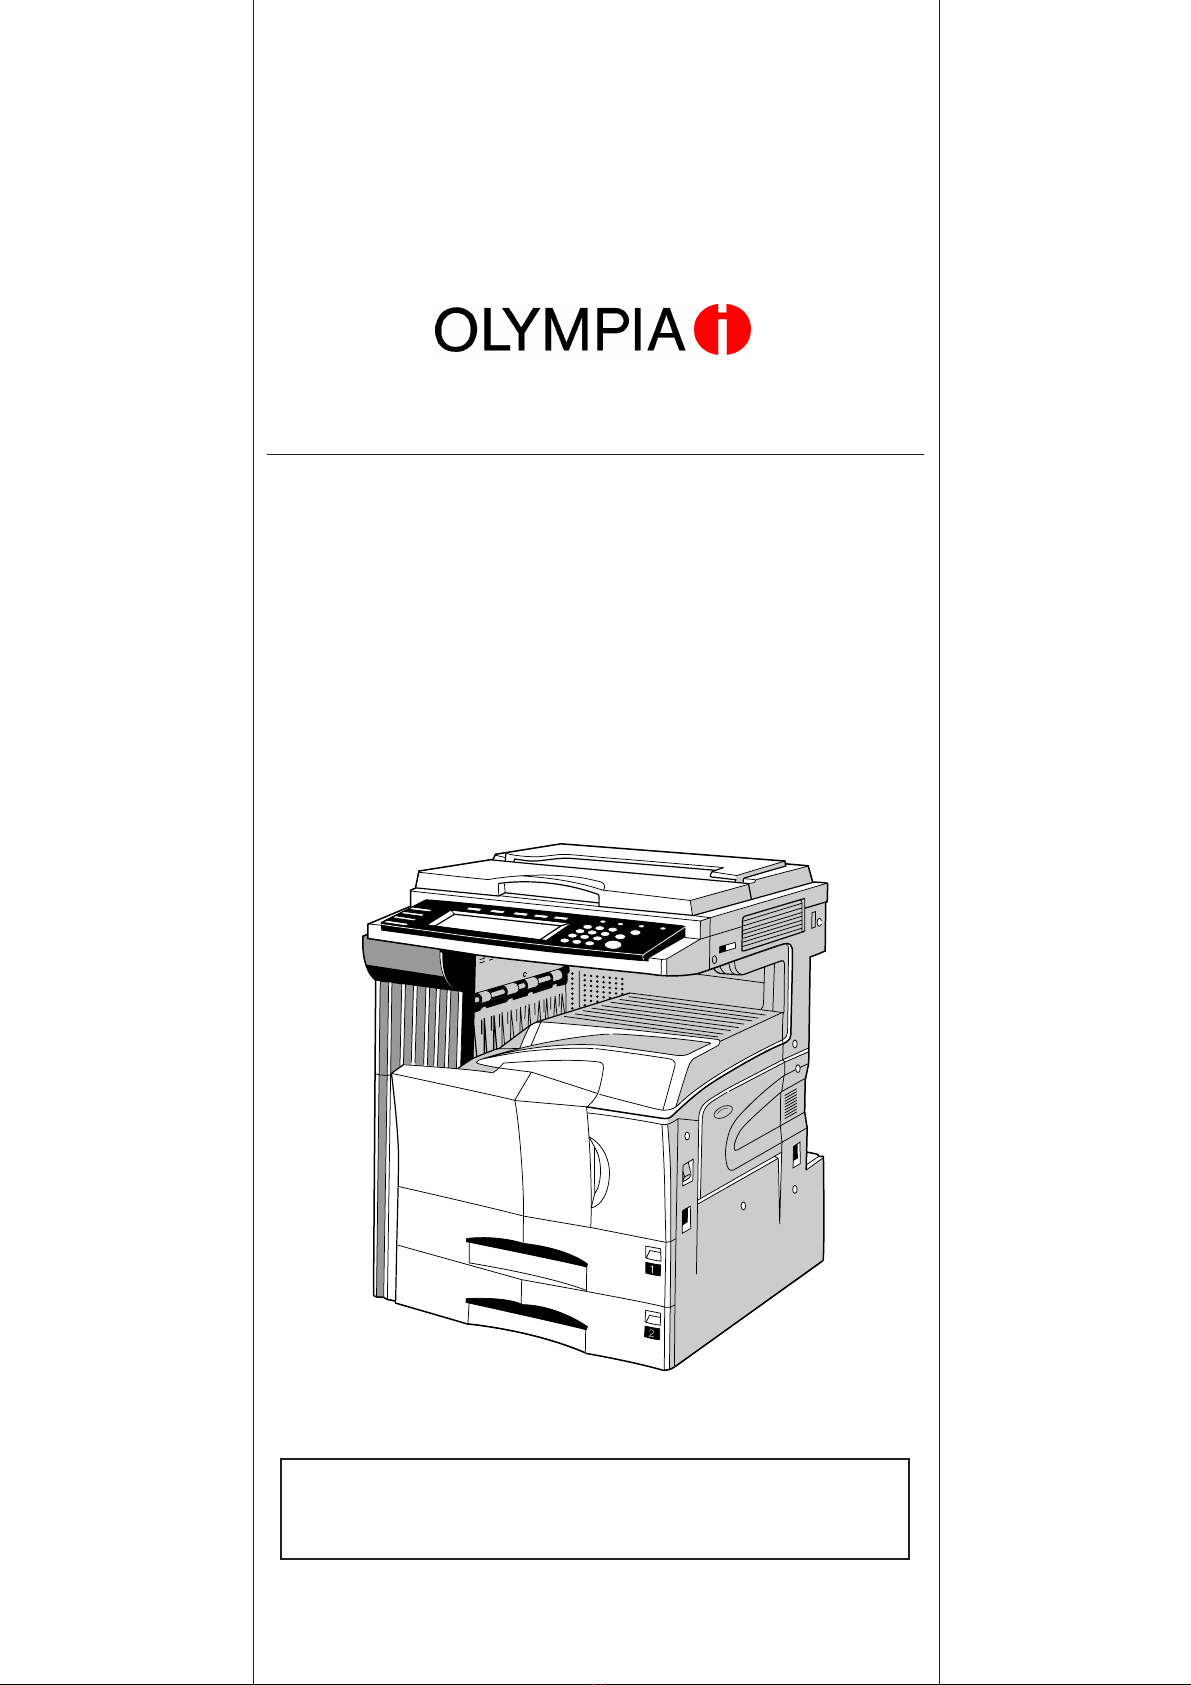
Olympia Omega D 250 User manual

Operation Guide
Please read the operation guide before using the copier.
Keep it close to the copier for easy reference.
* The above illustration includes the optional original cover.
Omega D 250, D 350, D 401

All rights reserved. No part of this material may be reproduced or transmitted in any
form or by any means, electronic or mechanical, including photocopying, recording
or by any information storage and retrieval system, without permission in writing from
the Publisher.
Legal Restriction On Copying
• It may be prohibited to copy copyrighted material without permission of the copy-
right owner.
• It is prohibited under any circumstances to copy domestic or foreign currencies.
• Copying other items may be prohibited.

Please read this Operation Guide before using the copier. Keep it close to the copier for easy reference.
The sections of this guide and parts of the copier marked with symbols are safety warnings meant to protect the user, other
individuals and surrounding objects, and ensure correct and safe usage of the copier. The symbols and their meanings are
indicated below.
DANGER: Indicates that serious injury or even death will very possibly result from insufficient attention to or
incorrect compliance with the related points.
WARNING: Indicates that serious injury or even death may result from insufficient attention to or incorrect compliance
with the related points.
CAUTION: Indicates that personal injury or mechanical damage may result from insufficient attention to or incorrect
compliance with the related points.
Symbols
The msymbol indicates that the related section includes safety warnings. Specific points of attention are indicated inside
the symbol.
................. [General warning]
................. [Warning of danger of electrical shock]
................. [Warning of high temperature]
The symbol indicates that the related section includes information on prohibited actions. Specifics of the prohibited
action are indicated inside the symbol.
.................. [Warning of prohibited action]
................... [Disassembly prohibited]
The ●symbol indicates that the related section includes information on actions which must be performed. Specifics of the
required action are indicated inside the symbol.
.................. [Alert of required action]
.................. [Remove the power plug from the outlet]
.................. [Always connect the copier to an outlet with a ground connection]
Please contact your service representative to order a replacement if the safety warnings in this Operation Guide are
illegible or if the guide itself is missing. (fee required)

i
CONTENTS
CHAPTER 1
IMPORTANT! PLEASE READ FIRST ...
1-1
CAUTION LABELS ............................................... 1-1
INSTALLATION PRECAUTIONS .......................... 1-2
PRECAUTIONS FOR USE .................................. 1-3
CHAPTER 2
NAMES OF PARTS .......................... 2-1
(1) Main body .................................................... 2-1
(2) Operation panel ........................................... 2-3
(3) Touch panel ................................................. 2-4
CHAPTER 3
HOW TO LOAD PAPER ................... 3-1
1. How to load paper ............................................... 3-1
(1) Precautions for loading paper ...................... 3-1
(2) Loading paper into the drawer ..................... 3-1
(3) Loading paper into the multi-bypass ............ 3-2
2. Replacing the toner container and
waste toner box ................................................... 3-4
CHAPTER 4
BASIC OPERATION ........................ 4-1
1. Basic copying procedure ..................................... 4-1
2. Enlargement/reduction ........................................ 4-4
(1) Auto magnification selection mode .............. 4-4
(2) Zoom copy mode ......................................... 4-5
(3) Standard zoom mode .................................. 4-6
(4) XY zoom mode ............................................ 4-6
3. Interrupt copying .................................................. 4-7
CHAPTER 5
FUNCTIONS..................................... 5-1
1. Duplex copying from various originals
[Duplex copy] ....................................................... 5-1
(1) Duplex copying from two-sided originals ..... 5-1
(2) Duplex copying from a book original ............ 5-1
(3) Duplex copying from one-sided originals ..... 5-2
2. Sorting without document finisher [Sort copy] ..... 5-4
3. Rotate sort copy mode ........................................ 5-5
CHAPTER 6
COPIER MANAGEMENT ................. 6-1
1. Default settings .................................................... 6-1
(1) “Machine default” settings ............................ 6-1
(2) Accessing the machine default setting
mode ............................................................ 6-3
(3) Changing the default settings ...................... 6-3
(4) Copy default settings ................................. 6-13
(5) Accessing the copy default setting mode .. 6-14
(6) Changing the copy default settings ............ 6-15
2. Selection of language ........................................ 6-25
CHAPTER 7
WHEN A PROBLEM OCCURS ....... 7-1
1. Error messages ................................................... 7-1
2. When an indicator lights or blinks orange ............ 7-3
3. When paper misfeeds .......................................... 7-3
(1) Cautions ....................................................... 7-4
(2) Removal procedures .................................... 7-4
4. Troubleshooting ................................................. 7-11
CHAPTER 8
CLEANING AND
SPECIFICATIONS............................ 8-1
1. Cleaning the copier ............................................. 8-1
2. Specifications ...................................................... 8-3

7Changing the language used on the
touch panel <Touch panel language
selection> (page 6-25)
English Español
6Changing copy orientation for easy sort-
ing
<Rotate sort copy mode> (page 5-5)
5Sorting automatically
<Sort copy> (page 5-4)
3
2
1
3
2
1
3
2
1
3
2
1
ii
●MAKING FULL USE OF THE MACHINE’S ADVANCED FUNCTIONS
1Having the machine automatically select
paper of the same size as the original
<Paper size selection> (page 4-2)
3Various functions for making enlarged
and reduced copies
䡵Enlarging/reducing copies to fit the
size of paper in a specified drawer
<
Auto magnification selection mode
>
(page 4-4)
䡵Enlarging/reducing copies to any desired
size in the 25 – 400% range (in 25 – 200%
range when using the Document Processor)
<Zoom copy mode> (page 4-5)
䡵Selecting the zoom ratio with one touch
<Standard zoom mode> (page 4-6)
2Making clear reproductions of photo-
graphs
<Copy quality selection> (Page 4-3)
4Duplex copying from various originals
<Duplex copy> (page 5-1)
* When optional duplex unit is installed.
25%
400%
50%
70% 141%
400%
abcdefghijk
abcdefghijk
abcdefghijk
abcdefghijk
abcdefghijk
abcdefghijk
abcdefghijk
abcdefghijk
abcdefghijk
abc
defghi
jkmn
5
4
3
2
11
2
3
4
5
䡵Selecting the zoom ratio for the length and
the width of the copy independently
<XY zoom mode> (page 4-6)
M
M
Y %
X %
64% (70%)5 1/2"✕8 1/2" (A5)
8 1/2"✕11" (A4)
11"✕17" (A3)
129% (141%)


1-1
Caution labels have been attached to the copier at the following locations for safety purposes.
BE SUFFICIENTLY CAREFUL to avoid fire or electric shock when removing a paper jam or when replacing toner.
CAUTION LABELS
NOTE: DO NOT remove these labels.
CHAPTER 1 IMPORTANT! PLEASE READ FIRST
Label 3
Moving parts inside. May cause
personal injury. Do not touch
moving parts..................................
Label 2
Do not incinerate toner and
toner containers. Dangerous
sparks may cause burn. ......
Label 4
High temperature inside.
Do not touch parts in this
area, because there is a
danger of getting burned.
Label 1
High temperature inside. Do not
touch parts in this area, because
there is a danger of getting burned.

1-2
• During copying, some ozone is released, but the amount
does not cause any ill effect to one's health. If, however,
the copier is used over a long period of time in a poorly
ventilated room or when making an extremely large
number of copies, the smell may become unpleasant. To
maintain the appropriate environment for copy work, it is
suggested that the room be properly ventilated.
■Power supply/Grounding the copier
WARNING
• DO NOT use a power supply with a voltage other
than that specified. Avoid multiple connections in
the same outlet. These types of situations present
a danger of fire or electrical shock. .......................
• Plug the power cord securely into the outlet. If
metallic objects come in contact with the prongs
on the plug, it may cause a fire or electric shock. .
• Always connect the copier to an outlet with a
ground connection to avoid the danger of fire or
electrical shock in case of an electric short. If an
earth connection is not possible, contact your
service representative. ..........................................
Other precautions
• Connect the power plug to the closest outlet possible to
the copier.
• The power supply cord is used as the main disconnect
device. Ensure that the socket/outlet is located/installed
near the equipment and is easily accessible.
■Handling of plastic bags
WARNING
• Keep the plastic bags that are used with the
copier away from children. The plastic may cling
to their nose and mouth causing suffocation.........
INSTALLATION PRECAUTIONS
■Environmment
CAUTION
• Avoid placing the copier on or in locations which
are unstable or not level. Such locations may
cause the copier to fall down or fall over. This
type of situation presents a danger of personal
injury or damage to the copier. ..............................
• Avoid locations with humidity or dust and dirt. If
dust or dirt become attached to the power plug,
clean the plug to avoid the danger of fire or
electrical shock......................................................
• Avoid locations near radiators, heaters, or other
heat sources, or locations near flammable items,
to avoid the danger of fire. ....................................
• To keep the copier cool and facilitate changing of
parts and maintenance, allow access space as
shown below.
Leave adequate space, especially around the
rear cover, to allow air to be properly ventilated
out of the copier. ....................................................
Rear: 11
13
/
16
"/30cm
>
=
Right: 11
13
/
16
"/30cm
Front:
39
3
/
8
"/
100cm
>
=
>
=
Left:
11
13
/
16
"/
30cm
>
=
• Always use the caster stoppers to stabilize the
copier once it is in place to keep it from moving
and/or falling over and causing injury. ...................
Other precautions
• Adverse environmental conditions may affect the safe
operation and performance of the copier. Install in an air-
conditioned room (recommended room temperature:
around 68°F (20°C), humidity: around 65%RH) and
avoid the following locations when selecting a site for the
copier.
.Avoid locations near a window or with exposure to
direct sunlight.
.Avoid locations with vibrations.
.Avoid locations with drastic temperature fluctuations.
.Avoid locations with direct exposure to hot or cold air.
.Avoid poorly ventilated locations.
• If the copier is moved after installation, the flooring may
be damaged by the casters depending on the flooring
material.

1-3
CAUTION
• DO NOT pull the power cord when removing it
from the outlet. If the power cord is pulled, the
wires may become broken and there is a danger
of fire or electrical shock. (ALWAYS grasp the
power plug when removing the power cord from
the outlet.) .............................................................
• ALWAYS remove the power plug from the outlet
when moving the copier. If the power cord is
damaged, there is a danger of fire or electrical
shock. ....................................................................
• If the copier will not be used for a short period of
time (overnight, etc.), turn the main switch OFF
(嘷).
If it will not be used for an extended period of time
(vacations, etc.), remove the power plug from the
outlet for safety purposes during the time the
copier is not in use. ...............................................
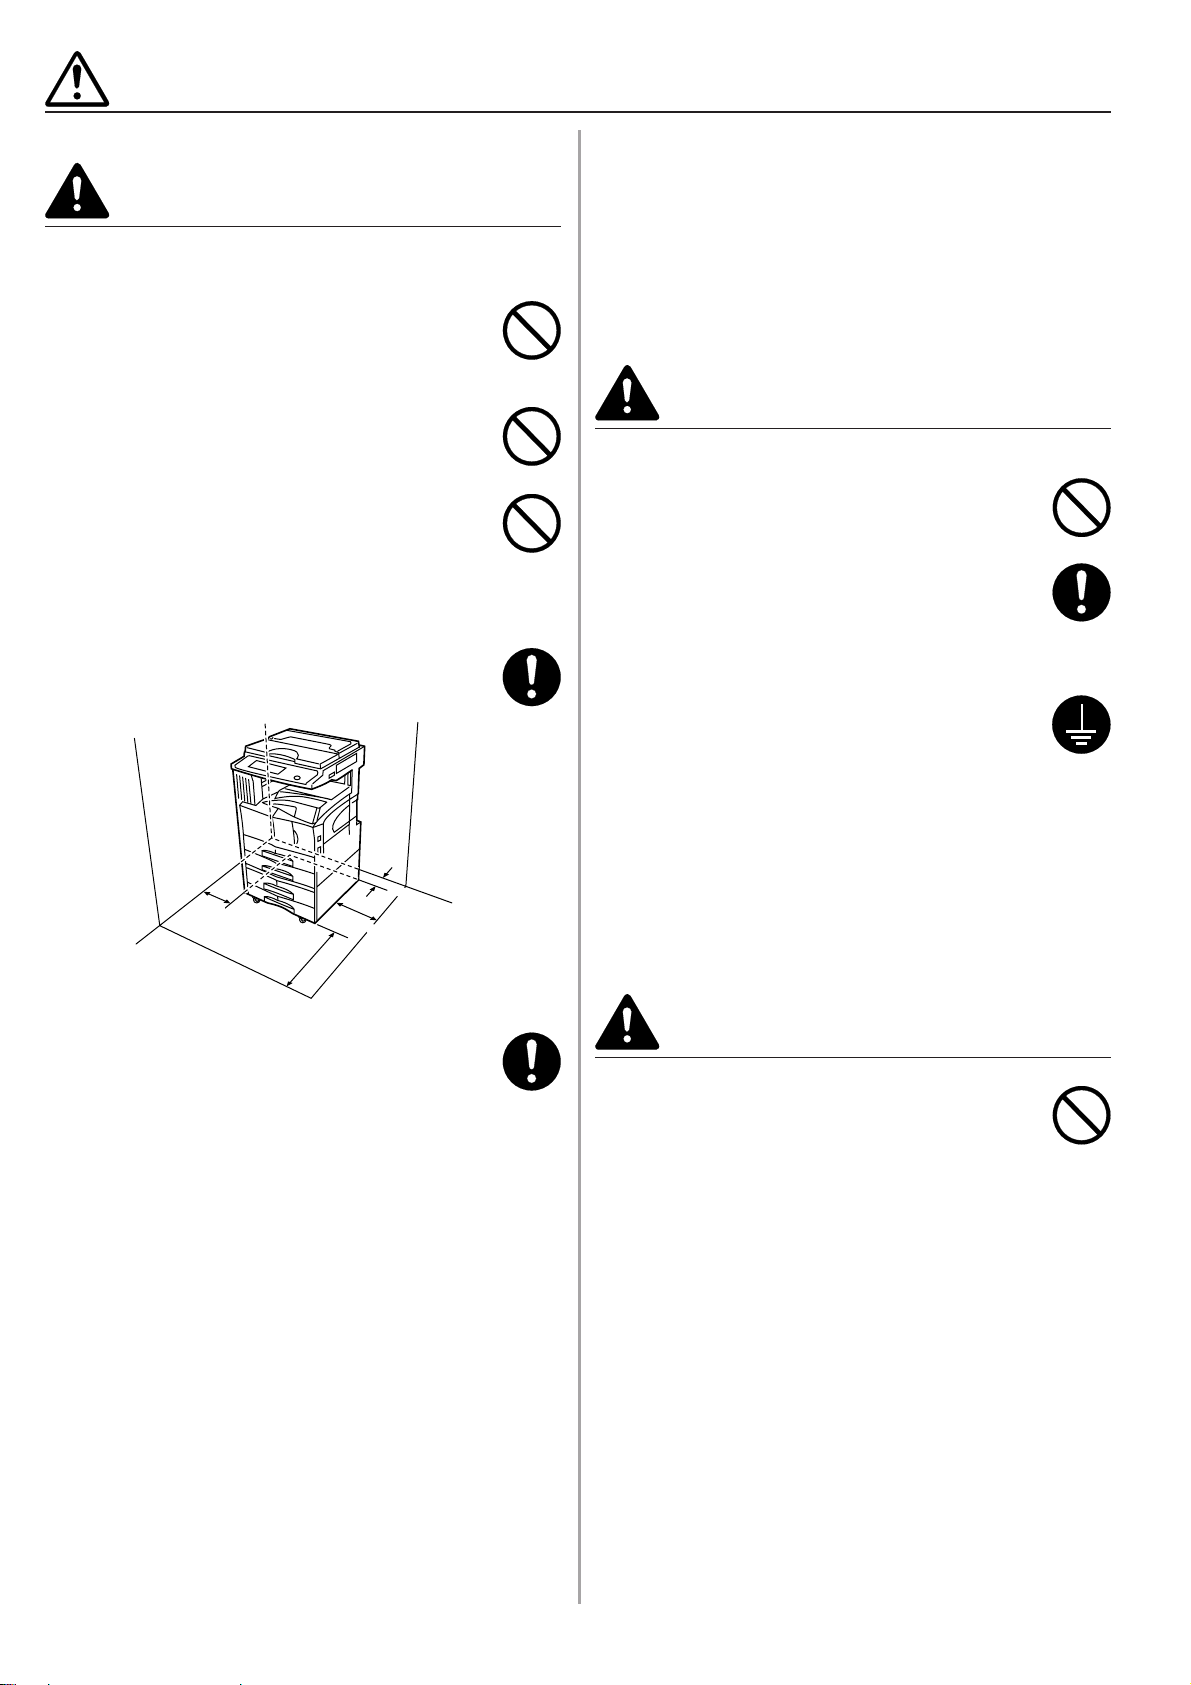
• ALWAYS hold the designated parts only when
lifting or moving the copier. ...................................
• For safety purposes, ALWAYS remove the power
plug from the outlet when performing cleaning
operations. ............................................................
• If dust accumulates within the copier, there is a
danger of fire or other trouble. It is therefore
recommended that you consult with your service
representative in regard to cleaning of internal
parts. This is particularly effective if accomplished
prior to seasons of high humidity. Consult with
your service representative in regard to the cost
of cleaning the internal parts of the copier. ...........
■Cautions when using the copier
WARNING
• DO NOT place metallic objects or containers with
water (flower vases, flower pots, cups, etc.) on or
near the copier. This of situation presents a
danger of fire or electrical shock should they fall
inside. ....................................................................
• DO NOT remove any of the covers from the
copier as there is a danger of electrical shock
from high voltage parts inside the copier. .............
• DO NOT damage, break or attempt to repair the
power cord. DO NOT place heavy objects on the
cord, pull it, bend it unnecessarily or cause any
other type of damage.
These types of situations present a danger of fire
or electrical shock. ................................................
• NEVER attempt to repair or disassemble the
copier or its parts as there is a danger of fire,
electrical shock or damage to the laser. If the
laser beam escapes, there is a danger of it
causing blindness..................................................
• If the copier becomes excessively hot, smoke
appears from the copier, there is an odd smell, or
any other abnormal situation occurs, there is a
danger of fire or electrical shock. Turn the main
switch OFF (嘷) immediately, remove the power
plug from the outlet and contact your service
representative. ......................................................
• If anything harmful (paper clips, water, other
fluids, etc.) falls into the copier, turn the main
switch OFF (嘷) immediately. Next, remove the
power plug from the outlet to avoid the danger of
fire or electrical shock. Then contact your service
representative. ......................................................
• DO NOT remove or connect the power plug with
wet hands, as there is a danger of electrical
shock. ....................................................................
• ALWAYS contact your service representative for
maintenance or repair of internal parts. ................
PRECAUTIONS FOR USE

1-4
■Cautions when handling
consumables
CAUTION
• DO NOT attempt to incinerate the toner
containers or the waste toner box. Dangerous
sparks may cause burns. ......................................
• Keep the toner containers and the waste toner
box out of the reach of children. ............................
• If toner happens to spill from the toner containers
or the waste toner box, avoid inhalation and
ingestion, as well as contact with your eyes and
skin. .......................................................................
.If you do happen to inhale toner, move to a place with
fresh air and gargle thoroughly with a large amount of
water. If coughing develops, contact a physician.
.If you do happen to ingest toner, rinse your mouth out
with water and drink 1 or 2 cups of water to dilute the
contents of your stomach. If necessary, contact a
physician.
.If you do happen to get toner in your eyes, flush them
thoroughly with water. If there is any remaining
tenderness, contact a physician.
.If toner does happen to get on your skin, wash with
soap and water.
• DO NOT attempt to force open or destroy the
toner containers or the waste toner box. ...............
Other precautions
• After use, ALWAYS dispose of the toner containers and
the waste toner box in accordance with Federal, State
and Local rules and regulations.
• Store all consumables in a cool, dark location.
• If you will not be using the copier for a prolonged period
of time, remove all paper from the drawer(s) and the
multi-bypass tray and seal in its original packaging.
PRECAUTIONS FOR USE
Other precautions
• DO NOT place heavy objects on the copier or cause
other damage to the copier.
• DO NOT open the front cover, turn off the main switch,
or pull out the power plug during copying.
• When lifting or moving the copier, contact your service
representative.
• Do not touch electrical parts, such as connectors or
printed circuit boards. They could be damaged by static
electricity.
• DO NOT attempt to perform any operations not
explained in this handbook.
• CAUTION : Use of controls or adjustments or
performance of procedures other than those specified
herein may result in hazardous radiation exposure.
• Do not look directly at the light from the scanning lamp
as it may cause your eyes to feel tired or painful.

2-1
(1) Main body
5
1
2
7
8
9
3
4
6
1Original cover (Option)
(Open/close to set the original on the platen.)
2Operation panel
(Contains the keys and indicators for operating the copier.)
3Left cover 1 handle
(Pull up to open the left cover 1.)
4Left cover 1
(Open when a paper misfeed occurs.)
5Platen
(Set originals here for copying. Place originals face-down with the edges aligned with the size scales on the left and rear sides of the
platen.)
6Original size scales
(Be sure to align the original with these when setting the original on the platen.)
7Drawer 1
(Holds up to 500 sheets of standard paper [standard paper specified by our company].)
8Drawer 2
(Holds up to 500 sheets of standard paper [standard paper specified by our company].)
9Left cover 2
(Open when a paper misfeed occurs inside the left cover 2.)
CHAPTER 2 NAMES OF PARTS

CHAPTER 2 NAMES OF PARTS
2-2
0Multi-Bypass
(Load paper here when copying onto small-size or special paper.)
AInsert guides
(Be sure to set the paper width when loading paper on the multi-bypass.)
BToner container
CToner container release lever
(Operate to replace the toner container.)
DWaste toner box
ECleaning shaft
(Pull and push back in after toner container replacement or when copy images become soiled with toner.)
FFront cover
(Open to replace the toner container or waste toner box.)
GMain switch
(Turn ON (I)before starting to make copies.)
HCopy store section
(Copied paper is stored here.)
ILength adjustment plate
(Adjust to the length of the paper to be set in the drawer.)
JWidth adjustment lever
(Hold the lever and adjust the width guide to the width of the paper to be set in the drawer.)
KHandles for transport
(Become handles when pulled out.)
8
7C
B
A
0
H
GKIJ
F
09 ED

CHAPTER 2 NAMES OF PARTS
2-3
1[Start] key (Indicator)
(When the indicator is lit green, press to start copying.)
2[Stop/Clear] key
(Press to stop copying or to change the number of copies to
be made.)
3[Reset] key
(See the “Initial mode” on this page.)
4[Energy Saver] (preheat) key
(Press to select the energy saver mode. Press again to cancel
the energy saver mode.)
5[Interrupt] key (Indicator)
(Press to interrupt copying. The indicator will light when the
key is pressed. See page 4-7.)
6[Management] key
(While the copy management mode is ON, press to enter the
department code after copying is finished.)
7[ ] (Default) key
(Press to change the default settings as appropriate to your
desired copying conditions.)
8Numeric keys
(Press to set the number of copies or enter a desired value.)
9Touch panel
(Displays messages on how to operate the copier as well as
trouble. Each function key is also displayed.)
0[Auto Selection] key (Indicator)
(Press to select the auto selection mode. The indicator is lit
while the auto selection mode is ON.)
A[Facsimile Priority Output] key (Indicator)
(Press to select the fax priority output mode. The indicator is lit
when the fax priority mode is available. For detailed informa-
tion, refer to the operation guide for the optional fax kit.)
B[Printer Priority Output] key (Indicator)
(Press to select the printer priority output mode. The indicator
is lit when the printer priority mode is available. For detailed
information, refer to the operation guide for the optional printer
board or printer/scanner kit.)
CBrightness adjustment control dial
(Turn this dial when you want to adjust the brightness of the
touch panel.)
D[Copier] key (Indicator)
(Press to use the copier functions. The indicator lights or blinks
green or orange according to the state of the machine.)
E[Printer] key (Indicator)
(Press to use the optional printer functions. The indicator lights
or blinks green or orange according to the state of the ma-
chine.)
F[Scanner] key (Indicator)
(Press to use the optional scanner functions. The indicator
lights or blinks green or orange according to the state of the
machine.)
G[Fax] key (Indicator)
(Press to switch to the fax mode when using the optional fax
function. The indicator will light while the copier is in the fax
mode.)
•Initial mode (at the end of warm-up or when the Reset key
is pressed)
In the initial mode, paper of the same size as the original is se-
lected automatically (“auto paper selection mode”), the number
of copies is set to “1” and copy quality is set to “Text + Photo”.
NOTE
• It is also possible to change the default setting for copy expo-
sure adjustment to “auto exposure mode” in the initial mode.
(See “Exposure mode” on page 6-15.)
•Auto clear function
A specified time (about 10 to 270 seconds) after copying stops,
the copier will automatically return to the same settings as those
after warm up. (However, the exposure mode and image quality
will not change.) Copying can be performed at the same settings
(copy mode, number of copies and exposure mode) if copying is
started before the auto clear function operates.
•Automatic drawer switching function
If two drawers contain paper of the same size in the same orien-
tation and the paper in one drawer runs out during copying, this
function switches paper feed from the empty drawer to the full
drawer.
NOTE
• The automatic drawer switching function can be disabled. (See
“Auto casette switching ON/OFF” on page 6-3.)
Start
Stop/
Clear
Reset
Interrupt
123
456
789
0
Management Energy Saver
Copier
Printer
Scanner
Fax
Printer
Priority Output
Facsimile
Priority Output Auto Selection
19GF 8 2 3
45670ABCDE
(2) Operation panel

CHAPTER 2 NAMES OF PARTS
2-4
A[Exposure] key
(Touch this key to display the exposure setting screen.)
B[Eco] key
(Touch this key to highlight it to enter the toner economy mode
where the exposure level will be lowered and toner consump-
tion reduced. Use this mode as well for test printing and the
like when high quality printing is not required. For information
on how to select whether you want the toner economy mode
to be automatically selected or not each time the copier is
turned on, see “Eco print” on page 6-17.)
C[Sort: OFF] key
(Touch this key when the sort function is not used.)
D[Sort: ON] key
(Touch this key when the sort function is used.)
E[Sort/Finish] key
(Touch this key when displaying the Sort/Finish function se-
lection screen.)
FRegistration keys
(Touch this key to recall the registered settings. Each function
on the Function screen can be registered to the registration
keys.)
G[Basic] key
(Touch this key to return to the Basic screen.)
1Displays messages regarding the machine status and required
operations.
2Displays the size and magnification ratio of the paper set in
each drawer.
3Displays the number of copies to be made.
4Paper size keys (Indicator icon)
(Displays the size of paper that is set in each of the drawers.
When selecting the drawer from which paper will be fed, touch
the appropriate key to highlight that key. The [*] key is displsyed
when the special paper is set. Drawers 3 and 4 are displayed
when the optional cassette/paper feeder is attached.)
5[APS] key
(Touch this key to automatically select the paper size.)
6[Bypass] key
(Touch this key to copy onto paper set in the multi-bypass tray.)
7[AMS] key
(Touch this key to automatically select the magnification ratio.)
8[Reduce/Enlarge] key
(Touch this key to manually select the magnification ratio.)
9100% key
(Touch this key to set the magnification ratio to 100%.)
0Copy exposure adjustment key/Copy exposure indicator
(Touch the appropriate key to manually adjust the copy expo-
sure. The current setting is displayed on the copy exposure
indicator.)
(3) Touch panel
Inch specifications
Metric specifications
4
GH 65 C DE
F
3
21
9I87
ABJ0
4
GH 65CDE
F
3
2
1
9I87
ABJ 0

CHAPTER 2 NAMES OF PARTS
2-5
H[User choice] key
(Touch this key to display the User choice screen.)
I[Function] key
(Touch this key to display the Function screen.)
Inch specifications
Metric specifications
J[Program] key
(Touch this key to register the current settings as a single pro-
gram, or to delete a registered program.)
NOTE
When touching the key with the “ ” mark at the lorwer-right cor-
ner, the setting screen will be displayed.
[Resister] key
(Touch this key to register the settings to a registration key.)
[Back] key
(Touch this key to return to the initial screen of the current
mode.)
[Close] key
(Touch this key to return to the previous screen.)
NOTE
• Displayed keys on the Basic, User choice screen can be changed
or added using Customize (Main function) on page 6-23 or Cus-
tomize (Add function) on page 6-24.
Inch specifications
Metric specifications
Inch specifications
Metric specifications
Inch specifications
Metric specifications

CHAPTER 2 NAMES OF PARTS
2-6

3-1
Paper can be loaded into the two drawers and the multi-bypass.
(1) Precautions for loading paper
After unpacking the paper, fan it several times and then load into
the tray.
IMPORTANT
• Loading paper into the standard drawer, optional paper feeder
or multi-bypass when some paper is still remaining in each of
them may cause paper misfeeds.
(2) Loading paper into the drawer
Up to 500 sheets of standard paper (75 or 80 g/m2/standard pa-
per as specified by our company) or colored paper can be loaded
into the each drawer.
(Inch specifications)
• The each drawer can be set to hold paper of any desired size
from 11" ✕17" to 5 1/2" ✕8 1/2".
(Metric specifications)
• The each drawer can be set to hold paper of any desired size
from A3 to A5R and Folio.
IMPORTANT
• Set the type of paper (standard paper, recycled paper, letter-
heads or colored paper) to be loaded in the drawer in “Paper
type (1st to 2nd cassette)” on page 6-6.
1
1. How to load paper
Pull the drawer out toward you as far as it will go.
* Do not pull more than one drawer out at a time.
Hold the width adjustment lever and move it to align the
width guide with the required paper width.
Paper sizes are marked inside the drawer.
Hold the length adjustment plate and move it to align
with the required paper length.
2
3
CHAPTER 3 HOW TO LOAD PAPER

CHAPTER 3 HOW TO LOAD PAPER
3-2
Set the paper flush against the left-hand wall of the
drawer.
IMPORTANT
• There is a sticker (1in the illustration) indicating paper capac-
ity attached to the inside of the drawer. Do not load paper above
this limit.
• When loading paper into the drawer, make sure that the copy
side is facing upward. (The copy side is the side facing upward
when the package is opened.)
• Check that the length adjustment plate makes secure contact
with the paper. If there is a gap, adjust the position of the length
adjustment plate.
• If small-size paper jams frequently under high temperature and
high humidity conditions, reduce the number of sheets to the
level of the black line indicated on the sticker 1.
Set the supplied paper size sheet so that the size of the
paper loaded can be checked by looking at the front of
the drawer.
Gently push the drawer back in.
* Check that the paper is kept under the claws of the
drawer. If not, reload the paper.
4NOTE
• Before leaving the copier in disuse for a prolonged period of
time, remove the paper from the drawer(s) and seal it in its origi-
nal packaging to protect from moisture. Also, when storing pa-
per in a high temperature and high humidity environment, seal
it in a moisture-proof bag.
(3) Loading paper into the multi-bypass
Special paper as well as standard paper can be loaded into the
multi-bypass. When copying onto transparencies or thick paper,
be sure to use the multi-bypass.
NOTE
• Up to 200 sheets of standard paper, colored paper and letter-
heads can be loaded into the multi-bypass.
• The types of special paper and the number of sheets that can
be loaded in the multi-bypass are:
- Transparencies: 25 sheets
- Standard paper (120g/m2, 160g/m2): 100 sheets
IMPORTANT
• When setting special paper, such as transparencies and thick
paper, into the multi-bypass, select the type of paper by refer-
ring to “Check bypass sizing” on page 6-6.
• For the copier with Inch Specifications:
When loading the transparency on the multi-bypass, put a same
size paper under the transparency and set together on the multi-
bypass.
Otherwise, a last transparency would not be fed.
Open the multi-bypass.
Adjust the insert guides to the size of the paper to be
loaded.
5
1
6
1
2

CHAPTER 3 HOW TO LOAD PAPER
3-3
Insert the paper along the guides as far as it will go.
IMPORTANT
•When loading paper into the multi-bypass, make sure that the
copy side is facing upward. (The copy side is the side facing
upward when the package is opened.) If the leading edge of the
paper is curled, straighten it out before loading the paper in the
multi-bypass.
• Setting envelopes
When using the optional printer function, envelopes can be set in
the multi-bypass.
NOTE
•The types of envelopes that can be used are COM-10, Mon-
arch, DL and C5. Up to 20 envelopes can be loaded in the multi-
bypass at a time.
Open the multi-bypass.
Align the insert guides with the envelope size.
Open the flap of the envelope and set it with the copy
side facing up ward. With the flap facing the outside, in-
sert the envelope into the slot along the insert guides as
far as it will go.
NOTE
•Incorrectly loading envelopes can result in printing in the wrong
orientation or on the wrong side.
3
1
2
3

CHAPTER 3 HOW TO LOAD PAPER
3-4
Push up the toner container release lever and slowly
pull the old toner container out until the handle can be
seen.
Grasp the handle on the toner container, push the lock
lever up again and gently lift the toner container.
Take out the new toner container from the bag, and then
tap it on the top 5 to 6 times.
2. Replacing the toner container and waste toner box
If “Add toner to resume copying.” appears on the message dis-
play, replenish the toner. Although several copies can be made
after the message appears, it is recommended to replace the
toner container immediately. After replacing the toner container,
be sure to also replace the waste toner box.
* Replenish toner only when the message is displayed.
Open the front cover.
1
3
4
Inch specification
Metric specification
CAUTION
DO NOT attempt to incinerate the toner containers or
the waste toner box. Dangerous sparks may cause
burns.
2
CAUTION
DO NOT attempt to force open or destroy the toner
containers or the waste toner box.
WARNING
High voltage is present in the charger section. Take
sufficient care when working in this area, as there is a
danger of electrical shock.
CAUTION
Do not pull the toner container all the way as it can fall
off.
This manual suits for next models
2
Table of contents
Other Olympia All In One Printer manuals