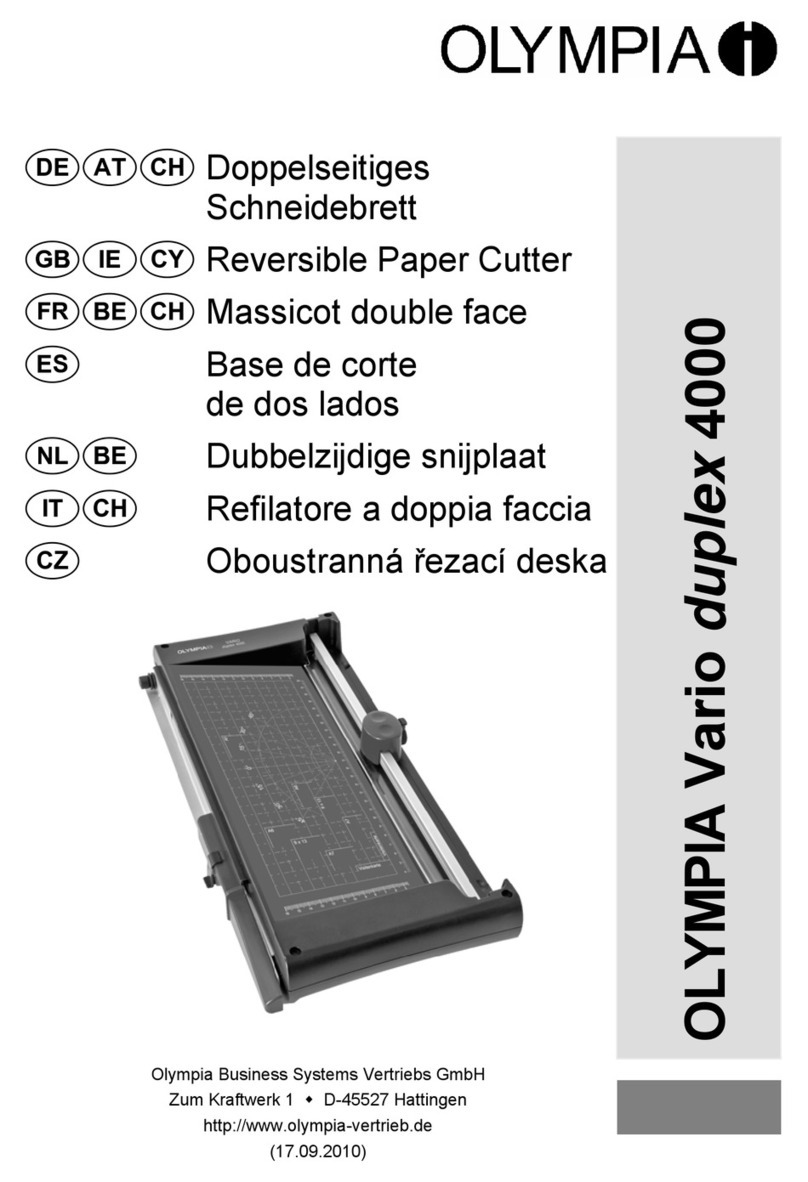
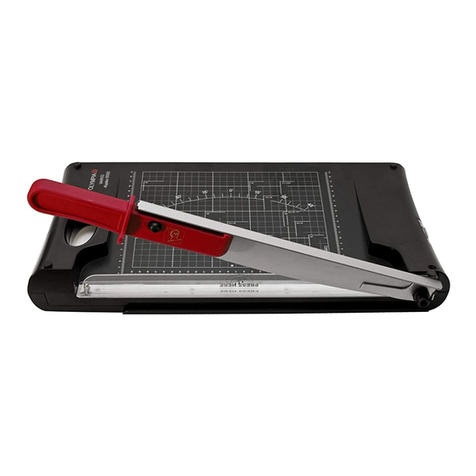
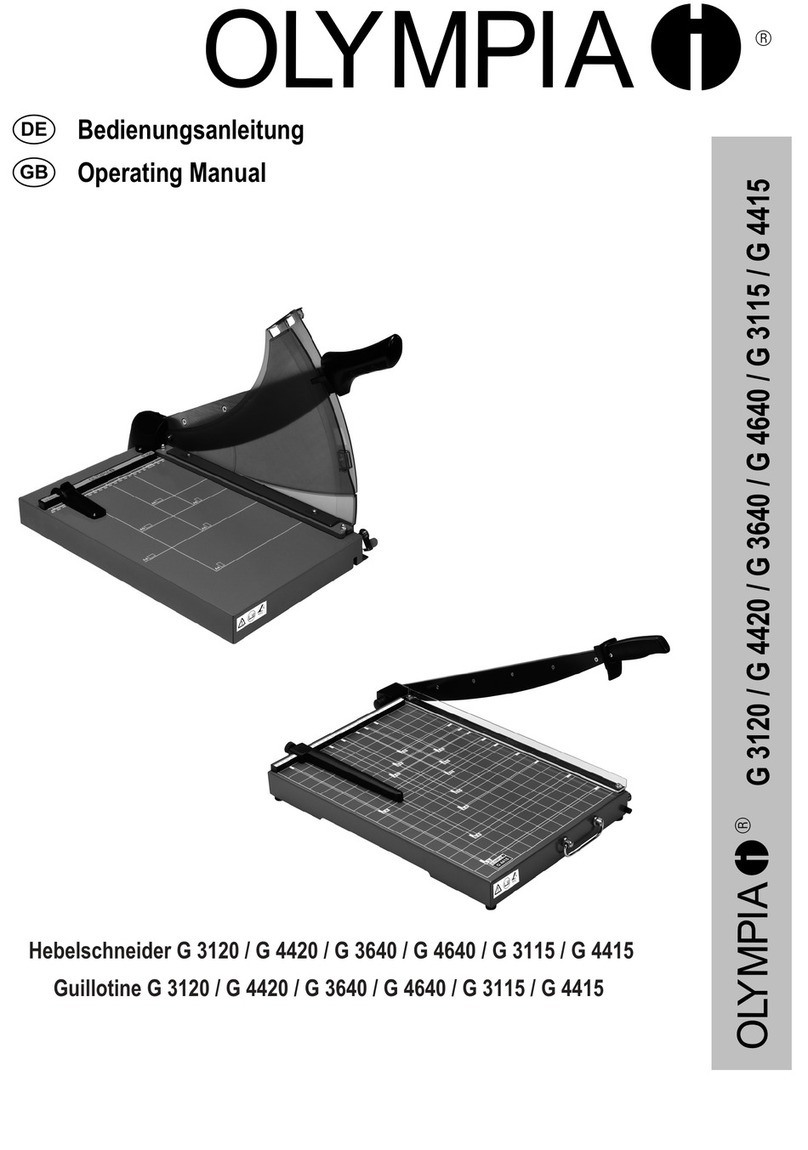
Olympia G4410 User manual

Olympia Business Systems Vertriebs GmbH
Weg zum Wasserwerk 10 D-45525 Hattingen
http://www.olympia-vertrieb.de
(10.07.2009)
2/<03,$*
Hebelschneider
# Guillotine
Massicot
Cortador de palanca
Hefboomsnijmachine
Taglierina a leva
Páková Ĝezaþka

2

3
'HXWVFK
Wichtige Sicherheitshinweise ................................................................... 5
Haftungsausschluss.................................................................................. 6
Bestimmungsgemäße Verwendung .........................................................6
Leistungsmerkmale...................................................................................6
Bedienelemente........................................................................................7
Bedienung.................................................................................................8
Garantie ..................................................................................................10
(QJOLVK #
Important Safety Information ..................................................................11
Exemption From Liability ........................................................................12
Intended Use...........................................................................................12
Features .................................................................................................12
Operating Elements ................................................................................ 13
Operation ................................................................................................14
Guarantee............................................................................................... 16
)UDQoDLV
Consignes de sécurité importantes ........................................................17
Exclusion de la garantie..........................................................................18
Utilisation conforme ................................................................................18
Caractéristiques......................................................................................18
Éléments de manipulation ......................................................................19
Manipulation............................................................................................20
Garantie ..................................................................................................22
(VSDxRO
Advertencias de seguridad importantes .................................................23
Exclusión de responsabilidad .................................................................24
Uso previsto............................................................................................ 24
Características prestacionales ...............................................................24
Elementos de manejo ............................................................................. 25
Manejo ....................................................................................................26
Garantía .................................................................................................28

4
1HGHUODQGV
Belangrijke veiligheidsinformatie ............................................................30
Uitsluiting van aansprakelijkheid ............................................................31
Bedoeld gebruik......................................................................................31
Kenmerken.............................................................................................. 31
Bedieningselementen .............................................................................32
Bediening................................................................................................ 33
Garantie ..................................................................................................35
,WDOLDQR
Importanti indicazioni di sicurezza.......................................................... 36
Esclusione di responsabilità ...................................................................37
Impiego conforme agli usi previsti ..........................................................37
Caratteristiche di prestazione .................................................................37
Elementi di comando ..............................................................................38
Esercizio ................................................................................................. 39
Garanzia .................................................................................................41
ýHVN\
DĤležité bezpeþnostní pokyny................................................................42
Vylouþení záruky ....................................................................................43
Používání pro daný úþel .........................................................................43
Výkonnostní znaky..................................................................................43
Ovládací prvky ........................................................................................44
Obsluha...................................................................................................45
Záruka.....................................................................................................47

5
:LFKWLJH6LFKHUKHLWVKLQZHLVH
Um ein zuverlässiges Arbeiten mit dem Hebelschneider zu gewährleis-
ten, beachten Sie bitte Folgendes:
1 Lesen Sie diese Anweisungen bitte sorgfältig durch
und beachten Sie sie bei der Handhabung Ihres Geräts.
2 Bewahren Sie die Bedienungsanleitung für die zukünftige Benut-
zung auf.
3 Stellen Sie das Gerät vor der Verwendung auf einem ebenen und
stabilen Arbeitsplatz auf.
4 Fassen Sie beim Bewegen oder Wegstellen des Geräts auf keinen
Fall am Messer an.
5 Bedienen Sie das Gerät mit zwei Händen.
6 Halten Sie lose Teile von Bekleidung, Krawatten, Schmuck, langes
Haar oder andere lose Gegenstände von dem Schneidebrett fern.
Verletzungsgefahr!
7 Das Gerät ist nur für das Schneiden von Papier vorgesehen.
8 Entfernen Sie vor dem Schneiden eventuell vorhandene Heft-
sowie Büroklammern vom Dokument.
9 Das Messer darf weder geschmiert noch geschliffen werden.
10 Ist das Messer beschädigt, darf das Gerät nicht betrieben werden.
11 Achten Sie darauf, dass Sie Ihre Finger nicht schneiden.
Vermeiden Sie grundsätzlich Kontakte mit dem Messer.
12 Halten Sie das Gerät für Kinder unzugänglich.
13 Kinder oder Minderjährige dürfen das Gerät nur unter Aufsicht
eines Erwachsenen betreiben.
14 Das Gerät ist nicht für das Schneiden von Fingernägeln vorgese-
hen.

6
+DIWXQJVDXVVFKOXVV
Wir übernehmen keine Garantie für die Richtigkeit der Informationen, die
sich auf technische Eigenschaften sowie die hier vorliegende Dokumentati-
on beziehen. Das in dieser Dokumentation beschriebene Produkt und ggf.
dessen Zubehör unterliegen einer ständigen Verbesserung und Weiterent-
wicklung. Aus diesem Grund behalten wir uns das Recht vor, Komponenten,
Zubehör, technische Spezifikationen sowie die hier vorliegende Dokumenta-
tion des Produkts ohne vorherige Ankündigung jederzeit zu ändern.
%HVWLPPXQJVJHPlH9HUZHQGXQJ
Dieses Schneidegerät darf nur zum Zuschneiden von Papier, Karten, Foto-
papier und Laminierfolien benutzt werden.
Jede andere Verwendung gilt als nicht bestimmungsgemäß.
Eigenmächtige Veränderungen oder Umbauten sind nicht zulässig.
Schneiden Sie keine Materialien, die Metall oder Glas enthalten.
Entfernen Sie vor dem Schneiden Büro- und Heftklammern.
Überschreiten Sie nicht die maximale Schnittleistung (max. 10 Blätter).
/HLVWXQJVPHUNPDOH
Perfektes Zuschneiden von Fotos, Karten, Ausdrucken oder laminiertem
Papier.
xHebelschneider inklusive Andruckleiste mit Fingerschutz
xVisuelle Positionshilfe in cm (Linien, Winkel, Skala)
xGummifüße für sicheren Stand
xMaximale Schnittleistung: Maximal 10 Blätter gleichzeitig.
xGröße: xx mm (LxBxH)
xGewicht: 1,kg
xSchneidelänge: mm

7
%HGLHQHOHPHQWH
1 Auflagefläche
2 Visuelle Positionshilfen (Anlegemarkierungen)
3 verstellbare Anlageschiene
4 Feststelleinrichtung für Anlageschiene
5 Tragegriff
6 Messer (Klinge aus rostfreiem Stahl)
7 Transparente Andruckleiste mit Fingerschutz
8 Hebelverriegelung
9 Hebelgriff des Schneidehebels
9
8
7
6
5
4
3
2
1
1
2
3
45
6
7
8
9

8
%HGLHQXQJ
1. Platzieren Sie das Schneidebrett mit der Hebelschneiderseite nach
oben auf eine stabile und ebene Oberfläche.
2. Der Schneidehebel ist am Schneidebrett arretiert.
Zum Entriegeln des Schneidehebels gehen Sie folgendermaßen vor:
Drücken Sie die Hebelverriegelung
nach unten (Bild 1/1).
Ziehen Sie gleichzeitig den Schneidehebel
am Hebelgriff nach vorne (Bild 1/2).
Führen Sie den Schneidehebel nach oben
(Bild 1/3).
3. Stellen Sie Anlageschiene so ein, wie Sie die-
se benötigen (Bild 2):
Lösen Sie die Feststelleinrichtung der An-
lageschiene, indem Sie diese in Position
OPEN drehen.
Verschieben Sie die Anlageschiene.
Drehen Sie die Feststelleinrichtung wieder
in Position CLOSE. Sie haben zwei Mög-
lichkeiten: nach rechts oder nach links dre-
hen.
4. Schneiden Sie folgendermaßen:
Bewegen Sie den Schneidehebel des
Schneidebretts nach oben.
Schieben Sie das zu schneidende Material
unter die Andruckleiste und richten Sie es
an den Anlegemarkierungen der Auflage-
fläche aus. Schieben Sie es ggf. gegen die
Anlageschiene.
Drücken Sie mit der einen Hand die An-
druckleiste gegen das zu schneidende Ma-
terial (Bild 3/1).
Führen Sie mit der anderen Hand den Schneidehebel nach unten,
um das Material zu schneiden (Bild 3/2).
%LOG
%LOG
%LOG

9
5. Arretieren Sie den Schneidehebel aus Sicherheitsgründen nach ver-
richteter Arbeit:
Drücken Sie den Schneidehebel
ganz nach unten.
Drücken Sie die Hebelverriegelung
nach unten (Bild 4/1).
Schieben Sie gleichzeitig den Schneidehe-
bel am Hebelgriff nach hinten (Bild 4/2).
6. Um den Hebelschneider zu transportieren, fassen Sie ihn am Trage-
griff an. +LQZHLV Stellen Sie zuvor sicher, dass der Schneidehebel
arretiert ist.
%LOG
%LOG

10
*DUDQWLH
Bitte unbedingt aufbewahren!
Liebe Kundin,
Lieber Kunde,
wir freuen uns, dass Sie sich für den Olympia Hebelschneider entschieden
haben. Sollte sich an Ihrem Gerät wider Erwarten ein technisches Problem
ergeben, beachten Sie bitte folgende Punkte:
xDie Garantiezeit für Ihr Gerät beträgt 24 Monate.
xBewahren Sie unbedingt den Kaufbeleg und die Originalverpackung auf.
xSollte ein Problem auftreten, rufen Sie bitte zuerst unsere Hotline an:
(0,14 € pro Minute aus dem dt. Festnetz)
Oft kann unser Fachpersonal telefonisch helfen.
xKann jedoch der Fehler telefonisch nicht beseitigt werden, bitten wir Sie,
das Gerät in der Originalverpackung an folgende Anschrift zu senden:
Servicecenter Hattingen
=XP.UDIWZHUN
D-4552Hattingen
Garantiereparaturen können nur mit beigefügtem Kaufbeleg erfolgen.
Herzlichen Dank für Ihr Verständnis.
Mit freundlichen Grüßen
Ihre Olympia Business Systems
Vertriebs GmbH
9HUEUDXFKVPDWHULDO
Sollte die Schneideleiste abgenutzt sein, wenden Sie sich bitte an die
Hotline.

11
,PSRUWDQW6DIHW\,QIRUPDWLRQ
Please observe the following to ensure the guillotine is used reliably and
safely:
1 Read this manual thoroughly and observe the instructions and
information in it when operating the machine.
2 Keep this operating manual in a safe place for future reference.
3 Before starting to use the device, set it down on a level, stable
working base.
4 Never take hold of the knife blades when carrying the device or
putting it away.
5 Use both hands to operate the device.
6 Keep loose clothing, ties, jewellery, long hair and other loose
objects away from the cutting unit.
Risk of injury!
7 The device has been exclusively designed to cut paper.
8 Before cutting, remove any staples or paper clips from the docu-
ment.
9 The cutting blade must be neither greased nor ground.
10 The device must not be used if the blade is damaged.
11 Pay attention not to cut your fingers.
Avoid contact with the cutting blade at all times.
12 Keep the device out of the reach of children.
13 Children and minors may only use the device under the supervi-
sion of an adult.
14 The device is not intended to cut fingernails.

12
([HPSWLRQ)URP/LDELOLW\
We cannot guarantee that the information which relates to the technical
properties of the product or to the product itself contained in this document is
correct. The product and, where applicable, its accessories, described in this
document are subject to constant improvement and further development.
For this reason, we reserve the right to modify components, accessories,
technical specifications and related documentation of the product described
herein at any time without notice.
,QWHQGHG8VH
This cutting unit may only be used to cut paper, card, photo paper and lami-
nating foil.
Any other use is considered unintended use.
Unauthorised modifications or reconstructions are not permitted.
Never cut any materials with a metallic or glass content.
Remove any paper clips and staples before cutting.
Never exceed the maximum cutting capacity (max. 10 sheets).
)HDWXUHV
For cutting photos, card, printouts or laminated paper perfectly to size.
xGuillotine including pressing rail with finger protection
xVisual positioning aids in cm (lines, angles, scale)
xRubber footpads for secure, non-slip base
xMaximum cutting capacity: Maximum 10 sheets simultaneously.
xDimensions: xx mm (LxWxH)
xWeight: 1.kg
xCutting length: mm

13
2SHUDWLQJ(OHPHQWV
1 Base for paper
2 Visual positioning aid (aligning marks)
3 Adjustable positioning rail
4 Lock for paper aligning rail
5 Carrying handle
6 Guillotine blade (made of stainless steel)
7 Transparent pressing rail with finger protection
8 Guillotine arm lock
9 Handle for guillotine arm
9
8
7
6
5
4
3
2
1
1
2
3
45
6
7
8
9

14
2SHUDWLRQ
1. Place the guillotine on a stable, level base with the guillotine side fac-
ing up.
2. The guillotine arm is locked on the cutting unit.
Proceed as follows to unlock the guillotine arm:
Press the arm lock downwards (Fig. 1/1).
At the same time, pull the guillotine arm
towards you using the handle (Fig. 1/2).
Move the guillotine arm upwards
(Fig. 1/3).
3. Adjust the aligning rail to the position you re-
quire (Fig. 2):
Release the aligning rail's locking mecha-
nism by turning it to OPEN.
Slide the aligning rail to the position neces-
sary.
Turn the locking mechanism back to
CLOSE. There are two positions provided:
turn to the right or to the left.
4. Proceed as follows to make a cut:
Move the guillotine arm upwards.
Slide the material to be cut under the press-
ing rail and align it to the aligning marks on
the base. Slide it against the aligning rail, if
necessary.
Press down with one hand on the pressing
rail to clamp the material to be cut
(Fig. 3/1).
Use the other hand to move the guillotine
arm down and cut the material (Fig. 3/2).
)LJ
)LJ
)LJ

15
5. For reasons of safety, lock the guillotine arm again after finishing your
work:
Move the guillotine arm down
as far as possible.
Press the arm lock downwards (Fig. 4/1).
At the same time, slide the guillotine arm to
the rear using the handle (Fig. 4/2).
6. In order to transport the guillotine, carry it by the handle.
1RWH Prior to transporting it, ensure that the guillotine arm is locked.
)LJ
)LJ

16
*XDUDQWHH
It is essential to retain this guarantee!
Dear Customer,
We are pleased that you have chosen the Olympia guillotine. Should a tech-
nical problem arise with regard to the equipment, please observe the follow-
ing points:
xThe period of guarantee for the equipment is 24 months.
xIt is essential to keep the purchase receipt and original packing.
xThe first line of action if a problem occurs is to contact our hotline.
(0.14 € per minute via the German landline)
Our expert personnel can frequently provide help over the phone.
xHowever, if the problem cannot be solved via telephone, please send the
equipment to the following address in its original packing:
Servicecenter Hattingen
=XP.UDIWZHUN
D-4552Hattingen
Repairs under the terms of guarantee can only be completed when the pur-
chase receipt is enclosed.
We are sorry for any inconvenience.
Yours faithfully
Olympia Business Systems
Vertriebs GmbH
&RQVXPDEOHV
If the cutting blade becomes worn, please contact our service hotline.
In the case of a defect, please return the device together with the receipt
and original packing material to the point-of-sale.

17
&RQVLJQHVGHVpFXULWpLPSRUWDQWHV
Veuillez observer ce qui suit pour garantir une utilisation fiable du mas-
sicot :
1 Lisez attentivement ces instructions et tenez-en compte lorsque
vous manipulez votre appareil.
2 Conservez le mode d'emploi pour une utilisation future.
3 Avant d'utiliser l'appareil, posez-le sur une surface de travail plane
et stable.
4 Ne touchez en aucun cas la lame si vous déplacez ou rangez l'ap-
pareil.
5 Maniez l'appareil en vous servant de vos deux mains.
6 N'approchez pas du massicot des parties de vêtement volantes,
cravates, bijoux, cheveux longs ou autres objets non attachés.
Risque de blessures !
7 L'appareil n'est prévu que pour couper du papier.
8 Retirez les éventuels agrafes et trombones du document avant de
couper celui-ci.
9 Ne pas graisser ni aiguiser la lame.
10 Si celle-ci est endommagée, ne pas faire fonctionner votre appa-
reil.
11 Faites attention à ne pas couper vos doigts.
Évitez toujours d'entrer en contact avec la lame.
12 Faites en sorte que l'appareil ne soit pas accessible aux enfants.
13 Les enfants ou les mineurs ne doivent utiliser l'appareil que sous la
surveillance d'un adulte.
14 Ne pas vous servir de l'appareil pour vous couper les ongles.

18
([FOXVLRQGHODJDUDQWLH
Nous ne nous portons pas garants de l'exactitude des informations se rap-
portant aux propriétés techniques ainsi qu'à la présente documentation. Le
produit décrit dans cette documentation et, le cas échéant, ses accessoires
sont soumis à une amélioration et à un perfectionnement technique cons-
tants. C'est pourquoi nous nous réservons le droit de modifier, en tout temps
et sans avertissement préalable, des composants, des accessoires, des
spécifications techniques ainsi que la présente documentation de ce produit.
8WLOLVDWLRQFRQIRUPH
N'utilisez ce massicot que pour découper du papier, des cartes, du papier
photo et des feuilles plastifiées.
Toute autre utilisation est considérée comme non conforme.
Des modifications ou transformations arbitraires ne sont pas autorisées.
Ne coupez pas de documents contenant du métal ou du verre.
Retirez les éventuels agrafes et trombones du document avant de couper
celui-ci.
Ne dépassez jamais la capacité de coupe maximale (max. 10 feuilles).
&DUDFWpULVWLTXHV
Coupe parfaite de photos, cartes, sorties sur papier ou de papier plastifié
xMassicot avec bras de coupe, y compris barre de pression avec pro-
tection des doigts
xMarquage visuel en cm (lignes, angles, graduation)
xPieds caoutchoutés pour une bonne stabilité
xCapacité de coupe maximale : maximum 10 feuilles en même
temps.
xDimension : xx mm (LxlxH)
xPoids : 1,kg
xLongueur de coupe : mm

19
eOpPHQWVGHPDQLSXODWLRQ
1 Surface d'appui
2 Marquages visuels (repérages)
3 Rail de positionnement mobile
4 Dispositif de fixation du rail de positionnement
5 Poignée
6 Lame (en acier inoxydable)
7 Barre de pression transparente avec protection des doigts
8 Blocage du bras
9 Poignée du bras de coupe
9
8
7
6
5
4
3
2
1
1
2
3
45
6
7
8
9

20
0DQLSXODWLRQ
1. Placez le massicot avec le côté bras de coupe vers le haut sur une
surface stable et plane.
2. Le bras de coupe est bloqué sur le massicot.
Procédez comme suit pour débloquer le bras :
Appuyez sur le blocage du bras
vers le bas (Fig. 1/1).
Tirez en même temps le bras vers l'avant
par la poignée (Fig. 1/2).
Relevez le bras
(Fig. 1/3).
3. Réglez le rail de positionnement selon vos be-
soins (Fig. 2) :
Desserrez le dispositif de fixation du rail en
le tournant en position OPEN.
Déplacez le rail.
Tournez le dispositif de fixation en position
CLOSE. Vous avez deux possibilités : tour-
ner vers la droite ou vers la gauche.
4. Coupez comme suit :
Déplacez le bras de coupe du massicot
vers le haut.
Poussez le document à couper sous la
barre de pression et ajustez-le sur les repé-
rages de la surface d'appui. Poussez le do-
cument contre le rail de répérage.
Appuyez avec une main la barre de pres-
sion contre le document à découper
(Fig. 3/1).
Abaissez avec l'autre main le bras de coupe pour couper
le document (Fig. 3/2).
)LJ
)LJ
)LJ
This manual suits for next models
1
Table of contents
Languages:
Other Olympia Cutter manuals
Popular Cutter manuals by other brands

Zipper Mowers
Zipper Mowers ZI-FS200 user manual

WBT
WBT WBT-1 instruction manual

ARCBRO
ARCBRO Spark Series Operator's manual

Gude
Gude GF 603 Translation of the original instructions

HERKULES
HERKULES H-FS 618 Original operating instructions

Logan Graphic Products
Logan Graphic Products ARTIST CLASSIC Instruction and operation manual