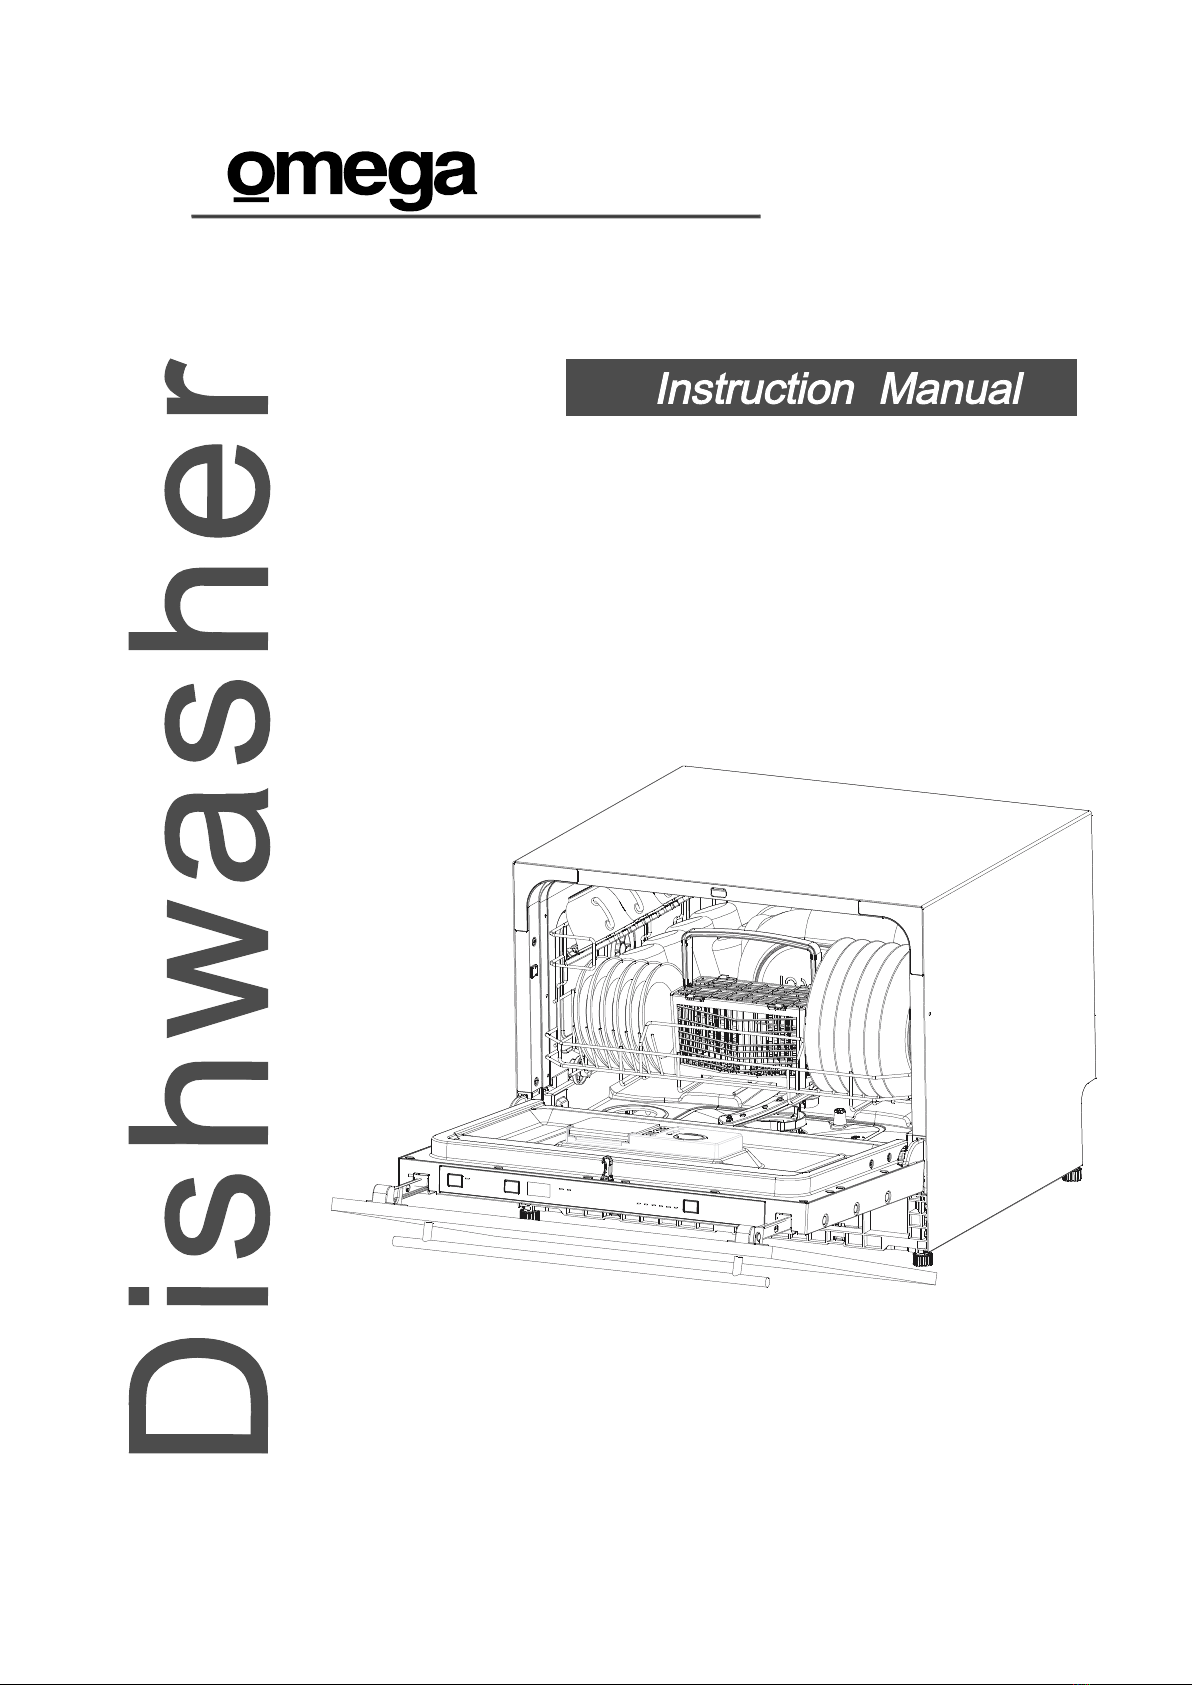
Congratulations on purchasing your new integrated dishwasher.
Omega appliances are proudly owned and distributed within Australia
by Residentia Group Pty Ltd.
Please refer to the warranty chapter at the rear of this manual for information
regarding your product’s parts and labour warranty, or visit us online at:
→ residentiagroup.com.au
Here at Residentia Group, we are customer obsessed and our Support Team
are there to ensure you get the most out of your appliance. Should you want
to learn more about your unit, and importantly, taking care of the appliance,
our Support Team are here to help. You can use our online Support Centre
at any time by visiting:
→ support.residentiagroup.com.au
Or you can contact us by dialling: 1300 11 HELP (4357)
It is important that you read through the following user manual thoroughly,
in order to familiarise yourself with the installation and operation requirements
of your appliance, and to ensure optimum performance.
Again, thank you for choosing an Omega appliance and we look forward to
being of service to you.
Kind Regards,
The Residentia Team
www.residentia.group
omegaappliances_aus
For each wash cycle.
For programs with pre-wash only.
(Follow the user instructions)
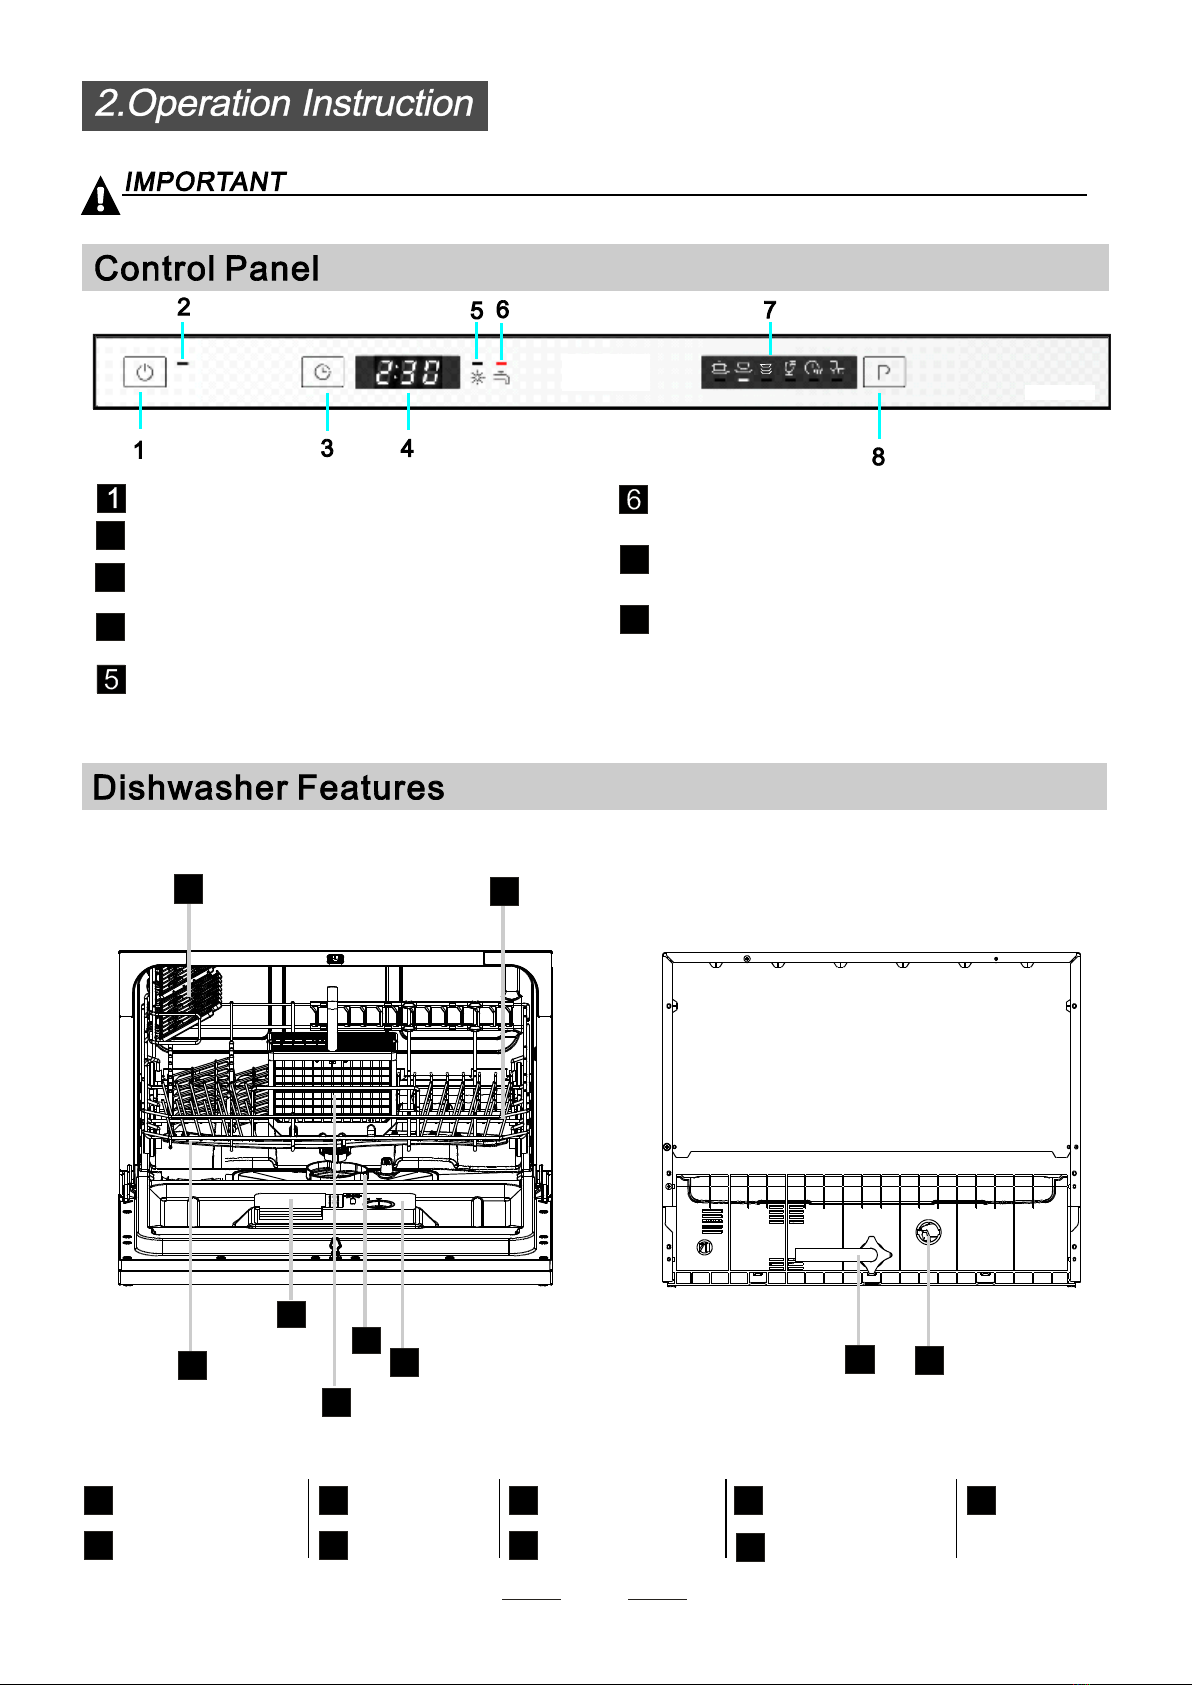
Electric indicator on control panel (if provided).
Check the rinse aid level
Load the baskets
Select a programme
T urn on the water tap and close the door. . The machine will start working after about 10 seconds.
Running the dishwasher
Switch off the appliance
Turn off the water tap,
unload the baskets
Fill the detergent dispenser
Warning: wait a few minutes (about 15 minutes) before unloading the dishwasher to avoid scald,
as the dishes and utensils are still hot and more susceptible to break.
They also could dry better.
Changing the programme
Add forgotten dishes in the
dishwasher.
Scrape off any large food particles. Soften remnants of burnt food in pans,
then load the baskets. Refer to the dishwasher loading instructions.
Open the door?
??
Press the program button until the selected program lights up.
( See the section entitled Operation instruction)
If the appliance is switched
off duringawash cycle.
Open the door carefully.
Hot steam m ay escape
when the door is opened!
If the appliance was switched off during a wash cycle, when switch
on again, please re-select the washing cycle and operate the dishwasher from the beginning.
Switch on the appliance Press the Power switch button to switch on the appliance, Open the door.
1.Open the door.
2.Add the forgotten dishes.
3.Close the door, the dishwasher will startrunning again after 10 seconds.
For detailed operating method read the corresponding content on the instruction manual.
1. A running cycle can only be modified if it has been running forashort time. Otherwise the detergent
may have already been released and the water already drained. If this is the case, the detergent
dispenser must be refilled.
2. Open the door,then press the program button more than 3 seconds to cancel the running programme..
3. Select a new programme.
4. Close the door then the dishwasher will restart.
When the working cycle is finished, the buzzer of the dishwasher will sound8times, then stop.
Turn off the appliance using the Power button.
Since the appliance is standing by, it will power off automaticly after 30 minutes withoutany operation.
AB
C