manuals.online logo
Brands
  1. Home
  2. •
  3. Brands
  4. •
  5. Omega
  6. •
  7. Measuring Instrument
  8. •
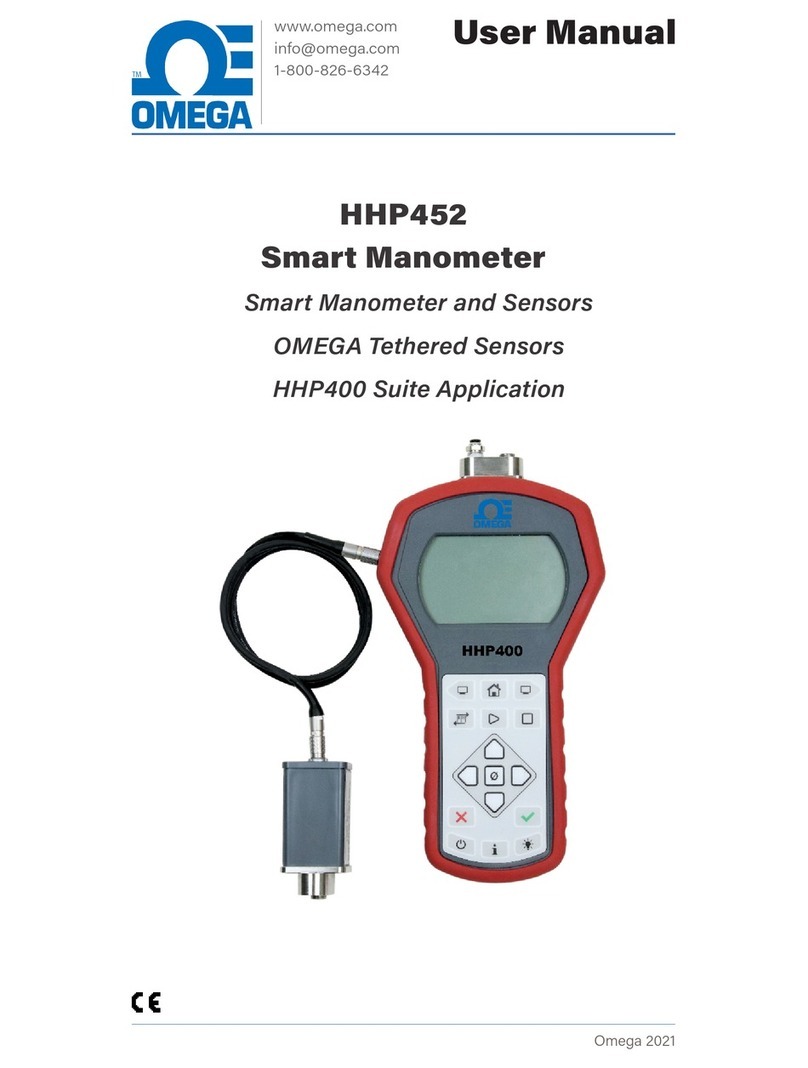
  9. Omega HHP452 User manual

Omega HHP452 User manual

Page  of 
© Omega 2021
M REL- ()
Quick Start Guide
HHP452 Smart Manometer & Sensors
www.omega.com
[email protected]
1-800-826-6342
First things first
General purpose use only
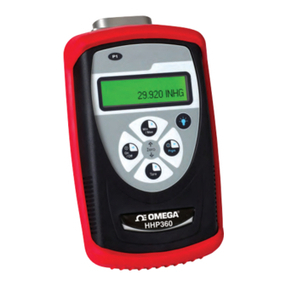
HHP452 Smart Manometer
Omega Tethered Sensors
These are not intended for hazardous locations.
Steps to get started
Make a connection
▪Attach the pressure fittings to the internal
pressure sensor module.
▫The threads should be coated with a pipe
sealant compound before installation.
▫Tighten to finger tight plus 1.5 turns to 3
turns using a 19 mm ( in.) wrench on the
manifold.
Use only a wrench on the fitting
and the manifold.
▪Optional: Attach the pressure fittings to the
external pressure sensor module.
Carefully equalize the pressure
To avoid damaging dierential sensors:
1. Make sure you are connecting to the correct
pressure port on DN or DI dierential pressure
modules.
1. P1 port is high pressure.
2. P2 port is low pressure.
2. Apply pressure to both dierential ports (P1 and
P2) at the same time.
Know your batteries
The Smart Manometer is powered by four 1.5 volt
AA size batteries.
▪Never mix batteries—not by manufacturer or by
same time.
▪Replace all four batteries with batteries from the
same package or with the same expiration date.
Install the batteries
1. Turn over the Smart Manometer so the display
faces down.
2. Remove the two screws on the battery cover
with the Phillips head screwdriver by turning
them counterclockwise.
3. Insert four AA batteries.
Note: Pay attention to the positive (+) and
negative (−) battery polarity markings at the
bottom of the compartment.
4. Replace the battery cover. To secure the cover,
torque the screws clockwise 2 in. lbs. maximum.
Learn the function keys
Omega Tethered Sensors (MTS)
Optional Omega Tethered Sensors
▪Pressure (Absolute, Compound, Dierential).
Make an electrical connection
▪Align the red dot on the Smart Manometer with
the red dot on the Tether cable and push in.
▪Align the red dot on the Omega Tethered
Sensors with the red dot on the Tether cable
and push in.
USB cable & HHP Suite
For use only in non-hazardous locations
Connect the USB cable to the Smart Manometer
and to your computer to configure the HHP400 and
sensors using the HHP400 Suite application.
Install USB Drivers & HHP400 Suite
You must install USB Drivers first then install the
HHP400 Suite application.
For installation instructions:
https://www.omega.com
Open HHP400 Suite
Use HHP400 Suite application to:
▪Sync PC Time to Gauge for data logging and
display.
▪Select or deselect the Display functions on
each Smart Manometer or Measurement Units
that you need on each sensor.
▪Select the timeout for the Backlight and for the
Auto O.
Close HHP400 Suite
▪Do not turn o the power on the HHP400 while
it is communicating with HHP400 Suite.
▪Close HHP400 Suite first, disconnect the USB,
and turn o the Smart Manometer.
1. Backward
2. Home
3. Forward
4. Units
5. Start
6. Stop
7. Up arrow
8. Left arrow
9. Zero or Tare
10. Right arrow
11. Down arrow
12. Cancel or Esc
or ×
13. Accept or 
14. Power
15. Information
16. Backlight
The keys from
left to right
size, by capacity, or by chemistry.
▪Never mix old and new batteries.
▪Remove all four batteries in the HHP400 at the
Page  of 
© Omega 2021
M REL- ()
Frequently Asked Questions
FAQs
How often is a new pressure
measurement displayed?
The calibrator display updates with a new pressure
measurement five times per second.
What are the dierent Display functions
on the calibrator?
The calibrator ships with five functions turned on.
They are listed in bold below. Turn functions on or
o using HHP400 Suite.
. Home (default) . AVG (Average)
. MIN (Minimum) . RATE
. MAX (Maximum) . DATA LOG
. RELIEF VALVE TEST . Temperature & Time
. + / - (Accuracy) . LEAK TEST
. T.OFF, T.ON ( Ta re) . LEAK TEST
DURATION
What does it mean when the red
backlight flashes?
▪The flashing red backlight indicates an error
condition.
▪Possible error conditions are:
▫Pressure has exceeded the stated upper
limit of the sensor(s).
▫Pressure has fallen below the stated lower
limit of the sensor(s).
▪The red backlight overrides the white backlight.
FAQs
What does the Zero (Ø) key do?
Home
▪If the sensor is within a tolerance band around
zero, press and hold the Zero key to zero the
pressure measurement and to reset the Min
and Max measurements.
▪Note: The tolerance band is approximately ± 1
% of the Full Scale pressure value of the sensor.
▪Absolute sensors have additional functionality.
In Min or Max mode
▪Press and hold the Zero key to reset the Min
and Max measurement. However, this does not
zero the pressure measurement.
In Tare mode
▪When the Tare is o (T.OFF), press and hold
the Zero key to turn on Tare (T.ON) and to
set the Tare value at the current p ressure
measurement.
▪Likewise, when the Tare is on (T.ON), press and
hold the Zero key to turn o the Tare mode.
In Average mode
▪Press and hold the Zero key to restart the
rolling average.
Holding the Zero key
▪The key must be held to perform the Zero or
Tare mode. The displayed value(s) dashes out
during the zero or tare process.
Why are the available units dierent
between a 15 psi and 3 000 psi sensor?
If a given measurement unit cannot display
the correct number of digits, the calibrator
automatically advances to the next displayable unit.
FAQs
Which version of Data Log is on my
calibrator?
1. Turn on the calibrator.
2. Press the Display button until DATA LOG
appears.
3. Press the Information button. The version
appears: Vers. Pro or Vers. Lite.
How long does the white backlight stay
on after the Backlight key is pressed?
▪The white backlight has an automatic timeout.
If no keys have been pressed, the backlight
automatically turns o after 1 minute.
▪Note: You can configure the backlight timeout
with HHP400 Suite.
What does the bar graph at the top of the
display indicate?
▪The bar graph displays a live indication of the
current pressure applied to the sensor as a % of
Full Scale.
▪However, when the battery percentage is
displayed, the bar graph follows the large digit
display in indicating the remaining state of
charge for the batteries.
What does low battery indicator mean?
▪Be prepared to change batteries when you
see the outline of the battery icon or when the
outline of the icon flashes.
FAQs
How long will the calibrator remain on if
I leave it unattended?
▪The default setting is Always On.
▪You can configure the timeout for Auto O with
HHP400 Suite.
How to contact us
Contact Sales
If you have any issues, questions, or suggestions,
please contact us using one of the following
methods.
sales@omega.com
Omega
www.omega.com
() -

This manual suits for next models

1

Other Omega Measuring Instrument manuals

Omega PLATINUM DP32PT User manual

Omega

Omega PLATINUM DP32PT User manual

Omega HHWT-11 User manual

Omega

Omega HHWT-11 User manual

Omega HHLM3 User manual

Omega

Omega HHLM3 User manual

Omega PHB21 User manual

Omega

Omega PHB21 User manual

Omega DP41-B Series User manual

Omega

Omega DP41-B Series User manual

Omega FMG470 Series User manual

Omega

Omega FMG470 Series User manual

Omega CL1000 Series User manual

Omega

Omega CL1000 Series User manual

Omega DP25B-S Operator's manual

Omega

Omega DP25B-S Operator's manual

Omega RH820 User manual

Omega

Omega RH820 User manual

Omega FLOWMETER FL-1500A User manual

Omega

Omega FLOWMETER FL-1500A User manual

Omega FMG90 Series User manual

Omega

Omega FMG90 Series User manual

Omega DP25B-RTD Instruction manual

Omega

Omega DP25B-RTD Instruction manual

Omega RD2800 Series User manual

Omega

Omega RD2800 Series User manual

Omega FD6003 User manual

Omega

Omega FD6003 User manual

Omega CDH-721 User manual

Omega

Omega CDH-721 User manual

Omega FHG Series User manual

Omega

Omega FHG Series User manual

Omega RHXL5SD User manual

Omega

Omega RHXL5SD User manual

Omega DVG-64 User manual

Omega

Omega DVG-64 User manual

Omega DBCL400 User manual

Omega

Omega DBCL400 User manual

Omega HHP680 User manual

Omega

Omega HHP680 User manual

Omega DPF700 User manual

Omega

Omega DPF700 User manual

Omega FPDM1000 User manual

Omega

Omega FPDM1000 User manual

Omega HHM590 User manual

Omega

Omega HHM590 User manual

Omega DFG-RS5 User manual

Omega

Omega DFG-RS5 User manual

Popular Measuring Instrument manuals by other brands

Tektronix BERTScope BSA Series instructions

Tektronix

Tektronix BERTScope BSA Series instructions

AFRISO DIT 10 operating instructions

AFRISO

AFRISO DIT 10 operating instructions

Dostmann Electronic HumidCheck Instructions for use

Dostmann Electronic

Dostmann Electronic HumidCheck Instructions for use

ANTEK 9000 Series Installation, operation & service manual

ANTEK

ANTEK 9000 Series Installation, operation & service manual

Chauvin Arnoux ORITEL RW 501 user manual

Chauvin Arnoux

Chauvin Arnoux ORITEL RW 501 user manual

VOLTCRAFT MS-450 operating instructions

VOLTCRAFT

VOLTCRAFT MS-450 operating instructions

Matchmaster 12MM-DSTM1 instruction manual

Matchmaster

Matchmaster 12MM-DSTM1 instruction manual

C-LOGIC 350 instruction manual

C-LOGIC

C-LOGIC 350 instruction manual

TESTO 400 Short instructions

TESTO

TESTO 400 Short instructions

J.ASSY Titanium user manual

J.ASSY

J.ASSY Titanium user manual

Badger Meter LM OG Series Instructions for use and maintenance

Badger Meter

Badger Meter LM OG Series Instructions for use and maintenance

SCS TB-9017 user guide

SCS

SCS TB-9017 user guide

Pixsys 2000.35.021 user manual

Pixsys

Pixsys 2000.35.021 user manual

Pulsar 22 user manual

Pulsar

Pulsar 22 user manual

OPTIKON JANUS Manual for installation and use

OPTIKON

OPTIKON JANUS Manual for installation and use

SRM ORIGIN PowerMeter user guide

SRM

SRM ORIGIN PowerMeter user guide

Varian CP-4900 Micro-GC Preinstallation manual

Varian

Varian CP-4900 Micro-GC Preinstallation manual

TimeTronics Argus Photo Finish quick start guide

TimeTronics

TimeTronics Argus Photo Finish quick start guide

manuals.online logo
manuals.online logoBrands
  • About & Mission
  • Contact us
  • Privacy Policy
  • Terms and Conditions

Copyright 2025 Manuals.Online. All Rights Reserved.