Omni-Tuff 03-ITA24 Service manual

Battery Powered
Strapping Tools
OMNI-TUFF Suggested Method
[03-ITA24 03-ITA25]
Passionate about Preventing Wastage
Omni-tuff Group
Tel: 1300 662 987 Fax: 1300 852 987
Email: [email protected]
www.omnituff.com

WELD ADJUSTMENT
2. Hold down weld button until illuminated numeral flashes
1 = Minimum intensity
9 = Maximum intensity
TENSION ADJUSTMENT
2. Hold down tension button until illuminated numeral flashes
1 = Minimum tension
9 = Maximum tension
1. Switch on tool by pressing the number '1' button once. Machine will
beep and green ED will flash.
1. Switch on tool by pressing the number '1' button once. Machine will
beep and green ED will flash.
3. Once it is flashing, continue to press weld button until the required intensity
is reached.
3. Once it is flashing, continue to press tension button until the required tension
is reached.
WELD TENSION GUIDE
2

Three options:
1. MANUAL (Tool Operation - Page 5)
2. SEMI (Tool Operation - Page 6)
3. AUTOMATIC (Tool Operation - Page 6 7)
3. Whilst flashing, press button until desired mode position illumunates i.e. Auto, Semi, Man
1. Switch on tool by pressing the number '1' button once. Machine will beep and green ED will flash.
Hold down the SET button until ED flashes in bar at mode position
MODE ADJUSTMENT
MANUAL SEMI AUTO
3

1. Pass strap over package
2. Align strapping
3. Clench lever and position strap in tool
TOOL
OPERATION
-
MANUAL MODE
STRAPPING METHOD
4

2. Press button 2 to complete welding and cutting of
strap; a beep signals completion of process.
1. Press and hold down button ONE until desired
tension is achieved - and release.
3. Clench the release lever to release strap from tool.
Slide tool away.
TOOL
OPERATION
-
MANUAL MODE
TOOL
OPERATION
-
SEMI
-
AUTOMATIC MODE
5

1. Press button ONE once to release safety mechanism
WARNING:
Ensure that your
job can sustain
tension setting
before engaging
automatic mode.
2. Clench the release lever to release strap from
tool. Slide tool away.
1. Press and hold down button ONE until tensioning
and friction weld is heard; a beep signals completion
of process. Then release.
TOOL
OPERATION
-
SEMI
-
AUTOMATIC MODE
TOOL OPERATION - AUTOMATIC MODE
6

3. Clench the release lever to release strap from
tool. Slide tool away.
2. Press button ONE for one second. This activates
the tension and welding function. The beep signals
completion of process. Then release.
TOOL OPERATION - AUTOMATIC MODE cont.
7

8
Service Request
Receipt Details
Date despatched / / Time : am/pm
Date required / / Time : am/pm
Customer
Company Contact name
Address Phone number
Mobile number
Suburb Order No.
Details of Service Request
Item Serial No.
Description
Faults
Completion (Tech Dept. to complete)
SR No. Date
Technician Signed
Returned Date Method
Omni-tuff Group
PO Box 2039 MARYBOROUGH QLD 4650
2 Activity Street MARYBOROUGH QLD 4650
Tel: 1300 662 987 Fax: 1300 852 987 Email:
sales@omnituff.com
ABN: 54 439 047 203 ACN: 137 478 490

9
LOOKING AFTER YOUR ITA TOOL
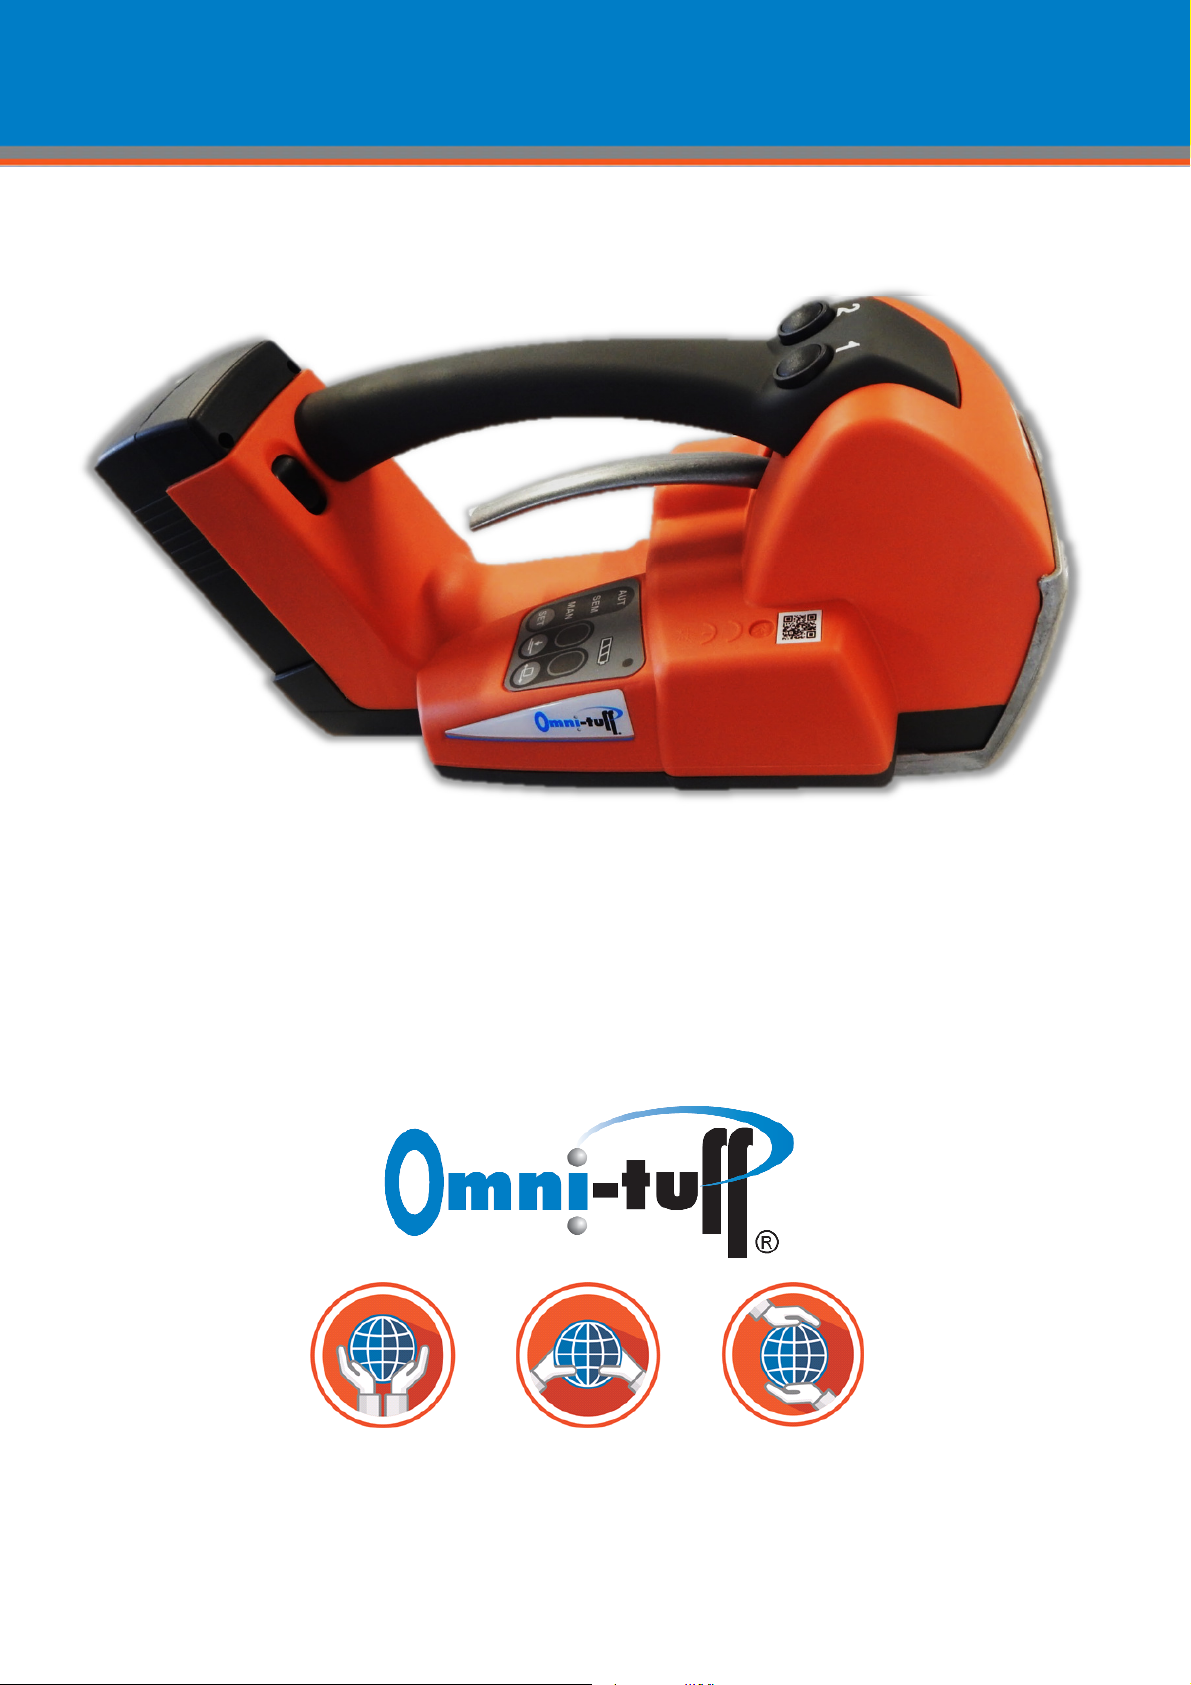
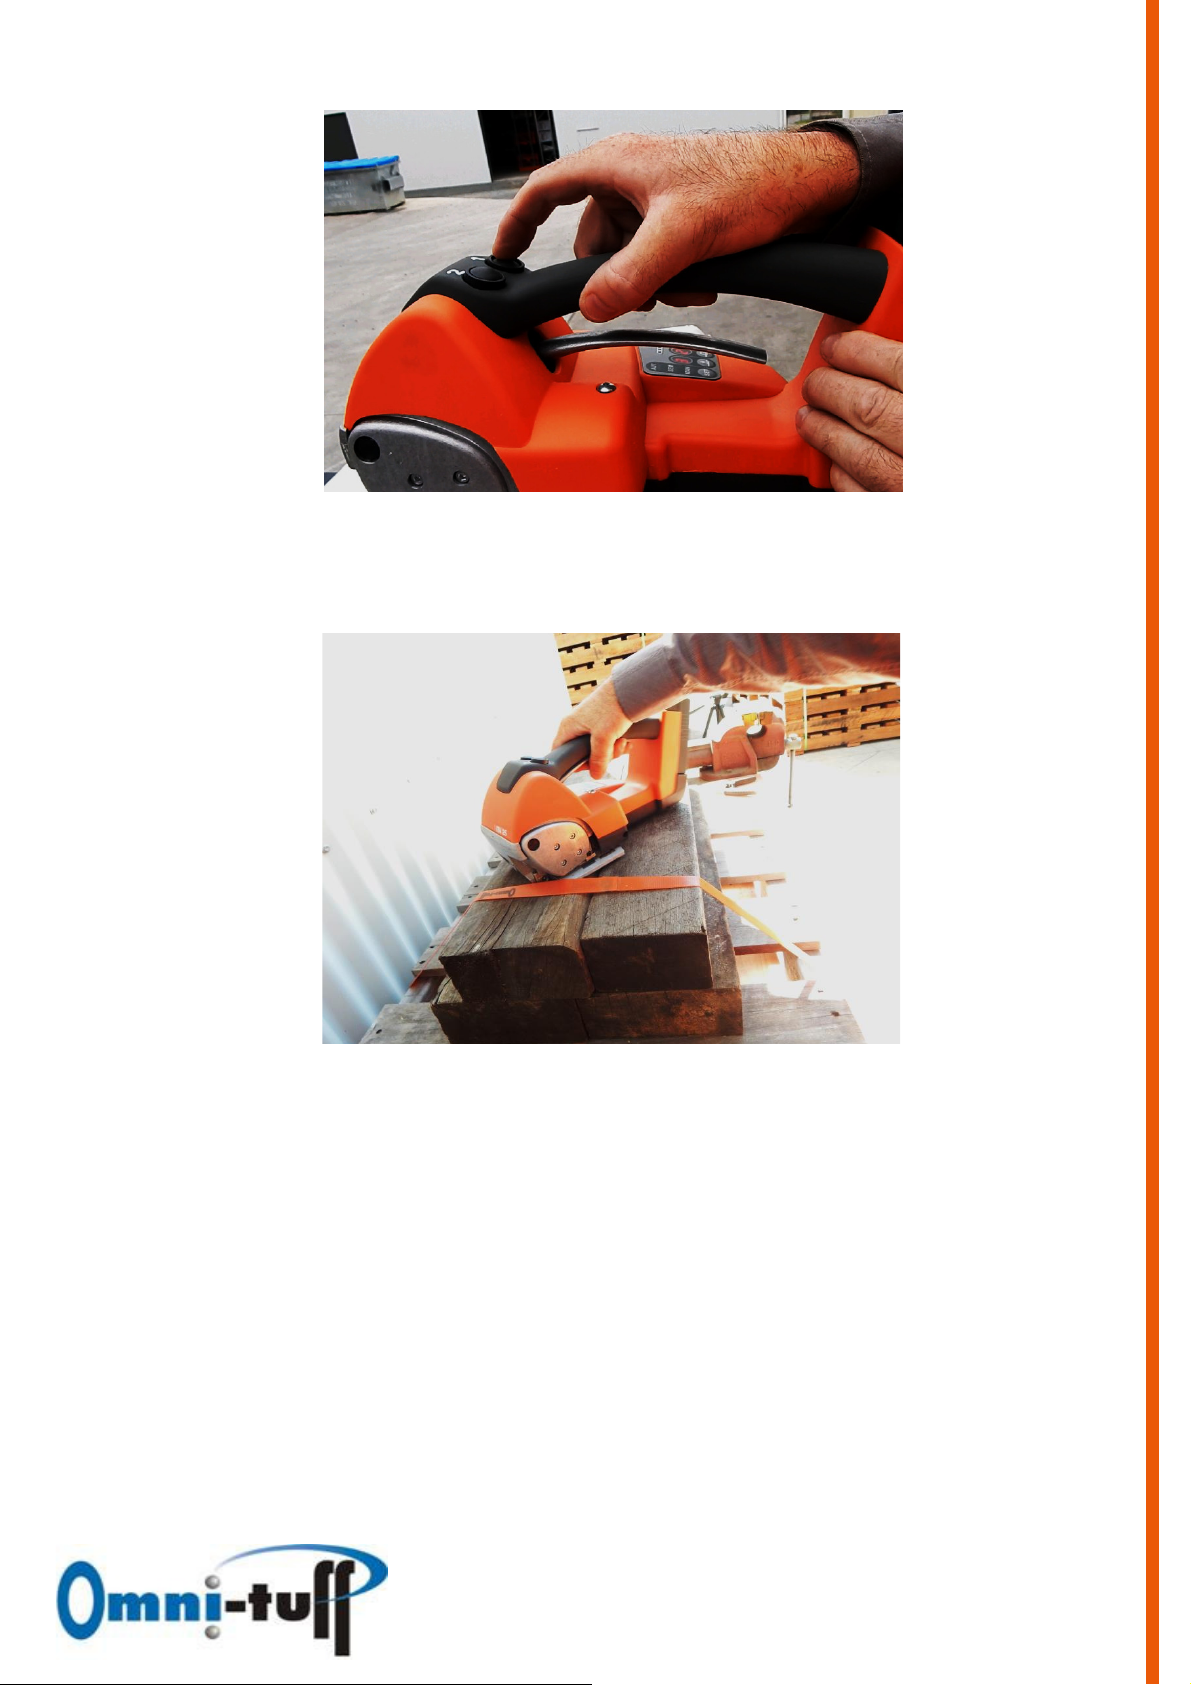
Congratulations on your purchase of a high quality Italian made ITA Battery
Powered Strapping Tool! We are sure you will reap your money’s worth of
efficiency and more!However, your tool will need regular maintenance to keep in
top performance. Some tasks can be easily carried out by you or your team, as
explained below. However, like a quality car, professional servicing is also of high
importance. Please see Page 2 which outlines suggested service intervals etc.
(PLEASE NOTE: WARRANTY COVERS FAULTY PARTS/WORKMANSHIP ONLY.
WARRANTY WILL BE VOID IF SERVICE/MAINTENANCE IS NEGLECTED)
IMPORTANT MAINTENANCE TO BE CARRIED OUT BY YOUR TEAM
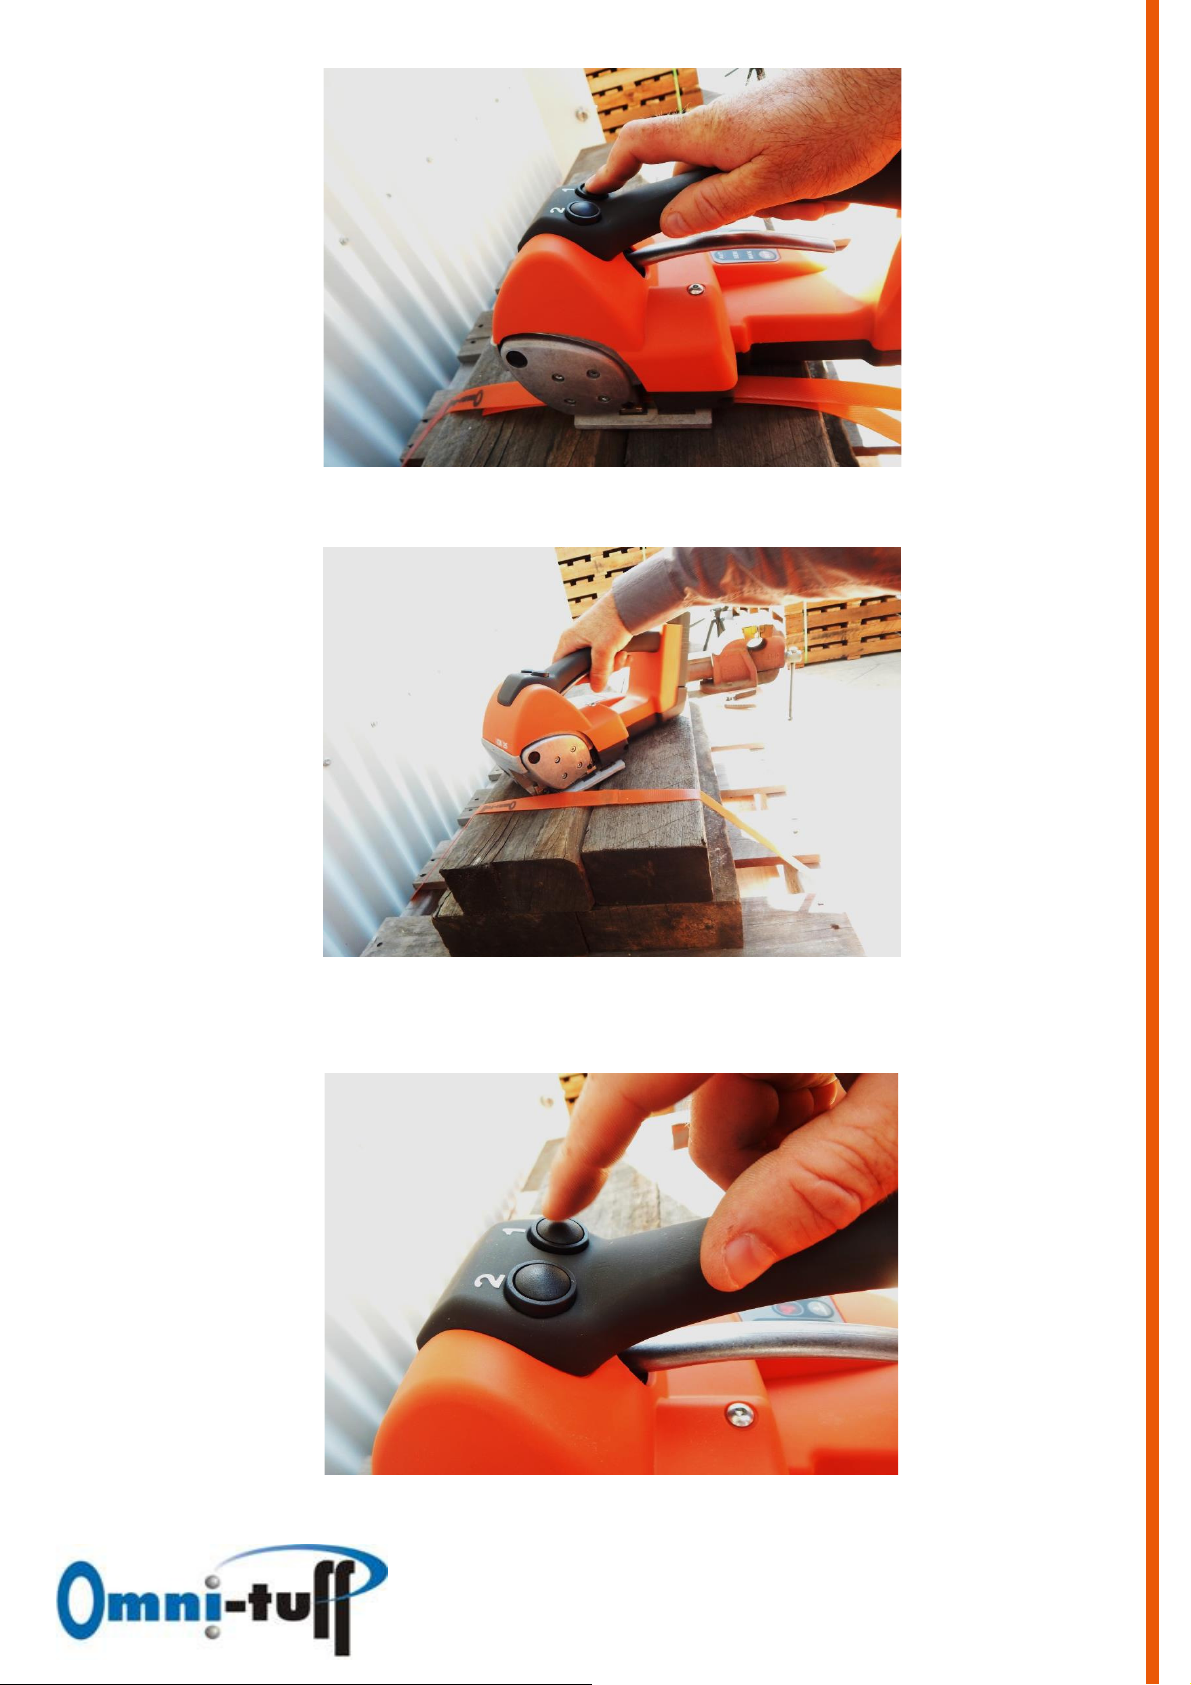
1. Weekly blowing out of the strap tensioning/welding area with compressed air.
If there is no compressor available, we suggest the investment of an aerosol
can of compressed air. This task will ensure buildup of dust/strap deposits is
kept to a minimum. Please refer to the safety guide for your compressor.
2. DO NOT POKE ANY METAL OR SHARP OBJECTS INTO YOUR TOOL AS IT
COULD RESULT IN DAMAGE TO FEEDWHEEL TEETH AND GRIPPER
PLATES.
3. Tool must be kept dry at all times.
Omni-tuff Group
PO Box 2039 MARYBOROUGH QLD 4650
2 Activity Street MARYBOROUGH QLD 4650
Tel: 1300 662 987 Fax: 1300 852 987 Email:
sales@omnituff.com
ABN: 54 439 047 203 ACN: 137 478 490

10
Dear Customer
Thank you for your purchase from us of the ITA battery-operated strapping tool. We have
no doubt you are finding it a very valuable asset for your team’s productivity.
Please find below a chart showing Italy’s suggested service intervals to maximize your
tool’s performance.
USAGE SERVICE INTERVAL
Please speak to our technical support team to get some more details as to maintenance
tasks that can easily be performed by your own team and what is usually sent to our
technical department, to service on your behalf.
(PLEASE NOTE: WARRANTY COVERS FAULTY PARTS/WORKMANSHIP ONLY.
WARRANTY WILL BE VOID IF SERVICE/MAINTENANCE IS NEGLECTED)
We do offer a customer support program where one of our team will call and remind you of
each service due.
If you wish to be entered onto our “Reminder for Service” list, please fill in the form at
the foot of this page and fax back.
We shall look forward to being of further help to you….
Kind regards from the Team
REQUEST FOR “REMINDER FOR SERVICE” FORM
Company Name………………………………………………………………...
Contact ………………………………………………………………………….
ITA TOOL 20 / 21/ 23 / 24 / 25 (Please circle)
Usage: High /Moderate /Low (Please circle)
Please fax this sheet to 1300 852 987 or email to [email protected]
First purchase
Use on continuous shift basis
Use on single shift basis
3 months (complimentary)
6 months
12 months
This manual suits for next models
1
Table of contents
Popular Tools manuals by other brands

Semtronics
Semtronics 62418 Installation and operating instructions

Graco
Graco LD Series instructions

TE Connectivity
TE Connectivity 734185-1 Original instructions

BGS technic
BGS technic 9565 instruction manual

Huskie Tools
Huskie Tools REC-B6430 Operation manual

Fromm
Fromm P320 Operation manual & spare parts list