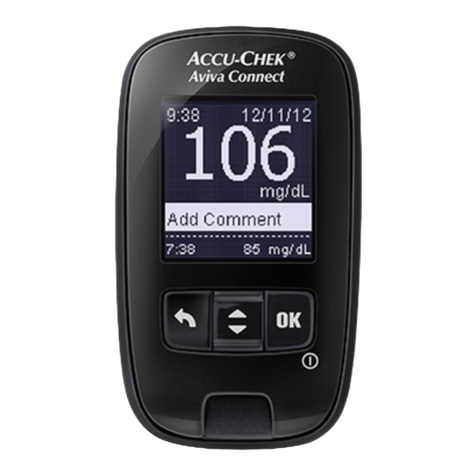
HOW TO ADD A COMMENT TO A TEST RESULT
1. With any test result on
the display, press the
OK button.
!
2. You may add a food, health
or exercise comment by
highlighting any of them
and pressing OK.
!
"
Bef Brkft
Gluc. 7.5 Comment
Sep 8-02 8:30 am
Exer
Save
Health
Health 2
Food Stress
--------
--------
3. Select comment from
the menu and press
OK.
4. When you have
completed making
comments, scroll to
“Save” and press OK.
You may add a comment for food,
health and exercise
The meter will automatically prompt
you to add a comment when you have a
test result outside of your glucose
target range.
To add a comment (example)
USE FASTFACTS
™
TO VIEW ON-SCREEN CHARTS AND GRAPHS
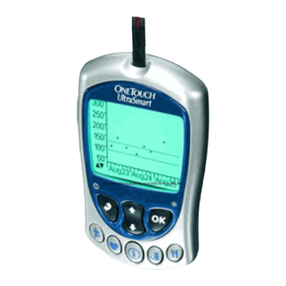
1.Press the FastFacts™
SmartButton™on the
meter to access the
menu. Select “Glucose
Analysis”.
2.Scroll to “Graph of All
Results” and press OK.
To check a specific result in the graph
1. Scroll backward or
forward in time to move
from one data point to
another.
!
2.To view the details of a
test, press OK while that
test result is flashing.
To return to the graph,
press the Back button.
Sep 8-02 9:20 pm
Meds Entry
InsulinA
InsulinB
Pill B
Exit Meds Entry
Pill A
2.Enter an insulin dosage
by highlighting an insulin
type and press OK.
Sep 8-02 9:20 pm
Meds Entry
Pill A
Pill B
Exit Meds Entry
InsulinB
3.Then record the units of
insulin. Repeat these
steps as needed for the
number of insulin types
stored in the meter.
4.Select “Exit Meds Entry”,
and press OK when
finished.
Logbook
Insulin Intake
FastFacts
Hypo Info
Health Checks
Food Averages
Glucose Analysis
Glucose by Meals
Glucose Analysis
Average by Time of Day
Graph of All Results
Average by Exercise
Graph by Time of Day
Glucose Range Info
Average of All Results
You may enter information about your
diabetes management plan by making
logbook entries directly into the meter
memory. These are activities that are
not associated with a test result. You
do not have to test to enter logbook
information.
Electronic logbook entries can be used
in place of paper logbook entries.
The FastFacts™feature lets you view
charts and graphs of your test results
and other logbook information you
have entered. This way you can quickly
spot patterns and trends, and make
changes to your diabetes management
plan if needed.
OneTouch®, Ultra™, UltraClear™ and UltraSmart™ are trademarks of Johnson & Johnson,
used by LifeScan Canada Ltd. ©2003 LifeScan Canada Ltd. Burnaby B.C. V5C 6C6 AW 055-308 03/03 www.OneTouch.ca
Blood
Glucose
Monitoring
System
1.
Press the Medication
SmartButton
™
on the meter
to access the menu.
Select the current date
and time or “Other Time”.
Add New Entry for
Meds Entry
Sep 8-02 9:20 pm
Other Time
To personalize your mealtime schedule
SET UP A MEALTIME SCHEDULE
1.First set the time period
for calculating glucose
Averages, and press OK.
2.“Schedule” will now be
highlighted on the display.
Select “Personal” and
press OK to display the
Before and After mealtimes.
3. Scroll to any mealtime you
would like to change.
Select the correct hour and
minutes, and press OK.
4.
You will only be able to set
the start times, as end times
will change to match the
start time of the next period.
After making all mealtime
changes, press OK to save
your personal schedule.
Advanced Features
Averages
Glucose Range
--- - ---
Before Meal
After Meal
90-130
3.9Hypo Level
Schedule
Pre-set
7 Day
14
30
60
90
Whenever you test, mealtimes will be
recorded in the logbook along with the
test result, whether or not you are eating
on schedule. The meter was pre-set at the
factory with Before and After mealtimes.
First enter Basic Set-up mode by pressing
and holding the OK button and Back
button at the same time for 2seconds.
Then scroll to “Advanced Features” and
press OK.
To make an insulin medication
logbook entry (example)
To view an interactive graph
of all glucose test results by
date (example)
MAKE LOGBOOK ENTRIES
