Onway MINI PLUS Instructions for use
- 1 -
Electric Bicycle (Electric Vehicle)
Comply with safety standards
感谢选择此款电动自行车。
Thank you for purchasing ONWAY electric bicycle.
If you have any questions, please contact us for help before
you decide to return the e-bike.
After-sales : customers@onway-ebikes.com
You can also visit ONWAY website www.onway-ebikes.com
and leave messages to us, we will contact you asap.
Please Pay Attention:
Our electric bicycle is specially designed for city roads.
Operation Instruction
Maintenance Manual
Warranty Instruction
Model:ONWAY MINI PLUS

- 2 -
Intensive use of the electric bicycle or riding it not on flat roads can
cause damage to the bicycle so that the bicycle will be out of order ahead
of time and result in injuries.
Like other machine combination, electric vehicles will also be aging
due to high pressure and wear. Different materials or components have
different aging situations. Once surpassing the expected service life,
electric bicycle is likely to be blew out suddenly and cause injuries during
the using process. Under high pressure, cracks, scratches or discoloration
can be occurred to electric vehicles, which indicate that the components
have exceeded their using services and should be replaced.
Therefore, you are advised to regularly check the frame, front fork
and rim of your electric bicycle, especially in the case of intensive use.
You are also advised to read the instruction in detail before using the
electric bicycle, which contains the information of the first adjustment,
maintenance and use. Wish you have safety and happiness when using the
electric bicycle and get satisfaction.
Important Suggestion:
1. Wearing a suitable helmet when riding.
2. Not suggest riding this e-bike under 18 years old.
3. Not suggest used for picking up children.
4. Can ride in rainy or snowy, but avoid wading into water.
5. Store the battery in a dry and ventilated condition, keep it away
from fire. Unplug the power after charging, please charge the
battery once a month when not in use.

- 3 -
Contents
1Battery: extraction, charge, insertion, use and maintenance..... - 4 -
2Adjust the Riding Position..............................................................- 8 -
3Tire Inflation.................................................................................... - 9 -
4Maximum Load................................................................................ - 9 -
5Start.................................................................................................- 10 -
6Folding the Bicycle........................................................................ - 12 -
7Maintenance and Adjustment...................................................... - 14 -
8Tightening Torque.........................................................................- 19 -
9Accessories.....................................................................................- 23 -
10 Safety Instructions........................................................................ - 23 -
11 Safety Driving Recommendations............................................... - 24 -
12 What to Do If Your Electric Bicycle Breaks Down?....................- 24 -
13 Warranty........................................................................................ - 25 -
- 4 -
1Battery: extraction, charge, insertion, use and
maintenance
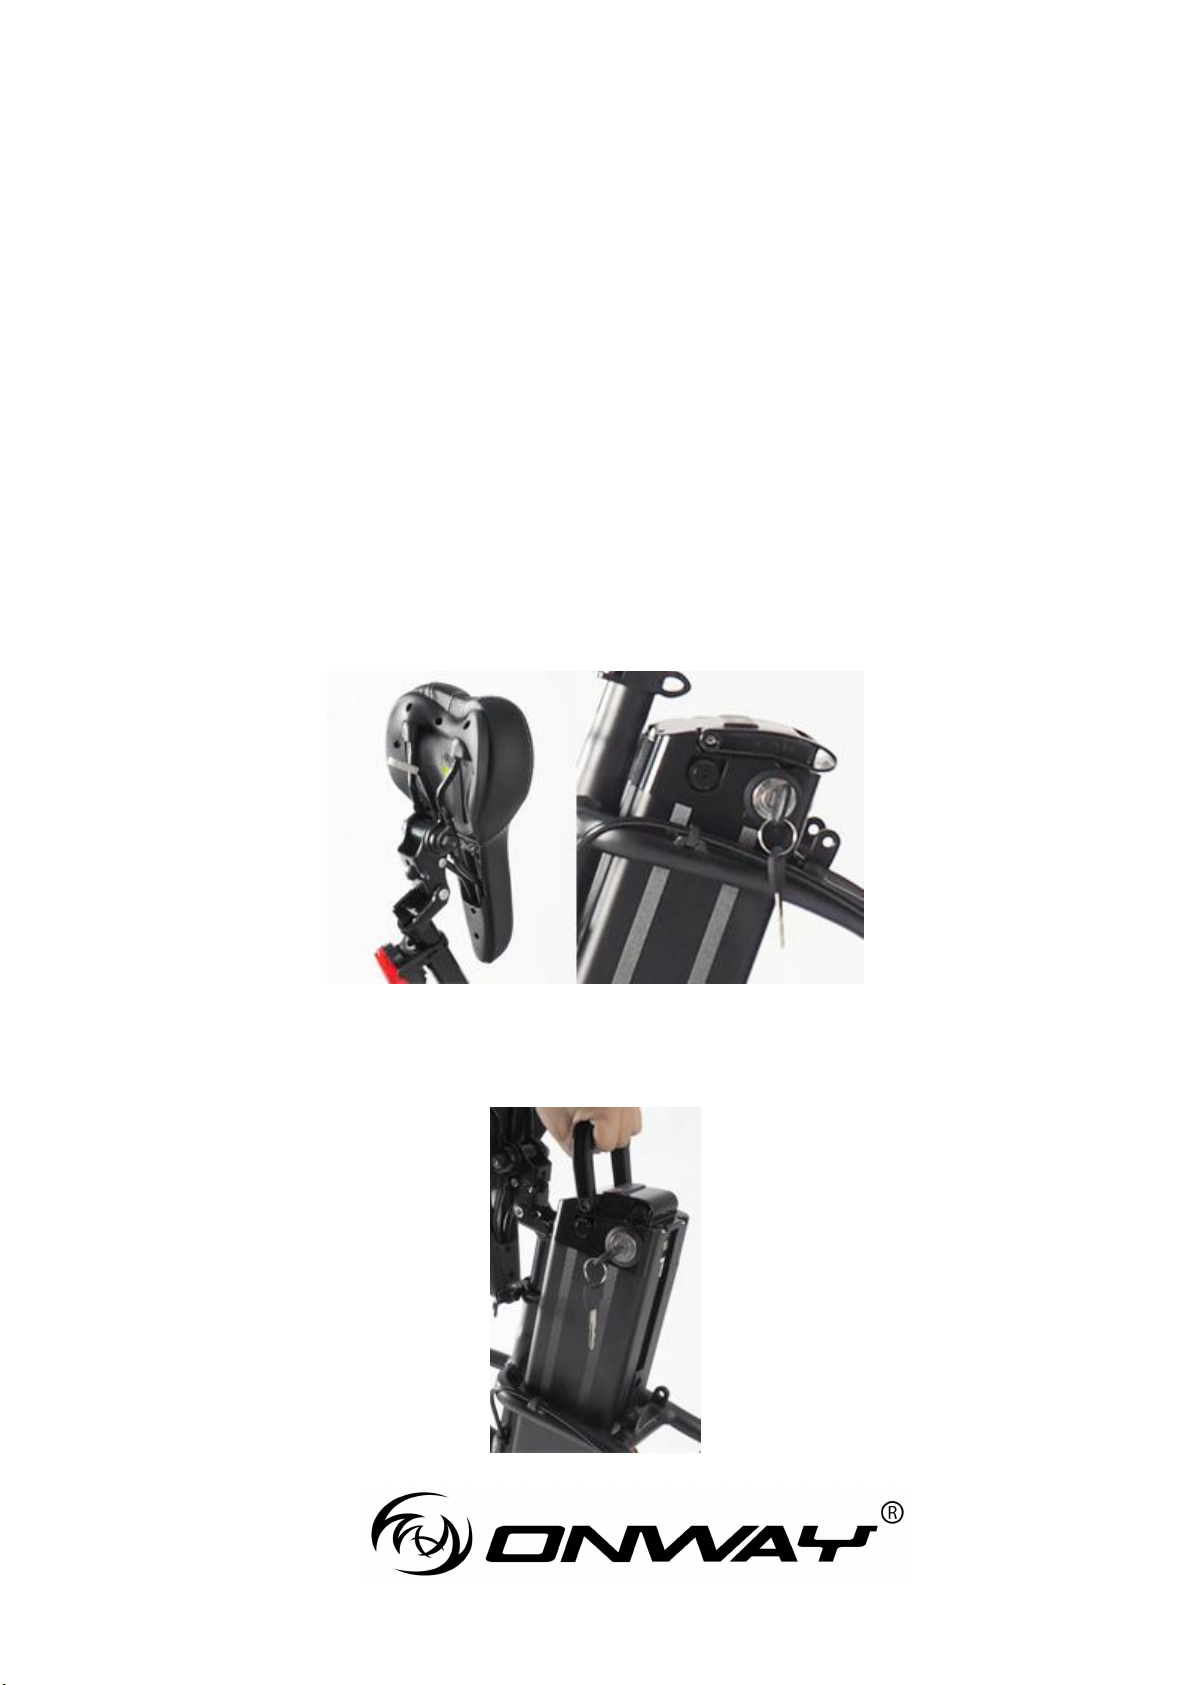
Battery is located behind the central beam and it should be fully
charged before using. If you need to take out the battery, please follow the
steps below:
1.1 Extract battery: turn the seat around before inserting the key, then turn
they key clockwise till the bolt jumps open. The unlocked battery then
can be extracted (making sure that the key is turned to the bottom).
1.2 Grab the handle of the battery, lift it up vertically.
- 5 -
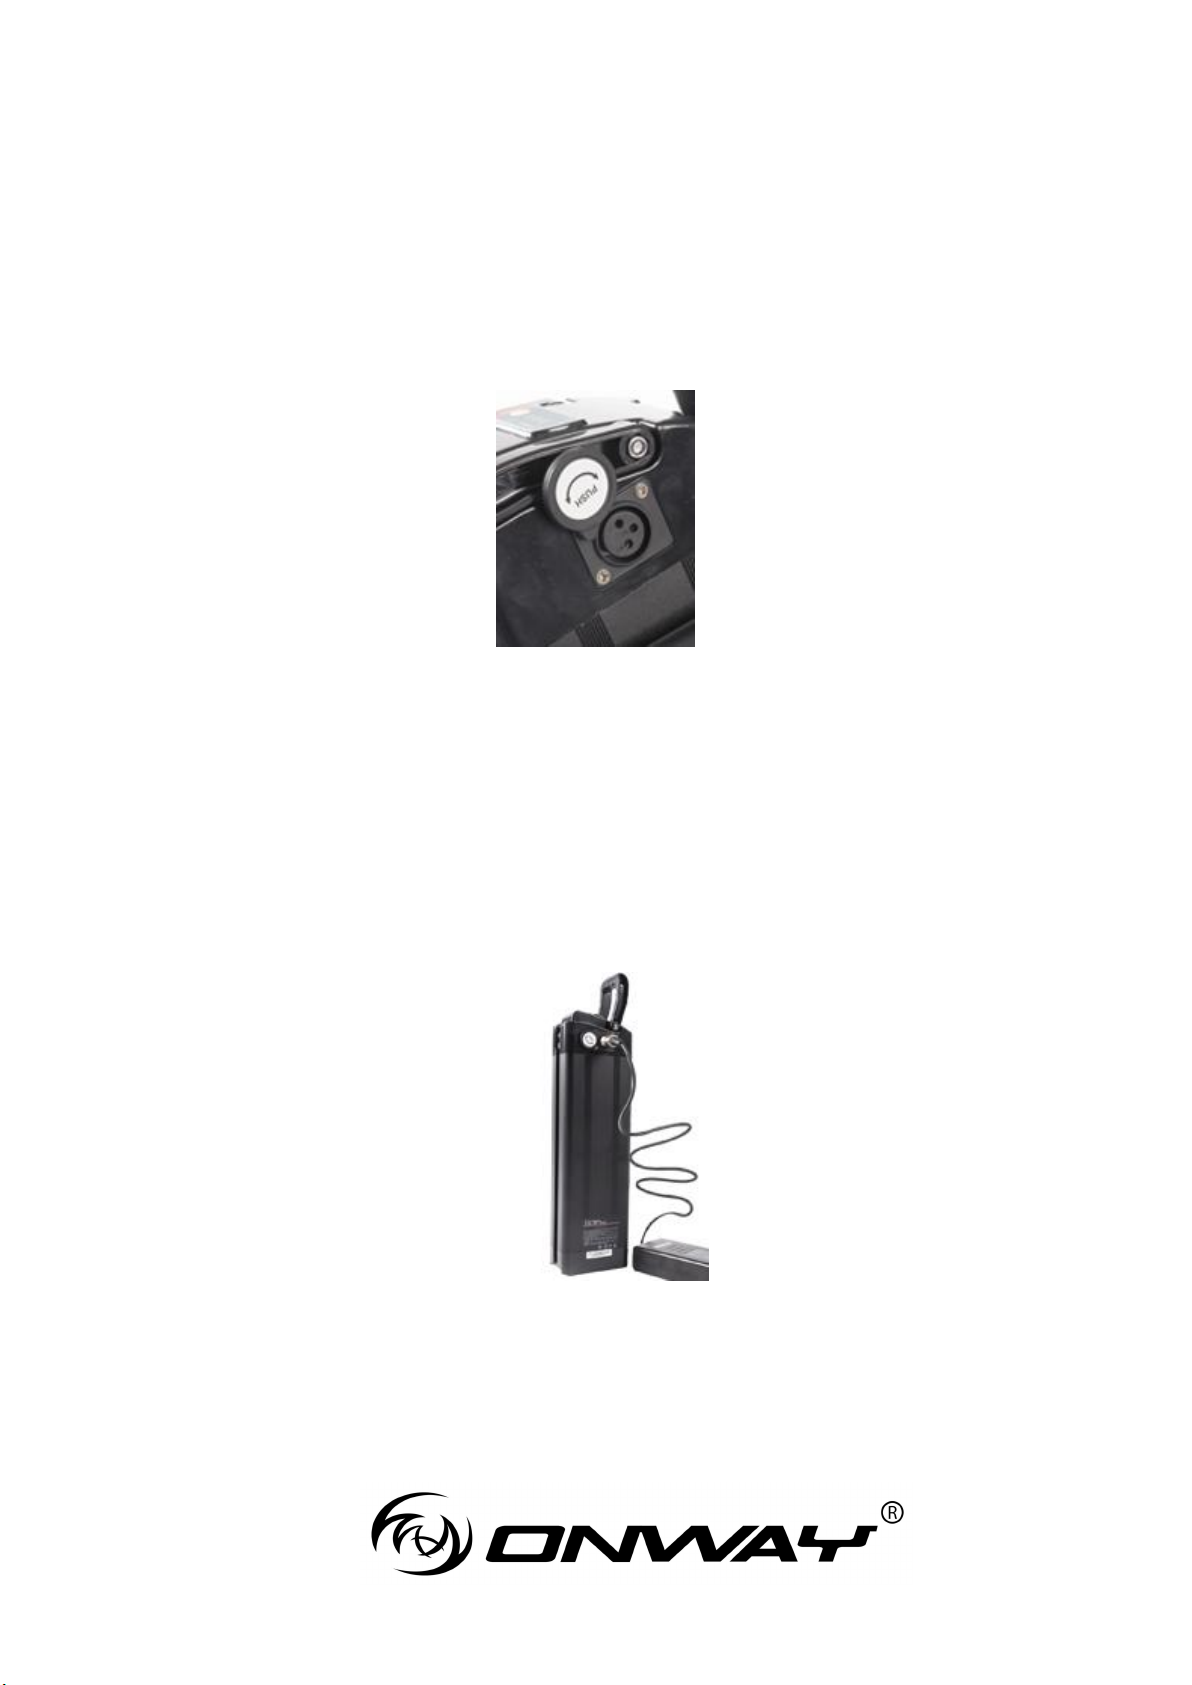
1.3 Charge: connect the charging plug of the charger to the battery, and
then, plug the charger power plug into AC socket, finally remove battery
separator and turn the switch on.
The charging time is about 6 hours (initial electric quantity is zero),
and if the battery has parts of electric quantity, charging time should be
shortened. But for fully charging maintenance, charging time will be
extended: generally the expected additional charging time of battery is
1-2 hours.
- 6 -
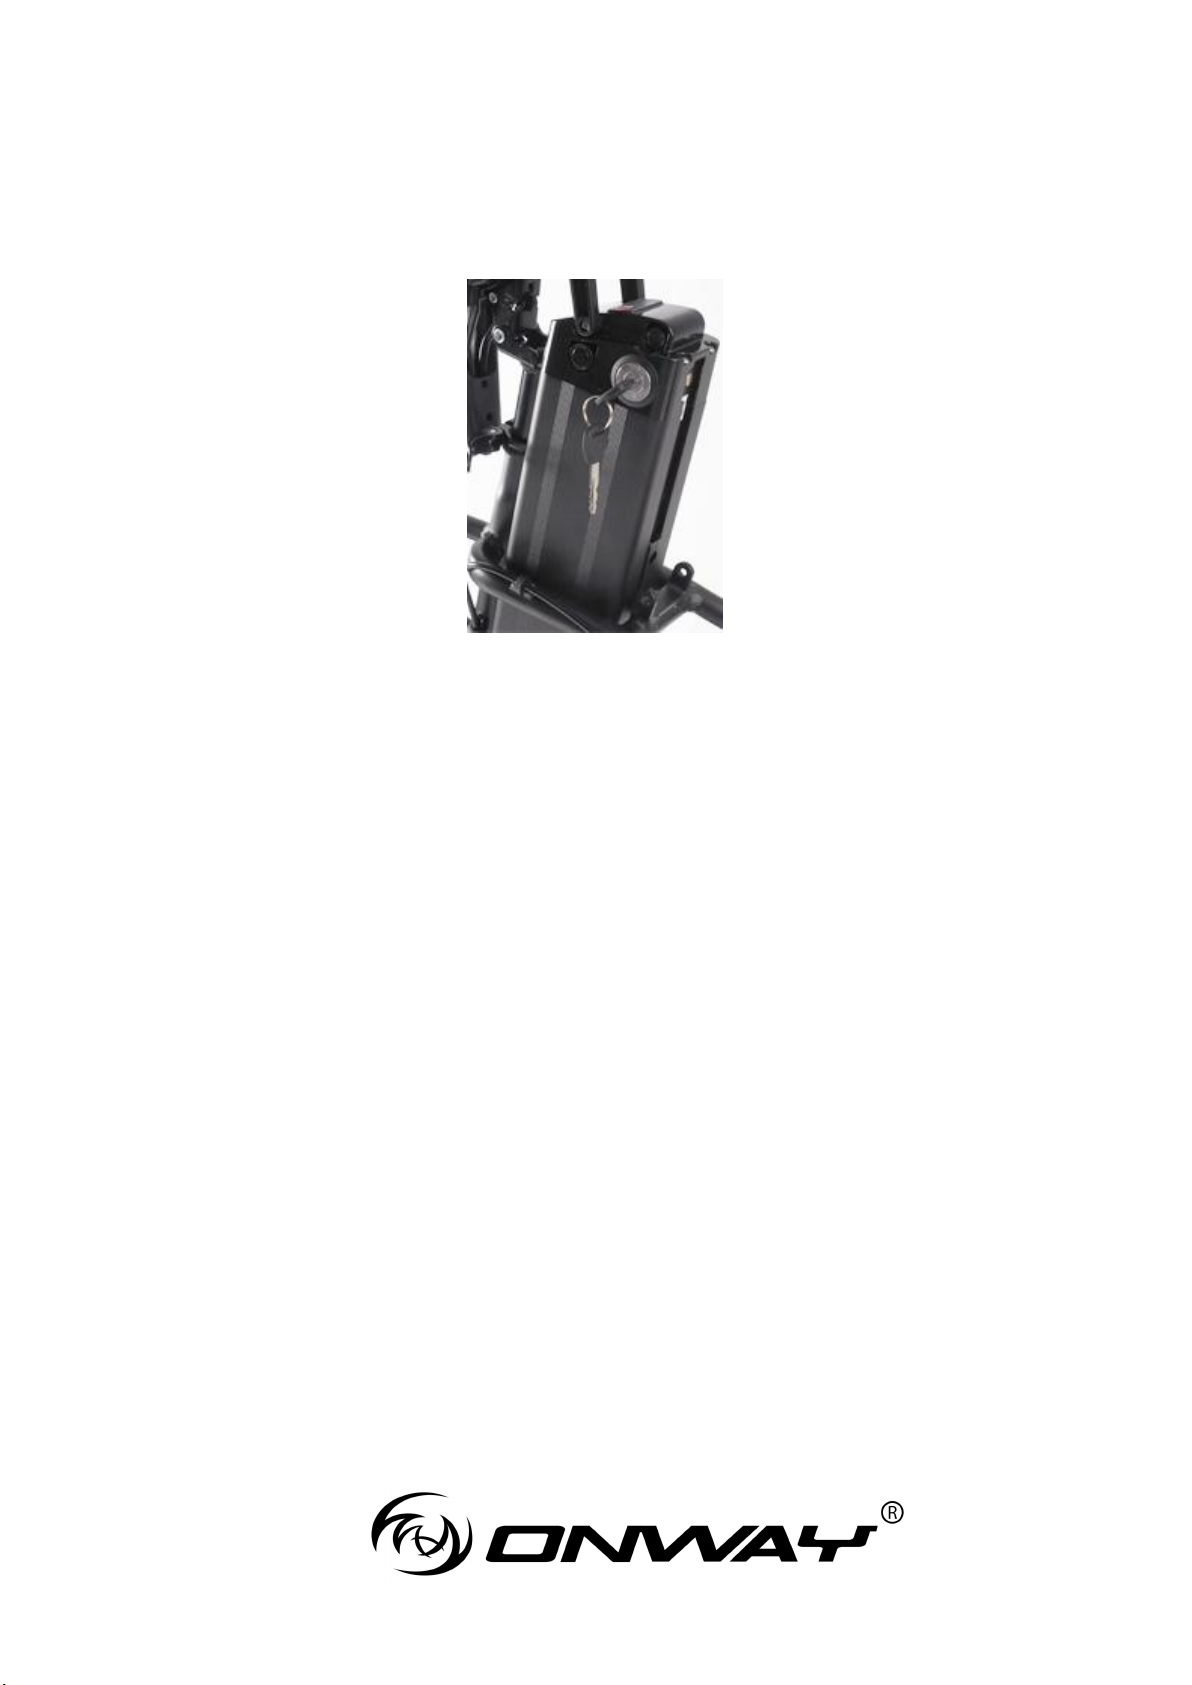
1.4 Reinsert battery: insert battery in the groove behind the seat and push
it down to the end until the battery is completely locked.
Push battery down
1.5 Be sure to lock the battery box tightly against theft.
1.6 Battery debugging period: during the using periods for first 5 to 10
times (fully charging and discharging in about 2 to 5 times), there will be
chemical reaction inside the battery. If the reaction is inadequate, the
battery can’t achieve the best running status, so charge using in the first
time will not exceed 80% of the capacity of electricity.
1.7 Battery has no memory effect. You can charge when the electricity
has or has not been used completely. It is advised that charge timely after
each use in case that the electric vehicle stops operation on the way.

- 7 -
1.8 When fully charged, the indicator light on the top of the charger will
turn from red to green. Considering the service life of the charger, you’d
better unplug after finishing charge each time.
1.9 Maintenance obligations: just as muscle movement can keep normal
only by adding sugar regularly, battery needs being recharged regularly.
Interval time of charging must not exceed one month, or the battery will
be accelerated aging that can lead to failure. If it’s the above mentioned
reason that causes failure, you can’t enjoy warranty service.
1.10 Compared with summer, driving range in winter will reduce
10%-20%.
1.11 The cycle life of an ordinary battery is about 500 times, while that of
a high quality battery is 700 times which is equal to 2 to 4 years of use.
Good habits of using and maintenance will prolong the using service of
the battery.
- 8 -
2Adjust the Riding Position
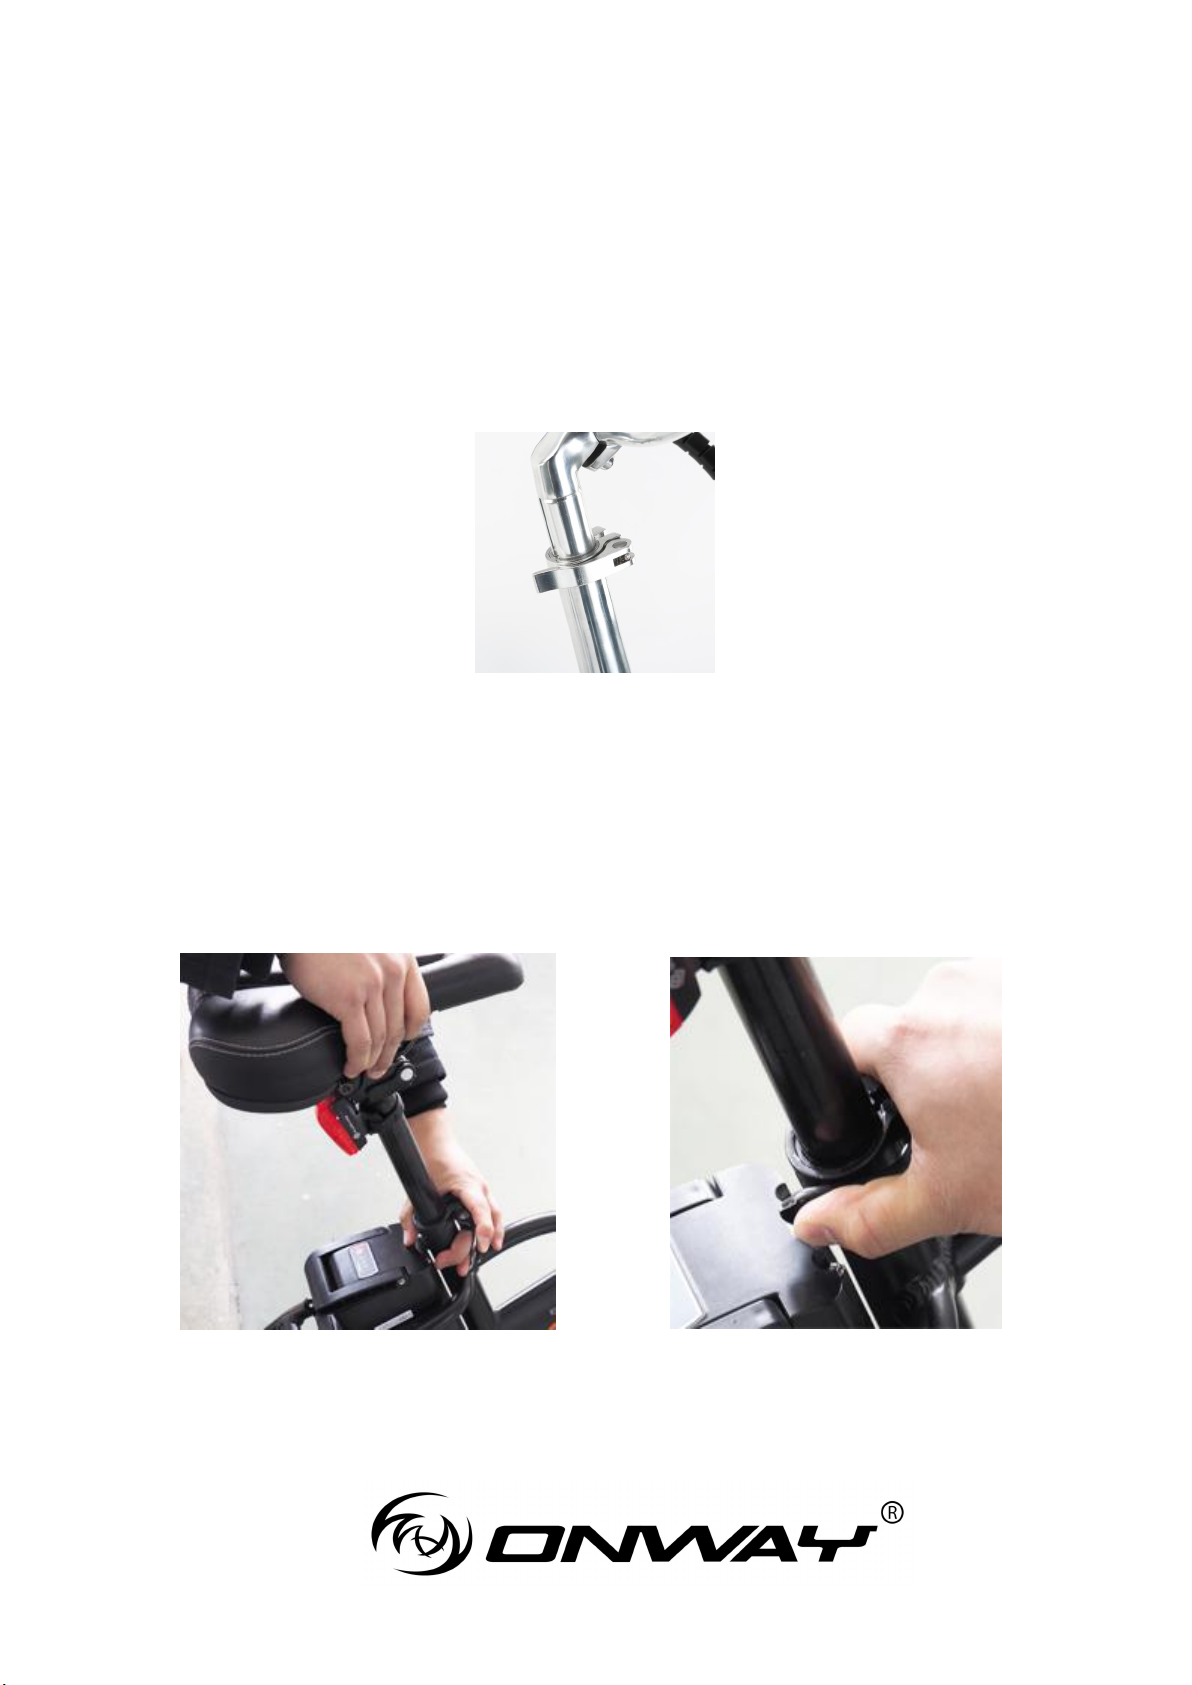
2.1 Adjust the height of the Stem
Adjust the stem to the desired height in order to have a straight and
comfortable position.
Tighten the attachment
2.2 Adjust the height of the seat
Adjust the seat to the desired height and quick tighten
Warning: do not lift the rod beyond the minimum insertion mark.

- 9 -
3Tire Inflation
Observe the tire walls and control the tire pressure intensity. Unit:
P.S.I. or BAR(kgf/cm2)
Make sure that the tire pressure is always between the minimum and
maximum threshold recommended, an under inflated tire will deflated
more easily and excessive inflation will cause a burst
Tip: in order to avoid tire burst, please operate according to the
requirements.
4Maximum Load
The maximum load of the electric bicycle is 220-280 lb (including the
rider and his goods)
The rear rack and fender are not included, if you need please contact
ONWAY seller support for help.
- 10 -
5Start
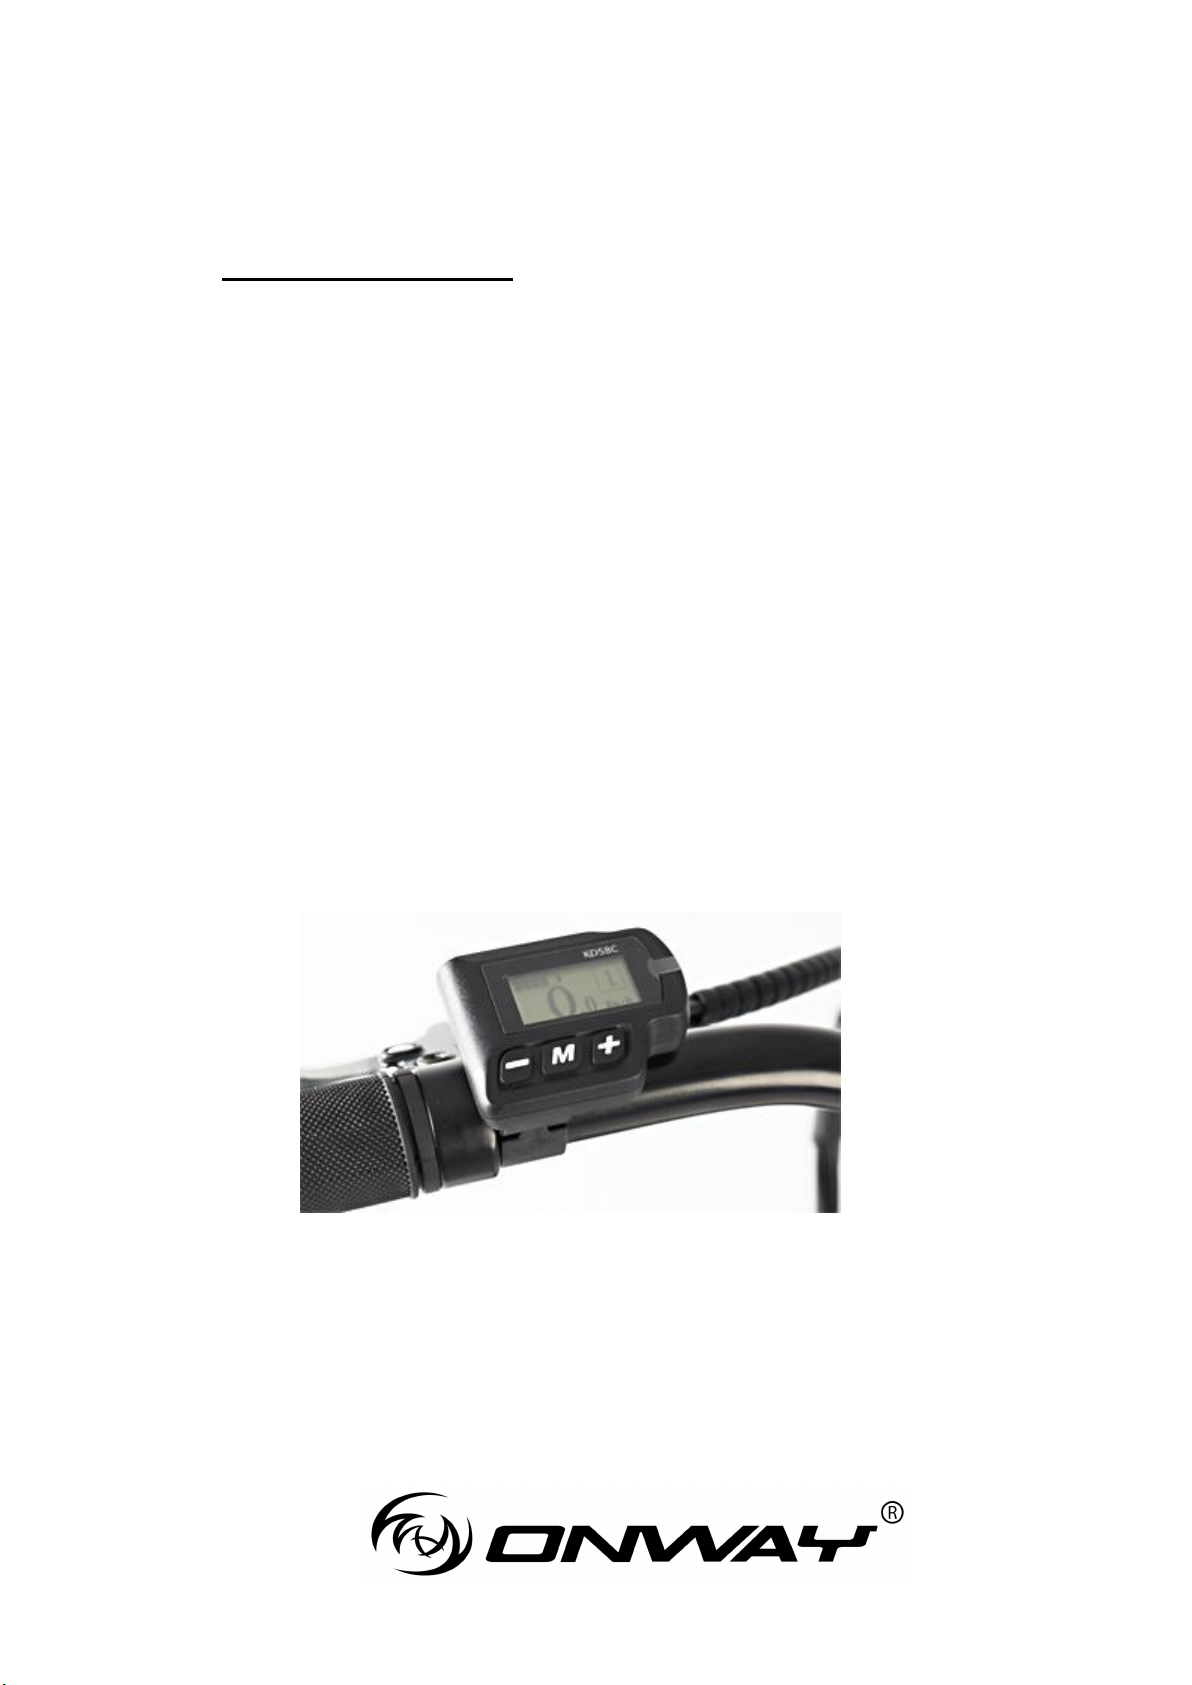
How to Start the Motor:
1. Long Press the “M” button of the handlebar display 3 seconds,
then the system will start.
2. Select your preferred level of electric motor assist with the
MODE button:
Level 1 Low Speed
Level 2 Mid Speed
Level 3 High Speed
When driving, you can also turn off the motor (press M 3 seconds) and
resume at any time motor assistance by reverse manipulation.
Table of contents


