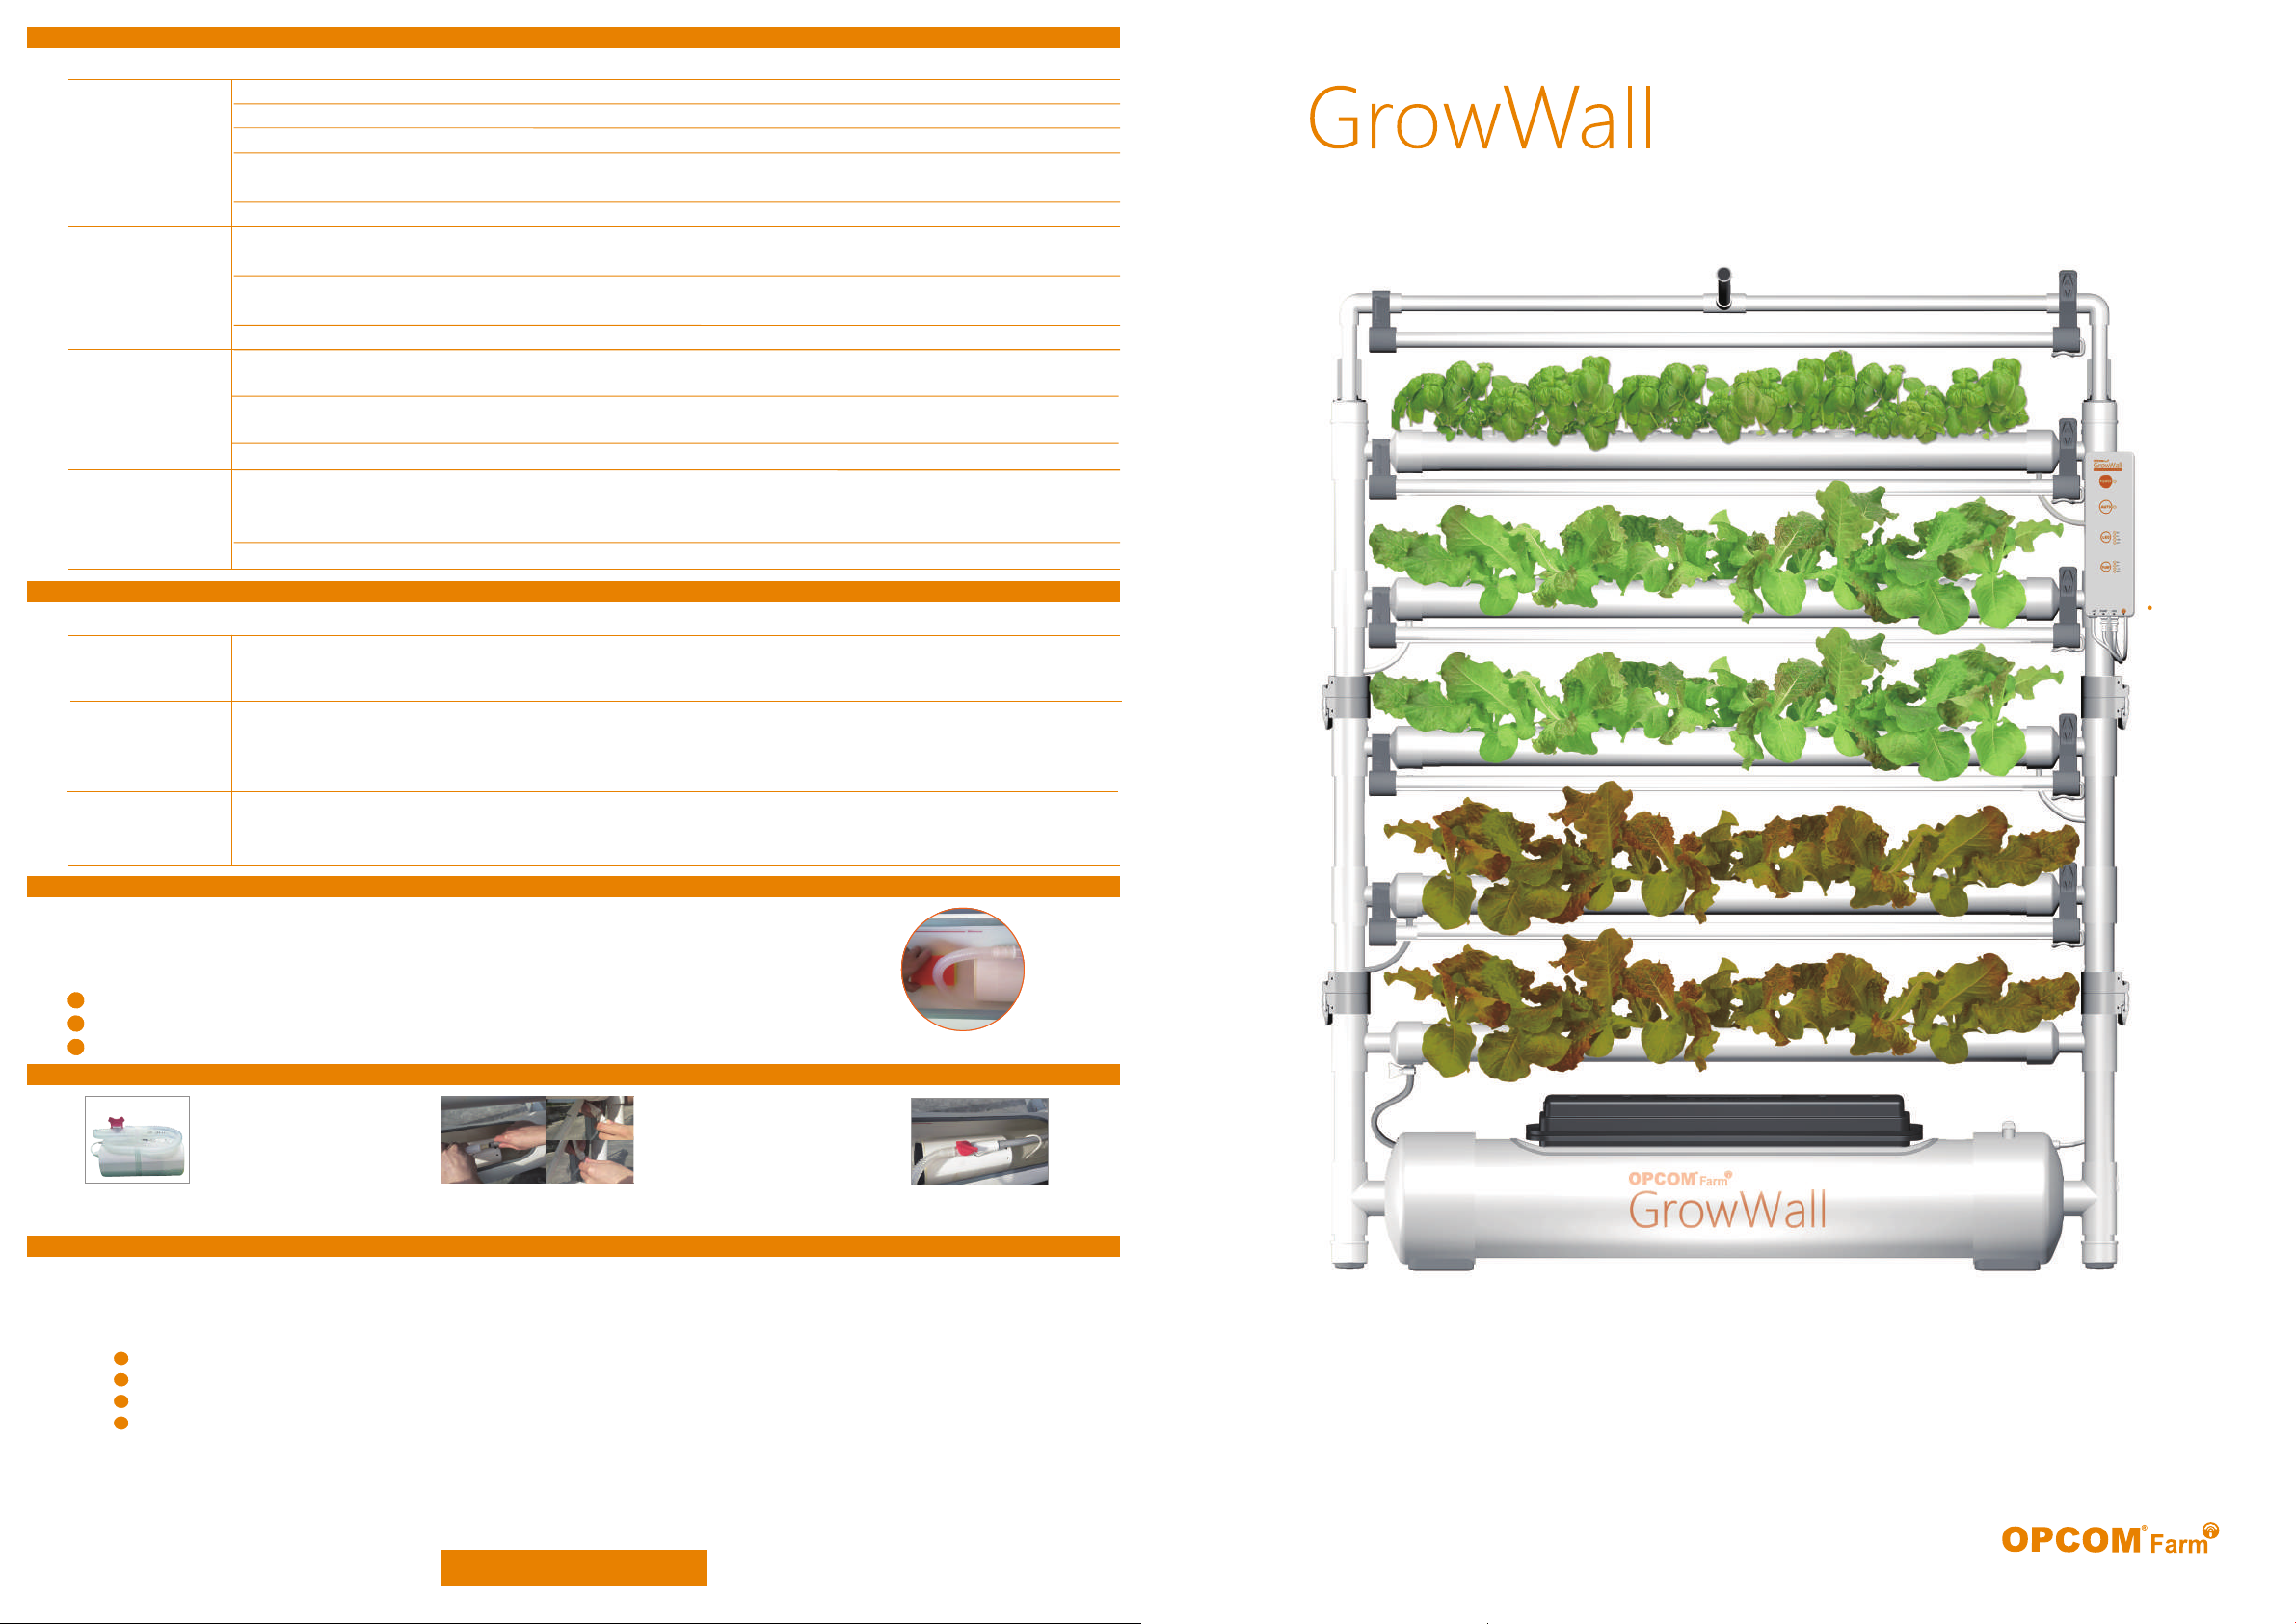
GrowWall Quick Guide Manual
Thank you for purchasing OPCOM Farm GrowWall, the indoor hydroponics growth system. It is designed with easy installation
and efficient growing system in one-touch AUTO mode, up to 75 plants capacity. Read the quick guide manual carefully before
setting up. For detailed user manual and assembly video, please visit GrowWall page at www.opcom.com/growwall-support.php
.
A. Assembly
B. Planting
30W LED Growth Tube (L30T) x 5 (OAEE07A)
A2. Assemble GrowWall.
Lock the matching color vertical tubes by
integrated fastener.
Repeat the previous action again.
Place the plastic peg into the round hole in
the bracket;affix the tube and the bracket to
the unit.And cover the top level light holder.
Attach the control box by aligning the holes.
Assemble water pipe and plastic tiles.
1
3
4
5
2
A3. Mount on the wall.
Place against the wall with 8.2 inches (21cm) distance.
Ensure air bubble in level scale is centered.
Mount on the wall by adhesive or screws.
Add 7.13 gallons (80% full) water to water tank.
1
2
3
4
B1. Sowing Stage
Refer to below table for sponge quantity and planting numbers.
1
C2. Sprout Process
GrowWall is not only a hydroponics system but also a Sprout Machine with our free gift, sprout box. Within one Hydroponics cycle time, you can
have 3-4 sprout harvests and each harvest cycle is 7-10 days. Enjoy your maximum planting capacity.Refer to user manual pages 24-25 for details.
Plant Size
Sponge Number
Planting Number
How to Set up
Medium-Large
60
40
Plant Size
Sponge Number
Planting Number
How to Set up
Small
105
75
Put seeds in warm
water for24hours.
Spread the seeds on
fully wet sprout sponge.
Put sprout box on top of water tank and
also insert the water tube into box.
Cover for no edible green parts.
Day 0 Day 1 Day 7-10
Open top cover for green sprout.
☑
Please read and follow every steps to avoid any malfunction.
B2. Seedling Stage
C1. Regrowing
OPCOM Farm is designed with a special re-grow process to maximize harvest capacity for family consumption. First harvest
cycle takes 3-4 weeks after seeding young plant is planted. During harvesting, cut out the larger leaves and allow the smaller
ones to continue to grow in the machine. After the first harvest, you can continue the harvesting method weekly for the next
3-4 weeks without the need to re-seed.
3-4 weeks (15 plants / tube) 5-6 weeks (8 plants / tube)
C. Optional
Chart II: Plant Stage
Add water to the seedling tray, up to the water level. (red)(Fig1)
Second time sprout:Open Grow Sponge package, put the sponges into water of seedling tray,
press the sponges into water 5 seconds and ensure the sponges absorb water completely.(Fig2)
Place the seedling tray with cover in the shade or cover it with black cloth(to block light).(Fig3)
Spray water and keep the sponges wet every day.(Fig4)
During 0-7 days(leaf plant), find the sprouted ones in the tray; pick them out, and move them into
growing hole and keep the remaining seedlings.
Discard unsprouted sponges after regular germination time.
Different plant may have different germination time, please check before plant.
3
2. First time sprout: just open the seedling box and add water. Then go to step 5. (Fig 1)
2
4
5
6
7
8
9
When the germination rate exceeds 70%, move to the seedling stage, discard excess sponges.
Move all sponge to the grow tube and set up in balance depending on plant size.
In each sponge, keep strong plants and cut the other weak plants.
Add 1 starter nutrient to the water tank and ensure EC between 1000-2000μS/cm
(=1.0-2.0 ms/cm).
Ensure pH between 5.5-6.5 (adjust by pH capsule).
Adjust LED lights and keep around 2 inches distance to cover all the plants.
* For EC & pH adjustment instructions, please refer to user manual pages 28-29.
1
2
3
4
5
6
When young plants grow to over 2 inches height, change control box to AUTO mode.
1
B3. Growing Stage
After 4-6 weeks, harvest larger plants for consumption.
Reserve smaller plants to grow.
* To save time, sow the new seeds in sprout box for the next planting cycle before a week of harvesting.
1
2
B4. Grow to Harvest 3-4 inch
2 inch
13 inch
Up to135°
(Fig4)
(Fig3)
This side up!
(Fig2)
7.13 gallons
27L
Turn on the pump for 30 mintues and ensure the water
flows back to the tank, please refer to user manual page 15 for cycle descriptions.
5
6
Water flow control valve: According to different plants,
you can adjust the water flow by water flow control valve, but you need to adjust under water.
11
5
2 2
33
Plastic TilesWater Pipe
4
2
or
Adhesive for
flat surface
(recommend).
Ensure bubble in the center.
8.2 inch
Screws for solid installation
(Remove R4/L4 before
using screws).
3
1
6
Basil, Lemon Balm
Sprout Stage
Young Plant Stage
Growing Stage
Planting Time
Day 0~7
Day 3~14
After Day 14
LED Mode
N/A
ON
Auto
Pump Mode
N/A
ON
Auto
Notes
* For your expected plant amout, you can refer to the sprout rate of 1st planting cycle.
* If you need more planting information, please vist www.opcomfarm.com and read “Plant Q&A”.
Nourishment
N/A
NT-Starter
NT-Adjuster
RH
80%
45%-70%
45%-70%
EC
0.5-1.0
1.0-2.0
1.0-2.0
pH
5.5-6.5
5.5-6.5
5.5-6.5
Ensure each sponge is fully wet in
seedling tray.
T (℉)
68℉- 77℉
59℉- 86℉
59℉- 86℉
* Please keep the seeds in refrigerator if you don’t use it, recommended temperture is 41℉-50℉.
(Fig1)
Please visit OPCOM farm website at www.opcom.com/growwall-support.php for complete information, including user manual,
Planting Q&A, videos and updates.
1.Planting Basket x 100pc 2.Seedling Tray x1pc Warranty Card Quick Guide Manual
Planting Accessories
Planting BasketPack100 pcs
Ø50x50mm
ProductNumber:OAMS18K
3.Sprouting Sponge x 4pc
Grow Kit
1.Seedling Kit:
NT-Starter x3pc
(OANT002 for GrowWall) pH+ x15pc
NT-Adjuster x15pc
(OANT018 for GrowWall)
2.Nourishment: 3.pH adjusters :
Grow Sponge 2x60pk
(OASS001 For Green Lettuce)
Grow Sponge 2x60pk
(OASS006 For Basil)
Grow Sponge 2x60pk
(OASS002 For Red Leaf Lettuce)
Grow Sponge 4x60pk (OASP001)
pH- x15pc
Accessories
4. Lens Hood x 75pc
2. EC and pH Meter Set1. Plastic peg x2pc
7. Wall Mount Brackets
6. Plastic Ties x7pc
(Backup Plastic Ties x 2pc)
3. pump x2pc
(Backup pump x1pc)
5. Expansion Anchor Bolts x4pc
Wall-Mount Screws x 4pc
Sponge Kit
ProductNumber:OAMS20K
SproutingSpongex 8 pcs
SproutBOXx 1 pcs
10. Water Spray 100ml x1pc
8. Seed Moisturizing
4. Waterproof Tape
Cover x 6pc 9.Cleaning Sponge x 1pc
A1. Remove all parts from box and check all accessories
Status
Auto
ON
High
Low
OFF
Fuction
Pump
Light Time(On/Off)
12 cycles/day
4 cycles/day
2 cycle/day
0 cycle/day
( 10 mins/cycle )
( 15 mins/cycle )
( 10 mins/cycle )
( 10 mins/cycle )
Status
Auto
ON
High
Low
OFF
Fuction
LED
Light Time(On/Off)
12H/12H
24H/0H 48 cycles/day
16H/8H
8H/16H
0H/24H
* Most plants can de grown using the AUTO mode.
* a. When Power On, press hold POWER button until 1 beep sound (Less than 2 second) to turn off the power.
b.When Power On, press hold POWER button until 2 beep sound (About 5 second) to reset timeline to auto power on (On/Off 16H/8H).
* a.When Power Off, press hold POWER button until 1 beep sound (Less than 2 second) to turn off the power.
b.When Power Off, press hold POWER button until 2 beep sound (About 5 second) to reset timeline to auto power off (On/Off 8H/16H).
QuickGuide Manual
Manual