2. General Information
This smoke alarm uses the photoelectric principle.
It’s designed for detecting smoke particles in the air.
If the smoke alarm is properly mounted and
maintained, it will be activated at the very start of
smoke buildup. The alarm is designed to detect
smoke, it cannot prevent a fire. Please read the
instruction manual carefully before you use this
smoke alarm.
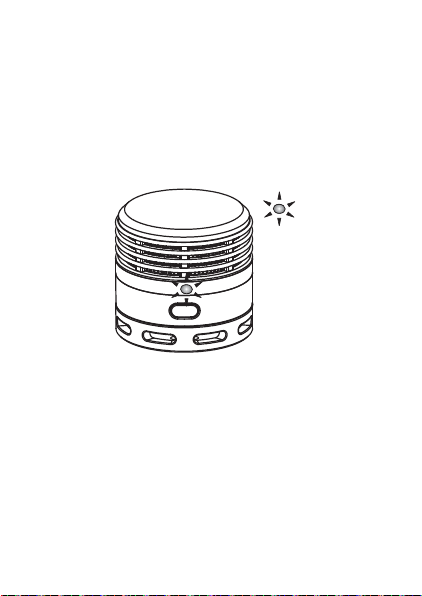
1. Alarm Specifications
Dimension:Φ45x42 mm
Weight:50g
Operational Temperature:5°C-50°C
Working Voltage:3V
Standby Current:≤7uA
Humidity:10%-90%
Service Environment: Residential dwelling
Designed Life:10 years (with normal use)
2
CONTENTS
1. Alarm Specifications....2
2. General Information.....2
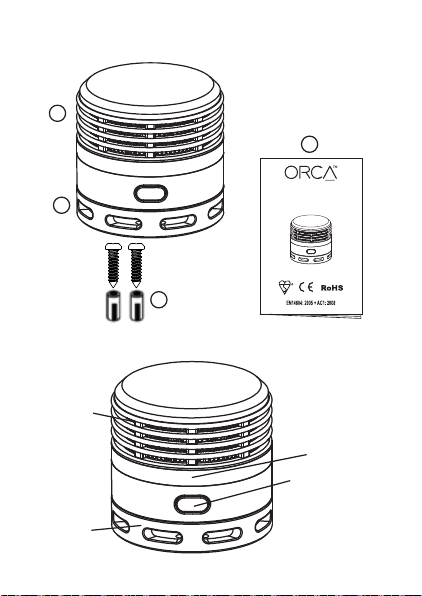
3. Package Contents .......3
4. Alarm Features ............3
5. How to Power On ........4
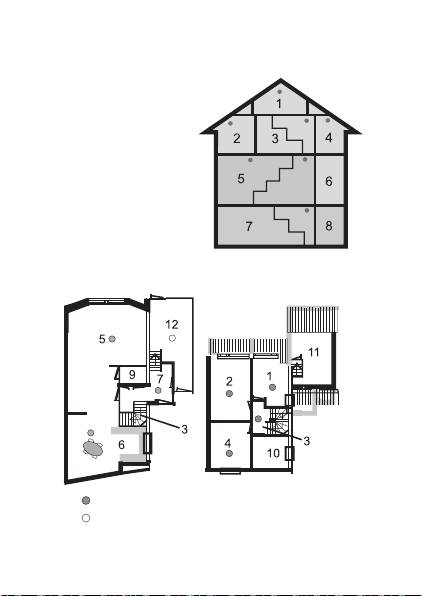
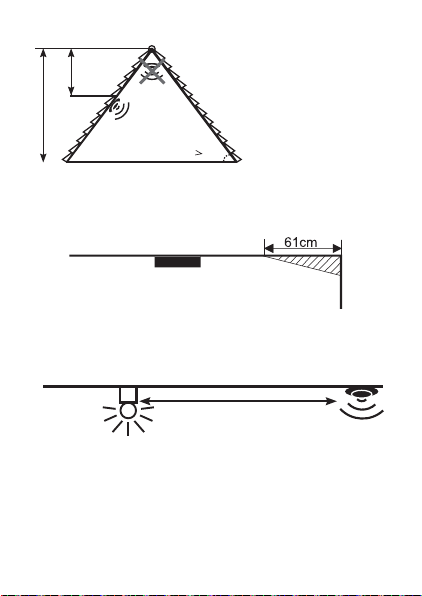
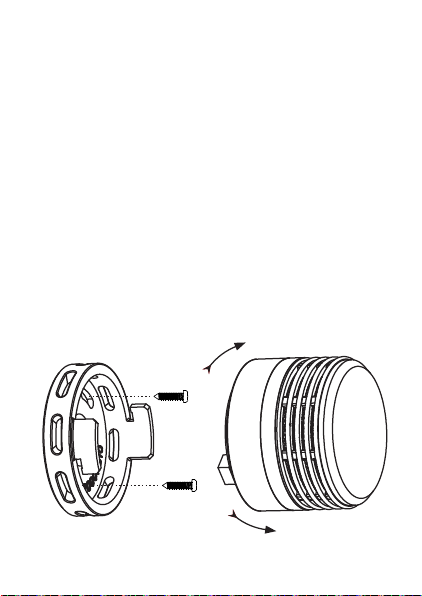
6. Mounting the Alarm .....5
7. Alarm Operation .......... 9
8. Maintenance..............13
9. Troubleshooting .........16