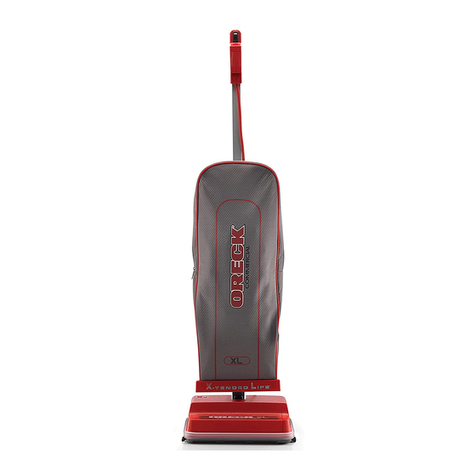
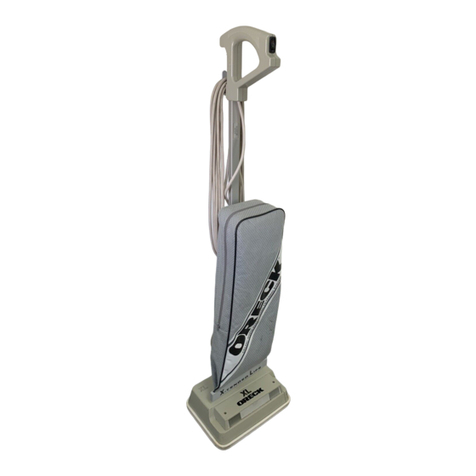
Oreck Vacuum Cleaners User manual

Powerful, Lightweight
Upright Vacuum
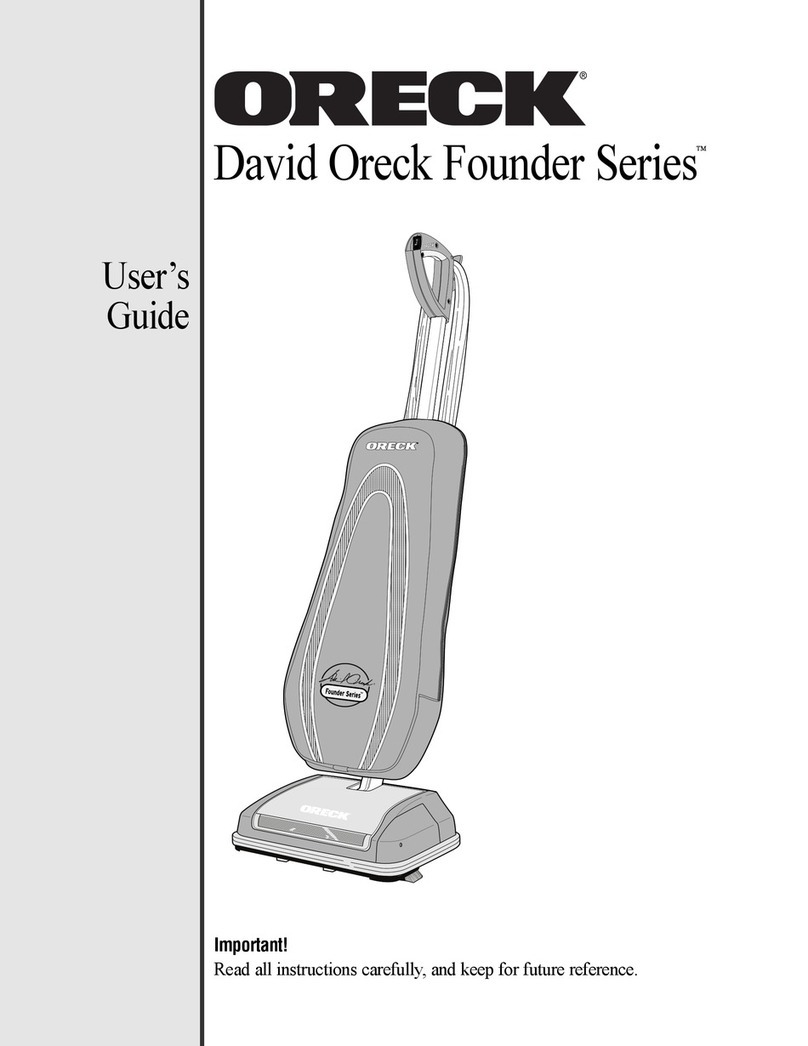
Important!
Read all instructions carefully, and keep for future reference.
User’s
Guide

ENGLISH
Safety
General Warnings
IMPORTANT SAFETY INSTRUCTIONS!
When using an electrical appliance, basic precautions should always be followed, including the following:
READ ALL INSTRUCTIONS BEFORE USING THIS VACUUM CLEANER.
WARNING: To reduce the risk of fire, electric shock, or injury:
• Donotleaveapplianceunattendedwhenpluggedin.Unplugfromoutletwhennotinuseandbeforeservicing.
• Donotuseoutdoorsoronwetsurfaces.
• Donotoperatetheunitwhileintheuprightandlockedposition.
• Donotlettheunitrunwhileinanyonestationarypositionforanyperiodoftime.Keeptheunitmovingwhile
in operation.
• Donotallowtobeusedasatoy.Closeattentionisnecessarywhenusedbyornearchildren.
• Useonlyasdescribedinthismanual.Useonlymanufacturer’srecommendedattachments.
• Donotusewithdamagedcordorplug.Ifapplianceisnotworkingasitshould,hasbeendropped,damaged,
leftoutdoors,ordroppedintowater,returnittoaservicecenterorcallcustomerserviceat:
US: 1-800-989-3535 Canada: 1-888-676-7325
• Donotpullorcarrybycord,usecordasahandle,closedooroncord,orpullcordaroundsharpedges
or corners.
• Keepcordawayfromheatedsurfaces.
• Donotrunapplianceovercord.
• Donotunplugbypullingoncord.Tounplug,grasptheplug,notthecord.
• Donothandleplugorappliancewithwethands.
• Donotputanyobjectintoopenings.Donotusewithanyopeningblocked;keepfreeofdust,lint,hair
and anything that may reduce air flow.
• Keephair,looseclothing,fingersandallpartsofbodyawayfromopeningsandmovingparts.
• Donotusetopickupanythingthatisburningorsmoking,suchascigarettes,matches,orhotashes.
• DonotusewithoutOdorFightingHEPAinnerbagassemblyinplace.
• Turnoffallcontrolsbeforeunplugging.
• Useextracarewhencleaningonstairs.
• Donotusetopickupflammableorcombustibleliquids,suchasgasolineorlighterfluid,oruseinareaswhere
they may be present.
• Donotuseapplianceinanenclosedspacewhereflammable,explosiveortoxicvaporsaregivenoffbyoilbase
paint, paint thinner, some mothproofing substances, or in an area where flammable dust is present.
• Donotpickuptoxicmaterialsuchaschlorinebleach,draincleaner,gasoline,etc.withthisappliance.
• Usecautionwhenvacuumingoverarearugedgesandfringe.
• ProductcontainschemicalsknowntotheStateofCaliforniatocausecancerandbirthdefects.
SAVE THESE INSTRUCTIONS
Household Use Only
A polarized plug has one rounded prong and one straight prong.
The rounded end goes into the longest socket slot.
Toreducetheriskofelectricshock,thisequipmenthasapolarizedplug
(one blade is wider than the other). This plug will fit in a polarized outlet
onlyoneway.Iftheplugdoesnotfitfullyintheoutlet,reversetheplug.
Ifitstilldoesnotfit,contactqualifiedpersonneltoinstalltheproperoutlet.
Do not alter the plug in any way.
2

Operation.
Contents
ENGLISH
Safety ............................................................................................................................................ 2
General Warnings .................................................................................................................... 2
Operation ........................................................................................................................................ 3
Parts List ................................................................................................................................... 3
Assembling the Handle Tube .................................................................................................... 4
Operating the Vacuum ............................................................................................................. 4
Storage....................................................................................................................................... 4
Operating Instructions ................... ........................................................................................... 4
General Information ....................................................................................................................... 5
Odor Fighting HEPA Inner Bags .............................................................................................. 5
360º Glide System .................................................................................................................... 5
The Belt .................................................................................................................................... 5
Lubrication ............................................................................................................................... 5
Maintenance .................................................................................................................................. 6
Replacing Disposable Odor Fighting HEPA Inner Bag ........................................................... 6
Replacing Worn Belt ................................................................................................................ 6
Replacing Brushroll ................................................................................................................. 6
Replacing Edge Brush .............................................................................................................. 7
Replacing the LED Light ......................................................................................................... 7
Stuffing or Blockage ................................................................................................................. 7
Troubleshooting ............................................................................................................................. 8
Parts .............................................................................................................................................. 8
Replacement Parts .................................................................................................................... 8
Toassistyouinidentifyingyourvacuum’scomponents,theparts
havebeennumberedasfollows.
Parts List
1 Vacuum Handle with comfort grip
2 On/Off Switch
3 Cord Dump
4 Handle Tube
5 Deflector
6 Bag Dock
7 Carry Handle
8 Zipper
9 Fascia (includes light lens)
10 Main Bumper
11 Edge Brush
12 Belt Door
13 Power Cord
14 Cord Assembly
15 Handle Collar
16 Deflector (rear view)
17 Carry Handle Clamp
18 Collars
19 Lower Tube
20 Elastic Bag Strap
21 Fan Housing
22 Rear Wheels
23 Cover
24 Outer Bag
25 Power Head
26 Disposable Odor Fighting HEPA Inner Bag
23
24
15
14
13
16
7
17
19
18
20
21
22
25
4
5
6
26
9
10 11
12
8
2
1
3
3
Total Cleaning System

ENGLISH
Operation
Assembling the Handle Tube
Align slot in handle tube with tab in connector.
Insert the handle tube into connector. Tighten
collar at base of handle tube onto the connector
until it locks, “snaps”.
Snap cord assembly into the cord clip located
ontheleftsideofthecollar.Leaveexcesscord
atthepowerheadtoallowmovement.
Make sure the Disposable Odor Fighting HEPA Inner bag is in place. DO NOT operate the cleaner without a HEPA
Inner bag. Plug the power cord into an electrical outlet and press the On Low ( l ) - On High ( ll ) - OFF ( O )
switch on handle assembly when ready to operate.
Storage
Boththevacuumhandleandcarryhandlecanbeusedforconvenient,spacesavingstorageofcleaner.
Hangcleanerbycarryhandleonasturdyfastenerorvacuumhandleonaclosetrod.
Operating Instructions
ThisnewORECKUprightisoneofthefinest,fastest,andstrongestunitsinitsclass.You’lllovethewayit
cleans, gets under things, and it’s SO lightweight and easy to use.
The following are a few simple suggestions regarding its operation:
1. When inserting a new disposable HEPA inner bag -FIRST PUFF OUT and OPEN THE BAG.
2. When the disposable HEPA inner bag is full, REPLACE IT.
3. If at any time the machine does not pick up properly or makes an unusual noise, STOP OPERATION and
service.
4. Although your upright will pick up pins, paper clips, and other small objects, it is recommended that these be
removedfromthefloorbeforeyouvacuum.Failuretodosomayresultinpermanentdamagetothemotor
suction fan and its housing.
5.WARNING:Donotuseyourvacuumcleanerondamporwetsurfaces.Thiswillcausedamagetothevacuum
cleanerandisdangeroustotheuser.Damagecausedbyuseonwetordampsurfacesisnotcoveredunder
warranty.
6.Foroptimalperformance,replacethebeltevery6months.
7. Check the disposable Odor Fighting HEPA Inner bag at least once a month.
8.DONOTrunthevacuumcleaneroverthecord.Therevolvingbrushcoulddamagethecord.
9.Usecautionwhenvacuumingoverarearugedgesandfringe.
Operating the vacuum
Up-Position Lock -Placefootonpowerheadandleanhandlebackgentlytoreleaselockforvacuum
use. Return handle to the full upright position to engage lock. The handle should be rotated to center before
returning to upright position. Note: Do not operate the unit while in the upright and locked position. Do not
lettheunitrunwhileinanyonestationarypositionforanyperiodoftime.Keeptheunitmovingwhilein
operation.
Carry Handle - Raise the carry handle located on back of the unit for easy lifting, carrying, and stair
vacuuming.Lowerthehandleduringusetoeliminateobstruction.
Easy Power Cord Storage - Raise carrying handle and wrap power cord around carry handle
andvacuumhandle.
Toreleasecord,twistcorddumplocatedonvacuumhandle1/2turn.Slidecordoffhandle.
1
2
6
3
4
5
1 2
3 4 5 6
4

ENGLISH
General
Information
The performance of your new cleaner greatly depends upon care and maintenance. The instructions in this
manualwillguideyouinperformingbasiccareandmaintenance.Toobtainthemostsatisfyingyearsofservice
read the instructions and keep them handy for future reference.
Odor Fighting HEPA Inner Bags
YourOreckincludesanOdorFightingHEPAInnerBag.Thedisposableinnerbagplaysavery
importantroleintheefficiencyofyourORECKvacuum.Thepurposeofthedisposableinner
bag is to trap dirt, but at the same time it must be porous enough to allow air to pass through.
Ifthedisposableinnerbagbecomesclogged,noaircanpassthroughthevacuumandcleaning
cannottakeplace,regardlessofthevacuum’spower.
TokeepyourUprightvacuumoperatingatmaximumefficiency,changethedisposableinner
bagfrequently.
DO NOT FILL ABOVE THE LINE INDICATED ON THE DISPOSABLE INNER BAG.
Be sure the disposable inner bag is installed properly. Note: All disposable inner bags are not
thesame.OreckoffersHEPAandnon-HEPAinnerbags.YourOreckHEPAornon-HEPAinner
bagshavebeendesignedtobeusedwiththeORECKUprightvacuum.Usingbagsotherthan
genuine Oreck HEPA or non-HEPA disposable inner bags will affect the cleaning ability of your
vacuumandcouldcausedamagetoit.
360º Glide
YournewOreckUprightfeaturesthe360ºGlideturning
system.The360ºGlideoffersanentirelynewlevelof
maneuverabilitytoyourlightweightOreckUpright.No
installation necessary. Simply turn the handle of your Oreck Upright to
maneuvertheunit.Goleft,Goright,makesharpturnsunderandaround
furniture.
The Belt
Thebeltonyourvacuumcleanercontrolsthespeedoftherevolving
brushandisveryimportantfortheeffectiveoperationofthecleaner.If
thebeltbecomesstretchedorcut,itwillcausetherevolvingbrushtostop
completely or slow down. See instructions in the manual for replacing belt.
Lubrication
Thevacuumcleanermotorbearingsarefactorylubricatedandsealed.
Furtherlubricationisnotrequired.
CAUTION
Wood Floors, Soft (Vinyl, Asphalt Tile, etc.) Floor Surfaces
and Polished Floor Finishes
Use floor and floor finish manufacturer’s recommended methods of cleaning. The roller
brushmayalsoscuffverysoftfinishes.Donotoperatetheunitwhileintheuprightand
locked position. Do not let the unit run while in any one stationary position for any period
oftime.Keeptheunitmovingwhileinoperation.
Note:Atleastonceamonth,checkforandremoveexcessivelint,stringorhairfrom
revolvingbrush.Patentedcleaninggroovesonbrushrollwillalloweasiercleaning.Wipe
the outside of the cleaner with a damp cloth. Also clean the connector deflector assembly
area,baseofcleanerandfanhousingarea.Ifthereisdustintheouterbag,vacuumitor
shake it out.
Alittlepreventativemaintenancewillkeepyourcleanerlookingnewandwillensure
continuedcleaningeffectiveness.
5
PULL
Table of contents
Languages:
Other Oreck Vacuum Cleaner manuals

Oreck
Oreck magnesium Parts list manual

Oreck
Oreck QS110 SERIES User manual

Oreck
Oreck OR101DC User manual

Oreck
Oreck XL3605HH User manual

Oreck
Oreck RXL21ANY User manual

Oreck
Oreck XL UPRO14T User manual

Oreck
Oreck U2250 User manual

Oreck
Oreck ORECK XL U4080H2 User manual

Oreck
Oreck Upright Bag Vacuum Cleaner User manual

Oreck
Oreck XL3 User manual

Oreck
Oreck 2310RD User manual

Oreck
Oreck XL2600HH User manual

Oreck
Oreck HALO User manual

Oreck
Oreck XL SIMLY AMAZING XL5-105HH User manual

Oreck
Oreck XL PLATINUM 79011-01REVB User manual

Oreck
Oreck magnesium User manual

Oreck
Oreck XL36R7HH User manual

Oreck
Oreck MODEL AV-701B User manual

Oreck
Oreck XL U2505RH User manual

Oreck
Oreck U2000R-1 User manual