3
If your eyes are astigmatic, however, images will probably
appear the best with glasses on.This is because a telescope’s
focuser can accommodate for nearsightedness or farsighted-
ness, but not astigmatism. If you have to wear your glasses
while observing and cannot see the entire field of view, you
may want to purchase additional eyepieces that have longer
eye relief.
Calculating Magnification
To calculate the magnification, or power, of a telescope with
an eyepiece, simply divide the focal length of the telescope by
the focal length of the eyepiece:
Telescope Focal Length (mm)
= Magnification
Eyepiece Focal Length (mm)
For example, the 180mm Maksutov-Cassegrain, which has a
focal length of 2700mm, used in combination with a 25mm
eyepiece, yields a magnification of:
2700 mm
= 108x
25 mm
It is desirable to have a range of eyepieces of different focal
lengths to allow viewing over a range of magnifications. It is
not uncommon for an observer to own five or more eyepieces.
Orion offers many different eyepieces of varying focal lengths,
so check the catalog or www.OrionTelescopes.com for a wide
selection of additional eyepieces to choose from.
Every telescope has a useful limit of power of about 2x per
millimeter of aperture (i.e. 360x for the 180mm Mak-Cass).
Claims of higher power by some telescope manufacturers are
a misleading advertising gimmick and should be dismissed.
Keep in mind that at higher powers, an image will always be
dimmer and less sharp (this is a fundamental law of optics).
The steadiness of the air (the “seeing”) can also limit how
much magnification an image can tolerate.
Always start viewing with your lowest-power (longest focal
length) eyepiece in the telescope. It’s best to begin observing
with the lowest-power eyepiece, because it will typically pro-
vide the widest true field of view, which will make finding and
centering objects much easier. After you have located and
centered an object, you can try switching to a higher-power
eyepiece to ferret out more detail, if atmospheric conditions
permit. If the image you see is not crisp and steady, reduce
the magnification by switching to a longer focal length eye-
piece. As a general rule, a small but well-resolved image will
show more detail and provide a more enjoyable view than a
dim and fuzzy, over-magnified image.
Terrestrial Viewing
For land viewing, it’s best to stick with low power eyepieces
that yield a magnification under 100x. At higher powers,
images rapidly lose sharpness and clarity due to “heat waves”
caused by Sun-heated air.
Remember to aim well clear of the Sun, unless the front of the
telescope is fitted with a professionally made solar filter and
the finder scope is covered with a completely opaque material
or removed altogether
Maksutov-Cassegrain telescopes are capable of focusing on
objects that are quite close, so you can view fine details of
objects that are nearby. Try focusing on a flower or insect at
close distance to enter a normally unseen microscopic world.
Astronomical Viewing
When choosing a location for nighttime stargazing, make it
as far away from city lights as possible. Light-polluted skies
greatly reduce what can be seen with the telescope. Also, give
your eyes at least 20 minutes to dark-adapt to the night sky.
You’ll be surprised at how many more stars you will see! Use
a red flashlight, to see what you’re doing at the telescope, or
to read star charts. Red light will not spoil your dark-adapted
night vision as readily as white light will.
To find celestial objects with your telescope, you first need
to become reasonably familiar with the night sky. Unless you
know how to recognize the constellation Orion, for instance,
you won’t have much luck locating the Orion Nebula. A simple
planisphere, or star wheel, can be a valuable tool for learning
the constellations and seeing which ones are visible in the
sky on a given night. A good star chart or atlas, like the Orion
DeepMap 600, can come in handy for helping locate interest-
ing objects among the dizzying multitude of stars overhead.
Except for the Moon and the brighter planets, it is pretty time-
consuming and frustrating to hunt for objects randomly, with-
out knowing where to look. It is best to have specific targets in
mind before you begin looking through the eyepiece.
Photography
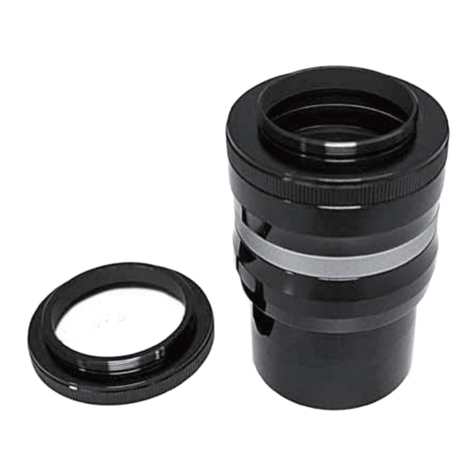
When coupled to a 35mm single-lens reflex camera (or digital
equivalent), the 180mm Mak-Cass becomes a telephoto lens.
For terrestrial or astronomical photography, you need only
a T-ring for your specific camera model. The T-ring attaches
to your camera and threads onto the telescope’s eyepiece
adapter (see Figure 2).
Use the camera’s viewfinder to frame the picture. Use the
telescope’s focuser to focus the image. You may want to con-
sider using a remote shutter release instead of the shutter
release on the camera; touching the camera can vibrate the
system and blur the resulting photographic image. Also, be
sure to use a solid tripod.
Care & Maintenance
If you give your telescope reasonable care, it will last a life-
time. When not in use, keep the dust cover on the front of the
tube and the dust cap on the eyepiece adapter. Store it in a
clean, dry, dust-free place, safe from rapid changes in tem-
perature and humidity. Do not store the telescope outdoors,
although storage in a garage or shed is OK.
Your telescope requires very little mechanical mainte-
nance. The optical tube is aluminum and has a smooth
