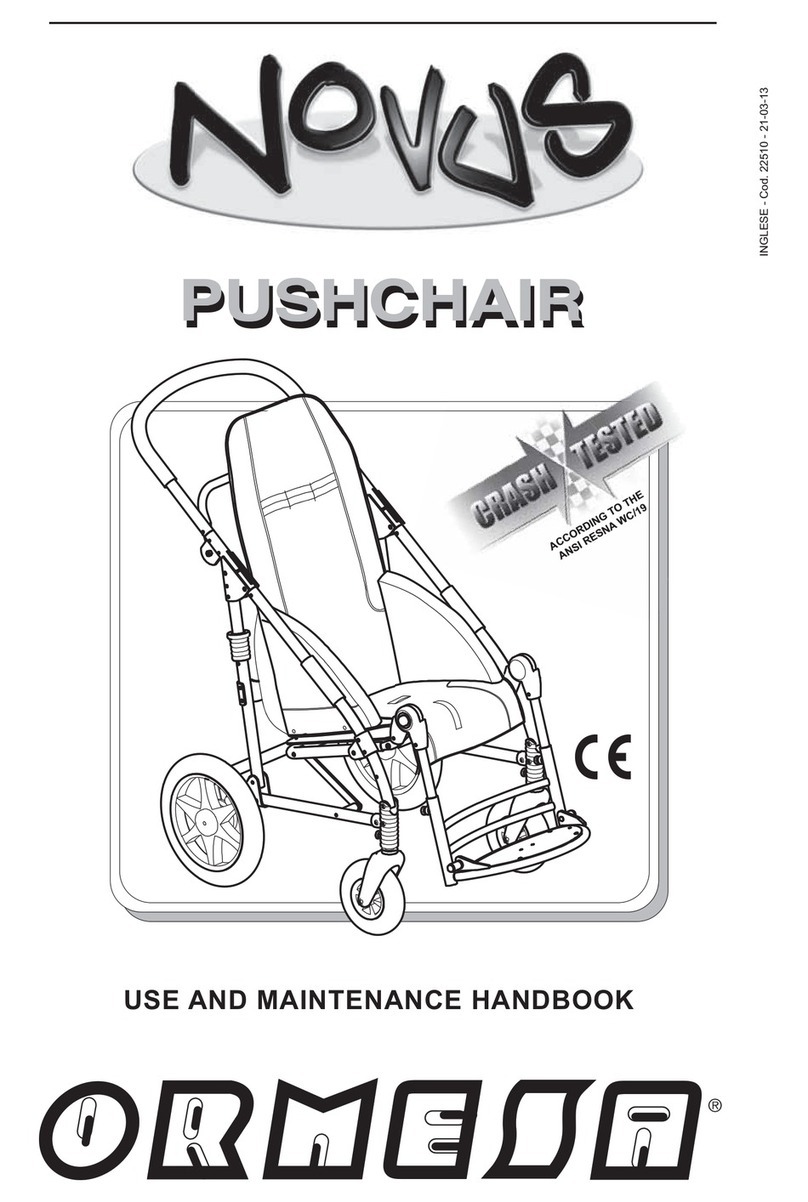
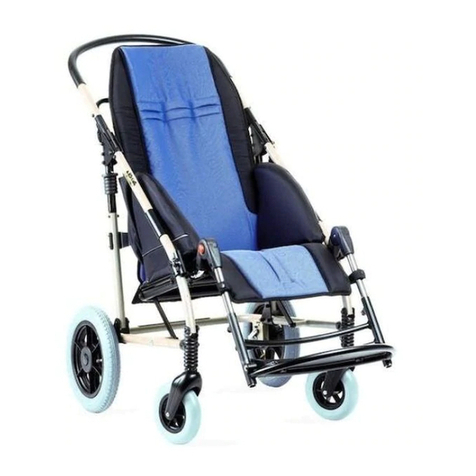
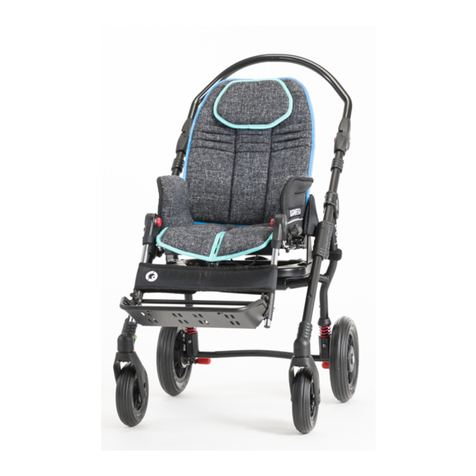
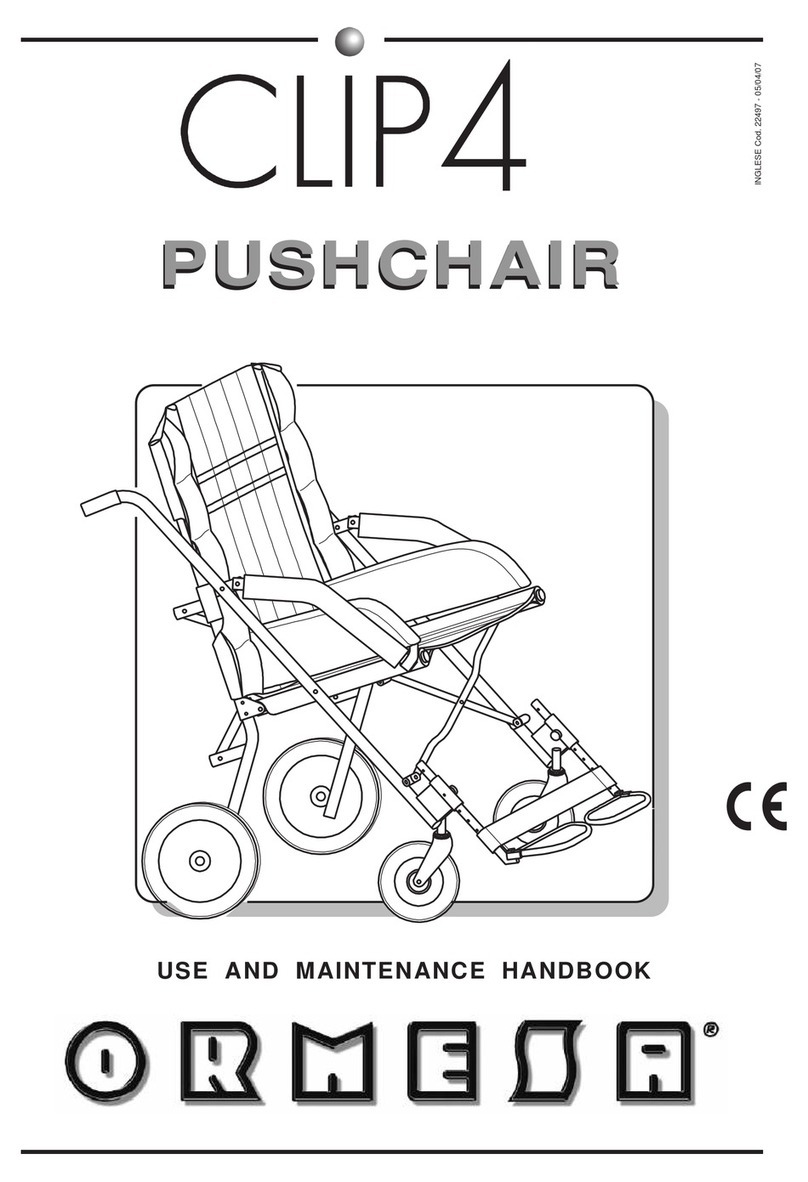
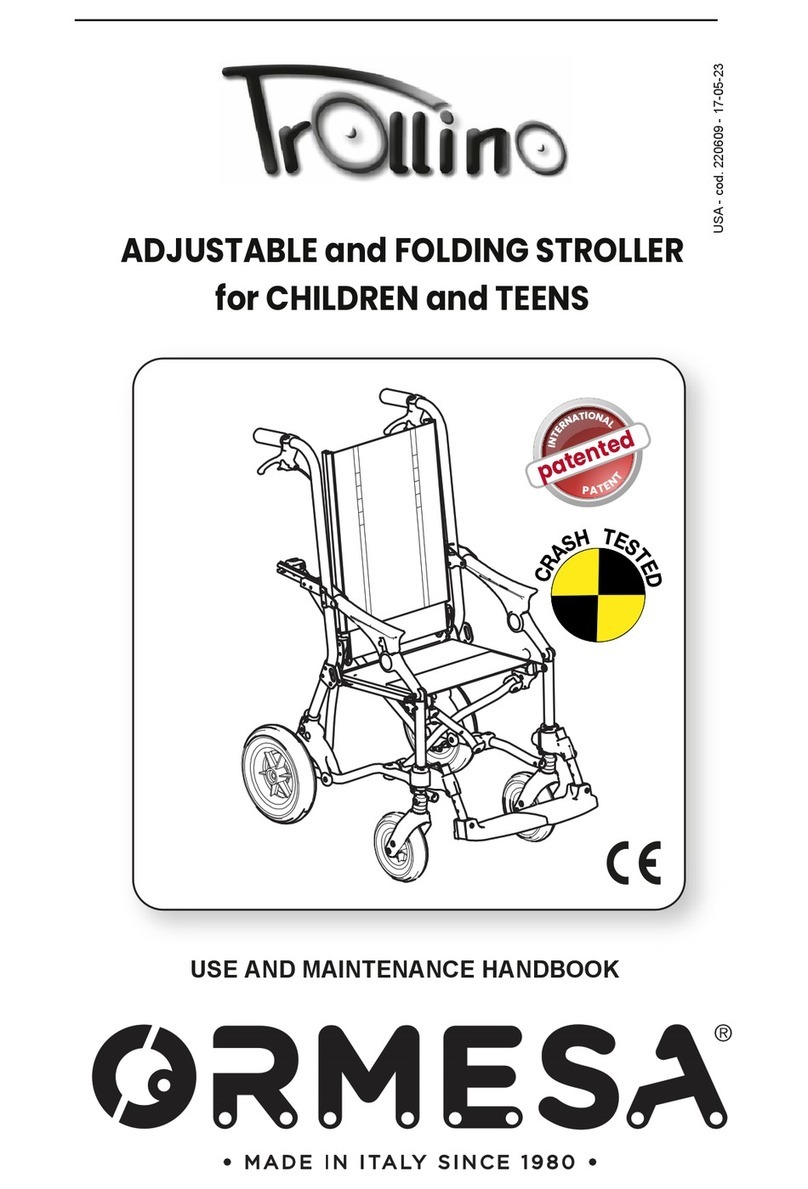
Ormesa CLIP 1 Manual

1-2-3
STROLLER
ING Cod. 22415 -23-01-24
sizes
USE AND MAINTENANCE HANDBOOK
CLIP
s
i
ze
s
ACCORDING TO THE
ISO 7176-19


Page 1 of 47
Thank you for choosing CLIP STROLLER, from ORMESA s.r.l.
CLIP is a medical device designed and manufactured by ORMESA srl.
ORMESA recommends that you read this manual carefully to fully understand its
contents. In addition to helping you become familiar with CLIP quickly, it also contains
practical tips for making the best use of it safely and keeping it in good working order.
If, after reading it, you still have questions, contact your retailer, who will be happy to help
you, or call ORMESA s.r.l. directly at +39 0742 22927, send a fax to +39 0742 22637 or
send an e-mail to: info@ormesa.com
ORMESA TEAM

Page 2 of 47
TABLE OF CONTENTS
TABLE OF CONTENTS...............................................................................................................2
WARNINGS .................................................................................................................................3
GUARANTEE ..............................................................................................................................6
STORAGE AND TRANSPORT INSTRUCTIONS.........................................................................6
WHAT NOT TO DO WITH CLIP...................................................................................................7
HOW TO TILT THE STROLLER TO CLIMB UP PAVEMENTS ................................................8
HOW TO USE THE CLIP 1-2-3 FOR TRANSPORT ON A MOVING VEHICLE (private cars, buses,
etc.) .............................................................................................................................................9
INTENDED USE...........................................................................................................................14
TECHNICAL FEATURES ............................................................................................................16
INITIAL PREPARATION..............................................................................................................17
PACKING INFORMATION .......................................................................................................17
OPENING THE STROLLER.....................................................................................................18
ATTACHING THE FOOTREST................................................................................................20
HOW CLIP WORKS AND HOW TO USE IT ................................................................................21
REMOVING THE FOOTREST .................................................................................................21
FOLDING the STROLLER for TRANSPORT............................................................................22
RECLINING THE BACKREST .................................................................................................24
ADJUSTING the HEIGHT of the FOOTREST...........................................................................25
ADJUSTING the HEIGHT of the PUSH HANDLES ..................................................................26
MOUNTING THE ADDITIONAL COMPONENTS.........................................................................27
FRONT WHEEL DIRECTION LOCKS 812..............................................................................27
INGUINAL BELTS 817............................................................................................................28
THERMIC COVER 818 ...........................................................................................................28
CANOPY 819..........................................................................................................................29
RAIN COVER 825...................................................................................................................30
FOOT STRAPS 827................................................................................................................31
SIDE SUPPORTS FOR THE TRUNK 816................................................................................
31
ADJUSTABLE HEAD SIDE SUPPORTS 835..........................................................................32
VEST HARNESS 853 .............................................................................................................32

Page 3 of 47
4-POINT ANCHORAGE SET (RINGS) 891.............................................................................33
45° BELT FOR THE PELVIS 894............................................................................................34
5-POINT VEST HARNESS 903...............................................................................................35
5-POINT HARNESS 906..........................................................................................................37
SHOPPING BASKET 858 ........................................................................................................39
PADDED ABDUCTION BLOCK 834 ......................................................................................39
FIXING THE UPHOLSTERY........................................................................................................41
MAINTENANCE...........................................................................................................................42
ORDINARY MAINTENANCE (monthly) ......................................................................42
PREVENTIVE MAINTENANCE (biennial) ..................................................................42
EXTRAORDINARY MAINTENANCE (or corrective)................................................43
CLEANING, DISINFECTION, SANITIZATION .............................................................................44
INFORMATION........................................................................................................................44
WARNINGS .............................................................................................................................44
PROCEDURE..........................................................................................................................45
DISPOSAL...................................................................................................................................46
CUSTOMER SERVICE AND SPARE PARTS..............................................................................46
CONDITIONS FOR DURABILITY, REUSE AND REASSIGNMENT TO A NEW USER...............47
WARNINGS
-Carefully read and understand the instructions in this manual before using the device
because they have been written with the user's safety in mind and they will help the carer use
the product safely and keep it in good working order. The Use and Maintenance Manual is an
integral part of the product and must be carefully preserved for future reference.
-THE MANUAL IS INTENDED FOR TECHNICALLY QUALIFIED RETAILERS AND USERS AND
THEIR ASSISTANTS; it provides instructions for using the product correctly and must be
supplemented by adequate knowledge of the rehabilitation program for which it has been prescribed
-THE MANUAL REFLECTS THE TECHNICAL STATE OF THE PRODUCT AT THE TIME IT WAS
SOLD. ORMESA reserves the right to make any changes to the product or manual suggested by
experience, technical considerations or regulatory developments without any obligation to update its
previous production and relevant manuals.
-THE DOCTOR MUST CHECK THE USE OF CLIP AND ITS ACCESSORIES in conformity with
current laws, regulations and standards.
-THE STROLLER IS INTENDED FOR USE BY PEOPLE WHOSE SIZE AND WEIGHT fall within the
range of the "Technical Features" on page 16, and was exclusively designed for the transport and
placement of children.
-CLIP is available in three sizes: change to a larger STROLLER as the child grows.

Page 4 of 47
-CLIP MUST BE MANOEUVRED BY PEOPLE WITH THE HEIGHT AND STRENGTH TO
CONTROL ITS MOVEMENTS.
-CLIP CAN ONLY BE USED BY PEOPLE who have read the rules and instructions in this manual.
-BEFORE EACH USE ALWAYS CHECK that the brakes are working, the wheels are not
excessively worn and that the frame, backrest and footrest are locked.
-MAKE SURE THAT ALL ADJUSTABLE PARTS ARE LOCKED before each use.
-To climb up pavements, CLIMB FACING FORWARD AND DESCEND FACING BACKWARD,
TILTING THE STROLLER ON ITS REAR WHEELS (see page 8).
-The 812 direction locks on the front wheels were exclusively designed for using the stroller
on rough terrain: in all other cases, they must be disengaged to avoid difficulty in manoeuvring the
device
-WHEN PAUSING, ALWAYS LOCKS BOTH BRAKES, even on level ground. (see page 15)
-ALWAYS LOCK THE BRAKES BEFORE MAKING ANY TYPE ADJUSTMENT (see page 15)
-CLEAN THE STROLLER AND UPHOLSTERY following the instructions shown in the
“MAINTENANCE” chapter on page 40-41-42-43-44.
-The upholsteries are not fire proof. For this reason Clip must be kept far from fires, cigarettes and
flames.
-Keeping the cushion and child clean will prevent bedsores.
The CLIP 1-2-3 conforms to the ISO 7176-19
standard, which defines the safety
requirements for transport, facing in the
direction of travel, on moving vehicles (private
cars, buses, etc.)
FOR THE ASSEMBLY OF THE 891 ACCESSORY AND
ANCHORING THE STROLLER TO THE VEHICLE, CAREFULLY
READ THE INSTRUCTIONS AND NOTICES ON PAGES 10-11-
12-13 OF THIS MANUAL

Page 5 of 47
CLIP IS A MECHANICAL MEDICAL DEVICE:
Perform REGULAR MAINTENANCE and
CLEANING following the instructions shown in the
"Maintenance" chapter on page 40-41-42-43-44 and
HAVE THE DEVICE INSPECTED AT THE
INTERVALS INDICATED to VERIFY that it is
WORKING PROPERLY and in GOOD CONDITION,
otherwise warranty will fail and marking will lapse
PRODUCT REPAIRS other than the regular
maintenance shown on page 40-41-42-43-44 of the
manual must be ONLY MADE by a SPECIALIZED
SERVICE CENTER in the maintenance of mechanical
aids for disables, otherwise warranty and marking
will be voided
Any
CHANGES
in the product and the
REPLACEMENT WITHOUT ORIGINAL PARTS
OR COMPONENTS ARE NOT AUTHORIZED.
REFER ONLY TO ORMESA, otherwise warranty and
marking will be voided
In case of DOUBT about the SAFETY of the product
or DAMAGE to parts or components, you are urged to
IMMEDIATELY DISCONTINUE USE and
CONTACT a SPECIALIZED SERVICE CENTER in
the maintenance of mechanical aids for disables, or
directly ORMESA.

Page 6 of 47
GUARANTEE
−ORMESA s.r.l. guarantees the product for 2 years: in the case of problems, contact
the retailer where you purchased it. Always demand original replacement parts or you
will risk voiding the warranty.
−ORMESA will not be liable for damage in the following cases:
-use by an unsuitable person;
-incorrect assembly of parts or accessories;
-unauthorized modifications or service;
-use of other than original replacement parts and parts subject to wear (seat and backrest,
wheels, etc);
-improper use (such as, transporting objects or loads larger or heavier than those shown in the
instruction handbook);
-damage caused by incorrect use and lack of regular maintenance, as shown in the instruction
handbook;
-exceptional events;
-failure to follow the instructions in this manual.
THE GUARANTEE DOES NOT COVER WEAR PARTS, WICH ARE SUBJECT TO
WEAR AND TEAR, SUCH AS THE UPHOLSTERIES AND THE WHEELS.
STORAGE AND TRANSPORT INSTRUCTIONS
T THE MEDICAL DEVICE
THE DEVICE MUST BE STORED AND PACKED using the Ormesa original
packaging materials, unless the guarantee will be voided
-Once unpacked, THE TRANSPORT OF THE DEVICE must be done by
ANCHORING ADEQUATELY it to the vehicle
-When travelling by plane, or in the car, DO NOT SUBJECT THE FOLDED FRAME
TO LOADS THAT, especially with road bumps, COULD DAMAGE ITS
STRUCTURE
THE DEVICE MUST BE PARKED / STORED IN CLOSED AND DRY PLACES
-THE OPERATING ENVIRONMENT HAS NO PARTICULAR INFLUENCE ON THE
DEVICE UNLESS IT IS USED INCORRECTLY, such as by leaving it parked for a
long time in direct sunlight or exposed to bad weather such as rain, or in
MARINE ENVIRONMENTS, where the salt air could corrode the paint and sliding
parts. IN THIS CASE, WE RECOMMEND CAREFULLY CLEANING AND DRYING
THE FRAME FOLLOWING THE INSTRUCTIONS SHOWN IN THE “MAINTENANCE,
CLEANING AND DISINFECTION” CHAPTER ON PAGES 40-41-42-43-44 AND THE
WARNINGS ON PAGE 40

Page 7 of 47
WHAT NOT TO DO WITH CLIP
-DO NOT CARRY THE CHILD OVER ROUGH OR STEEP SURFACES OR STAIRS
-DO NOT ALLOW CHILDREN TO USE THE STROLLER OR EVEN PLAY WITH IT
-DO NOT PLACE HOT CONTAINERS OR OBJECTS ON THE TRAY SURFACE BECAUSE THEY
COULD TIP OVER AND BECAUSE THE WOOD OR COVERING COULD BE SEVERELY
DAMAGED
-NEVER LEAVE THE CHILD IN THE STROLLER UNATTENDED
-NEVER STOP CLIP ON SLOPING GROUND
-DO NOT LET ANYONE CLIMB ON THE FOOTREST OR STAND ON THE BACK
-DO NOT LIFT THE STROLLER BY THE LEG SUPPORT FRAME OR FOOTREST TO CLIMB
OVER OBSTACLES
-DO NOT USE CLIP TO CLIMB OR DESCEND STAIRS: ITS STRUCTURE WAS NOT DESIGNED
FOR THIS PURPOSE (SEE FIG. PAG. 8)
-NEVER LEAVE THE STROLLER PARKED FOR A LONG TIME IN DIRECT SUNLIGHT OR
NEAR SOURCES OF HEAT: THIS WILL AVOID OVERHEATING THE DEVICE AND
DISCOLOURING THE UPHOLSTERY
-DO NOT USE THE PRODUCT IF PARTS ARE MISSING OR DAMAGED. INSIST THAT ONLY
ORIGINAL REPLACEMENT PARTS ARE USED BECAUSE ANY OTHER TYPE WILL VOID THE
WARRANTY
-DO NOT CLIMB PAVEMENTS OR STEPS WITH JUST THE STROLLER’S SIDE WHEELS
(FRONT AND BACK), BECAUSE THE STROLLER COULD TIP OVER (SEE FIG. ON PAGE 8)

Page 8 of 47
HOW TO TILT THE STROLLER TO CLIMB UP PAVEMENTS
OVERCOMING
STEP BAR
the OVERCOMING STEP BAR, behind the rear wheels, greatly facilitate this operation
CLIMB FACING FORWARD DESCEND FACING BACKWARD

Page 9 of 47
HOW TO USE THE CLIP 1-2-3
FOR TRANSPORT ON A
MOVING VEHICLE (private cars, buses, etc.)
THE CLIP sizes 1-2-3 conforms to the ISO 7176-19 standard, which defines the
safety requirements for transport, facing in the direction of travel, on moving
vehicles (private cars, buses, etc.).
In order to use it safely, carefully read the warnings and follow the instructions
−THE STROLLER-SEATED OCCUPANT MUST FACE THE FRONT OF THE VEHICLE (see fig. 4,
page 12).
−The child must weigh at least 22 kg (48.5 lbs)
−THE VEHICLE MUST BE SUITABLE FOR TRANSPORTING ORTHOPAEDIC
WHEELCHAIRS/STROLLERS IN CONFORMITY WITH STANDARD ISO 7176-19 (see fig. 4, page
12)
−THE CHILD MUST WEAR BOTH A LAP BELT AND A DIAGONAL SHOULDER BELT ISO 7176-
19-OR ISO 10542-APPROVED (i.e., belts with a label of conformity to these ISO standards).
THE USE OF A LAP BELT BY ITSELF IS NOT RECOMMENDED. Postural belts, such as
models 853, 894, 903 and 906 are not type-approved for use as restraint systems and can
only be used in addition
−THE STROLLER MUST BE ANCHORED TO THE MOTOR VEHICLE by: 1) a four-point strap-
type tiedown system that complies with ISO 10542-2, supplied by the vehicle and 2) our
accessory 891 – set of 4 tie-down hooks (see fig. 1 and 2, page 9; fig. 3, page 10 and fig. 4, page
12)
!ATTENTION!
ORMESA RECOMMENDS THE USE OF A COMPLETE ISO 10542-2- COMPLIANT “WTORS”
SYSTEM, which consists of restraint systems for both the wheelchair and its occupant
−whenever the child is transferred on a seat of the vehicle, the unoccupied STROLLER should
be stored in a cargo area or secured in the vehicle during travel
−in order to preserve their effectiveness, belt restraints should not be held away from the body
by wheelchair components or parts, such as the wheelchair armrests or wheels (see fig. 5 and 6,
page13)
−shoulder-belt restraints should fit over the shoulders (see fig. 5, page 13)
−belt restraints should be adjusted as tightly as possible, consistent with user comfort, and belt
webbing should not be twisted when in use
−in order to reduce the potential of injury to vehicle occupants, during the transport the tray and all
accessories should be removed and secured separately in the vehicle
THE STROLLER MUST BE INSPECTED BY THE MANUFACTURER OR ITS AUTHORIZED
RETAILER OR DISTRIBUTOR BEFORE REUSE FOLLOWING INVOLVEMENT IN ANY TYPE
OF VEHICLE COLLISION
ANY ALTERATION OR SUBSTITION OF THE 891 TIEDOWN HOOKS OR STROLLER
PARTS OR COMPONENTS, WITHOUT THE WRITTEN AUTHORIZATION OF ORMESA SRL,
IS FORBIDDEN AND WILL VOID THE MARK AND THE WARRANTY

Page 10 of 47
1) POSITION THE 891 TIEDOWN HOOKS (4 RINGS) ON THE POINTS
(NOTCHES) INDICATED ON THE FRAME AND FIX THEM FOLLOWING
THE INSTRUCTION ON PAGE 12
Fig. 1
Fig. 2
891 SECUREMENT
POINTS FIXING HOLE
891 SECUREMENT
POINTS FIXING HOLE
891 SECUREMENT
POINTS FIXING HOLE
891 SECUREMENT
POINTS FIXING HOLE
REAR VIEW
FRONT VIEW

Fig. 3
CRASH TESTED ISO 7176-19
VIEW FROM BEHIND
HEX
WRENCH
SCREW M8X55
NUT M8
NUT M8
PLASTIC
BUSHING
WRENCH
WRENCH
SCREW M8X40
HEX
WRENCH
NUT M8
Page 11 of 47
2) HOW TO FIX THE 891 TIEDOWN (4 RINGS) ON THE FRAME
ATTENTION:
-suitable for ISO 10542-2 approved four-point
straps provided in the vehicle. To anchor the
stroller to the transport vehicle, see the
instructions on page 12
-the child must wear both a lap belt and a
diagonal shoulder belt ISO 7176-19 or ISO
10542-approved (l.e., belts with a label of
conformity to these ISO standards).
Postural belts, such as models 853, 894, 903
and 906 are not approved for use as restraint
systems and can only be used in addition
-the vehicle must be suitable for
transporting orthopaedic strollers in
conformity with current law
-read the notices and instructions provided
on page 8 of this use and maintenance
manual. The 891 tiedown hooks are safety
devices and, as such, they must be fixed to
the 869 frame by skilled personnel, such as
the manufacturer or reseller that supplied the
stroller

Page 12 of 47
3) HOW THE WHEELCHAIR IS TO BE SECURED IN A VEHICLE
HOOK THE APPROVED 4-POINT BELTS OF THE VEHICLE TO THE MODEL 891 TIEDOWN
HOOKS (4 RINGS) AS SHOWN IN THE FIGURE AND IN THE DIRECTION OF TRAVEL OF THE
VEHICLE
4-POINT STRAP-TYPE TIEDOWN
PUSHCHAIR RESTRANT
Directio n of tra vel
of t he vehicle
2-24501OSIsíelciheV
belts and ho oks
891 TIEDOWN HOOKS
Fig. 4
891 TIEDOWN HOOKS
types of tiedown end-fittings that are
compatible with our accessory 891

Page 13 of 47
4) THE CORRECT POSITIONING OF OCCUPANT BELT RESTRAINTS ON
THE USER
ATTENTION! the pelvic-belt restraint should be worn low across the front of the pelvis, so that the
angle of the pelvic-belt restraint is within the preferred zone of 30° to 75° to the horizontal, similar to
that shown in Figure 5. A steeper (greater) angle with the preferred zone is desirable.
ATTENTION! Our belts, straps, vests and harnesses are not intended to be as an occupant
restraint in a moving, but they can be used in addiction
Fig. 6
YES
beneath
the ar mrest
and the
frame
FRONT VIEW SIDE VIEW Fig. 5
NO
abo ve
the ar mrest
and the
frame
Fig. 6
FRONT VIEW SIDE VIEW
THE INCORRECT PLACEMENT OF BELT RESTRAINTS

Page 14 of 47
LABELS AND PLATES
ANCHORAGE POINT FOR 4-POINT BELTS PROVIDED ON MOTOR VEHICLES
SUITABLE FOR THE TRANSPORT OF WHEELED MOBILITY DEVICES IN
COMPLIANCE WITH THE ISO 7176-19 STANDARD.
INTENDED USE
CLIP is an umbrella folding stroller for children and young people with
functional impairment in walking and/or other disabilities that do not need an
adaptabl postural system
It is suitable for users who need a minimum of containment at the level of the
trunk and head, useful for positioning on the stroller in short/medium
movements.
The use of the clip and its supplements must be prescribed by the doctor in
accordance with current legislation, regulations and regulations.
THE CE MARKING CERTIFIES THAT CLIP STROLLER CONFORMS TO THE SAFETY
REQUIREMENTS defined with the REGULATION (EU) 2017/745 OF THE EUROPEAN
PARLIAMENT AND OF THE COUNCIL of 5 April 2017 applicable for MEDICAL DEVICE
Name of the model Series number Catalog code
Date of Medical
deviceproduction
LOT code Warning! Read the use and
maintenance handbook before use
Max. load
Conformity with the European
safety standards
M O D E L .
LOT SN
MAX. KG
!
REF
MD
Via delle Industrie, 6/8 - Z.I. Sant’Eraclio 06034 Foligno (PG) ITALY Tel. +39 0742 22927 Fax + 39 0742 22637

T
OR
LOCKS
UNLOCKS
BRAKING THE STROLLER
Page 15 of 47

TECHNICAL FEATURES
Frame folds like an umbrella, in aluminium painted with non-toxic epoxy paint
Backrest semi-rigid, it reclines in 3 positions with zippers
Seat bottom semi-rigid
Upholster y removable for washing with padding and removable aluminium reinforcement ribs;
slots for attaching components
Footrest removable, height adjustable
Leg s up port band
Wheels puncture-proof: front 15-cm, swivelling; rear 20-cm, sliding on ball bearings with
independent brakes Measures in cm and w eights in kg
HYPHEN-SEPARATED NUMBERS INDICATE
THE MINIMUM AND MAXIMUM RANGE OF
ADJUSTMENT
CLIP 1 WEIGHT OF THE AID KG. 10.8 MAX. LOAD KG. 30
CLIP 2 WEIGHT OF THE AID KG. 11 MAX. LOAD KG. 35
CLIP 3 WEIGHT OF THE AID KG. 11.2 MAX. LOAD KG. 40
-
-
-
-
-
-
-
34
12÷20
88
34
Page 16of 47
105 - 112 100-107 100-107

INITIAL PREPARATION
PACKING INFORMATION
CLIP A
cm
B
cm
C
cm
VOLUME
m3
WEIGHT
kg
SIZE-1 35 35 116 0,142 13
SIZE-2 35 35 116 0.142 13.2
SIZE-3 35 35 116 0.142 13.4
HOW TO REMOVE THE STROLLER FROM THE BOX
ATTENTION!
CUT WITHOUT PRESSING TOO HARD
SO AS NOT TO DAMAGE
THE CONTENTS OF THE BOX
REMOVE THE COMPONENTS
3
ATTENTION!
TILT THE BOX AND TAKE CARE
NOT TO SCRAPE THE CONTENTS
2
1
Page 17 of 47

OPENING THE STROLLER
1. RAISE THE STROLLER TO A VERTICAL POSITION
2. OPEN THE STROLLER
3. LOCK THE FRONT TENSIONER BY PUSHING IT TO THE END OF ITS TRAVEL
4. LOCK THE REAR TENSIONERS BY PUSHING THEM TO THE END OF THEIR TRAVEL
Page 18 of 47
This manual suits for next models
2
Table of contents
Other Ormesa Stroller manuals
