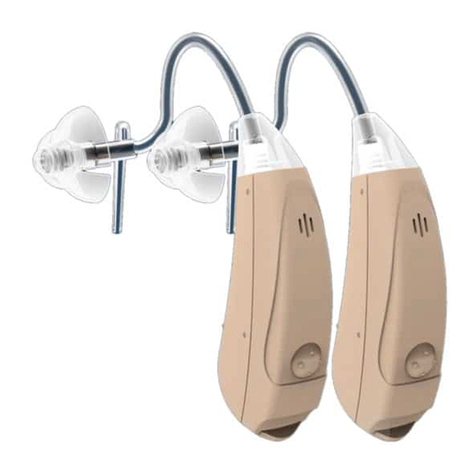
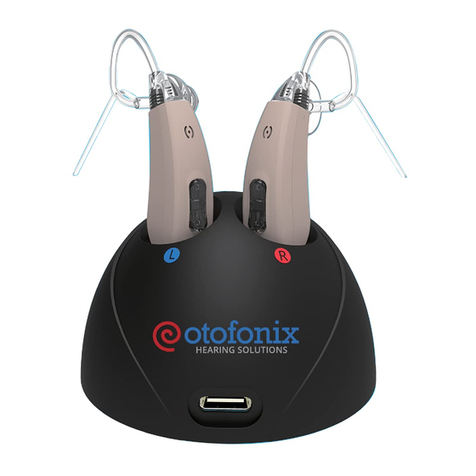
OTOFONIX Apex User manual

apex
0120
User Manual

Content
2
What’s in the Box.........................3
Components Illustration...............4
Batteries....................................5,6
Ear Tips/Domes.........................7,8
Programs & Volumes.............10,11
Sound Tubes...............................12
SoundSound Tube Removal.................13
Sound Tube Installation.............14
Care & Maintenance..................15
Wearing & Using the Device.....16
Troubleshooting.........................18
Technical Specifications............19

What’s in the Box
Not shown: Protective Travel Case & English User Manual
Assortment of open,
closed and hybrid domes
#312 Batteries
Pre-assembled amplifier
with a #1 sound tube and
an additional #2 tube
3
Cleaning Brush
and Cleaning Wire

Microphone
Button Switch
controls volume
levels & program
selections
Thin Sound Tube
Battery Compartment
Open Dome
4

Batteries
The battery compartment located on the bottom of the amplifier also acts
as the on-off switch. When closed the unit is ON and when open the unit
is OFF. We recommend that you fully or completely open the battery door
when you go to bed at night in order to conserve battery power.
OFF ON
5

Low power: You will hear a series of melodic double beeps when the battery is low. You may
also hear increasing static. You will have approximately 30 minutes to change the battery (this
can vary, depending on the hearing settings and battery). We recommend that you always
have a new battery on hand.
Batteries
The proper battery size for your Otofonix Apex amplifier is a zinc-air #312. Before inserting the
battery into your amplifier, remove the brown tab and wait 1-2 minutes to allow the battery to
air activate. Your hearing amplifier has a low current drain and the battery should last approxi-
mately 7-10 days (16 hour days) . Loud noises and increased volumes levels drain the battery
more than quieter sounds.
6

About Ear Tips & Ear Domes
There are 3 types of domes - open, closed and everything in between that we will
refer to as a hybrid style dome.
An Open Style Dome has large holes and is intended for
people with the typical mild to moderate high frequency
hearing loss who do not need much amplification in the low
frequencies. The larger openings in the dome allow for low
frequency sounds to pass though the dome with minimal
amplification and a more natural sound. It eliminates the “occlusion effect”
which is similar to putting your fingers in your ear and hearing yourself talk.
On the negative side, open domes are the most prone to feedback (whistle).
A Close Style Dome has no holes in them. This allows the am-
plifier to more aggressively boost the sound levels as much as
15-20 dB, especially in the low speech frequencies. Often closed
domes are the better answer for people suffering from a more
severe level of hearing loss. These domes virtually eliminate
all feedback that occurs from higher amplification but maximizes the “occlusion
effect”.
7

About Ear Tips & Ear Domes
A Hybrid Style Dome has a small hole or vent and fea-
tures of both the open and closed dome. These domes pro-
vide greater amplification in the low frequencies than the
open domes. The smaller vent also significantly minimizes
the “occlusion effect”and reduces feedback making them
more comfortable to wear than the closed domes. These domes are recom-
mended for those with a mild to moderate hearing loss. Several styles are
available on our website.
Your Apex comes assembled with a medium sized open dome but your pack-
age also contains an assortment of both open and closed domes to insure the
best fit. One medium sized hybrid dome is also included.
It is recommended that they be replaced every 2-3 months and can be
ordered on www.otofonix.com.
8

Remove eartip:
Eartip Information
9
Attach eartip:
1. Line up the narrow tubing nozzle with the opening on the
inside of the tip.
2. Push together firmly until the eartip is securely attached so
it does not come off in your ear.
1. Hold the eartip tightly and grasp the tubing directly behind the
eartip.
2. Pull firmly.

Programs & Volumes
Select your desired volume set-
ting or your program with only
one button to press
Volume Up
Each quick press raises the
volume 3 dB. When top level 8 is
reached only one beep is heard
and the cycle starts from the be-
ginning.
Program Up
Press and hold for 3 seconds to
advance to the next program.
After program 3 is reached the
unit re-cycles to program 1.
When your amplifier is initially
turned on, it will default to Pro-
gram 1 and Volume Level 4
3 Memory Programs
10
8 Volume Levels

Memory Presets
Your hearing amplifier includes 3 pre-configured memory programs and
8 volume levels to quickly adjust to your hearing loss and different envi-
ronmental conditions.
Program Settings:
Volume Settings:
1 Default setting - every day use with low noise reduction
2 Noisy setting - reduces background noise (restaurant, wind noise)
3 Treble setting - decreases annoying high pitched sound such as feed-
back, whistling and squealing. 11
To change the Program Setting push and hold the button switch for
3 seconds. The number of beeps you hear is the program chosen.
Each time you press the button switch you will hear two beeps and the
volume will increase by 3 dB. When you reach the top level 8 (35 dB
gain) you will hear only 1 beep. The next quick press will restart you at
level 1 (14 dB gain). When you initially turn your amplifier on it will
default to volume level 4 and Program 1.

Sound Tube Choices
Your Otofonix hearing amplifier comes with a # 1 formed thin sound tube already
attached. This is the size that works best for most people but it may not be the
right size for you. For that reason we have also included a # 2 tube in your pack-
age which is slightly longer.
It is important for the tubing to fit correctly. A measuring tool is available to help
you determine your correct size. Go to www.otofonix.com/downloads and scroll
to otofonix measuring tool and click “download PDF” for instructions.
Tubing sizes / lengths
There are four sizes of thin sound
tubing available for the right and left
ear. Available on www.otofonix.com.
Right tubing: 0R, 1R, 2R, 3R
Left tubing: 0L, 1L, 2L, 3L
0 = shortest 3 = longest
Red = Right Blue = Left
12

Gently wiggle & pull straight out. Tube successfully removed.
Sound Tube Removal
13
IMPORTANT: Incorrect removal of the sound tube can permanently damage
your device.

03
There should be NO gap be-
tween the sound tube and the
amplifier
04
Gently rotate the sound tube
from the 10 o’clock position to
the 12 o’clock position
02
Gently push the base of the
sound tube straight into the
device
01
Align top of sound tube (dotted
red line) to 10 o’clock position
on the amplifier
Sound Tube Installation
The dotted line on the sound tube and the red dot on the amplifier are for
illustrative purposes only.
NO GAP
14

Daily Care & Maintenance
Your Otofonix Amplifier is a delicate and sensitive digital electronic device. So it
is very important that you keep it clean and dry. Any moisture can have a negative
impact on the hearing devise. Moisture prevention is helpful to extent the lifetime
of the device.
Use a soft dry cloth to clean the body oils, sweat and water from the casing. Do not
wear it when showering, swimming, in the rain or in a wet environment such as a
sauna.
NeveNever subject your device to hairspray, sunscreen or other cosmetic/medical products
If you spend a considerable amount of time in a high humidity environment, you
should consider placing your device in a drying box overnight such as Stay-Dri
Hearing Aid Dehumidifier.
Do not wear your amplifier during short-wave diathermy, X-ray, MR scans, CT scans
or similar radiation treatments.
BBe aware that occupancy sensors in some public restrooms can generate strong elec-
tromagnetic interference that produce a rapid loud chirping or clicking sound when
wearing your hearing device.
15

WEARING & USING A HEARING AMPLIFIER
People learn at different rates. Some people need a week or two to adjust to their hear-
ing amplifiers and others may need a few months. Medical studies show that your brain
requires approximately 21 days to adjust to your new Hearing Amplifier. We recommend
that you wear your unit for a few hours on the first day and gradually increasing the time
over a period of one week. Eventually, you will be wearing them most of the waking
hours.
Tips
Squealing or Feedback
Feedback occurs when the amplified sound coming out of the ear tip or open dome
returns to the microphone and is re-amplified. This commonly happens at higher vol-
umes settings. Should you need more amplification above level 7, you can try chang-
ing to a hybrid or closed dome for more amplification. This will give you more ampli-
fication while eliminating feedback.
Realistic Expectations
The first thing many new users notice is that sounds seem a little strange, this is com-
pletely normal. Even the best hearing aids are not as good as your natural hearing.
This can be compared to the sensation of hearing your own voice on a tape recorder,
and your own voice may sound deeper than normal.
16

You may also be more aware of your footsteps, your car's motor, the sounds you
make as you chew your food, and just about any other environmental noise. With
time, your brain will get better at tuning out unwanted noise. The more you wear
your hearing amplifier, the more easily your brain will adjust to the changes.
Although background sounds will seem louder than before, you may find that the Although background sounds will seem louder than before, you may find that the
hearing amplifier doesn't do one of the things you hoped that it would: help you un-
derstand all the words you've been missing in conversations. You should be able to
understand more words with the hearing device than without. But wearing a hearing
amplifier won't guarantee that you'll catch every single word. Hearing every word
isn't necessary. The goal is for you to be able to follow conversation easily in various
environments.
Memory Program 2 has been designed to reduce background noise but even the most
expensive hearing aid will not work in an extremely noisy restaurant.
17
Another reason some sounds will seem odd is that you'll probably be hearing
things that you haven't heard in a long time.
WEARING & USING A HEARING AMPLIFIER

Troubleshooting
Wax
If your amplifier is not working properly, more than 95% of the causes
will be either obstructing wax or a low/defective battery.
The sudden absence of sound from your amplifier is usually the result of wax plugging
the ear dome or the tube. It can be very difficult to see. An inexpensive magnifying glass
can be helpful. Use the cleaning brush supplied in the kit to remove any debris from the
dome.
To clean the sound tube, remove the tubing from the amplifier and using the monofila-
ment cleaning wire run it fully through the tube several times.
18
Battery

approximately 7-10 days
Channels .................................................................................................4
Bands.....................................................................................................12
Otofonix ApexTechnical Data
19

www.otofonix.com
A U.S.A. Company
copyright2017otofonix
Printed in the USA
Other manuals for Apex
1
Table of contents
Other OTOFONIX Hearing Aid manuals

OTOFONIX
OTOFONIX Encore User manual

OTOFONIX
OTOFONIX OTOFONIX User manual

OTOFONIX
OTOFONIX GROOVE User manual
OTOFONIX
OTOFONIX Sona User manual
OTOFONIX
OTOFONIX HELIX User manual

OTOFONIX
OTOFONIX HELIX User manual
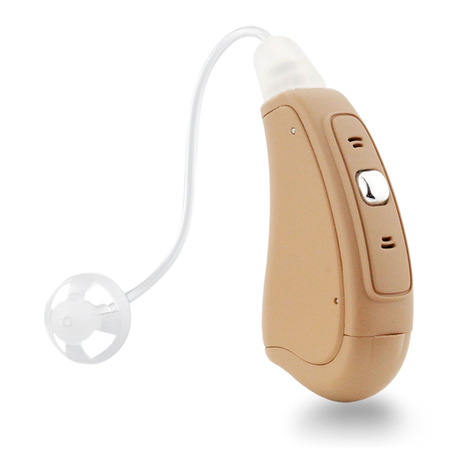
OTOFONIX
OTOFONIX Apex User manual
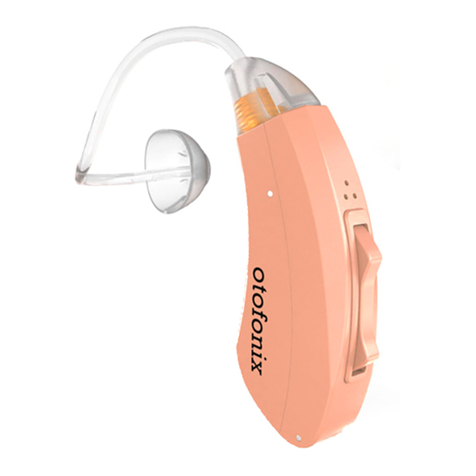
OTOFONIX
OTOFONIX Encore User manual
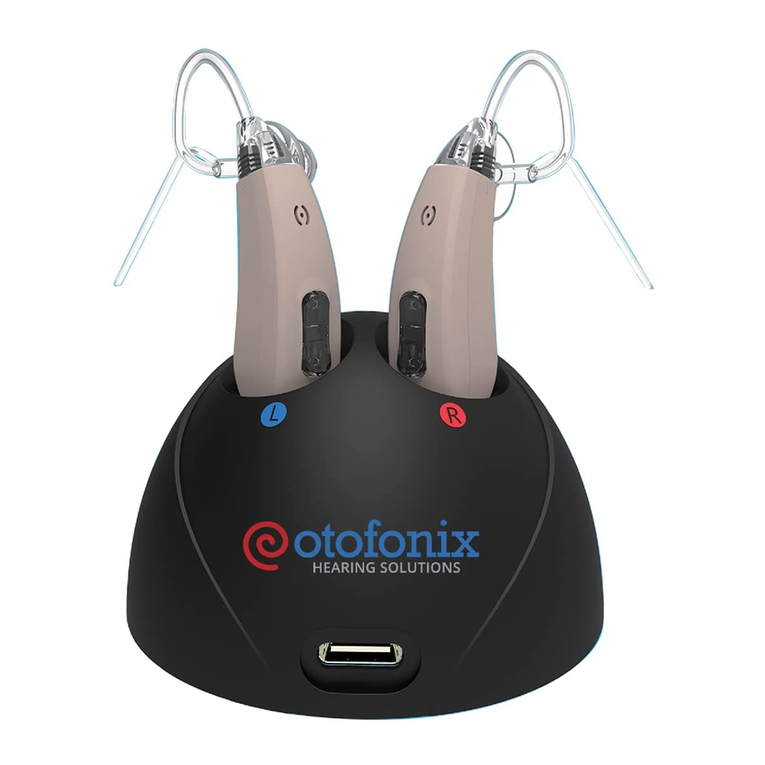
OTOFONIX
OTOFONIX GROOVE User manual

OTOFONIX
OTOFONIX Encore User manual

