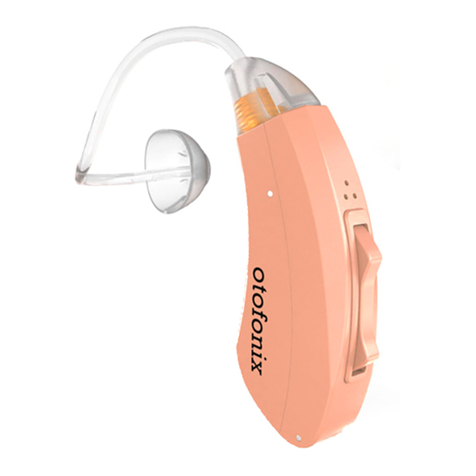
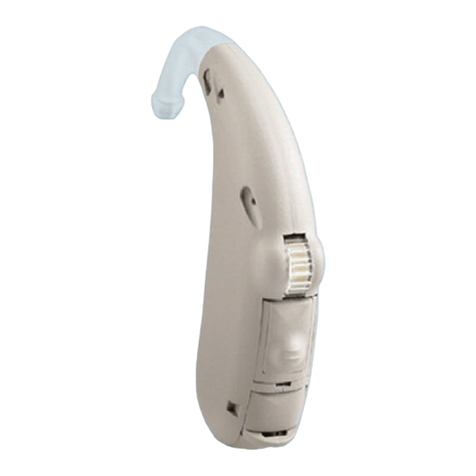
OTOFONIX Apex User manual

Apex
Quick Start Guide

Off
On
Tab
Insert Battery & Turn on your Otofonix Apex
Remove battery tab
and wait one minute
to activate battery
1.
Open battery door and
insert battery with “+”
facing Otofonix logo
2. 3.
Turn your Apex on by
closing battery door
Don’t forget your accessories!
Sound Tubes
Available in 4 sizes
(Preassembled with
Size #1)
Ear Domes
Available in 4 styles in 3
sizes.(Preassembled with
Medium Magic Dome)
Batteries
Available in single pack
or 10 pack
(size 312)
Shop now at otofonix.com
Or call us at 704-380-0508
HELPFUL VIDEOS
Check out our library of videos
for helpful tips and tricks!
otofonix.com/resources
HELPFUL TIP
Low Battery Warning = Series of
melodic double beeps and some
static (30 min to change).
Expected Battery Life = 6-8 days
•
1
10
1

Place the Otofonix Apex on your Ear
Hook body of
hearing device
behind the ear
Insert ear dome into
ear canal with gentle
pressure until snugly
seated in ear canal
Tuck stabilizer bar
into outer bowl of
the ear so ear dome
stays in place
1.
Love our
hearing devices?
We want to help your friends
and loved ones too!
Help us spread the word!
Leave us a review!
otofonix.com/leaveareview
Taking o - To
prevent damage,
first remove ear
dome, then remove
device from behind
ear
1. 2.
3. 4.
92
2

Hook hearing Device behind
ear.
Each time you press the button you will increase the volume or program.
To decrease volume or program you must cycle through each volume level.
Changing Volume Levels and Listening Modes
To limit whistling from your device when changing volume/programs,
approach the device from behind your ear rather from the top.
Support the bottom of hearing device with thumb when pressing
volume/program button.
ISSUE POSSIBLE SOLUTION
Hearing device stopped
working or sound is weak
Need more amplification or
product emits excessive
whistling
Too much background noise
Clean the sound tube and ear dome to
restore full amplification. (Directions &
Cleaning Kit included)
Try closed ear dome (Eliminates whistling
and 5-8 db increse in amplification)
Ensure ear dome fits securely in ear canal
Ensure the sound tube is securely attached
•
•
•
Try using Listening Program 2
Troubleshooting Your Hearing Device
Tips to Change Volume and Listening Modes
Change Volume = Quickly Press and Release Button
Change Program = Press and Hold Button for 3 Seconds. You will first hear the beep indicating you’re
changing volume, keep holding button down to change programs.
3
8
3

HELPFUL TIPS
If the sound tube causes any discomfort, try the larger size
#2 that is provided in the box. If the sound tube feels
loose you may need a smaller size, please call
704-380-0508 so we can accommodate you.
Program 1 Program 2 Program 3
Memory
Setting
Description
Notification
Method
Normal Setting
Everyday listening
with low noise
reduction
Single Beep
Noisy Setting
Background noise
suppression (wind,
restaurants)
Two Beeps
Treble Setting
Reduce high
frequency sounds
like whistling
Three Beeps
First time users of Hearing Device
The first time you use your new Apex some sounds may seem very loud. You may hear the
faucet drip, beeps from electronics, crumpling paper; sounds you may have not heard in a
long time. This can be overwhelming at first. Don’t worry, your brain will adjust to these new
sounds, it just takes a little time.
We recommend starting slowly. Eventually your brain will learn to “turn down” some sounds,
like crumpling paper, while “turning up” the sounds you want to hear, like conversations with
loved ones. This process can take up to 21 days to become fully adjusted to your new hearing
device.
Start by first wearing them for 20-30 minutes at a time in a more private / quiet setting.
Avoid noisy areas like restaurants at first. Gradually start wearing your new hearing device for
longer time periods and in dierent settings until you are able to wear them all day.
In a few weeks, your brain will become “re-programmed”, conversations will be easier to hear
and follow, and you will find yourself more relaxed and confident in social situations.
Things to Avoid
Avoid physical shock, such as dropping on
the floor
Store in a cool dry place with battery door
completely open when not in use
Do not get your Otofonix Apex wet
•
•
•
Do not use hair spray or a hair dryer while
wearing your Apex
Do not expose your Apex to excessive heat
or moisture (use a hearing aid dehumidifier
each night if you live in a humid climate)
•
•
•
The Apex is preprogrammed to Program 1, Volume Level 4
When program/volume has not been changed for 10 minutes, that will become the
new memory setting when turned o and on again.
7
4
4

Care and Maintenance
Brush microphone and ear
dome clean (DAILY)
For optimal performance, keep the sound tube and ear dome clean. Use cleaning brush daily to clear ear
dome of wax. Clean sound tube often and anytime amplification stops or seems reduced.
Insert cleaning wire through
base of sound tube and pull
out the opposite end
Remove Sound Tube: Turn tube
from 12 to 10 o'clock position
(DO NOT rotate past 10 o’clock)
1. 3.
4.
Reattach sound
tube: Start at 10
o'clock position,
ensure there is no
gap. Then rotate
back to 12 o'clock
position.
5.
HELPFUL VIDEOS
Check out our library of videos for helpful tips and tricks!
otofonix.com/resources
LEADING CAUSES FOR LITTLE OR NO AMPLIFICATION
Wax Obstruction - Even if you cannot see it, wax may
be stuck in the sound tube and/or ear dome. Follow the
steps on this page to restore maximum amplification.
Low/Defective Battery - Replace battery. Remove
pull-tab. Wait one minute before using.
Reattach ear dome:
ensure ear dome slides
over all 3 ridges (DO
NOT push past 3
ridges)
6.
2.
A) Gently wiggle and pull tube
from hearing device B) Remove
ear dome from tube
A
B
5
6
5

Care and Maintenance
Brush microphone and ear
dome clean (DAILY)
For optimal performance, keep the sound tube and ear dome clean. Use cleaning brush daily to clear ear
dome of wax. Clean sound tube often and anytime amplification stops or seems reduced.
Insert cleaning wire through
base of sound tube and pull
out the opposite end
Remove Sound Tube: Turn tube
from 12 to 10 o'clock position
(DO NOT rotate past 10 o’clock)
1. 3.
4.
Reattach sound
tube: Start at 10
o'clock position,
ensure there is no
gap. Then rotate
back to 12 o'clock
position.
5.
HELPFUL VIDEOS
Check out our library of videos for helpful tips and tricks!
otofonix.com/resources
LEADING CAUSES FOR LITTLE OR NO AMPLIFICATION
Wax Obstruction - Even if you cannot see it, wax may
be stuck in the sound tube and/or ear dome. Follow the
steps on this page to restore maximum amplification.
Low/Defective Battery - Replace battery. Remove
pull-tab. Wait one minute before using.
Reattach ear dome:
ensure ear dome slides
over all 3 ridges (DO
NOT push past 3
ridges)
6.
2.
A) Gently wiggle and pull tube
from hearing device B) Remove
ear dome from tube
A
B
56
6

HELPFUL TIPS
If the sound tube causes any discomfort, try the larger size
#2 that is provided in the box. If the sound tube feels
loose you may need a smaller size, please call
704-380-0508 so we can accommodate you.
Program 1 Program 2 Program 3
Memory
Setting
Description
Notification
Method
Normal Setting
Everyday listening
with low noise
reduction
Single Beep
Noisy Setting
Background noise
suppression (wind,
restaurants)
Two Beeps
Treble Setting
Reduce high
frequency sounds
like whistling
Three Beeps
First time users of Hearing Device
The first time you use your new Apex some sounds may seem very loud. You may hear the
faucet drip, beeps from electronics, crumpling paper; sounds you may have not heard in a
long time. This can be overwhelming at first. Don’t worry, your brain will adjust to these new
sounds, it just takes a little time.
We recommend starting slowly. Eventually your brain will learn to “turn down” some sounds,
like crumpling paper, while “turning up” the sounds you want to hear, like conversations with
loved ones. This process can take up to 21 days to become fully adjusted to your new hearing
device.
Start by first wearing them for 20-30 minutes at a time in a more private / quiet setting.
Avoid noisy areas like restaurants at first. Gradually start wearing your new hearing device for
longer time periods and in dierent settings until you are able to wear them all day.
In a few weeks, your brain will become “re-programmed”, conversations will be easier to hear
and follow, and you will find yourself more relaxed and confident in social situations.
Things to Avoid
Avoid physical shock, such as dropping on
the floor
Store in a cool dry place with battery door
completely open when not in use
Do not get your Otofonix Apex wet
•
•
•
Do not use hair spray or a hair dryer while
wearing your Apex
Do not expose your Apex to excessive heat
or moisture (use a hearing aid dehumidifier
each night if you live in a humid climate)
•
•
•
The Apex is preprogrammed to Program 1, Volume Level 4
When program/volume has not been changed for 10 minutes, that will become the
new memory setting when turned o and on again.
74
7

Hook hearing Device behind
ear.
Each time you press the button you will increase the volume or program.
To decrease volume or program you must cycle through each volume level.
Changing Volume Levels and Listening Modes
To limit whistling from your device when changing volume/programs,
approach the device from behind your ear rather from the top.
Support the bottom of hearing device with thumb when pressing
volume/program button.
ISSUE POSSIBLE SOLUTION
Hearing device stopped
working or sound is weak
Need more amplification or
product emits excessive
whistling
Too much background noise
Clean the sound tube and ear dome to
restore full amplification. (Directions &
Cleaning Kit included)
Try closed ear dome (Eliminates whistling
and 5-8 db increse in amplification)
Ensure ear dome fits securely in ear canal
Ensure the sound tube is securely attached
•
•
•
Try using Listening Program 2
Troubleshooting Your Hearing Device
Tips to Change Volume and Listening Modes
Change Volume = Quickly Press and Release Button
Change Program = Press and Hold Button for 3 Seconds. You will first hear the beep indicating you’re
changing volume, keep holding button down to change programs.
3
8
8

Place the Otofonix Apex on your Ear
Hook body of
hearing device
behind the ear
Insert ear dome into
ear canal with gentle
pressure until snugly
seated in ear canal
Tuck stabilizer bar
into outer bowl of
the ear so ear dome
stays in place
1.
Love our
hearing devices?
We want to help your friends
and loved ones too!
Help us spread the word!
Leave us a review!
otofonix.com/leaveareview
Taking o - To
prevent damage,
first remove ear
dome, then remove
device from behind
ear
1. 2.
3. 4.
92
9

Off
On
Tab
Insert Battery & Turn on your Otofonix Apex
Remove battery tab
and wait one minute
to activate battery
1.
Open battery door and
insert battery with “+”
facing Otofonix logo
2. 3.
Turn your Apex on by
closing battery door
Don’t forget your accessories!
Sound Tubes
Available in 4 sizes
(Preassembled with
Size #1)
Ear Domes
Available in 4 styles in 3
sizes.(Preassembled with
Medium Magic Dome)
Batteries
Available in single pack
or 10 pack
(size 312)
Shop now at otofonix.com
Or call us at 704-380-0508
HELPFUL VIDEOS
Check out our library of videos
for helpful tips and tricks!
otofonix.com/resources
HELPFUL TIP
Low Battery Warning = Series of
melodic double beeps and some
static (30 min to change).
Expected Battery Life = 6-8 days
•
1
10
10

QUICK START GUIDE
Questions? Call us at 704-380-0508
CONTACT US
(704) 380-0508 info@otofonix.com otofonix.com
Monday – Friday
9:00am – 5:30pm EST
APEX
A complete owners manual can be found at: otofonix.com/resources
©Otofonix
Other manuals for Apex
1
Table of contents
Other OTOFONIX Hearing Aid manuals

OTOFONIX
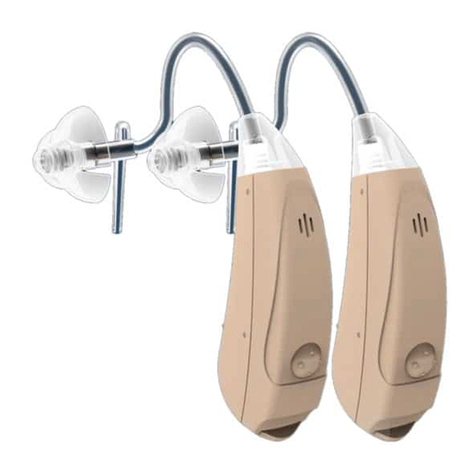
OTOFONIX HELIX User manual
OTOFONIX
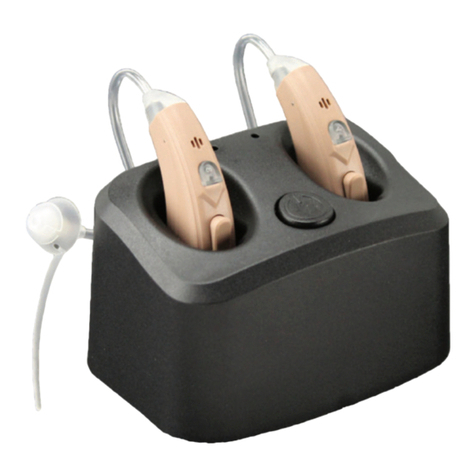
OTOFONIX Sona User manual
OTOFONIX
OTOFONIX HELIX User manual

OTOFONIX
OTOFONIX Apex User manual

OTOFONIX
OTOFONIX OTOFONIX User manual
OTOFONIX
OTOFONIX Encore User manual

OTOFONIX
OTOFONIX GROOVE User manual

OTOFONIX
OTOFONIX HELIX User manual
OTOFONIX
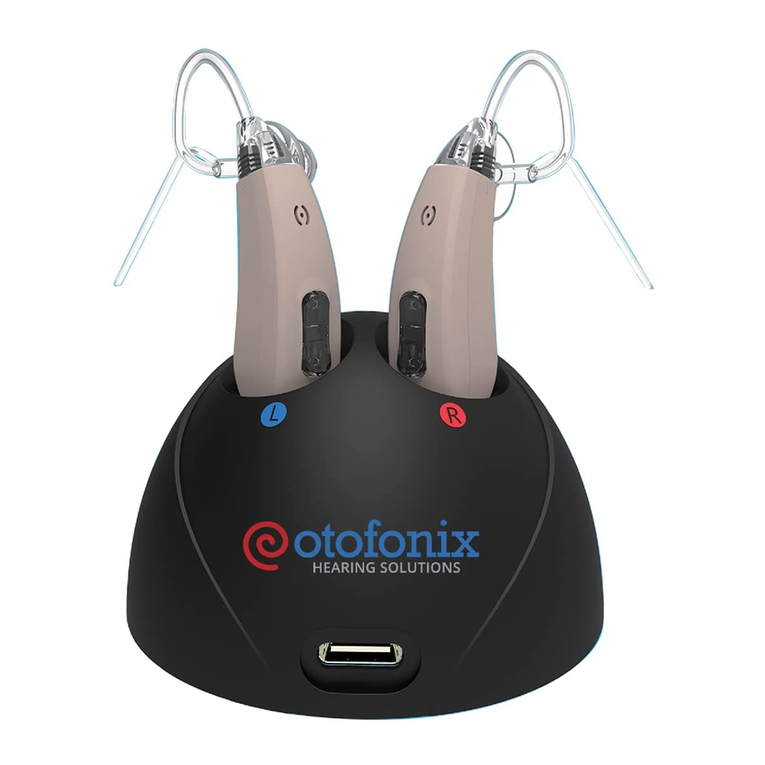
OTOFONIX GROOVE User manual

OTOFONIX
OTOFONIX Encore User manual
