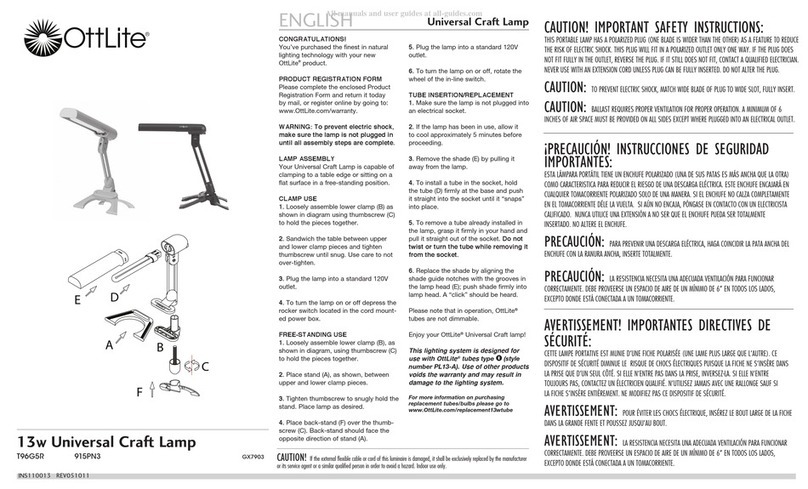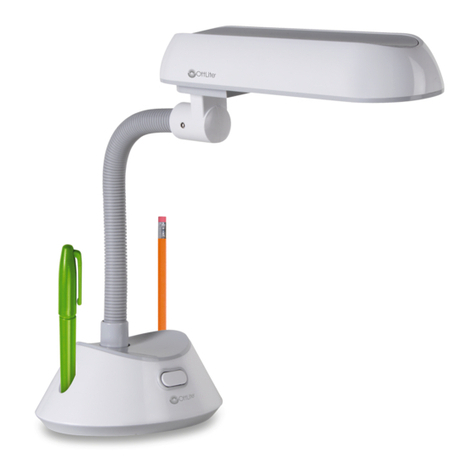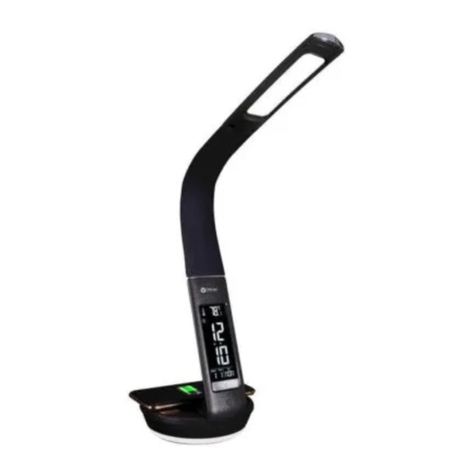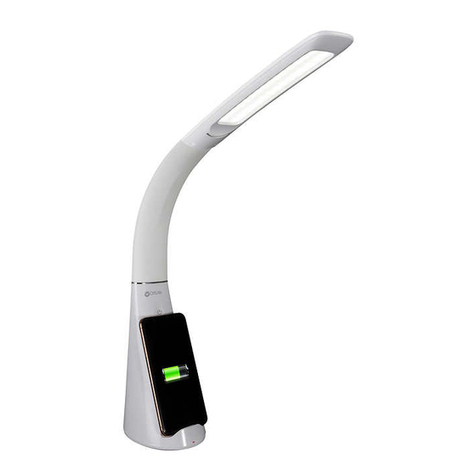
CDO-007 R E V 073112
CDO-007 R E V 073112
100 % ENCHANTÉS... C’EST GARANTI!
Fantastique, vous êtes le nouveau
propriétaire d’un produit OttLite.
Sachez qu’il est très important pour
nous que vous soyez 100% satisfait
de nos produits, et ce, dès le premier
jour et pour longtemps! Voilà pourquoi
nous vous prions de l’enregistrer à
l’aide du Formulaire d’enregistrement
de produit ci-joint. Vous pouvez aussi
le faire en ligne au warranty.ottlite.
com. Ainsi, s’il arrive quoi que ce soit
à votre produit OttLite, nous pourrons
vous aider en deux temps trois
mouvements!
Vous assurer de lire et de bien
comprendre les mises en garde et
le mode d’entretien des piles avant
d’utiliser la lampe.
FORMULAIRE
D’ENREGISTREMENT DU
PRODUIT.
Veuillez compléter le formulaire
d’enregistrement de produit ci-joint et
le renvoyer aujourd’hui par courrier.
1. Retirez soigneusement l’emballage
du produit.
2. Insérez 3 (trois) piles LR6 (non
fournies) conformément à
la section INSTALLATION/
REMPLACEMENT DES PILES.
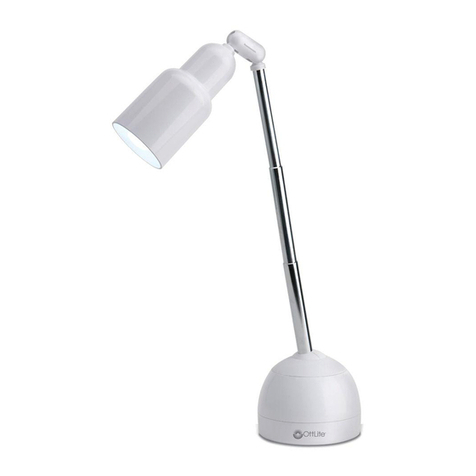
3. Pour allumer la lampe, ouvrez
l’abat-jour (A). La lampe doit
s’allumer automatiquement.
4. Pour éteindre la lampe, refermez
l’abat-jour (A).
INSTALLATION/REMPLACEMENT
DES PILES
Votre OttLite Task Light est alimentée
par 3 piles LR6. Les piles ne sont pas
fournies.
Avertissement : conservez les piles
hors de portée des enfants. En cas
d’ingestion, prévenez immédiatement
un médecin.N’installez pas les piles
à l’envers, ne les rechargez pas, ne
les brulez pas et ne les mélangez pas
avec d’autres types de piles car cela
pourrait entrainer une explosion ou
une fuite susceptible de provoquer
des blessures.
1. Pour installer les piles, ouvrez le
compartiment à piles (B)en le
soulevant au niveau de la fente
(C).
2. Maintenez le couvercle du
compartiment à piles (B)en
position complètement ouverte.
3. Insérez les 3 piles LR6 comme
indiqué sur l’illustration gurant à
l’intérieur du compartiment.
4. Refermez le couvercle du
compartiment à piles (B)et
appuyez dessus pour le bloquer.
5. Pour ne pas endommager la
lampe, NE FORCEZ PAS le couvercle
du compartiment à piles.
6. Testez l’installation des piles en
allumant brièvement la lampe.
Attention : remplacez toutes les piles
en une seule fois et ne les mélangez
pas avec des piles plus anciennes.
Retirez les piles lorsqu’elles sont
vides ou si la lampe n’a pas été
utilisée depuis longtemps.
Vous pouvez maintenant proter de
votre OttLite LED Task!
TU SATISFACCIÓN AL 100%.
GARANTIZADA.
Acabas de comprar tu nuevo
producto OttLite – ¡excelente! Para
nosotros es importante que estés
completamente feliz con nuestros
productos desde el primer día.
Registra tu producto con el formulario
de registro adjunto o en línea en:
warranty.ottlite.com, y si algo le
sucede a su OttLite, podremos
ayudarte inmediatamente.
Cerciórese de leer y comprender
a cabalidad las precauciones
y las instrucciones referentes al
mantenimiento de las pilas antes de
utilizar la lámpara.
FORMULARIO DE INSCRIPCIÓN
DEL PRODUCTO
Sírvase completar el Formulario de
Inscripción del Producto adjunto y
envíelo hoy por correo, o inscríbase
en línea en: OttLite.com/warranty.
1. Remueva el producto de su
embalaje.
2. Coloque tres (3) baterías AAA
(no seincluyen) de acuerdo con
la sección de INSTALACIÓN Y
RETIRO DE LASBATERÍAS.
3. Para encender la luz, abra la
pantalla (A). La luz se activará
automáticamente.
4. Para apagar la luz, cierre la
pantalla (A).
INSTALACIÓN Y RETIRO DE LAS
BATERÍAS
Su Lámpara con covertor OttLite LED
utiliza tres baterías AAA. Las baterías
no vienen incluidas.
Advertencia: Mantenga las baterías
fuera del alcance de los niños. Vea
a un médico inmediatamente si
se ingieren. No las instale al revés,
recarge, tire al fuego o mezcle
con otros tipos de baterías, ya que
podrían explotar o gotear, causando
daños.
1. Para instalar las baterías, abra la
cubierta del compartimiento de las
baterías (B)levantándola por la
ranura (C).
2. Abra la cubierta (B)en dirección
opuesta al compartimiento de las
baterías.
3. Instale las tres baterías AAA como
indica la gráca dentro dentro del
compartimiento de las baterías.
4. Cierre la cubierta (B)y oprima
hasta que quede ajustada en su
lugar.
5. Para evitar daños a la lámpara, NO
fuerce la cubierta.
6. Pruebe la luz enciendo brevemente
la lámpara.
NOTA: Reemplace las tres baterías
a la vez y no las mezcle con otras
baterías viejas. Remplace las
baterías al agotarse o si no ha
utilizado la lámpara por un periodo
prolongado de tiempo.
¡Disfrute su Lámpara con covertor
OttLite LED!
FRANÇAIS ESPAÑOL
